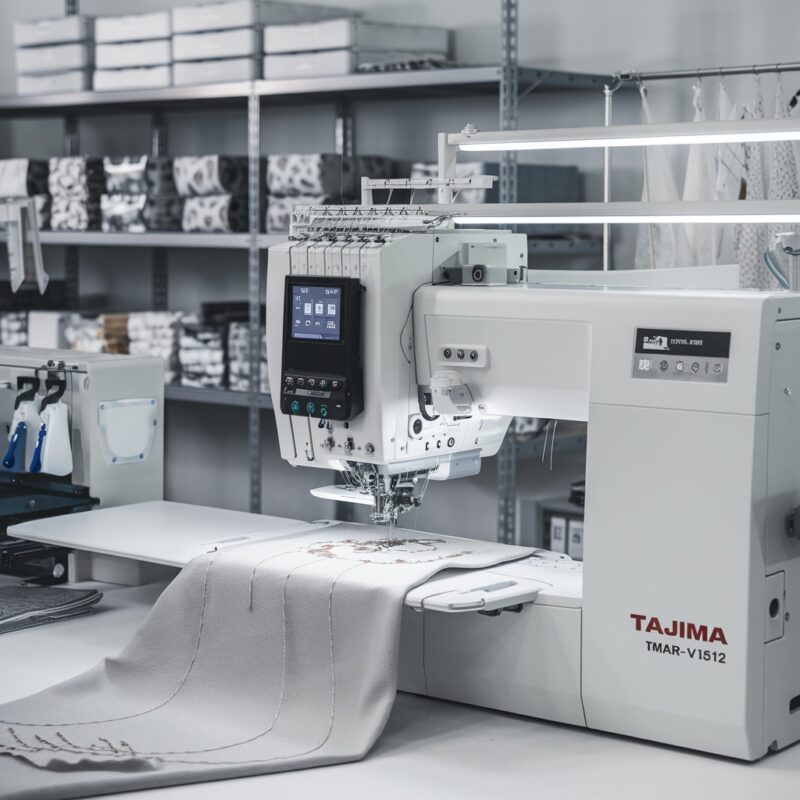
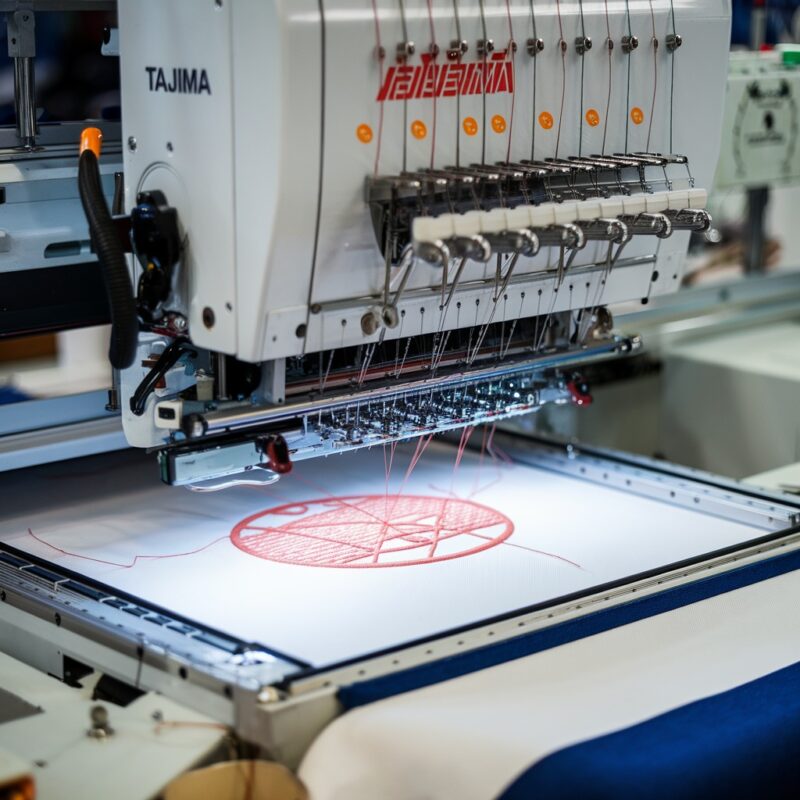
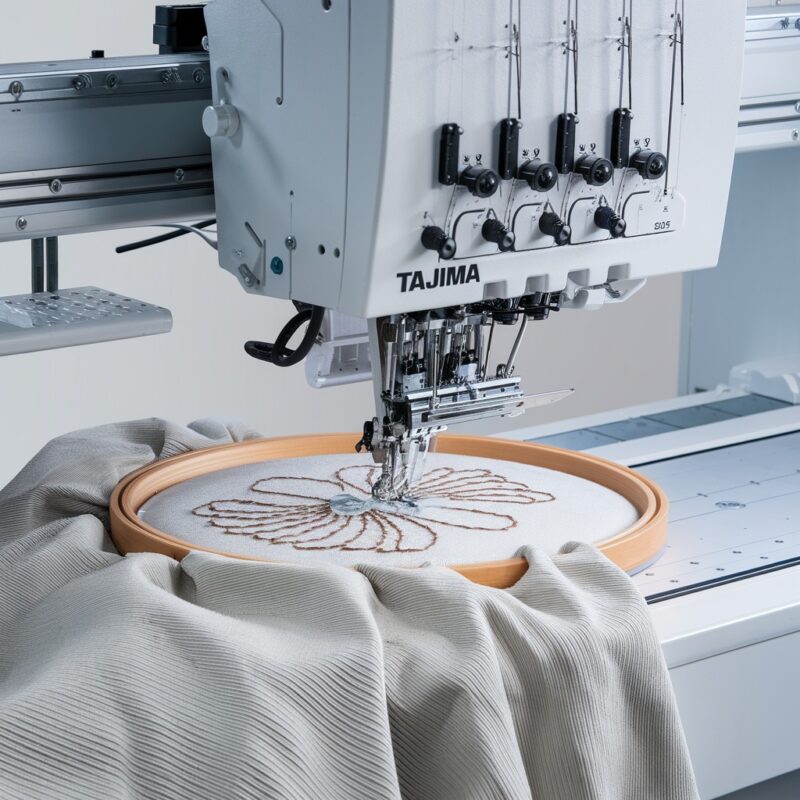
Tackling Bird’s Nesting on the Tajima TMAR-KC Series: Common Causes and Solutions
Tackling Bird’s Nesting on the Tajima TMAR-KC Series: Common Causes and Solutions
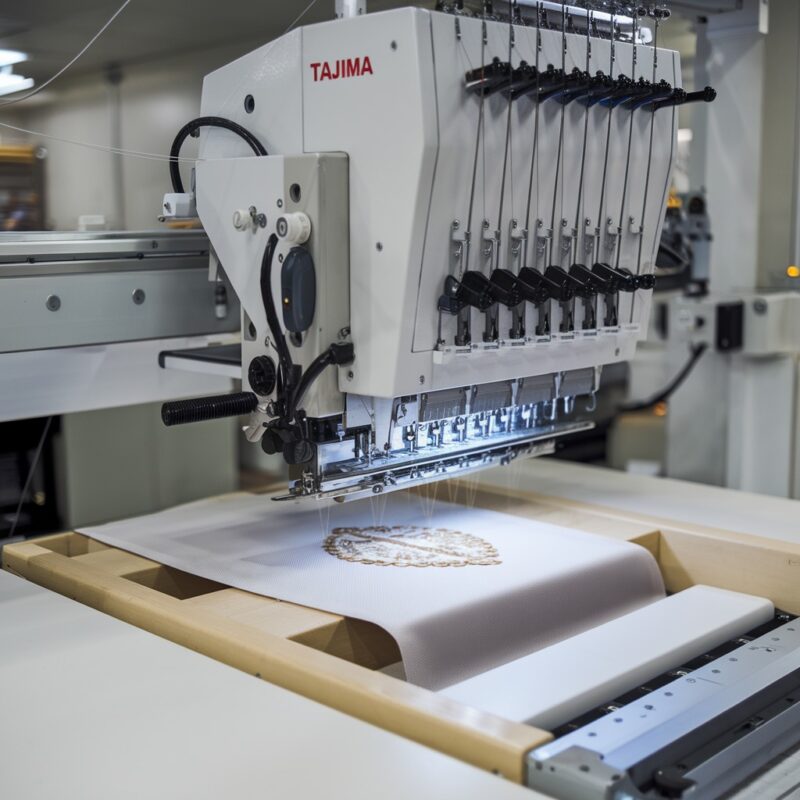
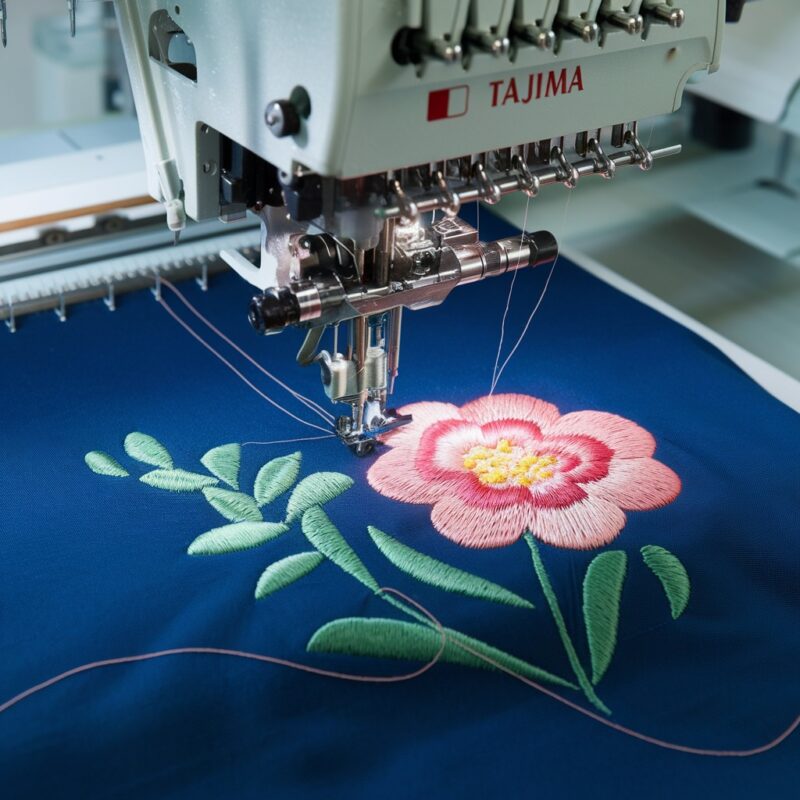
Bird’s nesting, or thread jamming under the fabric, is one of the most frustrating issues embroiderers face. It can cause delays in production and lead to ruined designs. The Tajima TMAR-KC Series, with its multi-embroidery capabilities, can encounter bird nesting for various reasons, especially when working with complex designs or materials. Let’s explore the common causes of bird nesting and effective solutions to smooth your embroidery.
What is Bird’s Nesting?
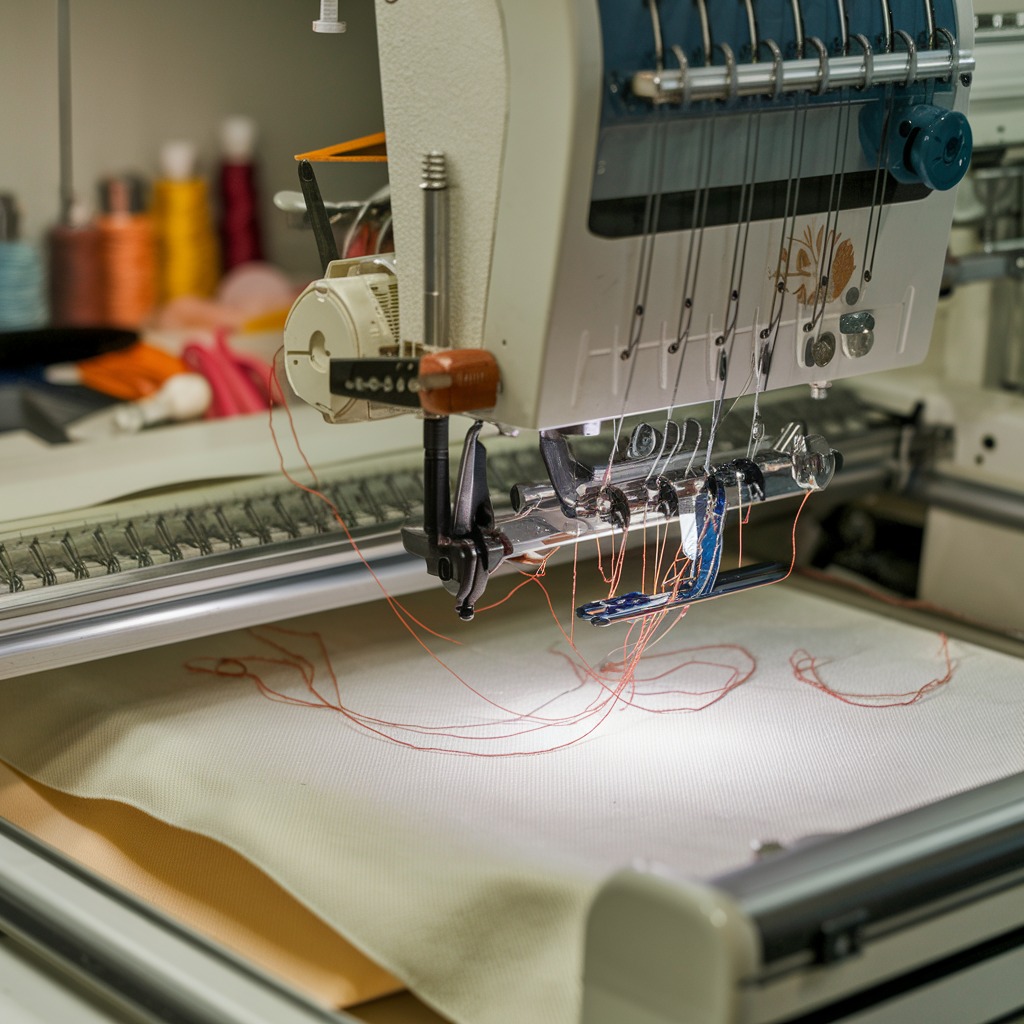
Bird’s nesting happens when excess thread bunches up underneath the fabric, creating a tangled mess that can stop your machine and distort the embroidery. This issue typically occurs due to incorrect thread tension, improper bobbin setup, or threading issues.
1. Incorrect Thread Tension
One of the leading causes of bird nesting is improper tension between the upper and lower threads. If the upper thread tension is too loose, it can cause the thread to bunch up underneath the fabric, resulting in bird nesting.
Solution:
- Adjust Upper Thread Tension: Ensure the upper thread is properly threaded through the tension discs. You can slightly tighten the upper tension until the thread flows smoothly without creating loops under the fabric.
- Check Bobbin Tension: The bobbin thread should also have the correct tension. Use a bobbin tension gauge to ensure it is not too tight or loose. A balanced tension between the upper and bobbin threads is essential for smooth embroidery.
2. Improper Threading
Sometimes, bird’s nesting occurs simply because the upper thread is not threaded correctly. A common issue is the thread missing one of the guides or slipping out of the tension discs.
Solution:
- Re-thread the Machine: Stop the machine and carefully re-thread the upper thread, making sure it passes through all the necessary guides and tension discs. Ensure the thread is seated correctly in the take-up lever.
- Use High-Quality Thread: Inferior threads can snag, break, or become inconsistent, contributing to a bird’s nesting. Choose high-quality threads that are less prone to fraying or breaking during embroidery.
3. Bobbin Case Setup
An improperly set bobbin or a misaligned bobbin case can also cause a bird’s nesting. If the bobbin is inserted incorrectly, or if the bobbin case is not secured, the thread will not feed smoothly and may lead to bunching under the fabric.
Solution:
- Check Bobbin Orientation: Ensure that the bobbin is inserted with the correct orientation. For most Tajima machines, the bobbin should be placed so that the thread unwinds in a counterclockwise direction.
- Secure Bobbin Case: Make sure the bobbin case is properly latched and aligned. A loose or misaligned bobbin case can disrupt the smooth flow of the bobbin thread.
PROMOTIONAL SECTION
The All-in-One Solution For All Your Embroidery Business!
Enjoy $0.90 / 1000 Stitches Logo Digitizing
Monthly Cash Back, Free Delivery on Store-wide Products, Dedicated Account Manager, Exclusive Client Dashboard Panel, Bonus Credit & much more.
SIGN UP TODAY & GET FIRST 3 ORDER ABSOLUTELY FREE

Unlock game-changing benefits: expert digitizing services, technical embroidery guidance, seamless management of your business essentials, and free delivery on storewide products—all just for signing up with us. Don’t let these exclusive perks pass you by!
No Credit Card Required
Stay secure with no need to share your credit or debit card details! Experience 100% safe payment methods, including the option to purchase credits for your future orders. Plus, enjoy free credit as a bonus with every credit purchase and more exclusive benefits.
A Game-Changing Advantage
Imagine having a dedicated account manager by your side, ready to handle all your embroidery needs with precision and care. Whether it’s managing your digitizing orders, delivering essential embroidery supplies based on your every embroidery order, or sourcing those hard-to-find spare parts like motors, circuit boards, or sensors, we’ve got you covered. This incredible service ensures your business runs seamlessly, all at no extra cost or monthly fee.
It’s not just support—it’s the ultimate embroidery partnership you didn’t know you were missing for a $0 charge!
Exclusive Client Dashboard Panel
Get Free Account Setup (T&C Applied) and enjoy exclusive benefits: unlimited free estimate requests, streamlined order management, complimentary edit requests, 24/7 access to our ticket system, fast 6-12 hour turnaround times, round-the-clock email and live chat support, and 1-year free design file backup and more.
Recurring Monthly Cashback
Experience out of the box services with Cashback on monthly basis along with discount vouchers on Shop for Registered customers up to 60% on supplies, accessories, spare parts & sensors & Circuit boards and add extra value to your embroidery business.
Free Delivery on all Shop Products
Enjoy free delivery on embroidery supplies, accessories, spare parts, sensors & circuit boards, and store-products, delivered straight to your doorstep! Unlock this exclusive benefits by registering with us for all your digitizing needs. (Embroidery Machine Not Included)
4. Fabric Hooping and Stabilizer Issues
Poor fabric hooping or using the wrong stabilizer can lead to fabric shifting, which causes the thread to bunch up underneath. This movement disrupts the embroidery process and leads to a bird’s nesting.
Solution:
- Proper Hooping: Ensure that the fabric is tightly and evenly hooped. Loose fabric can move during embroidery, which often leads to thread bunching.
- Use Appropriate Stabilizers: Depending on the fabric, use the correct stabilizer (cut-away, tear-away, or water-soluble). A good stabilizer prevents the fabric from shifting and supports the embroidery stitches, especially during high-speed operation or with thicker designs.
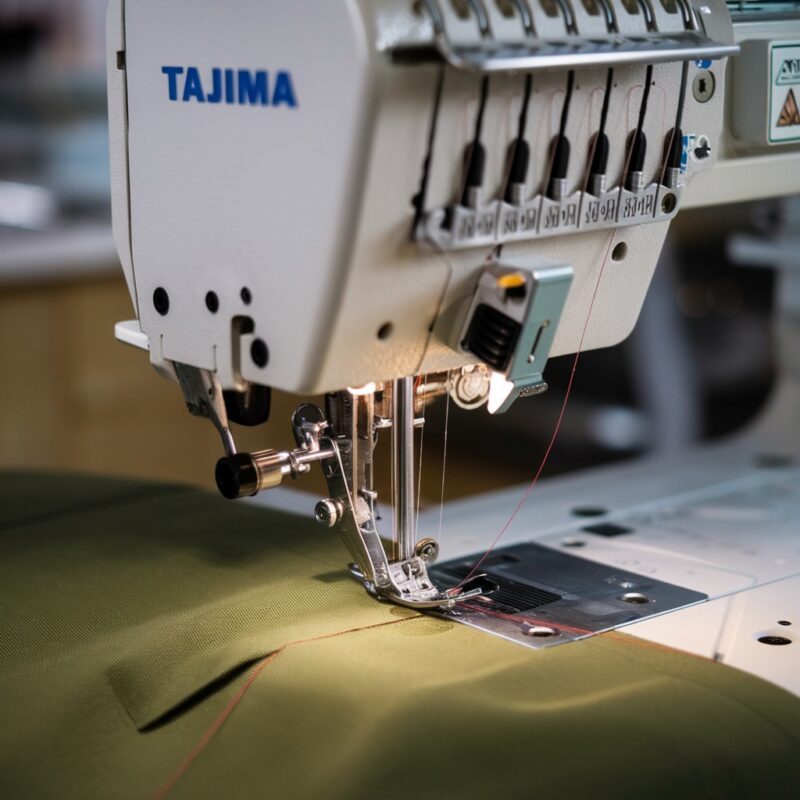
5. Needle Issues
A damaged or incorrectly installed needle can cause a bird’s nesting. If the needle is bent or blunt, it may fail to pick up the bobbin thread correctly, leading to tangled threads beneath the fabric.
Solution:
- Replace the Needle: Inspect the needle regularly and replace it if it’s bent or worn. Using the right needle size and type for the fabric is crucial—thin needles may break or cause poor stitch quality, while heavy needles can damage delicate fabrics.
- Check Needle Installation: Ensure the needle is installed correctly and is fully tightened. The flat side of the needle should face the back of the machine.
6. Excessive Embroidery Speed
Running the machine at maximum speed, especially with dense designs or thick fabrics, can cause bird nesting. When the machine is too fast, the upper thread may not have enough time to form a stitch, leading to thread bunching.
Solution:
- Slow Down the Speed: Lowering the embroidery speed can help prevent bird nesting, particularly when working on complex or high-stitch-count designs. Slowing the speed gives the machine more control over each stitch and prevents jamming.
- Monitor Design Density: Reduce design density if you notice frequent bird nesting. Too many stitches packed tightly together can overwhelm the machine, leading to bunching.
7. Lint Build-Up and Machine Maintenance
Dust, lint, and thread fragments accumulating in the bobbin area or tension discs can interfere with smooth thread movement, leading to bird nesting.
Solution:
- Clean the Machine Regularly: Clean out the bobbin area, tension discs, and needle plate regularly to remove any lint or thread debris. A clean machine runs smoothly and reduces the chances of thread jamming.
- Use Compressed Air: Use compressed air or a small brush to clear out hard-to-reach areas in your Tajima TMAR-KC machine.
8. Bobbin Thread Tension Fine-Tuning
Sometimes, the tension issue causing a bird’s nesting is more subtle and requires fine-tuning beyond standard adjustments. Even if your bobbin thread tension seems correct, small variations can cause issues in multi-embroidery designs.
Solution:
- Micro-adjust Bobbin Tension: Fine-tune the bobbin tension by adjusting the small screw on the bobbin case in tiny increments. Turning it to the right tightens the tension while turning it to the left loosens it. Always make minor adjustments and test the embroidery after each change to ensure optimal performance.
9. Improper Thread Path
If the thread doesn’t follow the correct path through all the guides and tension disks, it can lead to inconsistent tension, which might cause the thread to bunch up underneath. Over time, guides may wear out, or parts may shift slightly, affecting the thread path.
Solution:
- Inspect Thread Guides and Path: Regularly check that the thread is following the correct path through all guides and tension points. Ensure the machine parts, such as thread guides or the take-up lever, are in good condition and haven’t shifted due to wear or vibration.
- Thread Conditioning: Use a thread conditioner, especially with metallic or specialty threads. This reduces friction and helps ensure the thread moves smoothly through the machine.
10. High-Density Embroidery Designs
Multi-embroidery designs often involve high stitch densities, which can lead to bird’s nesting if the machine struggles to keep up with the stitching speed or if the fabric and stabilizer can’t handle the density. This is particularly common when layering different types of threads, such as metallic or thicker threads.
Solution:
- Reduce Stitch Density: If a bird’s nesting occurs frequently with a particular design, consider reducing the stitch density in your embroidery software. Lowering the number of stitches can reduce the strain on both the fabric and the machine, which helps prevent thread bunching.
- Use Layered Stabilizers: For complex, high-density designs, try using multiple layers of stabilizer or a more robust stabilizer to support the fabric and prevent bunching. Water-soluble or heat-activated stabilizers can also be used for additional support without leaving residue.
11. Incorrect Presser Foot Height
For the Tajima TMAR-KC Series, which supports multi-embroidery capabilities, including embroidery on hats and thicker fabrics, presser foot height is crucial. If the presser foot is set too high, the fabric may shift, causing the thread to bunch up underneath.
Solution:
- Adjust Presser Foot Height: Lower the presser foot slightly when working on thin or slippery fabrics to reduce fabric movement. For thicker materials, such as caps or jackets, increase the presser foot height to allow the fabric to move freely while stitching. Always test on a small piece of fabric before running the full design.
- Digitally Controlled Foot: If your machine has a digitally controlled presser foot, make sure it’s properly calibrated for the type of fabric and design you’re working with. The wrong settings can lead to excess fabric movement, resulting in bird nesting.
12. Regular Machine Maintenance and Lubrication
The Tajima TMAR-KC Series is a robust machine, but like all embroidery machines, it requires regular maintenance to keep running at peak efficiency. Lint, dust, and dried-up lubrication can cause the moving parts to seize up or not function smoothly, contributing to bird nesting.
Solution:
- Perform Regular Cleanings: Make cleaning your machine a part of your routine maintenance. Focus on the bobbin area, feed dogs, and tension discs, as lint and thread pieces often accumulate in these spots.
- Lubricate Moving Parts: Keep the moving parts of your machine, like the bobbin case and needle bar, well-lubricated as per the manufacturer’s instructions. Well-maintained machines have smoother thread movement, reducing the likelihood of jamming.
13. Test Design Before Production
Before running a full production on a large or multi-color embroidery project, it’s always a good idea to run a test stitch. Even slight variations in thread tension, design density, or fabric movement can result in thread jamming when you least expect it.
Solution:
- Run Test Embroideries: Always run a small test of your design on the same fabric and with the same stabilizer that you’ll use in production. This allows you to identify any areas of the design that may cause bird nesting and make adjustments before starting the full embroidery.
- Use Sample Fabrics: When working with new fabrics or designs, experiment with scrap pieces to fine-tune your settings. Different materials can react differently to the embroidery process, and testing will help ensure everything runs smoothly.
14. Monitor Machine Settings for Different Fabric Types
Bird’s nesting can also occur when switching between different fabric types without adjusting machine settings. For example, if you move from embroidering on cotton to a stretchy material like polyester or a thick material like denim, the machine settings will need to be adjusted accordingly.
Solution:
- Customize Machine Settings for Each Fabric: When switching fabrics, adjust your machine’s thread tension, presser foot height, and embroidery speed to suit the material. For example, lower tension and slower speeds are typically required for delicate fabrics, while thicker fabrics may need higher tension and a stronger stabilizer.
- Keep a Settings Log: Maintain a log of optimal machine settings for different fabric types. This will save time and reduce errors when you switch between fabrics frequently.
Conclusion
Bird nesting can be a persistent issue, but with a careful approach to tension, threading, stabilizers, and regular maintenance, it can be minimized or avoided. For embroiderers using the Tajima TMAR-KC Series for multi-embroidery designs, understanding how different elements of the machine interact with complex designs is key to smooth production. Always prioritize preventative maintenance and proper setup to avoid costly disruptions in your embroidery work.