Troubleshooting Design Misalignment or Shifting on Tajima TMBR-SC Series Embroidery Machines
Troubleshooting Design Misalignment or Shifting on Tajima TMBR-SC Series Embroidery Machines
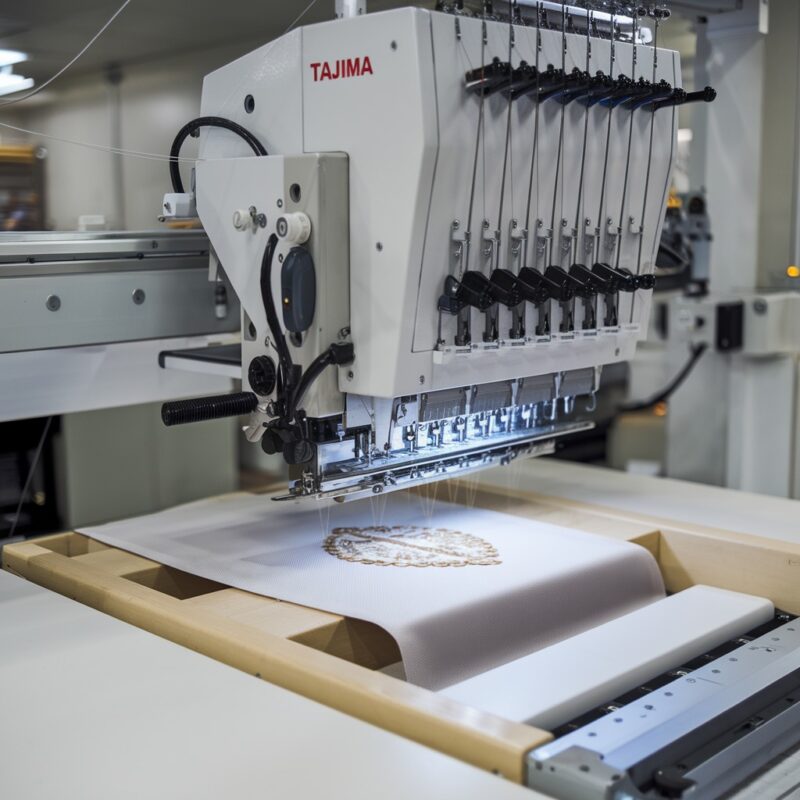
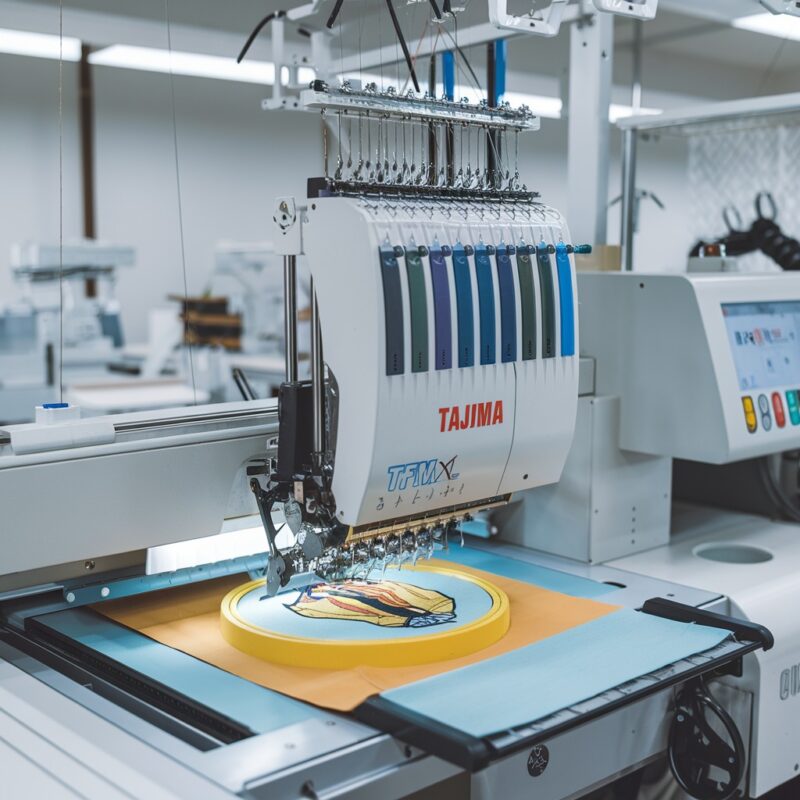
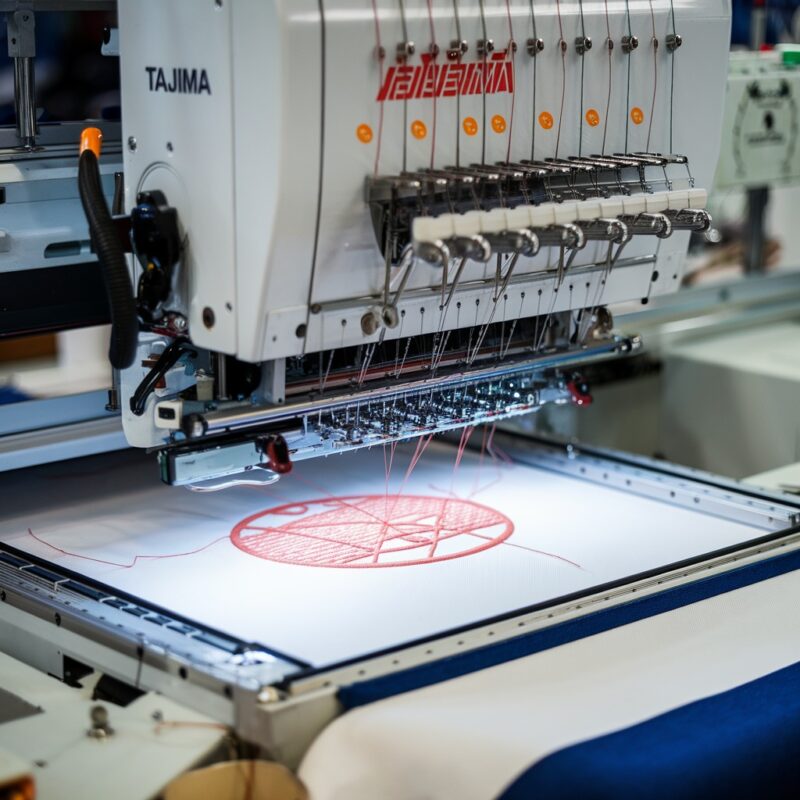
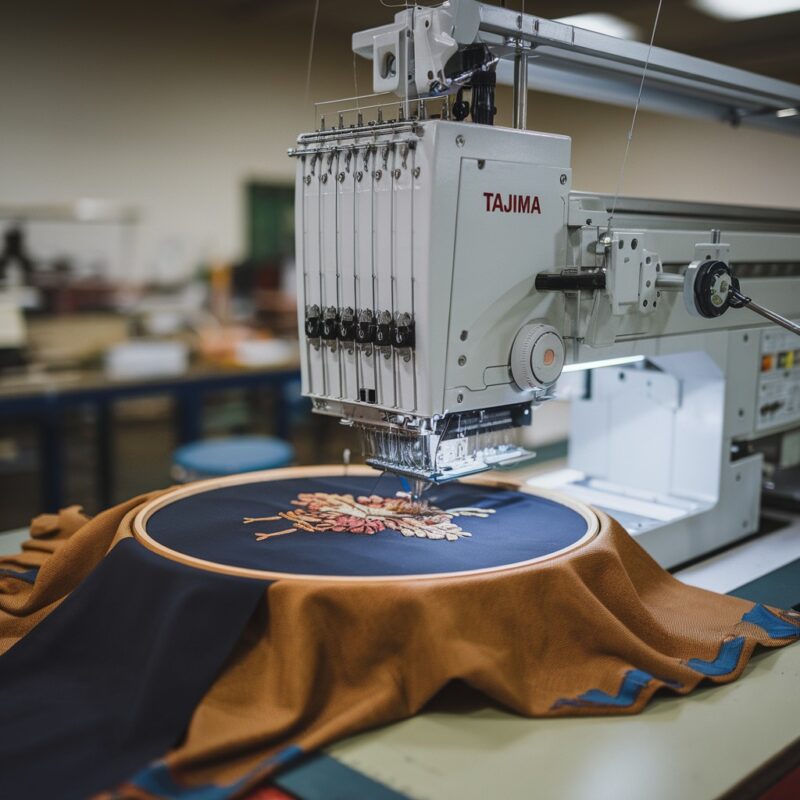
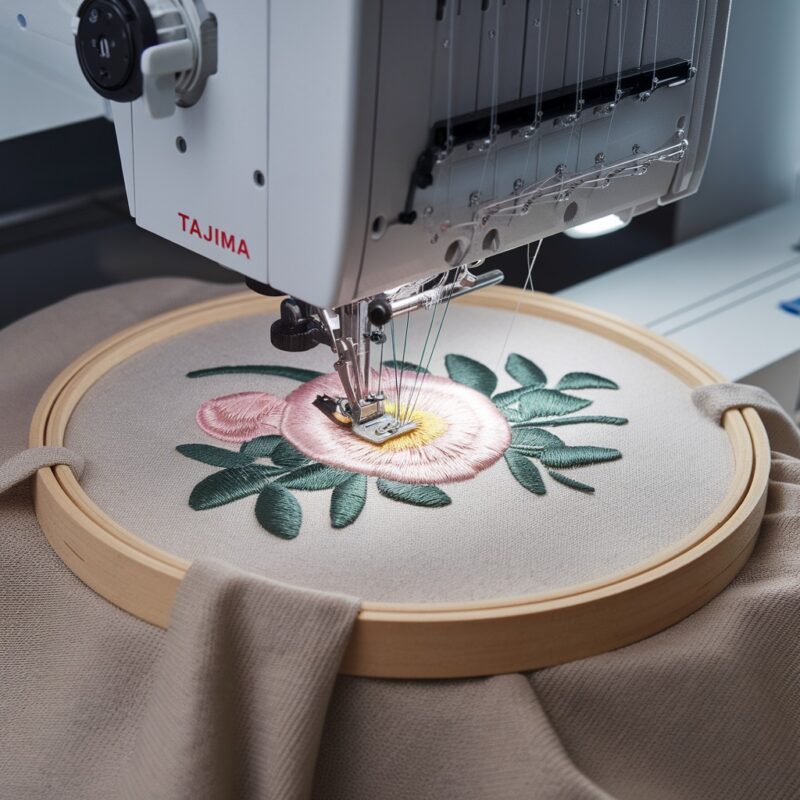
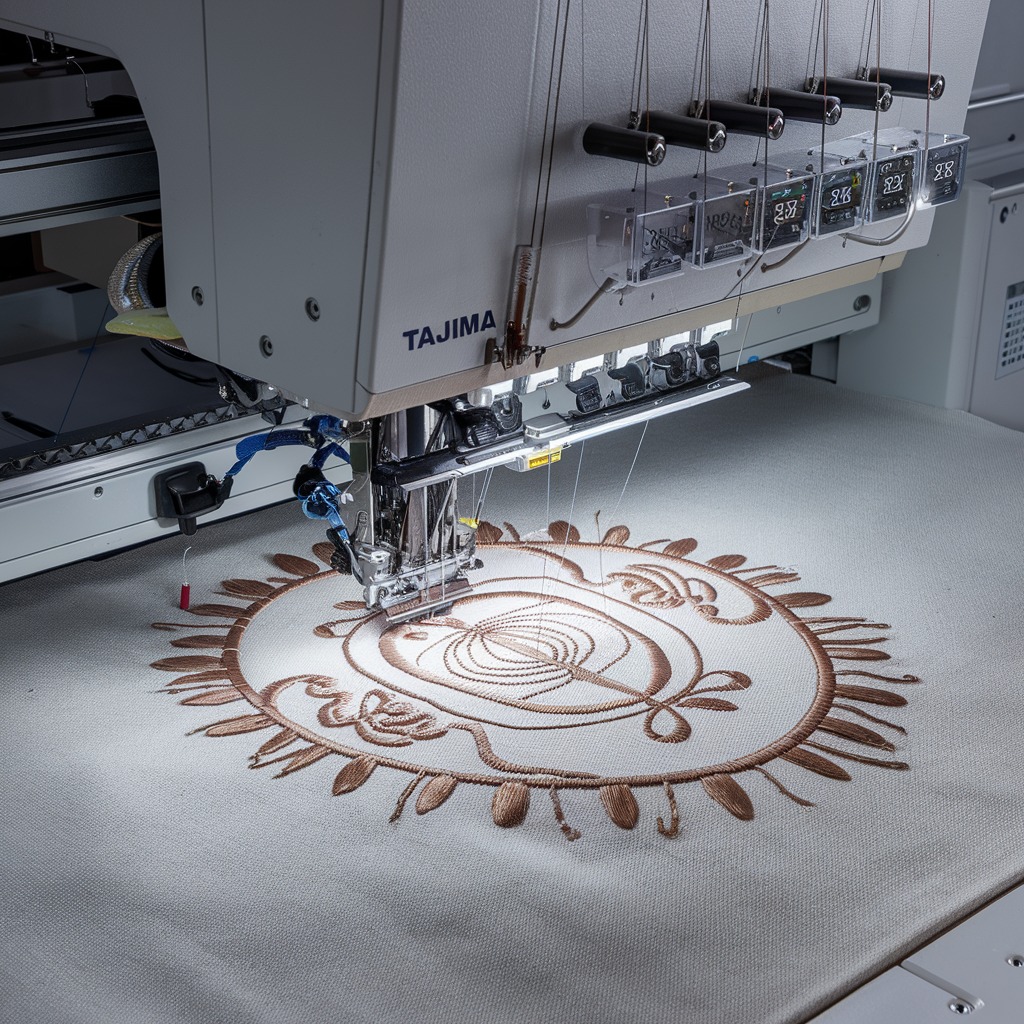
The Tajima TMBR-SC Series embroidery machines, with their digitally controlled presser foot, offer precision and advanced embroidery features. However, even these high-performance machines can experience common issues, such as design misalignment or shifting, during operation. If you notice your embroidery design is not stitching exactly where it should be, it’s essential to identify the cause and implement solutions to prevent costly errors in production. Let’s explore the causes and fixes for design misalignment or shifting on this Tajima model.
1. Incorrect Hooping or Fabric Shifting
One of the most common causes of design misalignment is improper hooping of the fabric. If the fabric is not tightly secured in the hoop, it can shift during stitching, resulting in misalignment of the design.

Solution:
- Ensure that the fabric is tightly and evenly hooped. Use the correct hoop size for your project to avoid excess fabric outside the embroidery area.
- Consider using a stabilizer that matches the fabric’s weight and type. A properly selected stabilizer will add support and prevent fabric stretching or shifting during the stitching process.
- Recheck the fabric’s tautness before starting the embroidery. If necessary, use temporary adhesive spray or clips to hold the fabric securely in place.
2. Loose Hoop Screws
If the screws on the hoop are not adequately tightened, the fabric can loosen or shift during embroidery, leading to design misalignment.
Solution:
- Always double-check that the hoop screws are tightened securely before starting the embroidery process. Loose screws allow for fabric movement, which will misalign your design.
- If your hoop’s screws are worn or not holding the fabric tightly, consider replacing the hoop or upgrading to a hoop with a stronger tension adjustment.
3. Presser Foot Pressure Issues
The digitally controlled presser foot on the Tajima TMBR-SC Series is designed to adjust based on fabric thickness. However, if the presser foot pressure is not correctly set, it may not hold the fabric securely, causing it to move during stitching.
Solution:
- Adjust the presser foot pressure using the digital controls. Lighter fabrics typically require less pressure, while heavier fabrics may need more.
- Test the presser foot setting on a scrap piece of fabric to ensure it provides adequate pressure without causing the fabric to shift or bunch.
4. Improper Thread Tension
Imbalanced thread tension can cause pulling on the fabric, resulting in design misalignment. When the top or bottom thread is too tight or too loose, it can drag the fabric or shift the design.
Solution:
- Ensure that both the top and bobbin thread tension are balanced and set correctly for the fabric type and design. Test tension settings on scrap fabric before starting your main project.
- Check for any obstructions or thread buildup that could affect tension. Clean the tension discs regularly to avoid debris that could impact the machine’s performance.
5. Machine Calibration and Frame Alignment
Another possible cause of design shifting is that the machine’s frame or needle may not be properly calibrated. Even slight misalignments in the frame or needle can result in noticeable design shifts.
Solution:
- Verify that the embroidery frame is properly aligned and secured in the machine. Ensure that the frame is mounted correctly and that there are no loose connections or parts.
- If misalignment issues persist, have a professional technician check the machine’s calibration. Regular calibration ensures that the needle and frame are working in sync, preventing design shifts.
6. Fabric Type and Stretch
Different fabrics have varying levels of stretch, and using a fabric that stretches too much during stitching can cause your design to shift. Stretchy fabrics, such as knits, are particularly prone to this issue.
Solution:
- For stretchy fabrics, use a cutaway stabilizer to provide stronger support and reduce fabric movement. Cutaway stabilizers help hold the fabric in place throughout the embroidery process.
- If you’re using a knit or other stretchable fabric, consider using a ballpoint needle, which is less likely to cause fabric distortion during stitching.
7. High Stitch Speeds
Running your machine at high stitch speeds may cause the fabric to shift or move, especially if the fabric is lightweight or not properly stabilized. Fast stitching can also cause the needle to pull the fabric, resulting in misalignment.
Solution:
- Reduce the machine’s stitching speed when working with delicate or lightweight fabrics, or when stitching intricate designs. Slower speeds allow for better control and less fabric movement.
- Monitor the machine during high-speed stitching to ensure that the fabric remains stable and doesn’t shift unexpectedly.
8. Design Complexity and Stitch Density
Highly dense designs or designs with complex stitch patterns can sometimes cause the fabric to bunch or shift, especially if the fabric is not adequately stabilized or if the machine is running at a fast pace.
Solution:
- Optimize your embroidery design by reducing stitch density in highly detailed areas. Overly dense stitching can pull the fabric, leading to misalignment.
- Use a high-quality stabilizer, appropriate for the fabric and design complexity, to support the fabric and prevent shifting during dense stitching areas.
9. Inconsistent Stabilizer Choice
An inappropriate or poorly applied stabilizer can cause the fabric to shift during stitching, leading to misalignment. Not all stabilizers work well for every fabric type, and using a stabilizer that’s too light or not well-secured can affect the accuracy of the design.
Solution:
- Select a stabilizer suited to both the fabric and the complexity of the design. For heavier or dense designs, use a strong stabilizer, like a cutaway or tearaway.
- Ensure the stabilizer is properly hooped with the fabric. If necessary, use a temporary adhesive spray to secure the stabilizer and fabric together, reducing movement during embroidery.
- For delicate or lightweight fabrics, consider using a water-soluble stabilizer on top of the fabric to prevent stitches from sinking in, maintaining design alignment.
10. Incorrect Fabric Tension in the Hoop
If the fabric is too tight or too loose within the hoop, it may cause movement during stitching, resulting in misalignment. Fabric that’s stretched too much will relax after stitching, causing distortion, while loosely hooped fabric can shift.
Solution:
- Hoop the fabric with even tension. The fabric should be firm and taut without being overstretched. A common test is to lightly tap the hooped fabric—it should sound like a drum, indicating proper tension.
- Avoid stretching the fabric excessively, as it can cause the design to shift once the fabric relaxes after embroidery.
- For extra stability, use hoop clips or tape to hold the fabric securely in place, especially when working with large designs or fabrics that are difficult to hoop properly.
11. Machine’s Frame or Hoop Movement
Even if your fabric is correctly hooped and stabilized, if the embroidery frame or hoop shifts during the stitching process, it will cause the design to misalign.
Solution:
- Check that the embroidery frame or hoop is properly locked into place on the machine before starting the design. Loose frames or hoops can move unexpectedly, resulting in misalignment.
- After each color change or needle switch, make sure the frame hasn’t moved or shifted.
- If necessary, recalibrate the machine’s frame to ensure that it’s moving smoothly and accurately without causing the fabric or design to shift.
12. Needle Plate Damage or Wear
Over time, your needle plate may develop grooves, scratches, or burrs, especially if it has been used extensively. This damage can cause the fabric to drag, which may result in design misalignment or skipped stitches.
Solution:
- Inspect the needle plate for signs of wear or damage. If you notice any grooves, scratches, or burrs, consider replacing the needle plate.
- Keep the needle plate clean and free of any debris that could interfere with fabric movement during stitching.
13. Software and Design Digitizing Errors
Sometimes the issue lies not with the machine but with the embroidery design itself. If a design has been poorly digitized, it may lead to incorrect stitch paths or movement, causing misalignment during the embroidery process.
Solution:
- Review the digitization of your design, especially for complex patterns. Ensure that the stitch path and densities are appropriate for the fabric type.
- Optimize the design using professional embroidery digitizing software, ensuring smooth stitch paths and the correct sequence.
- Test the design on a scrap piece of fabric to identify any areas where the design may be causing misalignment, and adjust accordingly.
14. Thread Breaks or Tangles Mid-Design
Thread breaks or tangles during embroidery can cause the machine to stop, and if the machine restarts without proper alignment, it can lead to design shifting.
Solution:
- Monitor the machine closely during embroidery. If a thread break occurs, carefully rethread the machine and restart the design at the exact point of interruption.
- Ensure that thread tension is correctly set to avoid frequent breaks or tangles that can disrupt the embroidery process.
- Use high-quality threads that are less prone to breaking, and clean the thread path regularly to prevent tangles.
15. Machine Recalibration After Maintenance
After performing maintenance or adjustments on your machine, it may be necessary to recalibrate its movement settings to ensure the needle and frame are properly aligned. Improper calibration can lead to design shifting during stitching.
Solution:
- After any significant maintenance or part replacements, run a test embroidery to check if the machine’s calibration is correct.
- If needed, recalibrate the machine following the manufacturer’s instructions or consult a technician to ensure the machine’s settings are correct for accurate design placement.
16. Check for Mechanical Issues
Finally, design misalignment may also be caused by mechanical issues within the machine, such as worn or loose belts, gears, or drive components that control the movement of the embroidery frame.
Solution:
- Periodically check the machine’s internal components for wear or looseness, especially if you notice consistent misalignment.
- If you suspect mechanical issues, have a qualified technician inspect and service the machine. Addressing these problems early can prevent more significant issues from developing.
Conclusion
Misalignment or shifting of embroidery designs on your Tajima TMBR-SC Series machine can be caused by various factors, including improper hooping, incorrect presser foot pressure, or mechanical issues. Identifying and addressing these issues early can prevent errors and achieve perfect design placement. Whether it’s a simple adjustment to tension settings or a more complex recalibration, maintaining precision is key to professional-quality embroidery.