Blog
Tajima TMAR-KC Needle Breakage Troubleshooting

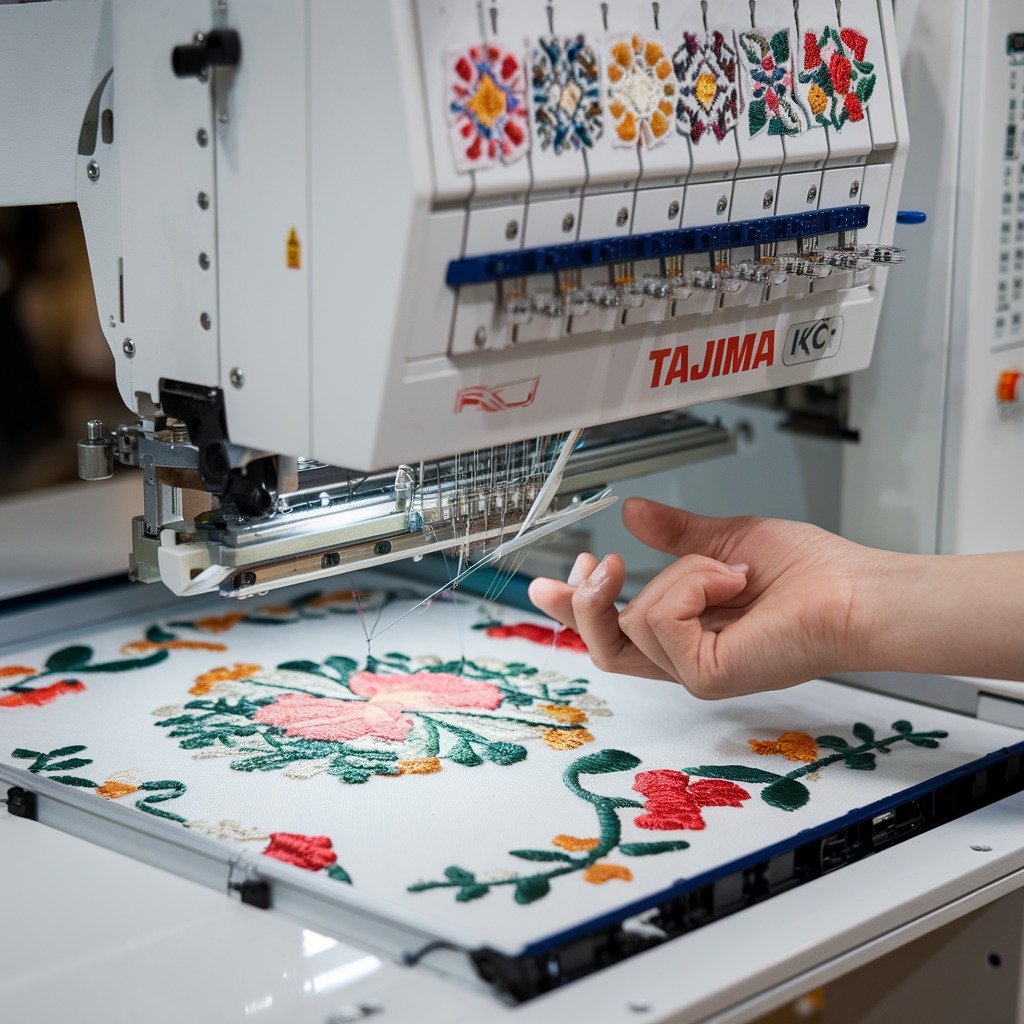
Quick answer: Needle breakage on a Tajima TMAR-KC is most often caused by incorrect needle selection, improper hooping, or issues with thread tension. Always start by checking the needle, hooping, and thread path.
Needle breakage is a common frustration for embroidery machine operators, particularly when working with challenging materials like caps on the Tajima TMAR-KC. This guide provides practical, step-by-step solutions to identify and fix the most frequent causes of needle breakage, helping you maintain optimal machine performance and stitch quality.
Two-minute checks before you open anything
- Is the correct needle type and size installed for the material?
- Is the cap properly hooped and taut, with no interference from the brim?
- Is the needle bent, dull, or damaged?
- Is the upper thread tension set correctly for the material?
- Is the presser foot height appropriate for the material thickness?
1. Incorrect Needle Size or Type high likelihood
How to tell
Needle breaks frequently, especially when embroidering thick or dense materials like cap buckram. Stitch quality may be poor.
Fix
- For cap materials, use a needle size of 80/12 or 90/14 with a sharp point.
- For very tough fabrics or leather, use specialized needles like titanium-coated needles or cap-specific needles with a stronger shaft.
- Ensure the needle type (e.g., sharp point, ballpoint) matches the fabric type.
Always match needle type and size to the material being embroidered. Refer to your material supplier's recommendations.
Parts involved: Needles & needle bars →
2. Improper Hooping or Cap Frame Setup high likelihood
How to tell
Needle hits the cap frame, hoop, or the fabric shifts during embroidery. Uneven stitch quality or puckering.
Fix
- Use the correct cap frame designed for the TMAR-KC to hold the cap tightly and uniformly.
- Ensure the cap is firmly hooped and taut, with no wrinkles or folds in the embroidery area.
- Position the cap so the brim is completely clear of the needle path and presser foot movement.
- If your machine has cap-frame support (e.g., a cap driver attachment), ensure it is installed and engaged properly to prevent cap shifting.
Parts involved: Hoops & frames →
Parts you may need for Tajima TMAR
In stock, tested before dispatch, Buyer Protection on every order. Part types for this problem: Needles & needle bars, Hoops & frames, Presser feet & sewing parts, Thread path & tension.
 KHS20-R Jumbo Rotary Hook for TAJIMA TME-DC, TMFX, TMB, TMAR, TMEZ ...$ 21.29View part →
 TAJIMA SWF KN/GN Presser Foot 93MM 97MM 100MM for High-Speed Embroi...$ 3.99View part →
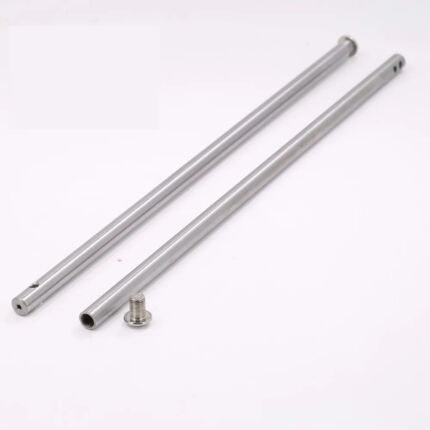 Tajima Embroidery Machine Needle Bar 207MM 212MM Replacement Part$ 3.49View part →
 Cap Frame Base Hoop for Feiya FY-1202, FY-1504, FY-1506, ZGM, Haina...$ 94.49View part →
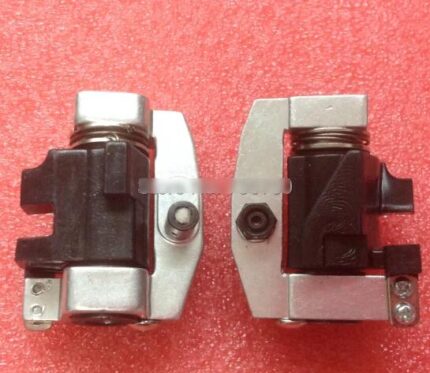 Tajima Needle Bar Drive Reciprocator Assembly for TFMX, TMFX, TMAR,...$ 27.09View part →
 FX0621010000 Presser Foot Connecting Stud for Tajima High Speed Emb...$ 3.09View part →
All Tajima TMAR parts → Needles & Needle Bars → Hoops & Frames → Presser Feet & Sewing Parts →
3. Worn, Bent, or Damaged Needles high likelihood
How to tell
Needle breakage occurs randomly or frequently. Visual inspection reveals a bent, dull, or burred needle point. Poor stitch quality, skipped stitches, or thread shredding.
Fix
- Regularly inspect needles for signs of wear, bending, dullness, or burrs.
- Replace the needle immediately if any damage is observed.
- For new projects, especially with dense or tough materials, start with a fresh needle.
Parts involved: Needles & needle bars →
4. Incorrect Presser Foot Height medium likelihood
How to tell
Needle breakage, especially on curved surfaces or thick materials. Fabric may not be held securely, or the needle may experience excessive friction.
Fix
- Adjust the presser foot height to match the thickness of the material. The presser foot should apply enough pressure to hold the fabric without restricting needle movement.
- If your TMAR-KC has a digitally controlled presser foot, use the machine's control panel to fine-tune the height for optimal performance on caps.
- Consult the TMAR-KC operator's manual for recommended presser foot height settings for different material thicknesses.
Parts involved: Presser feet & sewing parts →
5. Thread Tension Issues medium likelihood
How to tell
Upper thread breaks or shreds, leading to needle breakage. Stitches may appear too tight or too loose on the top or bottom of the fabric. Needle may flex excessively.
Fix
- Adjust the upper thread tension. If too tight, loosen it incrementally. If too loose, tighten it.
- Test tension on a scrap piece of the same material and backing before embroidering the final product.
- Ensure the thread is correctly routed through all tension discs and guides in the thread path.
- Check bobbin tension; it should be balanced with the upper thread tension.
Parts involved: Thread path & tension →
6. High Embroidery Speed medium likelihood
How to tell
Needle breaks more frequently at higher speeds, especially on dense designs or thick materials like caps.
Fix
- Reduce the embroidery speed, particularly when working with caps, dense designs, or near curved areas.
- Test different speed settings on a sample cap to find the optimal speed that prevents breakage while maintaining stitch quality.
7. Needle Hitting Cap Seams medium likelihood
How to tell
Needle breaks when embroidering over thick seams, especially on the crown of a cap. Machine may make a 'thud' sound.
Fix
- If possible, adjust the design to avoid embroidering directly over thick cap seams.
- If embroidering over seams is unavoidable, use a stronger, thicker needle (e.g., 90/14 or 100/16) and reduce the embroidery speed significantly.
- Consider using a design with less density in areas that will cross seams.
Parts involved: Needles & needle bars →
8. Design Optimization Issues low likelihood
How to tell
Needle breaks on complex designs with high stitch density or intricate shapes. Fabric may pucker or bunch.
Fix
- Optimize design density: Reduce stitch density in areas with high stitch count to ease the load on the needle and prevent fabric bunching.
- Break large or complex designs into smaller sections to reduce continuous strain on the needle.
- For areas near seams or thick fabric, use design elements with fewer stitches to minimize stress on the needle.
9. Environmental Conditions or Machine Cleanliness low likelihood
How to tell
Inconsistent machine performance, thread issues, or unexplained needle breakage. Visible lint or debris around the needle bar area.
Fix
- Maintain stable temperature and humidity levels in the embroidery room to prevent fabric and thread tension fluctuations.
- Regularly clean the machine, especially around the needle bar area, rotary hook, and thread path, to remove lint, thread, and debris.
- Use a brush or compressed air (carefully, away from sensitive electronics) to clear debris.
Parts involved: Lubrication & maintenance →
Stop and call a technician if
- If needle breakage persists after performing all troubleshooting steps.
- If you suspect a mechanical issue with the needle bar, head assembly, or timing.
- If the machine displays error codes related to needle movement or head operation.
Prevent it coming back
- Always use the correct needle type and size for the material being embroidered.
- Ensure caps are properly hooped, taut, and free from interference with the needle path.
- Regularly inspect and replace worn or damaged needles.
- Maintain correct upper and bobbin thread tension.
- Adjust presser foot height to suit material thickness.
- Reduce embroidery speed for dense designs, thick materials, or when working near seams.
- Keep the machine clean, especially the needle bar area and thread path.
- Optimize embroidery designs to avoid excessive density or stitching over thick seams.
Frequently asked questions
Why do my needles keep breaking on my Tajima TMAR-KC?
Needle breakage is commonly caused by using the wrong needle for the material, improper hooping, worn or bent needles, incorrect thread tension, or excessive embroidery speed. Always check these factors first.
What is the best needle size for embroidering caps on a Tajima TMAR-KC?
For most cap materials, an 80/12 or 90/14 sharp-point needle is recommended. For very thick or tough caps, consider a 100/16 or specialized cap needle.
How often should I change the needle on my Tajima TMAR-KC?
Change needles regularly, typically after 4-8 hours of continuous embroidery, or immediately if you notice any signs of bending, dullness, burrs, or frequent thread breaks/skipped stitches. Always start tough projects with a fresh needle.
Can high speed cause needle breakage?
Yes, running the machine at excessively high speeds, especially on dense designs or thick materials like caps, can significantly increase the risk of needle breakage. Reduce speed for challenging applications.
Did this guide fix your machine?
Rate it - it helps other operators find the right fix.
Not sure which part is failing?
Need the logo stitched too?
Get your logo digitized by the people who know this machine
Upload the artwork, see the stitch count and the exact price in 10 seconds, then order with a free sew-out preview. $1 per 1,000 stitches, $10 minimum, 24-hour delivery. Vector conversion from $12.
After the fix
Fixed it? Keep the rest of the shop moving.
OS 360 is the shop software from the team behind this parts store. Every job keeps its status, deadline and owner while a TMAR-KC head is down, restock alerts fire for needles, hooks and bobbins before you run dry, and quotes, invoices and payment live in one place.
- Jobs with status, deadline and owner - nothing slips during downtime
- Inventory with restock alerts, this store one click away
- Instant quotes, invoices and one place to collect payment