Blog
Tajima TMAR-V1512 Design Misalignment or Shifting Troubleshooting Guide

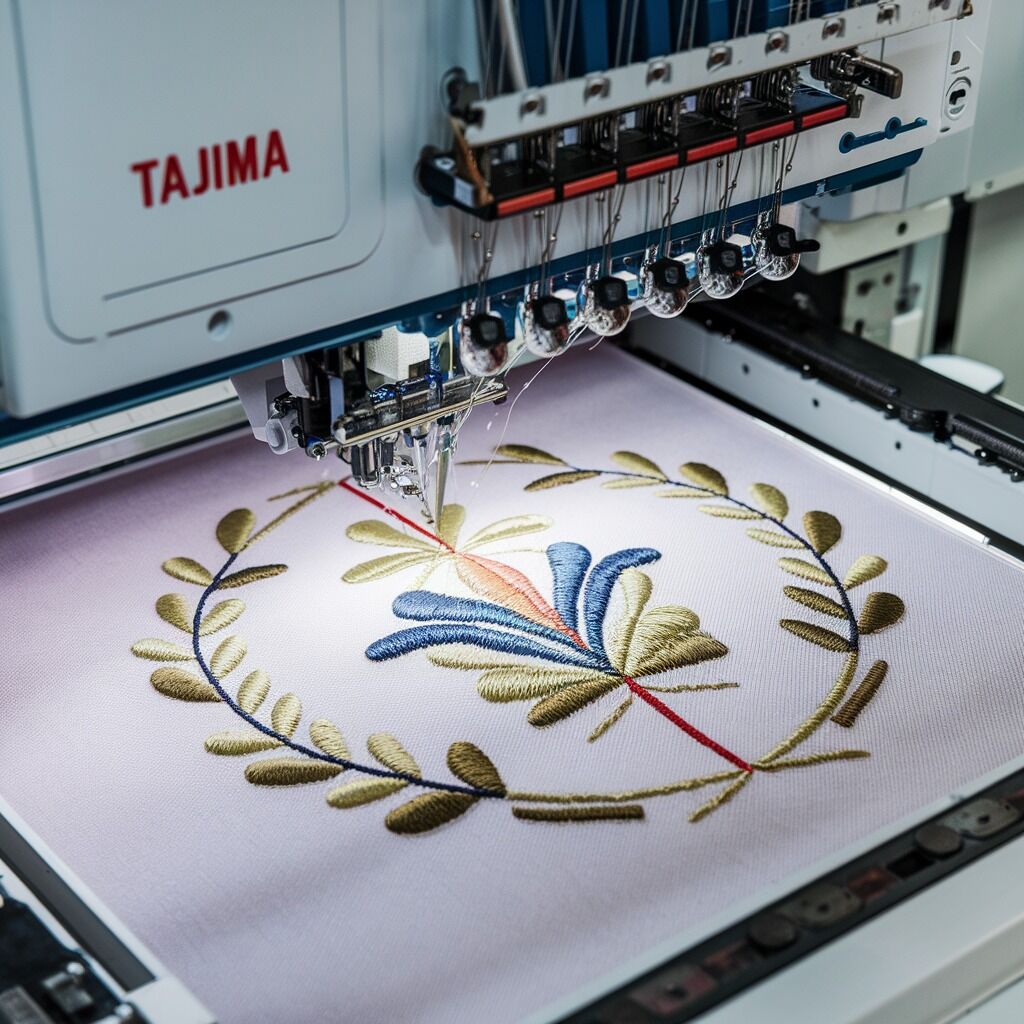
Quick answer: Design misalignment on the Tajima TMAR-V1512 is often caused by improper hooping, incorrect thread tension, or fabric movement. Ensure fabric is taut in the hoop, adjust upper and bobbin thread tension, and use appropriate stabilizers for your material.
Design misalignment or shifting on your Tajima TMAR-V1512 can compromise embroidery quality. This guide provides practical steps to diagnose and resolve common causes, ensuring your designs stitch accurately. We'll cover everything from proper hooping and tension to machine calibration, helping you maintain precision.
Two-minute checks before you open anything
- Check that the fabric is taut and secure within the hoop, with no looseness or overstretching.
- Verify both upper and bobbin thread tension settings are balanced for your thread and fabric.
- Confirm the correct type and amount of stabilizer is used for the fabric and design.
- Inspect the presser foot pressure setting; adjust it to match fabric thickness.
- Check that the machine is on a stable, level surface to minimize vibrations.
1. Improper Hooping high likelihood
How to tell
Design elements are shifted or distorted, especially at the edges of the hoop. Fabric may appear loose or puckered within the hoop after stitching.
Fix
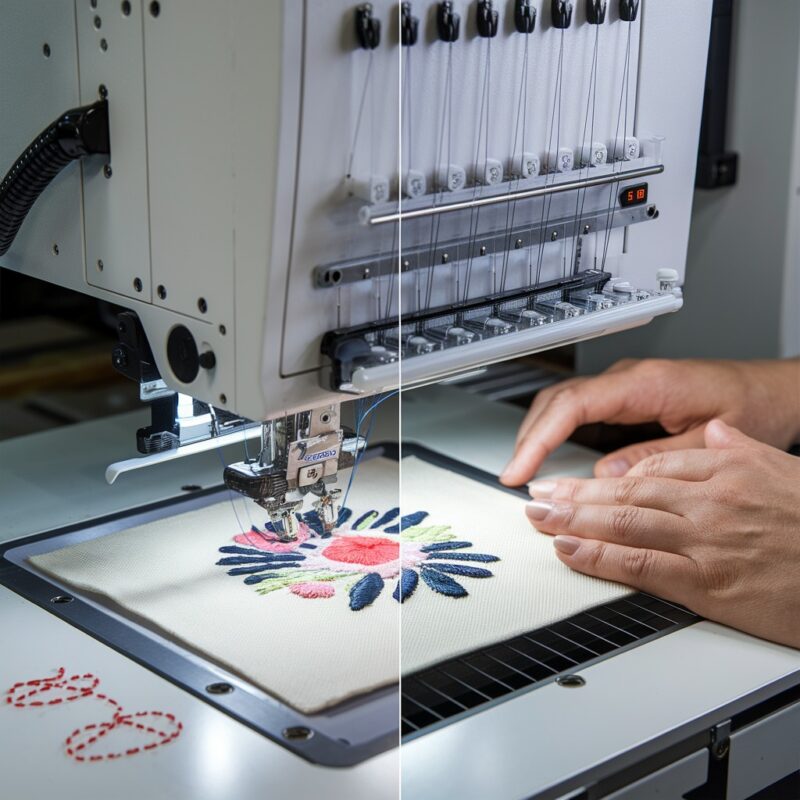
- Ensure the fabric is taut in the hoop, but not over-stretched. The fabric should feel like a drum skin.
- Use hoop grips or a suitable adhesive spray to secure the fabric and stabilizer layers together.
- Verify the hoop is not warped and fits snugly into the machine's hoop holder. Check for any play.
- For multi-layer fabrics, ensure all layers are secured together within the hoop.
Parts involved: Hoops & frames →
2. Incorrect Stabilizer Use high likelihood
How to tell
Fabric shifts or puckers during embroidery, leading to distorted or misaligned stitches. This is more apparent with stretchy or delicate fabrics.
Fix
- Select a stabilizer appropriate for your fabric type and design density (e.g., cut-away for knits, tear-away for wovens, water-soluble for delicate fabrics).
- For dense designs or unstable fabrics, use a heavier weight stabilizer or multiple layers.
- Secure the stabilizer to the fabric using temporary spray adhesive or basting stitches to prevent independent movement.
Parts involved: Threads & supplies →
Parts you may need for Tajima TMAR
In stock, tested before dispatch, Buyer Protection on every order. Part types for this problem: Hoops & frames, Threads & supplies, Thread path & tension, Presser feet & sewing parts.
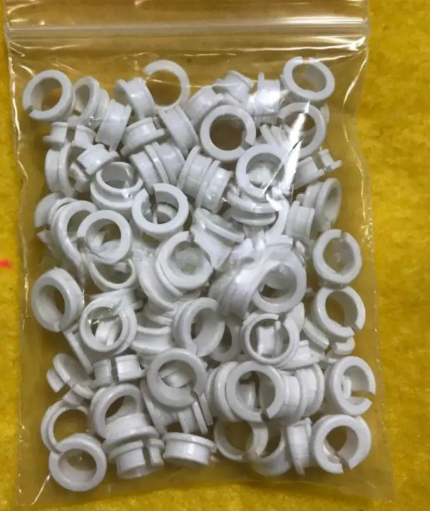 Tajima EF0613220000 EF0613210000 090460040020 090460040031 Presser ...$ 18.09View part →
 Tajima TC Sensor Card & Thread Contact Set 0J2602300A22 0J2602300A2...$ 18.09View part →
 TAJIMA SWF KN/GN Presser Foot 93MM 97MM 100MM for High-Speed Embroi...$ 3.99View part →
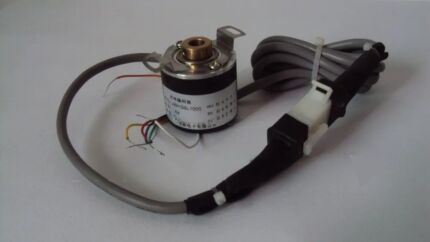 EF6600000000 JHX-G8L1000 1000P/R Rotary Encoder for Chinese Tajima ...$ 92.49View part →
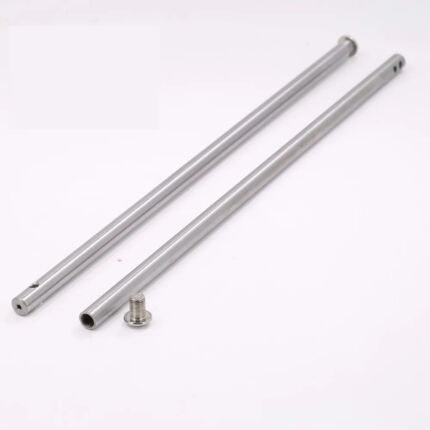 Tajima Embroidery Machine Needle Bar 207MM 212MM Replacement Part$ 3.49View part →
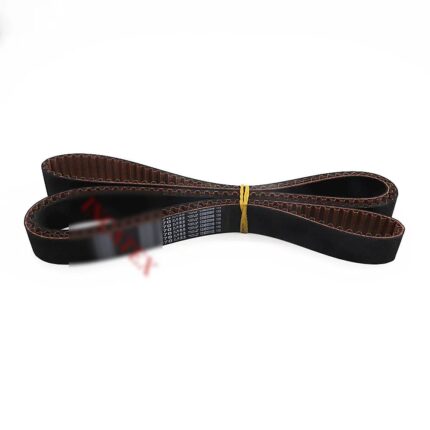 Genuine Japanese MBL S5M1270 Timing Belt 20mm for Tajima TFMX, TMAR...$ 61.99View part →
All Tajima TMAR parts → Hoops & Frames → Threads & Supplies → Thread Path & Tension →
3. Unbalanced Thread Tension high likelihood
How to tell
Stitches appear uneven, fabric puckers or pulls, or the bobbin thread shows on top (or vice versa). The design may appear distorted.
Fix
- Perform a tension test on scrap fabric. Stitch a simple design like a satin column or square.
- Adjust upper thread tension dials incrementally. Turn clockwise to increase tension, counter-clockwise to decrease.
- Check bobbin tension. If necessary, adjust the bobbin case tension screw (small flat-head screw on the bobbin case spring) in very small increments (e.g., 1/8th turn).
- Aim for a balanced stitch where about 1/3 of the bobbin thread shows on the underside of the top stitch, and the top thread shows on the underside of the bobbin stitch.
Parts involved: Thread path & tension →
4. Incorrect Presser Foot Adjustment medium likelihood
How to tell
Fabric shifts or ripples under the needle during stitching, especially noticeable on thick or slippery materials. Stitches may be inconsistent.
Fix
- Access the presser foot adjustment settings on the control panel.
- Adjust the presser foot pressure to match the fabric thickness. Increase pressure for thicker fabrics, decrease for thinner or more delicate ones.
- Perform a test sew on scrap material to observe fabric movement under the presser foot.
- Ensure the presser foot height is correctly set for the fabric to allow smooth movement without excessive drag or lift.
Parts involved: Presser feet & sewing parts →
5. Fabric Properties and Handling medium likelihood
How to tell
Lightweight, stretchy, or slippery fabrics are prone to shifting, puckering, or distorting during embroidery, leading to misaligned designs.
Fix
- For delicate fabrics (e.g., silk, chiffon), use a specialized stabilizer designed for fine materials and consider using a water-soluble topping.
- For stretchy fabrics (e.g., knits), always use a cut-away stabilizer to maintain fabric structure and prevent distortion.
- Pre-test fabric behavior by embroidering a small sample to check its stability under stitching before starting the main project.
Parts involved: Threads & supplies →
6. Machine Head Calibration/Synchronization Issues medium likelihood
How to tell
Designs are misaligned or inconsistent across different heads on a multi-head machine, or individual heads show inconsistent stitching patterns.
Fix
- Access the machine's calibration menu (refer to your TMAR-V1512 operator's manual for specific steps).
- Perform a head alignment test using the machine's built-in alignment patterns.
- Adjust individual head offsets as needed to bring all heads into precise alignment.
- For multi-head machines, run a synchronization test pattern across all heads to ensure they stitch identically.
- If calibration fails or cannot be performed, a technician may be required.
Parts involved: Head & mechanical parts → Circuit boards & electronics →
7. Environmental Factors low likelihood
How to tell
Intermittent or random misalignment issues, especially if the machine or surrounding area experiences vibrations, temperature fluctuations, or humidity changes.
Fix
- Ensure the embroidery machine is placed on a sturdy, level, and vibration-dampening surface.
- Verify all machine feet are making firm contact with the floor.
- Maintain a stable room temperature and humidity level in the embroidery area.
- Remove any items from the machine's immediate vicinity that could cause vibrations or interfere with the frame movement.
8. Digitizing Errors low likelihood
How to tell
Misalignment consistently occurs with specific designs, even when machine settings and hooping are correct. Issues like overlapping stitches, gaps, or puckering are present in the design file itself.
Fix
- Review the design file in your digitizing software. Check for correct pathing, stitch angles, and underlay.
- Reduce stitch density in areas prone to distortion or puckering, especially on delicate fabrics.
- Ensure the design path flows logically to prevent unnecessary fabric stress or repeated overstitching in one area.
- Test the design on scrap fabric before production runs.
9. Worn or Damaged Machine Components low likelihood
How to tell
Persistent misalignment despite all other checks, often accompanied by unusual noises, loose parts, or visible wear on components.
Fix
- Inspect needle bars for any bends or excessive play. Replace if damaged.
- Check presser feet for wear or damage that might affect fabric hold. Replace if worn.
- Examine hoops for warping or damage that prevents secure fabric tension. Replace if compromised.
- Inspect shafts, bearings, and belts for excessive play or wear. If found, these may require professional service or replacement.
Parts involved: Needles & needle bars → Presser feet & sewing parts → Hoops & frames → Shafts, bearings & bushings → Belts, pulleys & gears →
Stop and call a technician if
- If machine head calibration cannot be successfully completed or repeatedly drifts out of alignment.
- If you suspect internal mechanical wear or damage to shafts, bearings, or other major components that you are not comfortable replacing.
- If the issue persists after trying all troubleshooting steps, indicating a deeper electronic or mechanical problem.
Prevent it coming back
- Always use the correct hoop size and ensure fabric is taut but not overstretched, with appropriate stabilizer.
- Regularly check and adjust upper and bobbin thread tension to maintain balance for different threads and fabrics.
- Select the correct type and weight of stabilizer for your fabric and design complexity.
- Maintain consistent presser foot pressure, adjusting it for varying fabric thicknesses.
- Keep your machine on a stable, level surface and control environmental factors like temperature and humidity.
- Perform routine machine head calibration and synchronization checks, especially on multi-head machines.
- Use high-quality embroidery threads and needles suitable for your machine and fabric.
- Review and optimize digitized designs to avoid excessive stitch density or poor pathing that can stress fabric.
Frequently asked questions
Why does my design shift only on one head of my Tajima TMAR-V1512?
If only one head is affected, it often points to an issue specific to that head. Check the hooping, stabilizer, thread tension, and presser foot adjustment for that particular head. It could also indicate a calibration issue specific to that head, requiring individual head alignment.
How often should I calibrate my Tajima TMAR-V1512 heads?
Regular calibration is crucial. The frequency depends on machine usage, but a general guideline is to check calibration monthly or whenever you notice inconsistencies. Always calibrate after any major maintenance or part replacement affecting head alignment.
Can poor quality thread cause design misalignment?
Yes, poor quality or incompatible threads can lead to inconsistent tension, frequent thread breaks, and irregular stitches, all of which can distort the fabric and pull the design out of alignment. Always use high-quality embroidery threads compatible with your machine.
What is the best way to prevent fabric puckering and shifting?
The best prevention involves a combination of factors: proper hooping (taut but not overstretched), using the correct stabilizer for your fabric and design, balanced thread tension, appropriate presser foot pressure, and optimizing your digitized design to avoid excessive stitch density.
Did this guide fix your machine?
Rate it - it helps other operators find the right fix.
Not sure which part is failing?
Need the logo stitched too?
Get your logo digitized by the people who know this machine
Upload the artwork, see the stitch count and the exact price in 10 seconds, then order with a free sew-out preview. $1 per 1,000 stitches, $10 minimum, 24-hour delivery. Vector conversion from $12.
After the fix
Fixed it? Keep the rest of the shop moving.
OS 360 is the shop software from the team behind this parts store. Every job keeps its status, deadline and owner while a TMAR-V1512 head is down, restock alerts fire for needles, hooks and bobbins before you run dry, and quotes, invoices and payment live in one place.
- Jobs with status, deadline and owner - nothing slips during downtime
- Inventory with restock alerts, this store one click away
- Instant quotes, invoices and one place to collect payment