Blog
Tajima TMAR-V1512 Digitally Controlled Presser Foot Malfunctions: Troubleshooting Guide

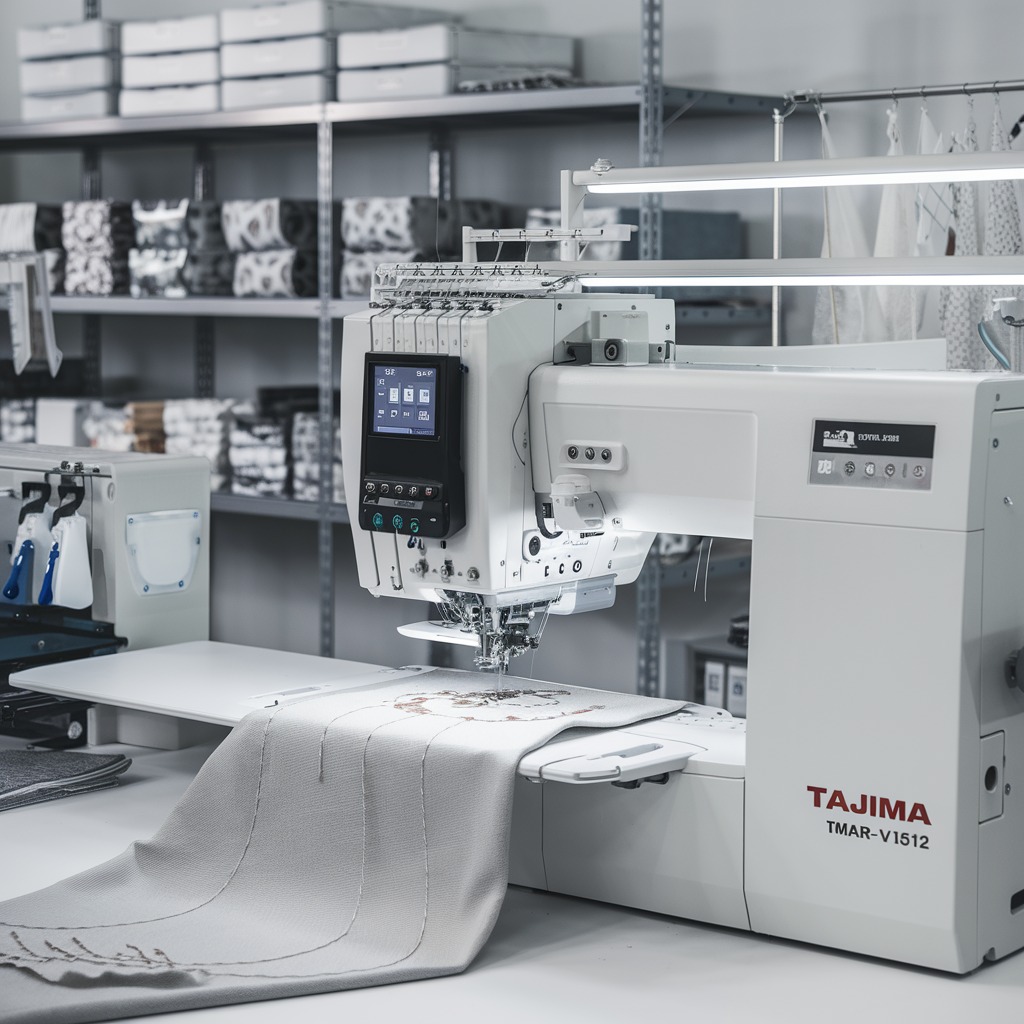
Quick answer: Most Tajima TMAR-V1512 presser foot malfunctions are resolved by cleaning the mechanism, checking control panel settings, or recalibrating the presser foot system. Inspect for obstructions, wear, or loose components.
The digitally controlled presser foot on your Tajima TMAR-V1512 is crucial for precise fabric handling and stitch quality. When it malfunctions, it can lead to distorted designs, skipped stitches, or machine downtime. This guide provides practical, step-by-step solutions to diagnose and resolve common presser foot issues, helping you restore optimal machine performance.
Two-minute checks before you open anything
- Check the control panel for any active error codes related to the presser foot.
- Inspect the presser foot area for tangled threads, lint, or debris.
- Verify the fabric thickness settings on the control panel match the material being embroidered.
- Ensure the machine is powered off and then manually check if the presser foot moves freely.
1. Obstruction or Debris in Presser Foot Mechanism high likelihood
How to tell
The presser foot jams, sticks, fails to lift, or moves sluggishly. You may hear grinding or unusual noises.
Fix
- Power off the machine and disconnect it from the power source.
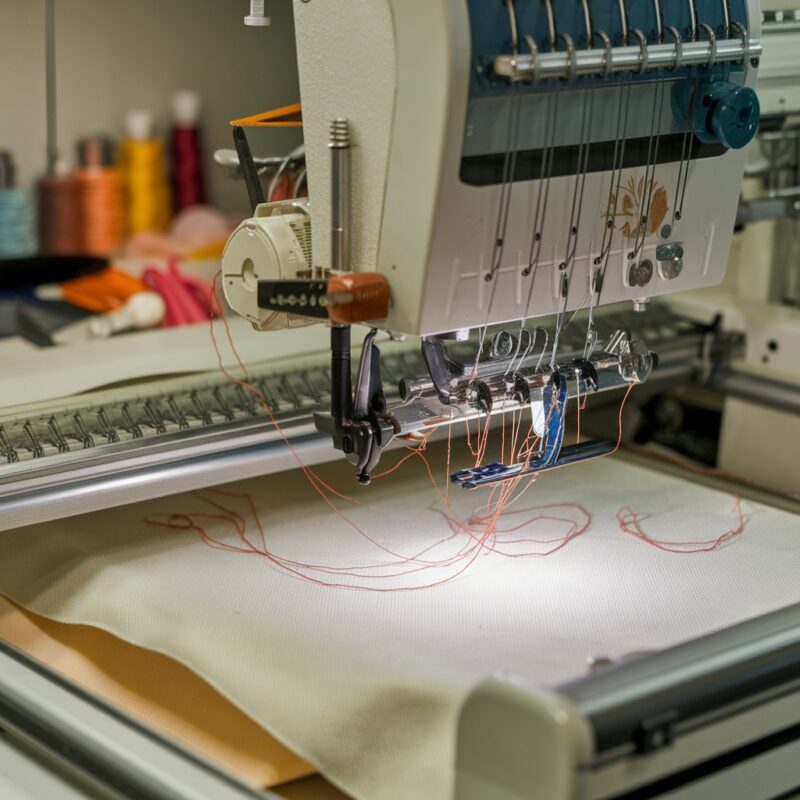
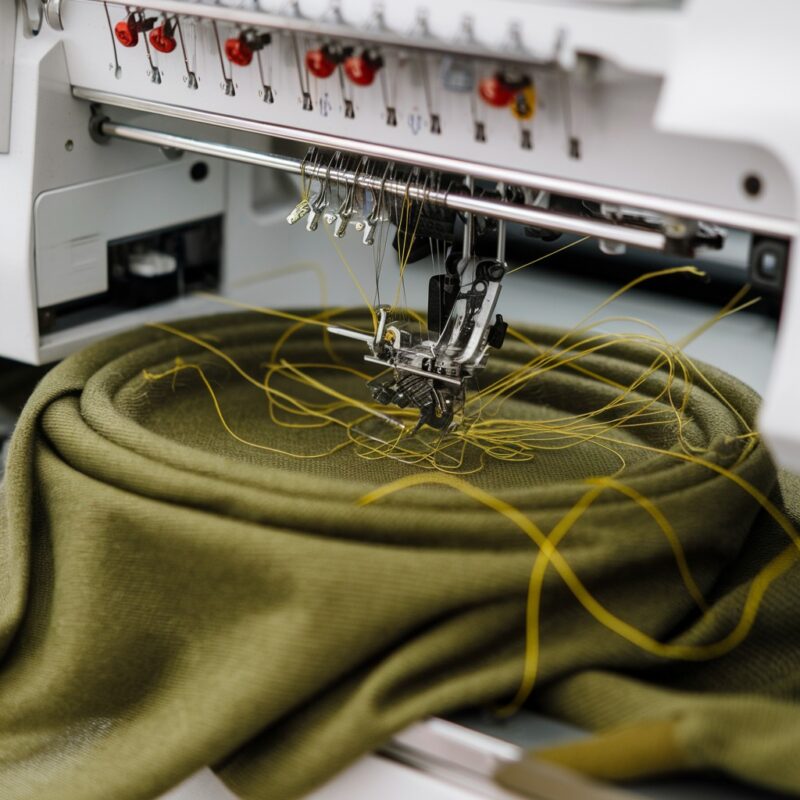
- Carefully inspect the entire presser foot assembly, including the lifting mechanism and surrounding area, for tangled threads, lint buildup, fabric scraps, or other foreign objects.
- Use tweezers, a small brush, or compressed air to thoroughly clean out any obstructions.
- Manually move the presser foot up and down to confirm free movement. If stiff, apply a small amount of machine oil to pivot points as per your machine's lubrication guide.
Regular cleaning prevents premature wear on mechanical components.
Parts involved: Lubrication & maintenance → Head & mechanical parts → Presser feet & sewing parts →
2. Incorrect Control Panel Settings high likelihood
How to tell
Presser foot does not adjust correctly for fabric thickness, applies uneven pressure, or struggles with delicate fabrics. Error codes related to adjustment may appear.
Fix
- Navigate to the presser foot settings menu on the Tajima TMAR-V1512 control panel.
- Verify that the 'Fabric Thickness' or 'Material Height' setting is correctly entered for the material you are using.
- Check the 'Presser Foot Pressure' setting. For delicate fabrics, try reducing the pressure. For thicker materials, ensure adequate pressure is set.
- If an automatic lift function is desired at the end of a design, ensure it is enabled in the machine settings.
- Save any changes and test with a sample fabric.
Parts involved: Control panels & displays →
Parts you may need for Tajima TMAR
In stock, tested before dispatch, Buyer Protection on every order. Part types for this problem: Lubrication & maintenance, Head & mechanical parts, Presser feet & sewing parts, Control panels & displays.
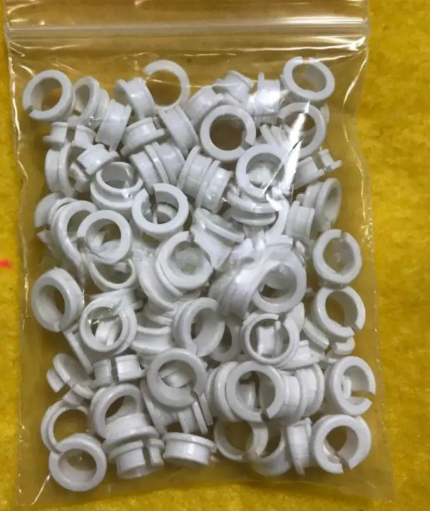 Tajima EF0613220000 EF0613210000 090460040020 090460040031 Presser ...$ 18.09View part →
 TAJIMA SWF KN/GN Presser Foot 93MM 97MM 100MM for High-Speed Embroi...$ 3.99View part →
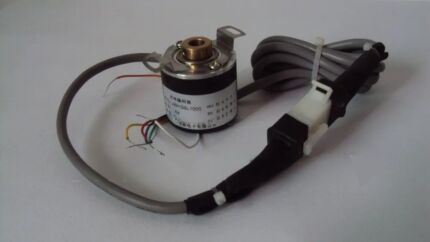 EF6600000000 JHX-G8L1000 1000P/R Rotary Encoder for Chinese Tajima ...$ 92.49View part →
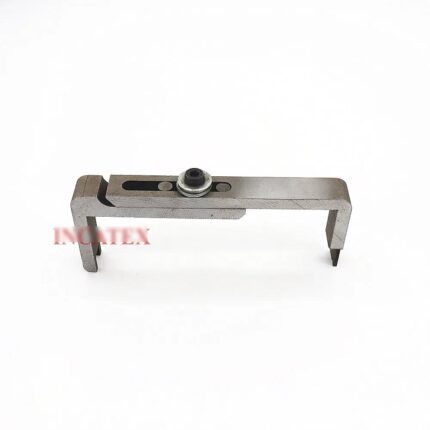 Tajima Embroidery Machine Gauge for TFMX, TMAR, TFGN, TMEZ Series M...$ 40.49View part →
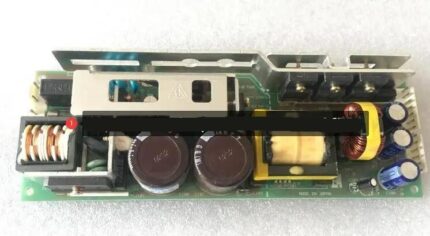 Tajima PB0025A1PW00 Power Supply 150W 24V for TEHX-C1501, TMEZ, TMA...$ 140.99View part →
 FX0621010000 Presser Foot Connecting Stud for Tajima High Speed Emb...$ 3.09View part →
All Tajima TMAR parts → Lubrication & Maintenance → Head & Mechanical Parts → Presser Feet & Sewing Parts →
3. Presser Foot Calibration Required medium likelihood
How to tell
Uneven pressure on fabric, distorted designs, skipped stitches, or the presser foot not adjusting to fabric thickness as expected, even after checking settings.
Fix
- Access the machine's diagnostics or calibration menu via the control panel. Refer to your Tajima TMAR-V1512 operator's manual for the exact procedure to enter this mode.
- Locate the 'Presser Foot Calibration' or 'Height Adjustment' function.
- Follow the on-screen prompts to recalibrate the presser foot. This typically involves setting a reference height or pressure.
- After calibration, exit the diagnostics mode and test the presser foot function with various fabric thicknesses.
Parts involved: Control panels & displays → Head & mechanical parts →
4. Loose or Worn Mechanical Components medium likelihood
How to tell
Excessive noise during operation, irregular fabric feeding, uneven pressure, or the presser foot feeling 'loose' or wobbly. Visible wear on parts.
Fix
- Power off the machine and disconnect it from the power source.
- Carefully inspect the presser foot assembly, including mounting screws, linkages, and pivot points.
- Tighten any loose screws using appropriate hand tools. Do not overtighten.
- Look for signs of wear, such as excessive play in joints, bent levers, or worn springs. Replace any visibly damaged or worn components.
- Ensure all parts are properly aligned and move smoothly without binding.
Parts involved: Head & mechanical parts → Presser feet & sewing parts → Screws, springs & small parts → Shafts, bearings & bushings →
5. Faulty Presser Foot Sensor low likelihood
How to tell
Presser foot fails to adjust automatically, delayed response to speed changes, or persistent 'Presser Foot Not Found' or 'Adjustment Error' codes even after cleaning and calibration.
Fix
- Power off the machine and disconnect it from the power source.
- Locate the presser foot sensor(s). These are typically optical or proximity sensors near the presser foot mechanism.
- Gently clean the sensor lens or surface with a soft, lint-free cloth and isopropyl alcohol to remove any dust or residue.
- If cleaning and recalibration (as per 'Presser Foot Calibration Required' cause) do not resolve the issue, the sensor may be faulty.
- A faulty sensor requires replacement. Consult your machine's parts diagram to identify the correct sensor part number and replace it carefully, ensuring correct wiring and mounting.
Parts involved: Sensors & switches → Cables & wiring →
6. Outdated Firmware or Software Glitch low likelihood
How to tell
Intermittent or inexplicable presser foot malfunctions, error codes without clear mechanical cause, or issues appearing after specific operations. Machine may behave erratically.
Fix
- First, try restarting the machine to clear any temporary software glitches.
- Check your machine's current firmware version via the control panel's system information menu.
- Consult the Tajima support website or your dealer for the latest firmware updates for the TMAR-V1512 model.
- If an update is available, follow the manufacturer's instructions precisely for firmware installation. This often involves using a USB drive.
- Ensure the machine remains powered throughout the update process to prevent damage.
Parts involved: Circuit boards & electronics → Control panels & displays → Floppy, USB & memory →
Stop and call a technician if
- If persistent error codes appear after performing all troubleshooting steps.
- If you suspect a major electronic component failure (e.g., main board) related to presser foot control.
- If you are uncomfortable performing mechanical adjustments or sensor replacements.
Prevent it coming back
- Regularly clean the presser foot mechanism and surrounding area to prevent lint and thread buildup.
- Lubricate the presser foot's pivot points and moving parts according to the Tajima TMAR-V1512 maintenance schedule.
- Always use the correct fabric thickness and presser foot pressure settings for your material.
- Inspect the presser foot assembly periodically for any signs of wear, loose screws, or damage.
- Keep your machine's firmware updated to ensure optimal performance and resolve potential software bugs.
Frequently asked questions
Why does my Tajima TMAR-V1512 presser foot make excessive noise?
Excessive noise often indicates loose components, lack of lubrication, or an obstruction. Check for loose screws, clean any debris, and lubricate pivot points according to your machine's manual.
How do I adjust the presser foot pressure for different fabrics on my TMAR-V1512?
You can adjust the presser foot pressure through the machine's control panel settings. Navigate to the presser foot or fabric settings menu and modify the pressure value to suit your material. Test on a scrap piece first.
What does a 'Presser Foot Not Found' error mean on my Tajima TMAR-V1512?
This error typically means the machine's sensor cannot detect the presser foot's position or presence. Check for obstructions, ensure the presser foot is securely attached, clean the sensor, and if the problem persists, the sensor may need replacement.
Can I use a different presser foot attachment on my Tajima TMAR-V1512?
Yes, Tajima offers various presser foot attachments for specific applications (e.g., delicate fabrics, thick materials). Ensure any attachment you use is compatible with your TMAR-V1512 model to avoid damage or performance issues.
Did this guide fix your machine?
Rate it - it helps other operators find the right fix.
Not sure which part is failing?
Need the logo stitched too?
Get your logo digitized by the people who know this machine
Upload the artwork, see the stitch count and the exact price in 10 seconds, then order with a free sew-out preview. $1 per 1,000 stitches, $10 minimum, 24-hour delivery. Vector conversion from $12.
After the fix
Fixed it? Keep the rest of the shop moving.
OS 360 is the shop software from the team behind this parts store. Every job keeps its status, deadline and owner while a TMAR-V1512 head is down, restock alerts fire for needles, hooks and bobbins before you run dry, and quotes, invoices and payment live in one place.
- Jobs with status, deadline and owner - nothing slips during downtime
- Inventory with restock alerts, this store one click away
- Instant quotes, invoices and one place to collect payment