Tajima TMBR-SC Series: Machine Stops or Won’t Sew – Common Issues and Solutions

Tajima TMBR-SC Series: Machine Stops or Won’t Sew – Common Issues and Solutions
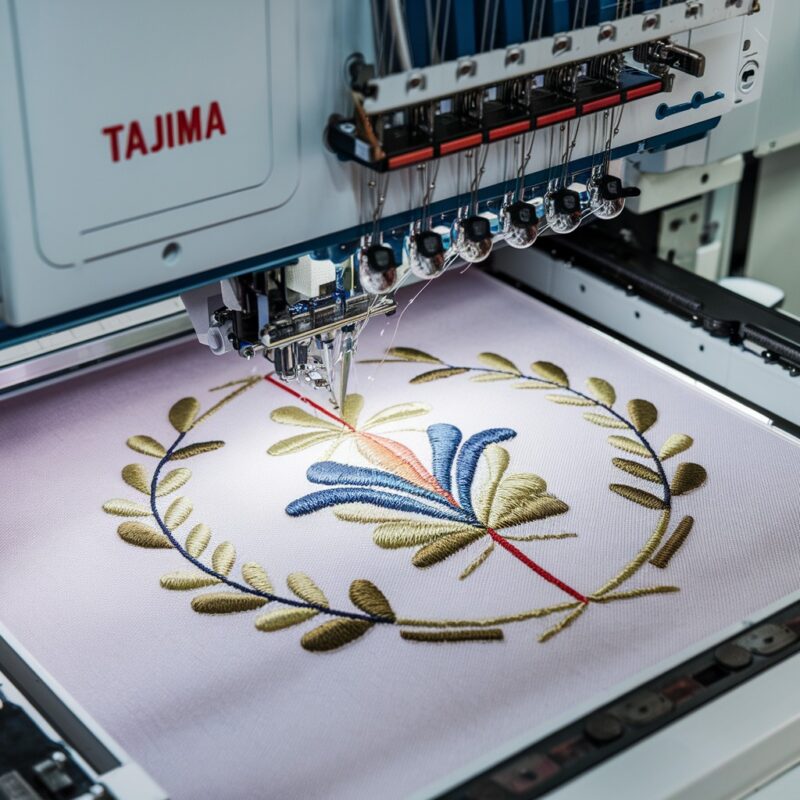
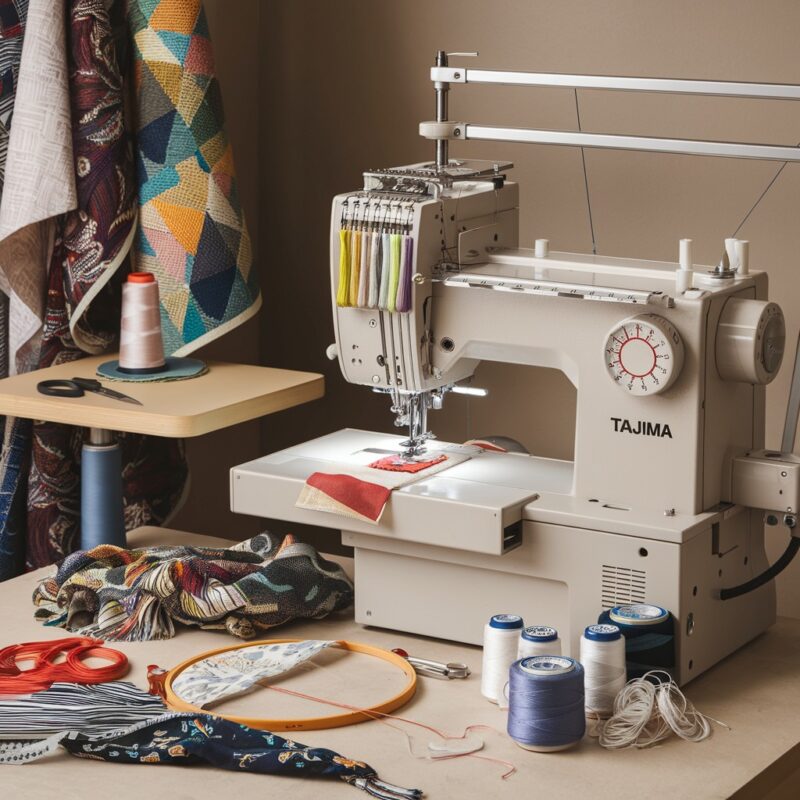
The Tajima TMBR-SC Series offers precision stitching and advanced features such as the digitally controlled presser foot, which makes it a favorite for embroidery professionals. However, like any complex embroidery machine, it can occasionally encounter problems, including the frustrating issue where the machine suddenly stops or refuses to sew. Understanding the causes behind this issue and knowing how to troubleshoot them can get your machine back up and running efficiently.
Common Causes of Machine Stopping or Not Sewing
1. Thread Detection Sensor Triggered
The Tajima TMBR-SC Series is equipped with sensors to detect thread breakage or irregularities. Sometimes, even if the thread hasn’t visibly broken, the sensor may detect a potential issue and stop the machine to prevent further damage.
Solution:
- Check the thread path for any tangles, loops, or breaks, even small ones that might not be immediately noticeable.
- Ensure the upper and bobbin threads are correctly threaded and pass through all guides and tension discs.
- After re-threading, reset the machine to continue the embroidery process.
2. Bobbin Thread Run-Out
If your bobbin thread has run out, the machine will stop sewing. This is one of the most common reasons for sudden halts during embroidery.
Solution:
- Check the bobbin thread level regularly during long embroidery sessions. If it’s running low, replace it before it completely runs out.
- Always keep pre-wound bobbins handy to quickly replace and reduce downtime.
3. Thread Tangling or Jamming
Thread jams, particularly around the bobbin case or needle area, can cause the machine to stop functioning. Tangled thread is a frequent culprit when the machine halts unexpectedly.
Solution:
- Remove the hoop and carefully inspect the needle and bobbin area for any signs of thread tangling or jams.
- If you find any, remove the thread and re-thread the machine, ensuring the thread flows smoothly from the spool to the needle.
- If the machine has automatic thread trimming, ensure the trimming mechanism is clean and functioning properly.
PROMOTIONAL SECTION
The All-in-One Solution For All Your Embroidery Business!
Enjoy $0.90 / 1000 Stitches Logo Digitizing
Monthly Cash Back, Free Delivery on Store-wide Products, Dedicated Account Manager, Exclusive Client Dashboard Panel, Bonus Credit & much more.
SIGN UP TODAY & GET FIRST 3 ORDER ABSOLUTELY FREE

Unlock game-changing benefits: expert digitizing services, technical embroidery guidance, seamless management of your business essentials, and free delivery on storewide products—all just for signing up with us. Don’t let these exclusive perks pass you by!
No Credit Card Required
Stay secure with no need to share your credit or debit card details! Experience 100% safe payment methods, including the option to purchase credits for your future orders. Plus, enjoy free credit as a bonus with every credit purchase and more exclusive benefits.
A Game-Changing Advantage
Imagine having a dedicated account manager by your side, ready to handle all your embroidery needs with precision and care. Whether it’s managing your digitizing orders, delivering essential embroidery supplies based on your every embroidery order, or sourcing those hard-to-find spare parts like motors, circuit boards, or sensors, we’ve got you covered. This incredible service ensures your business runs seamlessly, all at no extra cost or monthly fee.
It’s not just support—it’s the ultimate embroidery partnership you didn’t know you were missing for a $0 charge!
Exclusive Client Dashboard Panel
Get Free Account Setup (T&C Applied) and enjoy exclusive benefits: unlimited free estimate requests, streamlined order management, complimentary edit requests, 24/7 access to our ticket system, fast 6-12 hour turnaround times, round-the-clock email and live chat support, and 1-year free design file backup and more.
Recurring Monthly Cashback
Experience out of the box services with Cashback on monthly basis along with discount vouchers on Shop for Registered customers up to 60% on supplies, accessories, spare parts & sensors & Circuit boards and add extra value to your embroidery business.
Free Delivery on all Shop Products
Enjoy free delivery on embroidery supplies, accessories, spare parts, sensors & circuit boards, and store-products, delivered straight to your doorstep! Unlock this exclusive benefits by registering with us for all your digitizing needs. (Embroidery Machine Not Included)
4. Incorrect Presser Foot Settings
With the TMBR-SC Series’ digitally controlled presser foot, incorrect height settings can cause the machine to stop. If the presser foot is too high, the fabric may not be properly secured, and the machine will halt to prevent errors.
Solution:
- Adjust the presser foot height according to the thickness of your fabric. Thicker fabrics require a higher presser foot setting, while thinner materials need a lower one to hold them in place.
- Run a test on scrap fabric to ensure the presser foot is applying the right amount of pressure for smooth stitching.
5. Needle Issues
A bent, dull, or incorrectly installed needle can prevent the machine from functioning properly. The machine may stop if the needle can’t penetrate the fabric or if it gets stuck.
Solution:
- Replace the needle with a new one, ensuring that it’s the correct size and type for the fabric and thread you’re using.
- Always install the needle correctly, with the flat side facing the appropriate direction (usually towards the back of the machine).
6. Fabric Slippage
If the fabric is not hooped correctly or slips during stitching, the machine may stop to prevent misalignment or damage to the embroidery. Fabric slipping can trigger the machine to halt due to uneven tension or stitching errors.
Solution:
- Ensure that the fabric is tightly and evenly hooped, with no slack or shifting.
- For slippery or delicate fabrics, consider using a stabilizer or adhesive spray to keep the fabric secure while sewing.
7. Motor Overload Protection
If the machine has been running for an extended period or if there’s an obstruction causing resistance, the motor may overload and trigger the machine to stop. This feature prevents damage to the motor and internal components.
Solution:
- Turn off the machine and let it cool down if it has been running for a long period.
- Check for any obstructions in the needle, bobbin area, or thread path that could cause excess strain on the motor.
- Clean any lint, dust, or debris from the moving parts to ensure smooth operation.
8. Software Glitches or Design Issues
Sometimes, the embroidery design file may be corrupted or have errors that cause the machine to stop mid-operation. Overly dense designs or software glitches can lead to the machine freezing or stopping unexpectedly.
Solution:
- Review the embroidery design for any potential issues, such as excessive stitch density or overlapping areas. Modify the design in your software if necessary.
- Update the machine’s firmware or software to the latest version to fix any bugs or glitches that might cause the machine to stop.
- Test the design on a smaller scale or a sample fabric to ensure it runs smoothly before embroidering the final product.
9. Safety Sensor Activated
The TMBR-SC Series has built-in safety sensors that can stop the machine if a door or cover is open or if an accessory is not properly attached. This feature prevents injury and protects the machine from damage.
Solution:
- Double-check that all covers and doors are properly closed, including the bobbin case cover and the needle plate.
- Ensure that any attached accessories, such as the embroidery hoop or presser foot, are securely in place.
10. Power Supply Problems
Sometimes, inconsistent power supply or fluctuations in voltage can cause the embroidery machine to stop suddenly. This is particularly true in machines that require steady power to maintain the speed and performance of the motor.
Solution:
- Ensure that your machine is plugged into a stable power source with sufficient voltage. A power surge protector can help shield the machine from fluctuations in the power supply.
- If you’re using a power strip, try plugging the machine directly into a wall outlet to rule out issues with the strip.
- Check your power cables for any visible damage and replace them if needed.
11. Miscommunication Between the Machine and the Software
Sometimes, the software that communicates with the machine can experience glitches or disconnects, especially if you’re using external software or transferring designs through a USB stick.
Solution:
- If the design is not transferring correctly, check the USB or cable connection to ensure it is secure.
- Restart both the machine and the software to re-establish communication.
- Ensure that the firmware or software version is up to date. You may need to update either the machine’s firmware or the connected software to ensure compatibility.
12. Faulty or Loose Connections
Loose or faulty electrical connections can cause intermittent power loss, leading to the machine stopping unexpectedly. This includes connections inside the machine or in the wiring that controls various components.
Solution:
- Unplug the machine and inspect all internal and external cables for signs of wear or loose connections.
- Check the wiring of the motor, display board, and any other connected components to ensure that everything is securely connected.
- If you suspect any electrical faults, it may be best to call in a technician for a more in-depth inspection.
13. Embroidery Hoop Misalignment
If the embroidery hoop is not correctly aligned or improperly installed, the machine may stop because it cannot detect the fabric or make proper stitching movements.
Solution:
- Ensure that the embroidery hoop is correctly attached and aligned to the machine. The hoop should fit snugly in the embroidery arm, with the fabric properly stretched and hooped.
- If you are using an automatic hooping system, make sure the system is calibrated correctly and the hoop size is set according to the design.
14. Overheating of the Machine
Extended usage or environmental factors, such as high ambient temperatures, can cause the machine to overheat. When this happens, the machine may stop to prevent damage to the internal components.
Solution:
- Allow the machine to cool down if it has been running for long periods.
- Ensure that the room temperature is optimal for machine operation (typically between 18-24°C or 65-75°F).
- If the machine is in a confined space, make sure there is proper ventilation to prevent overheating.
15. Faulty Motor or Servo Issues
The motor or servo controlling the embroidery machine’s needle movement and stitching process could develop faults over time, leading to operational failure or stoppages.
Solution:
- Listen carefully for any unusual noises coming from the motor or servo. If you hear strange sounds or the machine fails to respond to commands, there could be a mechanical or electrical issue.
- A professional technician may be needed to diagnose and repair any motor-related problems.
16. Incorrect Firmware or Software Settings
Sometimes, an incorrect setting in the machine’s software or firmware can cause it to stop stitching. This could happen if the machine is set to a mode or configuration that is not compatible with the design or fabric being used.
Solution:
- Check the machine‘s settings, especially if you’ve recently changed them or updated the software.
- Ensure that you are using the appropriate stitching mode and that the settings match the requirements of your embroidery design.
- Reset the machine to factory settings if needed to clear any software glitches.
17. Clogged Thread Path
A clogged thread path, including the needle eye or the bobbin case, can prevent the machine from sewing properly, causing the machine to stop. The accumulation of lint or dust along the thread path is a common culprit.
Solution:
- Clean the machine regularly, especially the thread path, bobbin case, and needle area. Lint or dust buildup can affect thread flow and machine performance.
- Use a soft brush or compressed air to clean out any debris. Regular maintenance and cleaning can extend the machine’s life and prevent stoppages.
18. Excessive Fabric Buildup or Residue
Fabric residue, adhesive, or excess stabilizer can sometimes accumulate around the needle or other components, causing the machine to stop sewing. This is especially common with heavy fabrics or thick stabilizers.
Solution:
- After every few projects, clean the machine thoroughly to remove any fabric residue or adhesive buildup.
- When working with heavy or sticky fabrics, ensure that you’re using the correct stabilizer and that any residue from adhesives is removed after each project.
Conclusion
If your Tajima TMBR-SC Series machine stops or won’t sew, several factors could be contributing to the issue. From power supply problems to clogged thread paths, each cause requires a specific troubleshooting approach. By following the outlined solutions, performing regular maintenance, and ensuring the correct settings, you can quickly get your machine back in action and avoid frustrating downtime.
Remember that staying on top of your machine’s upkeep and addressing any small issues as they arise will keep your Tajima TMBR-SC Series running smoothly for years to come, ensuring your embroidery projects are always on track!