Common Errors in Design Misalignment and How to Fix Them


Common Errors in Design Misalignment and How to Fix Them
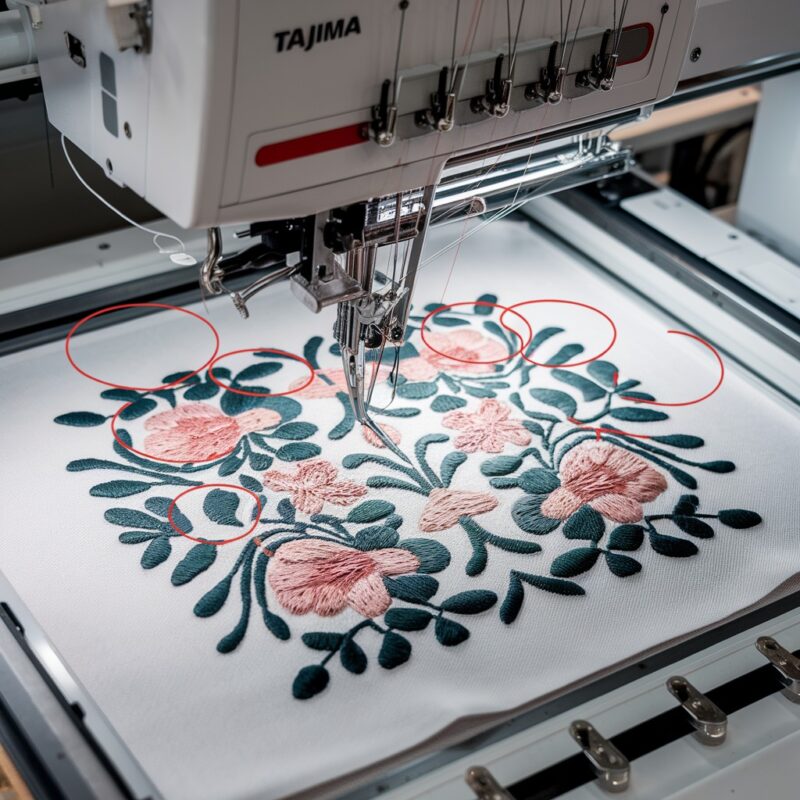
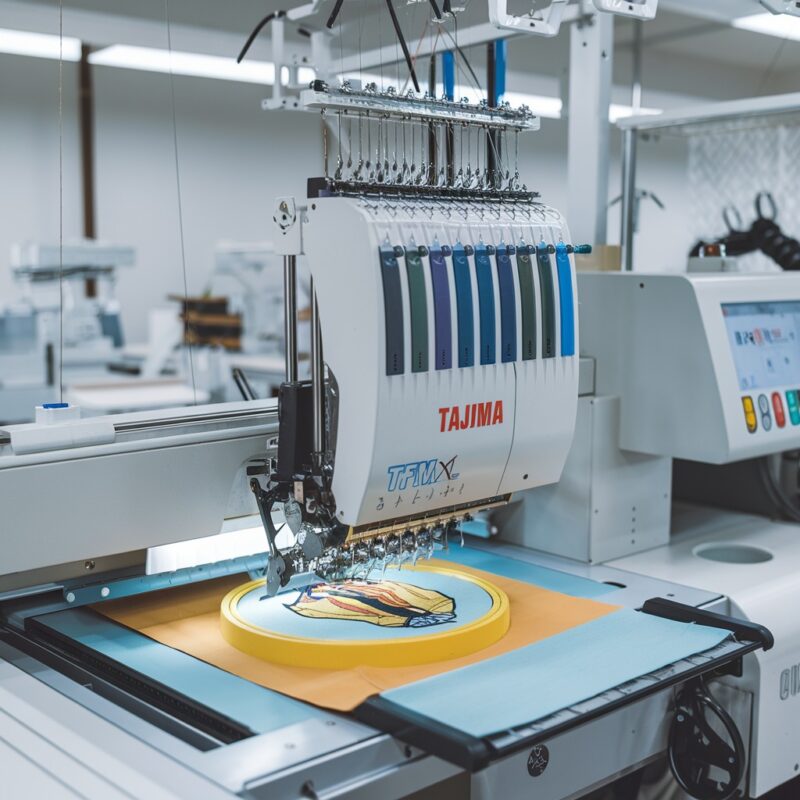
Design misalignment is a frustrating issue that can compromise the quality of embroidery projects. Whether you’re creating intricate designs or simple patterns, maintaining precision is critical. The Tajima TFMX-C Series (High-Speed Single-Head) embroidery machine is designed for accuracy, but errors can still occur. Here’s a user-friendly guide to understanding why design misalignment happens and how to resolve it effectively.
Causes of Design Misalignment in Tajima TFMX-C Series
1. Incorrect Hooping
Improper fabric placement in the embroidery hoop can lead to misalignment as the fabric shifts during stitching.
Solution:
- Ensure the fabric is taut and evenly hooped without wrinkles or slack.
- Use a hoop size appropriate for the design to provide better stability.
- Consider adding a stabilizer underneath the fabric for extra support.
2. Loose Hoop Tension
If the hoop tension is too loose, the fabric can move during embroidery, causing the design to shift.
Solution:
- Adjust the hoop screws to achieve firm but not excessive tension.
- Check hoop alignment with the machine’s arms to ensure a secure fit.

3. Machine Calibration Issues
Misaligned needle positions or an uncalibrated embroidery head can reduce design alignment.
Solution:
- Perform regular calibration checks on the machine‘s embroidery head.
- Use the TFMX-C’s onboard alignment tools to verify needle positions before starting a design.
4. Incorrect Frame Offset Settings
The frame offset determines the starting point of the design. Misconfigured settings can misplace the entire design.
Solution:
- Verify the frame offset settings in the machine‘s control panel.
- Conduct a test run on scrap fabric to ensure the design starts in the correct position.
5. Design File Errors
Corrupted or poorly digitized embroidery files can distort the design placement.
Solution:
- Use high-quality, properly digitized design files.
- Test the file on embroidery software to preview how it will stitch.
- Avoid using files with excessive details that could confuse the machine.
6. Belt or Drive Mechanism Problems
A loose or worn-out drive belt can result in jerky movements, leading to misalignment.
Solution:
- Inspect the machine’s drive mechanism for wear and tear.
- Replace loose or damaged belts and ensure all moving parts are lubricated and securely attached.
7. Inconsistent Fabric Movement
Certain fabrics, especially slippery or stretchy materials, may not move uniformly during stitching.
Solution:
- Use fabric clamps or adhesive stabilizers to keep the material in place.
- Adjust the presser foot height to match the fabric thickness for smoother operation.
8. Thread Tension Imbalances
Thread tension too tight or loose can pull the fabric unevenly, leading to misalignment during stitching.
Solution:
- Perform a thread tension test using a simple design to ensure uniform tension.
- Adjust the tension knobs incrementally, checking both upper and bobbin thread tensions.
- Use the tension adjustment features on the TFMX-C for optimal settings.
9. Machine Speed Too High for the Design
Running the machine at a high speed with intricate designs can cause skipped movements, leading to misalignment.
Solution:
- Reduce the embroidery speed when working on detailed or high-density designs.
- Monitor the machine‘s performance during stitching to detect irregular movements early.
10. Stabilizer Issues
Using the wrong type or insufficient amount of stabilizer can cause fabric movement, distorting the design alignment.
Solution:
- Match the stabilizer type (cut-away, tear-away, or water-soluble) to the fabric and design requirements.
- Double up on stabilizers for stretchy or unstable fabrics to ensure proper support.
- Secure the stabilizer firmly under the hoop to avoid slippage.
11. Hooping Too Close to the Design Edges
If the design is placed too close to the hoop‘s boundary, the machine might fail to maintain alignment.
Solution:
- Adjust the design placement within the hoop area, leaving a safety margin from the edges.
- Use a larger hoop if the design size is near the current hoop‘s limits.
12. Vibrations During Operation
Excessive vibrations can loosen the fabric in the hoop or disrupt the machine’s movements, causing misalignment.
Solution:
- Place the machine on a stable, vibration-absorbing surface to minimize shaking.
- Tighten any loose screws or machine components to reduce vibrations during stitching.
13. Improper Presser Foot Height
The presser foot plays a critical role in keeping the fabric steady. If set too high or low, it can cause the material to shift during embroidery.
Solution:
- Adjust the presser foot height to match the fabric and stabilizer thickness.
- Test the setting on a small section to ensure proper fabric grip without excessive pressure.
14. Misaligned Needle Plate or Throat Plate
A damaged or improperly installed needle plate can interfere with fabric movement, leading to alignment problems.
Solution:
- Inspect the needle plate for wear, cracks, or misalignment.
- Reinstall or replace the needle plate as necessary to ensure smooth fabric feeding.
Advanced Tips for Design Alignment Perfection
- Digitizing Precision:
Ensure your designs are digitized with the TFMX-C Series in mind. Consult with professional digitizers who understand the specific requirements of high-speed embroidery machines. - Pre-Stitch Mockup:
Run a test stitch on a scrap piece of fabric to verify alignment and make adjustments before starting the final project. - Firmware Updates:
Keep the machine‘s firmware up-to-date to benefit from the latest software enhancements for design accuracy and alignment. - Use Magnetic Hoops:
Consider using magnetic hoops for better grip and reduced risk of fabric slippage, especially for hard-to-hoop materials.
Conclusion
Design misalignment can be a significant hurdle in producing high-quality embroidery, especially with complex or high-speed designs. However, by identifying root causes such as improper hooping, tension imbalances, and machine calibration issues, you can implement the right solutions and keep your Tajima TFMX-C Series running smoothly.
Regular checks, appropriate settings, and proactive maintenance will ensure precise embroidery every time, making your investment in this high-speed single-head machine worthwhile. With the right practices, you can consistently deliver flawless embroidery results that meet your expectations.