Pfaff Embroidery Machine Puckering Embroidery Designs: Common Errors & How to Fix Them

Pfaff Embroidery Machine Puckering Embroidery Designs: Common Errors & How to Fix Them
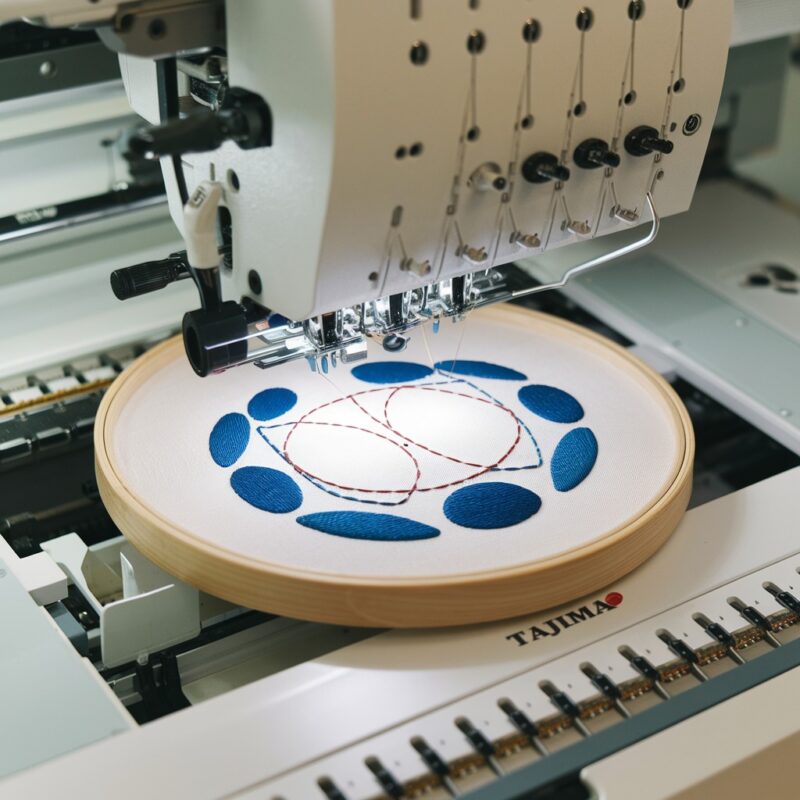
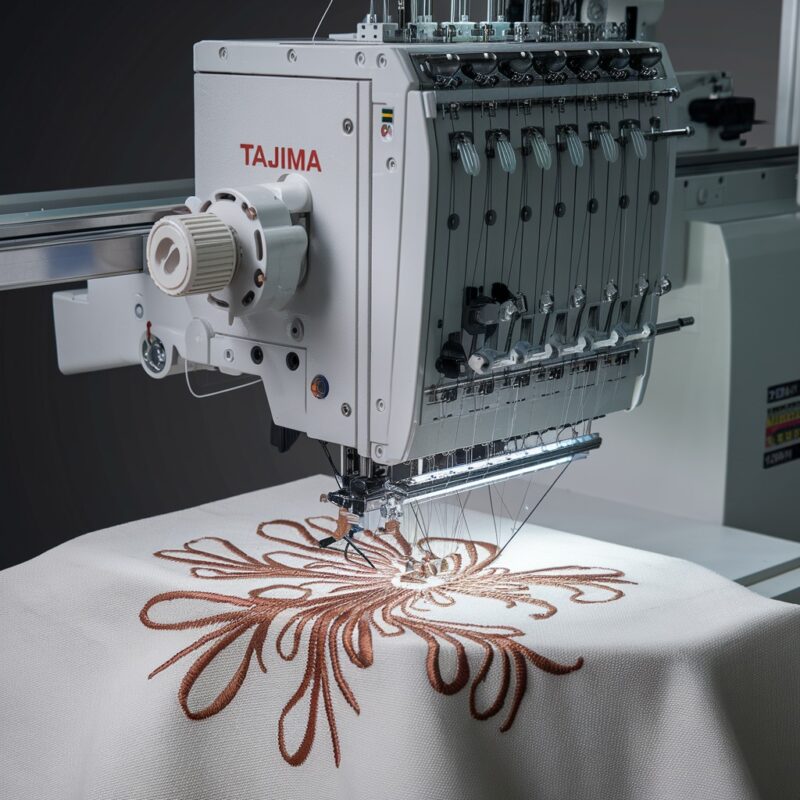
Puckering or distortion in embroidery designs is a common issue that can ruin the appearance of even the most well-crafted projects. Whether you’re working with delicate fabrics or complex designs, puckering creates unsightly wrinkles around your stitches, making your final product look unprofessional. In this blog, we’ll explore the most common causes of puckering and distortion and provide expert solutions to ensure your embroidery projects come out smooth and flawless.
1. Improper Hooping
Error: One of the leading causes of puckering is improper fabric hooping. If the fabric isn’t hooped tightly or is stretched unevenly, it will shift during stitching, resulting in wrinkles or distortion in the design.
Solution:
- Hoop the fabric tightly, ensuring it is flat and taut. Avoid stretching the fabric too much, as this can also lead to distortion once it is released from the hoop.
- Use high-quality embroidery hoops or frames that can securely hold the fabric in place throughout the stitching process.
2. Inadequate Stabilizer
Error: Using the wrong type of stabilizer or not using enough stabilizer can cause fabric movement, leading to puckering. The stabilizer supports the fabric, especially when working with delicate or stretchy materials.
Solution:
- Choose the right type of stabilizer for your fabric and design. For lightweight or stretchy fabrics, a cut-away stabilizer is recommended for better support. For heavier fabrics, tear-away stabilizers may suffice.
- Consider using two layers of stabilizer for added stability, especially for larger or more intricate designs.
3. Wrong Thread Tension
Error: Incorrect thread tension, either too tight or too loose, can cause puckering. If the upper thread tension is too tight, it will pull on the fabric, creating wrinkles around the embroidery design.
Solution:
- Adjust the thread tension settings on your machine based on the fabric and thread you’re using. Perform a test stitch on a scrap piece of fabric to ensure that the stitches are even and balanced.
- Both the upper and bobbin thread tensions should be set correctly to prevent pulling on the fabric.
PROMOTIONAL SECTION
The All-in-One Solution For All Your Embroidery Business!
Enjoy $0.90 / 1000 Stitches Logo Digitizing
Monthly Cash Back, Free Delivery on Store-wide Products, Dedicated Account Manager, Exclusive Client Dashboard Panel, Bonus Credit & much more.
SIGN UP TODAY & GET FIRST 3 ORDER ABSOLUTELY FREE

Unlock game-changing benefits: expert digitizing services, technical embroidery guidance, seamless management of your business essentials, and free delivery on storewide products—all just for signing up with us. Don’t let these exclusive perks pass you by!
No Credit Card Required
Stay secure with no need to share your credit or debit card details! Experience 100% safe payment methods, including the option to purchase credits for your future orders. Plus, enjoy free credit as a bonus with every credit purchase and more exclusive benefits.
A Game-Changing Advantage
Imagine having a dedicated account manager by your side, ready to handle all your embroidery needs with precision and care. Whether it’s managing your digitizing orders, delivering essential embroidery supplies based on your every embroidery order, or sourcing those hard-to-find spare parts like motors, circuit boards, or sensors, we’ve got you covered. This incredible service ensures your business runs seamlessly, all at no extra cost or monthly fee.
It’s not just support—it’s the ultimate embroidery partnership you didn’t know you were missing for a $0 charge!
Exclusive Client Dashboard Panel
Get Free Account Setup (T&C Applied) and enjoy exclusive benefits: unlimited free estimate requests, streamlined order management, complimentary edit requests, 24/7 access to our ticket system, fast 6-12 hour turnaround times, round-the-clock email and live chat support, and 1-year free design file backup and more.
Recurring Monthly Cashback
Experience out of the box services with Cashback on monthly basis along with discount vouchers on Shop for Registered customers up to 60% on supplies, accessories, spare parts & sensors & Circuit boards and add extra value to your embroidery business.
Free Delivery on all Shop Products
Enjoy free delivery on embroidery supplies, accessories, spare parts, sensors & circuit boards, and store-products, delivered straight to your doorstep! Unlock this exclusive benefits by registering with us for all your digitizing needs. (Embroidery Machine Not Included)
4. Incompatible Fabric and Design
Error: Attempting to embroider a highly detailed or dense design on lightweight or stretchy fabric can lead to puckering and distortion. The fabric may not be able to support the design without wrinkling.
Solution:
- Match the design density with the fabric type. For lightweight or stretchy fabrics, opt for simpler, less dense designs.
- If working with delicate fabrics, use a lightweight thread and needle, and consider using an additional layer of stabilizer for extra support.
5. Machine Speed
Error: Sewing at a high speed may cause the fabric to bunch up, especially if it isn’t hooped tightly or properly stabilized. This can result in puckering or distorted stitches.
Solution:
- Slow down the machine speed when working on intricate designs or delicate fabrics. A slower speed allows for better control and helps prevent fabric distortion.
- Monitor the stitching process closely, ensuring that the fabric remains flat and doesn’t bunch up as the needle moves.
6. Wrong Needle Type
Error: Using the wrong needle for your fabric type can lead to puckering. A needle that’s too large or not suited for the fabric may pull or snag the material, causing it to wrinkle around the embroidery.
Solution:
- Use the correct needle size and type for your fabric. For delicate fabrics, use a smaller, finer needle (such as a ballpoint or microtex needle) to minimize pulling.
- Always start a new project with a fresh needle to ensure smooth stitching and prevent damage to the fabric.
7. Fabric Stretching After Embroidery
Error: Stretching the fabric after embroidery can distort the design. This often happens if the fabric isn’t hooped properly or if it was stretched too much during the embroidery process.
Solution:
- Avoid over-stretching the fabric when removing it from the hoop. If you’re using stretchy fabric, ensure that it isn’t pulled excessively while in the hoop.
- If you notice puckering after unhooping, gently press the fabric with a steam iron to smooth out any wrinkles.
8. Inconsistent Stitch Density
Error: If the design has uneven stitch density or too many stitches in a small area, it can cause puckering. Excessive stitches in one spot pull the fabric, creating wrinkles and distortion.
Solution:
- Check the design’s stitch density before starting your project. For lightweight fabrics, use a design with lower stitch density to avoid puckering.
- If creating your own designs, ensure that the stitch spacing is even and not overly dense for the fabric type.
Conclusion: Achieve Smooth, Flawless Embroidery Designs
Puckering or distortion in embroidery can be prevented with the right techniques and attention to detail. By properly hooping your fabric, using the correct stabilizer, adjusting thread tension, and selecting the appropriate needle, you can significantly reduce the risk of wrinkles and achieve professional-quality embroidery designs. Regular machine maintenance and testing different settings on scrap fabric can also go a long way in ensuring smooth stitching.