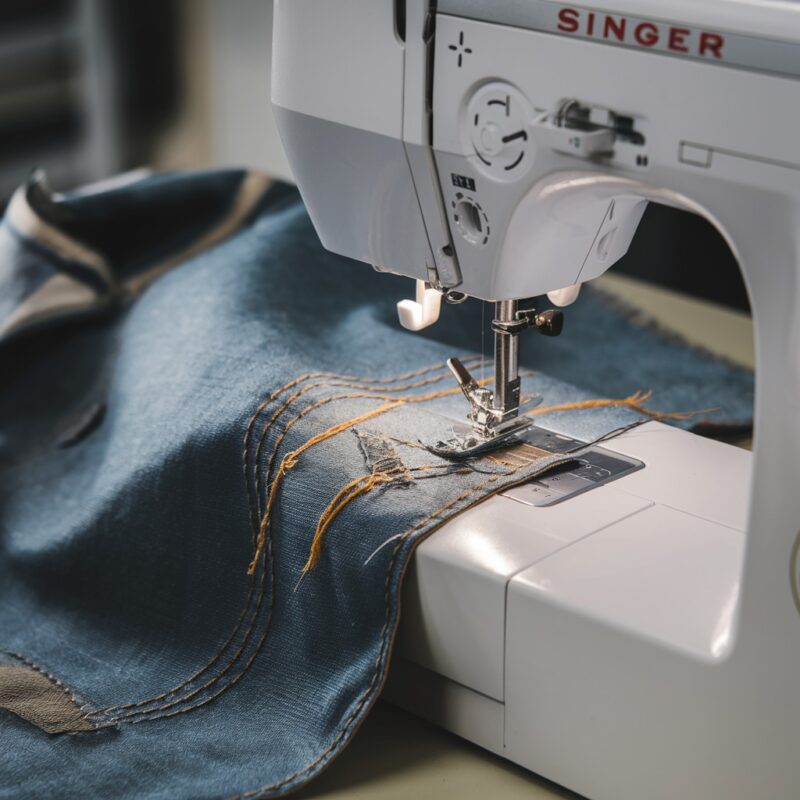
Common Needle Breakage Issues on Tajima TMAR-KC Series and Solutions

Needle Breakage Issues on Tajima TMAR-KC Series (Single-Head with Multi-Embroidery Capabilities) and Solutions
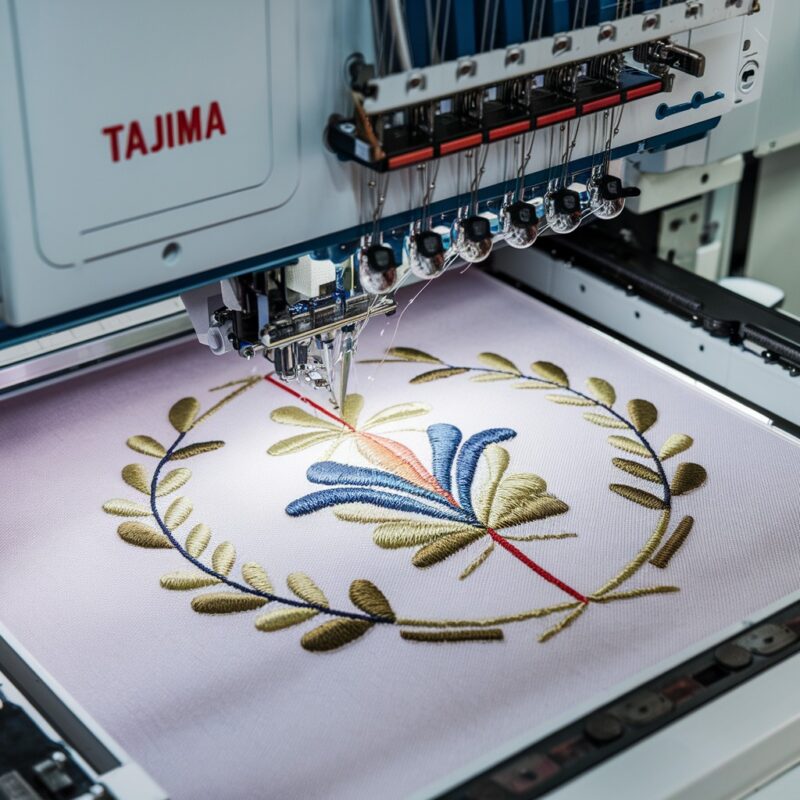
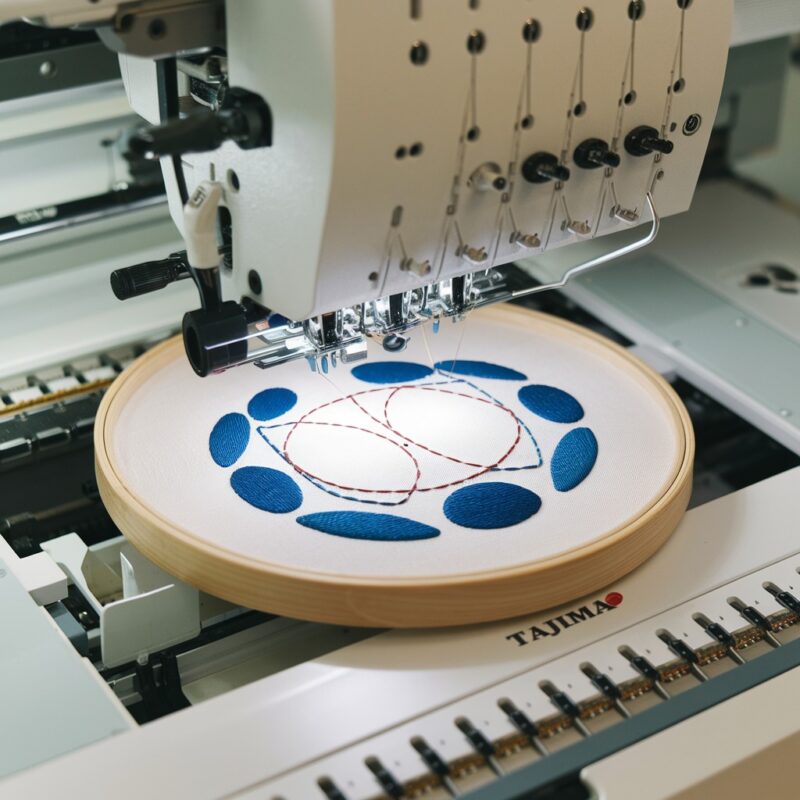
The Tajima TMAR-KC Series is a powerful embroidery machine known for its ability to handle a wide variety of embroidery projects, including caps. However, embroidering caps can present specific challenges, such as needle breakage, due to the curved surface and thicker materials used in hats. Below, we will discuss the common causes of needle breakage while embroidering caps on the Tajima TMAR-KC Series and provide practical solutions to minimize this issue.
1. Incorrect Needle Size or Type
Using the wrong needle size or type for the specific cap material can increase the chances of needle breakage. Caps often have thicker fabrics or stiff materials like buckram, requiring stronger needles.
Solution:
- Choose the Right Needle: Use a needle with a larger size (like 80/12 or 90/14) and a sharp point, which is ideal for penetrating thick or structured cap materials.
- Use Specialty Needles for Caps: For particularly tough fabrics or leather caps, consider using specialized needles like titanium-coated needles that are more durable and resistant to bending or breaking.
2. Improper Hoop or Frame Setup
If the cap is not properly hooped or framed, the tension may cause the needle to hit the frame or the fabric to move, leading to needle breakage.
Solution:
- Use a Cap Frame: Always use the correct cap frame that is designed for the TMAR-KC Series to ensure the cap is held tightly and uniformly.
- Ensure Tight Hooping: Make sure the cap is firmly hooped and that the brim does not interfere with the needle path. The fabric should be smooth and taut to prevent shifting during embroidery.
- Adjust Cap Position: Place the cap in a position where the embroidery area is flat and free from distortion. This reduces the likelihood of the needle breaking due to uneven surfaces.
3. Cap Brim Interference
The curved brim of the cap can interfere with the embroidery process if not positioned correctly, causing the needle to hit the brim or the machine’s frame, resulting in breakage.
Solution:
- Position the Brim Properly: Ensure the cap brim is properly tucked away from the embroidery area and does not interfere with the needle movement. Adjust the position of the cap on the cap frame so that the brim is out of the machine’s way.
- Adjust the Embroidery Area: When working near the brim, use a design that does not extend too close to the edge to avoid issues with clearance.
PROMOTIONAL SECTION
The All-in-One Solution For All Your Embroidery Business!
Enjoy $0.90 / 1000 Stitches Logo Digitizing
Monthly Cash Back, Free Delivery on Store-wide Products, Dedicated Account Manager, Exclusive Client Dashboard Panel, Bonus Credit & much more.
SIGN UP TODAY & GET FIRST 3 ORDER ABSOLUTELY FREE

Unlock game-changing benefits: expert digitizing services, technical embroidery guidance, seamless management of your business essentials, and free delivery on storewide products—all just for signing up with us. Don’t let these exclusive perks pass you by!
No Credit Card Required
Stay secure with no need to share your credit or debit card details! Experience 100% safe payment methods, including the option to purchase credits for your future orders. Plus, enjoy free credit as a bonus with every credit purchase and more exclusive benefits.
A Game-Changing Advantage
Imagine having a dedicated account manager by your side, ready to handle all your embroidery needs with precision and care. Whether it’s managing your digitizing orders, delivering essential embroidery supplies based on your every embroidery order, or sourcing those hard-to-find spare parts like motors, circuit boards, or sensors, we’ve got you covered. This incredible service ensures your business runs seamlessly, all at no extra cost or monthly fee.
It’s not just support—it’s the ultimate embroidery partnership you didn’t know you were missing for a $0 charge!
Exclusive Client Dashboard Panel
Get Free Account Setup (T&C Applied) and enjoy exclusive benefits: unlimited free estimate requests, streamlined order management, complimentary edit requests, 24/7 access to our ticket system, fast 6-12 hour turnaround times, round-the-clock email and live chat support, and 1-year free design file backup and more.
Recurring Monthly Cashback
Experience out of the box services with Cashback on monthly basis along with discount vouchers on Shop for Registered customers up to 60% on supplies, accessories, spare parts & sensors & Circuit boards and add extra value to your embroidery business.
Free Delivery on all Shop Products
Enjoy free delivery on embroidery supplies, accessories, spare parts, sensors & circuit boards, and store-products, delivered straight to your doorstep! Unlock this exclusive benefits by registering with us for all your digitizing needs. (Embroidery Machine Not Included)
4. High Embroidery Speed
Running the machine at high speeds can cause the needle to break, especially when working on the more complex and textured surface of a cap.
Solution:
- Slow Down the Embroidery Speed: Reduce the embroidery speed when working with caps, especially when stitching dense designs or near curved areas. Slower speeds allow the machine to handle the thicker material more gently, reducing the risk of needle breakage.
- Test Speed Settings: Test different speeds on a sample cap to find the optimal speed that prevents breakage while maintaining stitch quality.
5. Needle Hitting Cap Seams
Caps often have thick seams, especially on the crown, where the needle may hit and break due to the added resistance.
Solution:
- Use a Stronger Needle: Switch to a thicker needle or a needle specifically designed for heavy fabrics and seams. Stronger needles are better suited to handling the extra bulk without breaking.
- Avoid Seam Embroidery: If possible, adjust your design to avoid the thick seams on the cap, especially near the crown area. If you must embroider over seams, proceed with caution and lower the machine speed.
6. Incorrect Presser Foot Height
The presser foot controls the pressure applied to the fabric. If the presser foot height is too low, it can cause excess friction, leading to needle breakage, especially when working on curved surfaces like caps.
Solution:
- Adjust the Presser Foot Height: Ensure the presser foot is at the correct height for the thickness of the cap. The presser foot should apply enough pressure to hold the fabric but not so much that it restricts needle movement.
- Use the Digitally Controlled Presser Foot (If Available): If your TMAR-KC Series machine is equipped with a digitally controlled presser foot, use this feature to fine-tune the presser foot height for optimal performance on caps.
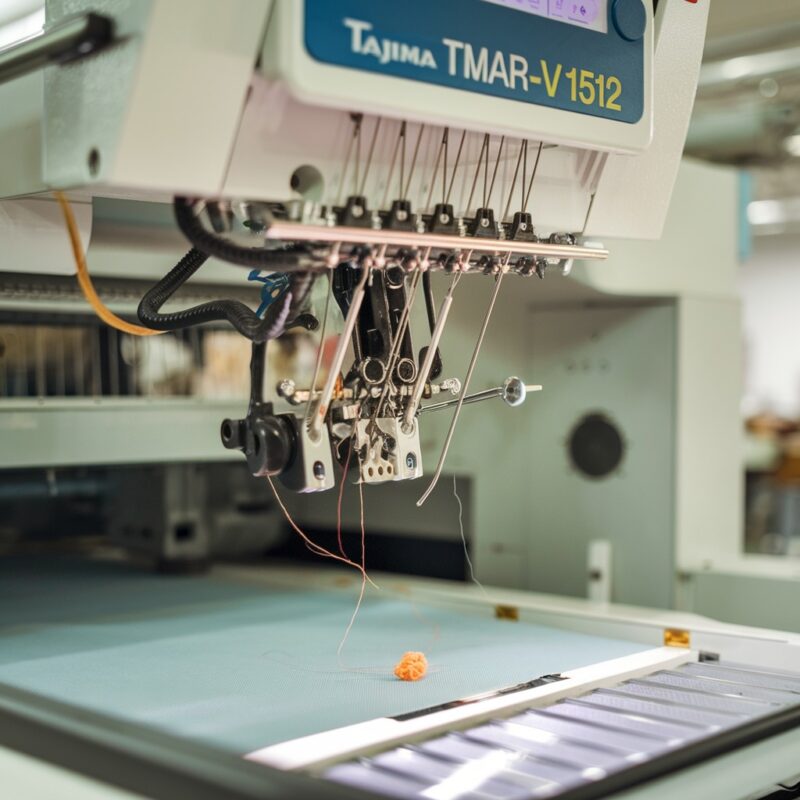
7. Worn or Bent Needles
Over time, needles can become dull or bent, increasing the chances of breakage when embroidering caps with thicker materials.
Solution:
- Replace Needles Regularly: Regularly check your needle for signs of wear, bending, or dullness. Replace it as soon as you notice any signs of damage to prevent breakage during your embroidery projects.
- Use New Needles for Tough Projects: When starting a new cap embroidery project, especially with dense or tough materials, begin with a fresh needle to minimize the risk of breakage.
8. Design Adjustments
The complexity of your embroidery design can also impact the likelihood of needle breakage. Highly detailed designs with dense stitches or intricate shapes put extra strain on the needle and fabric, increasing the risk of breaking.
Solution:
- Optimize Design Density: If your design contains highly dense stitch areas, consider adjusting the stitch density. Reducing the density will ease the load on the needle, prevent fabric bunching, and reduce the chances of breakage.
- Break Large Designs into Sections: For large or complex designs, consider breaking them into smaller sections. This allows the machine to handle smaller, less demanding areas at a time, reducing the risk of needle breakage, especially when embroidering near seams or thicker areas.
- Use Less Detailed Areas: If working near seams or thick fabric, choose design elements with fewer stitches in those areas to minimize stress on the needle.
9. Environmental Conditions
Environmental factors such as humidity, temperature, and machine cleanliness can affect the performance of your embroidery machine, increasing the likelihood of needle breakage.
Solution:
- Maintain Optimal Room Conditions: Ensure that your embroidery machine is located in an environment with stable temperature and humidity levels. Excessive humidity or extreme temperature fluctuations can affect the fabric and thread tension, leading to needle breakage.
- Clean the Machine Regularly: Regular maintenance is key to preventing issues such as needle breakage. Clean the machine, especially around the needle area, to ensure no buildup of lint, thread, or debris can interfere with smooth operation. Use a brush to remove excess thread pieces from the needle bar area.
10. Thread Tension Issues
Improper thread tension can also contribute to needle breakage when embroidering caps. If the upper thread tension is too tight, it may cause the needle to flex and eventually break under pressure, especially when stitching through thick cap materials.
Solution:
- Adjust Thread Tension: Ensure the upper thread tension is properly adjusted to match the thickness of your cap material. If your tension is too high, loosen it slightly. It’s important to find a balance where the thread flows smoothly without putting excessive stress on the needle.
- Test on Scrap Fabric: Before starting the main project, test the thread tension on a scrap piece of the same material you will be using for the caps. This can help you dial in the perfect tension for smooth stitching.
11. Cap Placement and Support
The alignment and support of the cap, while it is being embroidered, can be a crucial factor in preventing needle breakage. Incorrect placement can lead to uneven fabric tension, causing the needle to hit hard spots and break.
Solution:
- Ensure Even Tension Across the Cap: Make sure the cap is securely placed in the frame without any wrinkles or folds. If there are areas where the fabric is not taut enough, this can cause the needle to get caught, especially when embroidering thicker areas like seams or the front of the cap.
- Use Cap-Frame Support: If your machine provides cap-frame support, such as a specialized hoop or a cap driver attachment, always ensure it’s installed properly. This added support can prevent the cap from shifting during the stitching process.
12. Upgrade to Cap-Specific Needles
While the standard embroidery needles may work for general designs, using cap-specific needles can greatly enhance your results when embroidering caps. These needles are designed specifically to handle the unique challenges of curved cap surfaces and multiple layers of fabric.
Solution:
- Switch to Cap Needles: Consider investing in cap needles or needles specifically designed for structured hats. These needles have a stronger shaft and a sharper point, making them less prone to breakage when working on tough cap materials.
13. Stitch Type Considerations
Certain stitch types can be more prone to causing needle breakage, especially when working on curved surfaces like caps. This is due to their density and the angle at which the needle moves through the fabric.
Solution:
- Use Lighter Stitch Types: If you’re working on caps, consider switching to lighter, less dense stitch types, such as satin stitches with reduced density. These types of stitches cause less strain on the needle compared to complex fills or dense satin stitches.
- Avoid Using Long Stitches: Long satin stitches can cause the needle to bend or break, especially on thick materials. Opt for shorter, more manageable stitches that allow for smoother operation.
Conclusion
Needle breakage while embroidering caps on the Tajima TMAR-KC Series is a common issue but one that can be effectively minimized with the right practices. By choosing the right needle size, adjusting the machine’s settings, and ensuring that your cap is securely hooped and properly placed, you can drastically reduce the chances of needle breakage. Regular maintenance, environmental controls, and design adjustments are additional steps that can further enhance the longevity of your needles and the success of your embroidery projects.