Troubleshooting Needle Breakage on Tajima TMAR-V1512 Series


Troubleshooting Needle Breakage on Tajima TMAR-V1512 Series
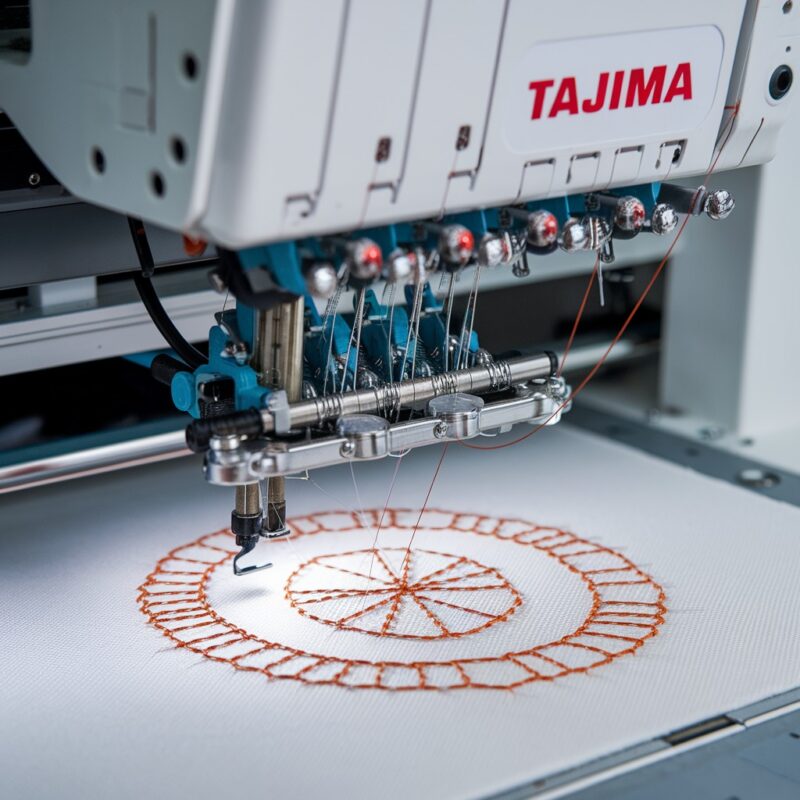
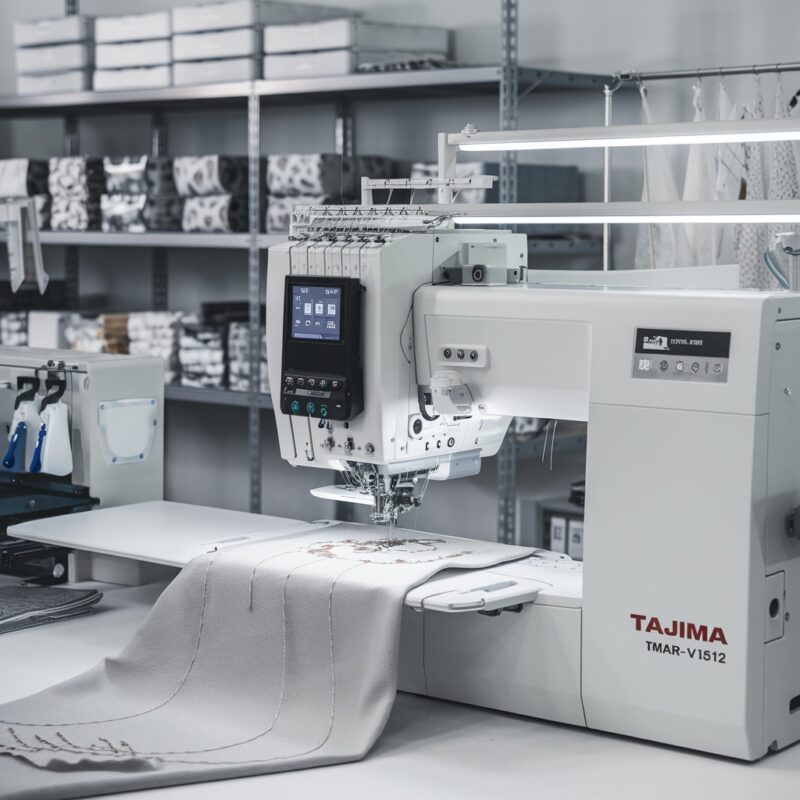
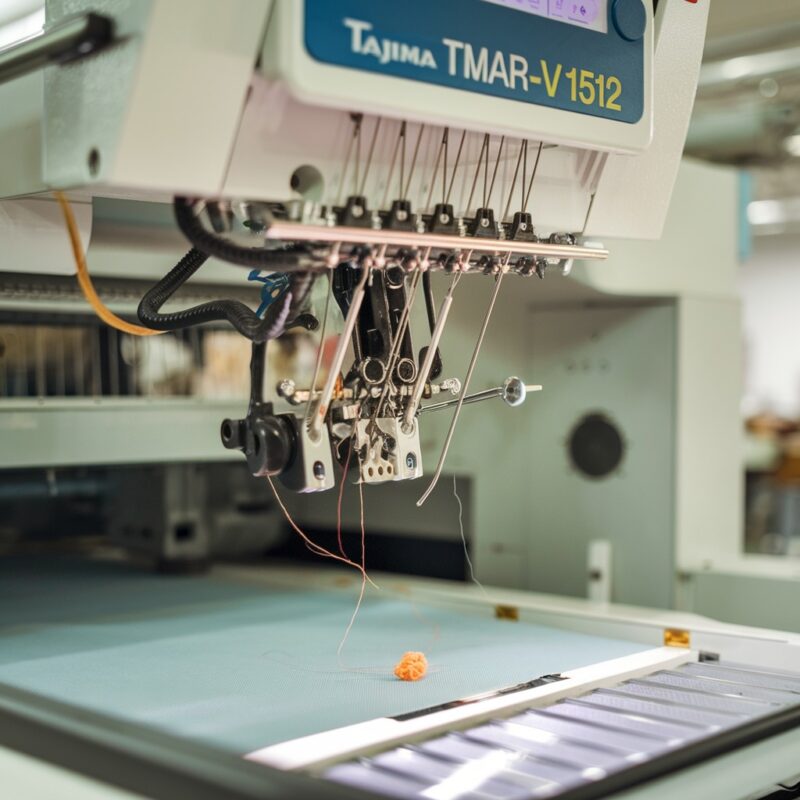
The Tajima TMAR-V1512 Series, known for its multi-head embroidery capabilities and digitally controlled presser foot, is a powerhouse for advanced embroidery projects. However, frequent needle breakage can disrupt production and affect design quality. This blog explores the common causes of needle breakage in the TMAR-V1512 and provides actionable solutions.
Common Causes of Needle Breakage and Solutions
1. Incorrect Needle Size or Type
Using the wrong needle for the fabric or thread can increase the risk of breakage.
Solution:
- Choose the correct needle size based on fabric thickness and thread weight.
- Use needles designed for embroidery, such as ballpoint needles for knits or sharp needles for woven fabrics.
2. Misaligned Digitally Controlled Presser Foot
The presser foot’s height or pressure can interfere with needle movement, causing it to bend or break.
Solution:
- Adjust the presser foot height digitally for the specific fabric thickness.
- Ensure the foot isn’t pressing too tightly on the fabric, reducing needle deflection.
3. Tight or Uneven Thread Tension
Overly tight upper thread tension can pull the needle at an angle, leading to breakage.
Solution:
- Check and balance thread tension using the machine‘s built-in settings.
- Perform a test run to confirm smooth thread movement without stress on the needle.
4. Bent or Worn Needles
Using old, bent, or damaged needles increases the likelihood of breakage.
Solution:
- Replace needles regularly to avoid wear-related breakage.
- Inspect needles for bends or burrs before starting any project.

5. Poor Hooping Technique
Improper hooping can shift fabric, causing the needle to strike the hoop.
Solution:
- Ensure the fabric is securely hooped, taut, and evenly positioned.
- Use stabilizers to prevent the fabric from moving during embroidery.
6. Excessive Machine Speed
Running the TMAR-V1512 at maximum speed for delicate fabrics or intricate designs can strain the needle.
Solution:
- Adjust the machine speed according to the fabric and design complexity.
- For dense designs, lower the speed to minimize needle stress.
7. Thread Quality Issues
Low-quality thread with inconsistent thickness can snag and break the needle.
Solution:
- Use high-quality embroidery threads with consistent texture and strength.
- Clean the thread path regularly to remove debris or lint.
8. Needle-Striking Obstructions
Obstructions like a misplaced presser foot or improperly placed bobbin case can cause the needle to strike and break.
Solution:
- Ensure no obstructions are in the needle’s path.
- Align the presser foot and check the bobbin case placement before operation.
9. Incorrect Needle Insertion
If needles are not inserted properly into the machine, they may wobble or sit at an incorrect angle, leading to breakage.
Solution:
- Carefully align the flat side of the needle with the designated slot in the needle bar.
- Tighten the needle clamp securely but avoid over-tightening, as this can damage the needle.
10. Excessive Backing Layers
Using too many layers of stabilizer or backing can create excessive resistance, causing stress on the needle.
Solution:
- Limit the backing layers to what is necessary for stabilizing the fabric.
- Use the appropriate type of stabilizer (tear-away, cut-away, or water-soluble) for the fabric and design.
11. Thread Path Obstructions
Knots, tangles, or debris in the thread path can snag the thread, putting strain on the needle.
Solution:
- Routinely inspect the thread path for blockages or damage.
- Remove any lint or residue using compressed air or a soft brush.
12. Design Density and Complexity
Highly dense or overly complex embroidery designs can exert excessive pressure on the needle, especially in layered areas.
Solution:
- Optimize design density during digitization to reduce overlapping stitches.
- Use a larger needle size for dense designs to accommodate the increased stress.
13. Vibrations from Loose Machine Parts
Vibrations caused by loose screws or machine parts can destabilize the needle, increasing the risk of breakage.
Solution:
- Perform routine checks to ensure all machine parts are securely tightened.
- Focus on the needle bar assembly, presser foot, and thread guides during maintenance.
14. Environmental Factors
High humidity, extreme temperatures, or a dusty workspace can affect thread and needle performance.
Solution:
- Maintain a clean and climate-controlled environment for your embroidery machine.
- Store needles and threads in a dry, dust-free area to preserve their integrity.
Advanced Tips for Reducing Needle Breakage
- Invest in Specialty Needles:
For unique projects, such as metallic threads or thicker fabrics, consider using specialty needles designed for the task. - Use Thread Lubricants:
Applying thread lubricants can reduce friction in the thread path, minimizing needle strain. - Machine Calibration:
Schedule regular professional calibration for your machine to ensure all components, including the presser foot and thread tensioning system, are functioning optimally. - Dynamic Needle Bar Adjustment:
Utilize the TMAR-V1512’s advanced features to customize needle bar movement for different fabric types and designs.
Case Study: A Common Scenario
Issue: An operator reported frequent needle breakage while embroidering logos on thick jackets.
Analysis: The design was highly dense, the needles were too small, and the machine speed was set to its maximum.
Solution: The operator switched to larger, reinforced needles, reduced machine speed, and digitized the design to lower density in overlapping areas. The result was a significant drop in needle breakage and improved embroidery quality.
Conclusion
Needle breakage on the Tajima TMAR-V1512 Series is manageable with the right approach. From optimizing needle selection to addressing design density and ensuring proper machine maintenance, operators can significantly reduce this issue. Investing time in preventive measures and leveraging the machine’s advanced features ensures smooth operation and exceptional embroidery results.
With consistent monitoring and a proactive strategy, your TMAR-V1512 will deliver on its promise of high-quality, multi-head embroidery capabilities, minimizing downtime and maximizing production efficiency.