Pfaff Embroidery Machine Needle Breaking in Embroidery Machines: Common Errors & Effective Solutions


Pfaff Embroidery Machine Needle Breaking in Embroidery Machines: Common Errors & Effective Solutions
Needle breaking is one of the most disruptive issues faced by embroiderers, causing project delays and potential damage to fabrics. Whether you’re working on a simple design or an intricate pattern, needle breakage can quickly throw off your workflow. In this guide, we’ll explore the most common causes of needle breaking in embroidery machines and provide practical solutions to help you avoid this frustrating problem.
1. Using the Wrong Needle Size or Type
Error: One of the most common reasons for needle breakage is using the wrong needle size or type for the fabric or thread. Embroidery projects often require specialized needles, and using the wrong one can put extra stress on the needle, causing it to snap.

Solution:
- Ensure that you are using the correct needle size and type for the fabric and thread you’re working with. For example, heavier fabrics like denim require larger needles, while delicate fabrics like silk require finer needles.
- Always refer to your machine‘s manual and the fabric’s specifications to select the right needle.
2. Improper Hooping of Fabric
Error: If your fabric is not hooped tightly and smoothly, it can shift during the embroidery process, increasing the chances of needle breakage.
Solution:
- Hoop the fabric tightly and ensure it remains stable throughout the embroidery process. It should be taut but not stretched to the point where it distorts the fabric grain.
- Use high-quality embroidery hoops or frames that provide consistent grip and tension.
3. Needle Not Inserted Correctly
Error: Sometimes, needle breakage occurs because the needle isn’t properly inserted or is positioned incorrectly in the machine. Even a slight misalignment can lead to significant issues during stitching.
Solution:
- Always ensure that the needle is fully inserted into the needle clamp and secured tightly.
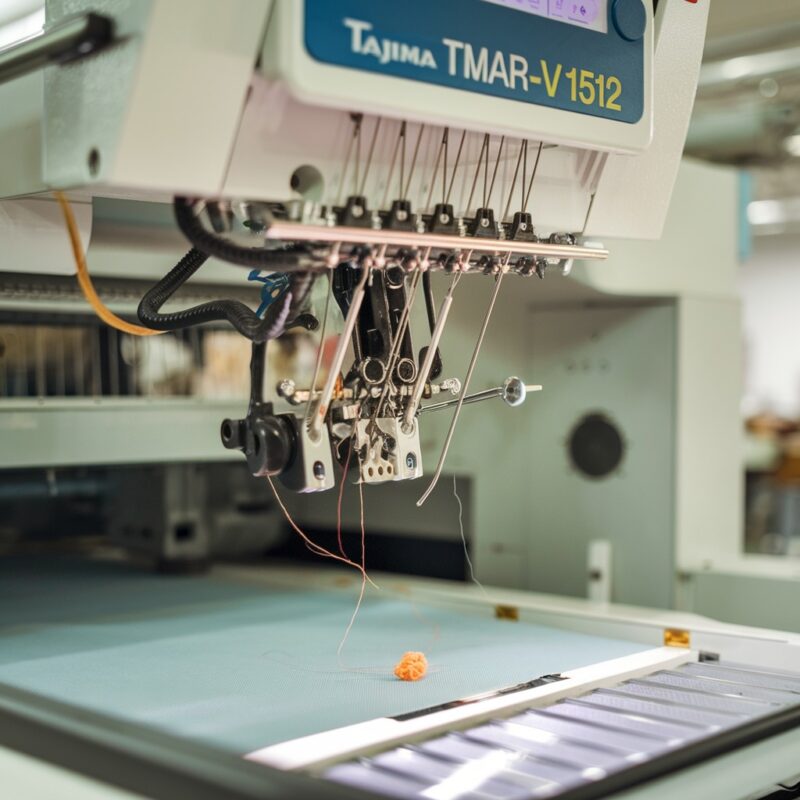
- Make sure the flat side of the needle faces the correct direction (usually toward the back of the machine). Consult your machine‘s manual for proper needle orientation.
4. Poor-Quality Needles
Error: Low-quality or worn-out needles are more prone to breaking. Embroidery puts a lot of strain on the needle, and a subpar needle may not withstand the pressure.
Solution:
- Invest in high-quality needles from trusted brands, specifically designed for machine embroidery. Cheap needles may save money initially but can cause more frequent breaks, costing you time and effort.
- Regularly replace your needles, especially after completing multiple projects or after long hours of use. Dull or bent needles are more likely to break.
5. Incorrect Threading
Error: Incorrect threading of the machine can cause undue tension on the needle, resulting in it breaking. If the upper thread is tangled or not flowing smoothly, the needle may encounter resistance, leading to breakage.
Solution:
- Re-thread your machine according to the manufacturer’s instructions. Ensure the thread flows smoothly through each guide, tension disc, and needle eye.
- Check for any tangles or snags in the thread path, and fix them before beginning your embroidery project.
6. Incorrect Speed Settings
Error: Operating the embroidery machine at an excessively high speed, especially when working with thick fabrics or complex designs, can increase the risk of needle breakage.
Solution:
- Adjust the machine’s speed according to the project you’re working on. For thicker fabrics or more detailed designs, reduce the speed to prevent excess strain on the needle.
- Follow the recommended speed settings in your machine‘s manual to ensure smooth operation.
7. Fabric Bunching
Error: If the fabric is bunching up under the needle, the needle may hit the fabric at odd angles, leading to breakage. Fabric bunching is often caused by poor hooping or improper use of stabilizers.
Solution:
- Make sure the fabric is hooped tightly and use the appropriate stabilizer for the type of fabric. Stabilizers help keep the fabric flat and stable during stitching, preventing bunching and reducing stress on the needle.
- Use a temporary adhesive spray if needed to hold the fabric securely in place.
8. Machine Misalignment
Error: If the machine’s needle bar or other internal components are misaligned, it can cause the needle to strike parts of the machine, resulting in frequent breakage.
Solution:
- Regularly check your machine for signs of misalignment or internal wear. If you notice frequent needle breakage despite using the correct settings and materials, it may be time for professional servicing.
- Clean your machine regularly, following the manufacturer’s guidelines, and schedule routine maintenance checks to ensure everything is properly aligned.
Conclusion: Keep Your Embroidery Projects Running Smoothly
Needle breaking can be a major frustration for any embroiderer, but by addressing the root causes, you can prevent this issue and ensure smooth stitching. From selecting the right needle and hooping your fabric correctly to maintaining your machine, these simple steps can make a world of difference. Regular maintenance and using high-quality tools will minimize downtime, allowing you to focus on creating flawless embroidery designs.
Need more embroidery tips or troubleshooting advice? Stay tuned to our blog for the latest insights!