Blog
Singer Futura XL-420: Uneven Stitch Quality Troubleshooting

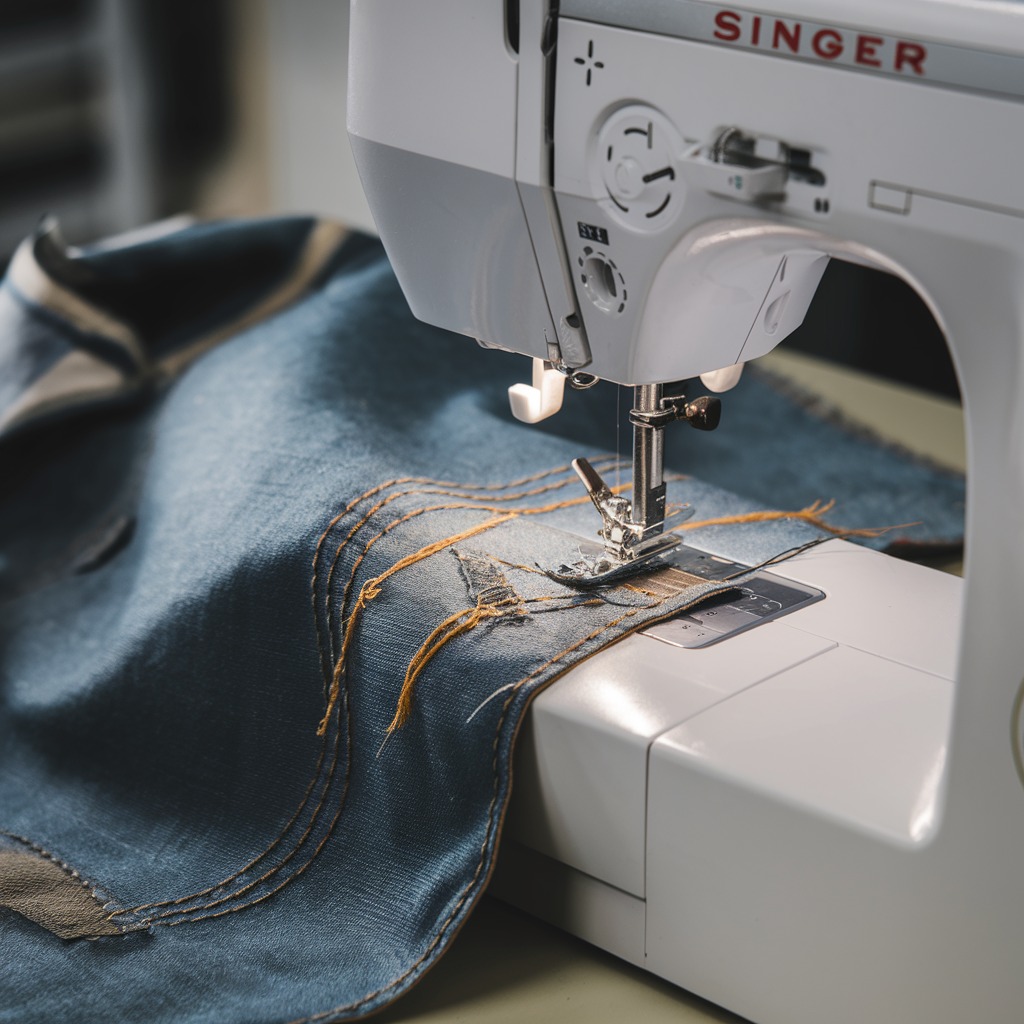
Quick answer: Most uneven stitch quality issues on the Singer Futura XL-420 stem from incorrect threading, tension settings, or a worn needle. Start by re-threading the machine, checking both upper and bobbin tension, and replacing the needle.
Uneven stitch quality on your Singer Futura XL-420 can be frustrating, but it's often a sign of common, easily fixable issues. This guide provides practical, step-by-step instructions to diagnose and resolve inconsistent or irregular stitching, helping you restore your machine's performance.
Two-minute checks before you open anything
- Verify the machine is threaded correctly from spool to needle, ensuring the thread is seated in all guides and tension discs.
- Check the bobbin for even winding, correct placement, and ensure it's free of lint.
- Replace the needle with a new, embroidery-specific needle appropriate for your fabric and thread type.
- Ensure the fabric is hooped tightly and evenly, without stretching or puckering, and that an appropriate stabilizer is used.
- Clean the bobbin area, needle plate, and tension discs to remove any lint or thread buildup.
1. Incorrect Threading or Tension Settings (Upper Thread) high likelihood
How to tell
Stitches appear loose on the top or bottom, or the thread breaks frequently. The machine may skip stitches. Visually inspect the threading path. Ensure the thread is fully seated between the upper tension discs and passes through all guides.
Fix
- Remove the upper thread completely from the machine.
- Raise the presser foot to open the tension discs.
- Re-thread the machine carefully, following the numbered path indicated on your Singer Futura XL-420. Ensure the thread snaps into all guides and is firmly seated between the tension discs.
- Lower the presser foot.
- Set the upper thread tension to the recommended setting for your project (refer to your machine's manual for specific fabric/thread combinations, typically a mid-range setting like 4-5 for general embroidery).
- Perform a test stitch on scrap fabric. Adjust the upper tension dial in small increments (1/2 number at a time) until stitches are balanced: the top thread should meet the bobbin thread in the middle of the fabric layers, with no loops visible on either side.
Parts involved: Thread path & tension → Threads & supplies →
2. Worn, Bent, or Incorrect Needle high likelihood
How to tell
Skipped stitches, uneven loops, fabric damage (holes, snags), or a dull thudding sound during stitching. A bent needle is often visible upon inspection. A dull needle might feel rough when run across a fingertip.
Fix
- Turn off the machine.
- Loosen the needle clamp screw using a small screwdriver.
- Remove the old needle, noting its orientation (flat side typically faces the back).
- Insert a new, high-quality embroidery-specific needle (e.g., a size 75/11 or 90/14, depending on fabric/thread) with the flat side facing the back of the machine, pushing it up as far as it will go into the needle bar.
- Tighten the needle clamp screw securely.
- Perform a test stitch on scrap fabric.
Parts involved: Needles & needle bars →
Parts you may need for Singer
In stock, tested before dispatch, Buyer Protection on every order. Part types for this problem: Thread path & tension, Threads & supplies, Needles & needle bars, Rotary hooks & bobbin cases.
 Bobbin Case & 2 Metal Bobbins for Brother, Janome, Singer, Babylock...$ 5.59View part →
 11PCS Low Shank Presser Foot Kit Set for Singer Brother Janome Kenm...$ 23.49View part →
 PET-121 40WT 120D/2 Polyester Embroidery Thread 4000M Spool, 80 Mad...$ 17.49View part →
 Flying Tiger DBx1 Industrial Lockstitch Needles, 100 pcs/box, Sizes...$ 10.99View part →
 PET-80 80 Madeira Colors Embroidery Thread Set - Premium 40WT Polye...$ 15.99View part →40 Weight 120D/2 Polyester Embroidery Thread 4000M PET-121 for Brot...$ 17.49View part →
All Singer parts → Thread Path & Tension → Threads & Supplies → Needles & Needle Bars →
3. Bobbin Issues (Winding, Placement, or Lint) high likelihood
How to tell
Loose stitches on the top of the fabric, bobbin thread showing on the top, or frequent bobbin thread breaks. The bobbin may spin erratically or jam. Visible lint or debris in the bobbin case area.
Fix
- Remove the bobbin case and bobbin.
- Inspect the bobbin: Ensure it is wound evenly and smoothly, not too full or too loose. If uneven, re-wind a new bobbin.
- Clean the bobbin case and the bobbin area thoroughly using a small brush and/or vacuum. Pay attention to the bobbin tension spring and the race area for lint or thread bits.
- Insert the bobbin correctly into the bobbin case, ensuring the thread feeds in the direction specified in your manual (usually counter-clockwise for drop-in bobbins, or as indicated by an arrow).
- Thread the bobbin case correctly, pulling the thread through the tension spring until it clicks into place.
- Reinsert the bobbin case into the machine.
- Perform a test stitch on scrap fabric.
Parts involved: Rotary hooks & bobbin cases → Lubrication & maintenance →
4. Improper Bobbin Case Tension medium likelihood
How to tell
Even after adjusting upper tension, stitches remain unbalanced (e.g., upper thread consistently pulls bobbin thread to the top, or vice-versa). This is less common than upper tension issues but can occur.
Fix
- Remove the bobbin case.
- Locate the small screw on the side of the bobbin case (often only one screw is for tension adjustment).
- Using a small screwdriver, turn the screw in very small increments (e.g., 1/8th of a turn). Turn clockwise to increase tension, counter-clockwise to decrease.
- Reinsert the bobbin case and perform a test stitch on scrap fabric.
- Repeat adjustments and testing until the stitch balance is correct (top and bobbin threads meet in the middle of the fabric layers). Note: Mark the original position of the screw with a marker if you are unsure, to return to factory settings if needed.
Parts involved: Rotary hooks & bobbin cases →
5. Dirty Machine or Thread Buildup medium likelihood
How to tell
Erratic stitching, thread breaks, grinding noises, or general poor performance. Visible lint, dust, or thread remnants in the bobbin area, under the needle plate, or around the feed dogs.
Fix
- Turn off and unplug the machine.
- Remove the needle plate (usually two small screws).
- Using a small brush (often supplied with the machine) and/or a vacuum cleaner with a narrow attachment, thoroughly clean out all lint, dust, and thread bits from the bobbin area, under the needle plate, around the feed dogs, and any accessible moving parts.
- Pay close attention to the upper tension discs; use a piece of dental floss or a thin, stiff card to clean between them.
- Reassemble the needle plate and perform a test stitch.
Parts involved: Lubrication & maintenance → Rotary hooks & bobbin cases → Head & mechanical parts →
6. Improper Hooping or Lack of Stabilizer medium likelihood
How to tell
Fabric puckering, shifting during embroidery, misaligned stitches, or gaps in the design. The fabric may feel loose in the hoop or show signs of stretching.
Fix
- Select the correct hoop size for your design and fabric.
- Choose an appropriate stabilizer for your fabric type and design density (e.g., cut-away for stretchy knits, tear-away for stable wovens, water-soluble for delicate fabrics).
- Place the stabilizer and fabric together in the hoop. Ensure the fabric is taut but not stretched, and completely flat. The inner hoop should fit snugly into the outer hoop.
- Check for any wrinkles or puckers before starting embroidery.
- If the fabric is very delicate or the design is dense, consider using two layers of stabilizer or a heavier-weight stabilizer.
Parts involved: Hoops & frames → Threads & supplies →
7. Incompatible Thread Type or Low-Quality Thread medium likelihood
How to tell
Frequent thread breaks, shredding, looping, or inconsistent stitch appearance. The thread may feel rough or fray easily.
Fix
- Always use high-quality embroidery thread (e.g., polyester or rayon) from reputable brands.
- Ensure the thread type and weight are compatible with your needle size and fabric.
- Avoid using old or degraded thread, as it can become brittle.
- Store thread in a controlled environment to prevent degradation from humidity or extreme temperatures.
Parts involved: Threads & supplies →
8. Inappropriate Presser Foot Pressure low likelihood
How to tell
Fabric not feeding evenly, resulting in stretched or compressed stitches. Fabric may drag or bunch under the foot. This is more noticeable with extreme fabric thicknesses.
Fix
- Locate the presser foot pressure adjustment dial or screw on your machine (refer to your manual for its exact location on the XL-420).
- Adjust the pressure based on fabric thickness: increase pressure for thicker fabrics to ensure even feeding, decrease for thinner fabrics to prevent stretching or marking.
- Perform a test stitch on scrap fabric of the same type to verify even feeding and stitch quality.
Parts involved: Presser feet & sewing parts →
9. Machine Speed Too High low likelihood
How to tell
Skipped stitches, thread breaks, or fabric shifting, especially on intricate designs or delicate fabrics. The machine may sound strained.
Fix
- Reduce the machine's embroidery speed setting, especially for complex designs, small details, or delicate materials.
- The machine's control panel should have a speed adjustment option. Start with a slower speed and gradually increase if stitch quality remains consistent.
Parts involved: Control panels & displays → Motors & drivers →
Stop and call a technician if
- If, after performing all troubleshooting steps, the uneven stitch quality persists.
- If you suspect internal mechanical damage, such as a bent needle bar or timing issues.
- If the tension discs appear physically damaged or worn and cannot be cleaned or adjusted effectively.
- If the machine makes unusual grinding noises or completely jams.
Prevent it coming back
- Regularly clean the bobbin area, needle plate, and tension discs to remove lint and dust buildup.
- Oil the machine according to the manufacturer's instructions in your user manual to reduce wear on moving parts.
- Always use new, high-quality needles appropriate for your fabric and thread.
- Invest in good quality embroidery thread and store it properly.
- Ensure proper hooping and use the correct stabilizer for every project.
- Keep your machine's software updated if applicable.
Frequently asked questions
Why are my stitches loose on top?
Loose stitches on top usually indicate an issue with the bobbin tension being too tight, or more commonly, the upper thread not being seated correctly in the tension discs or guides. Re-thread the machine completely with the presser foot up, and check your bobbin winding and tension.
Why are my stitches loose on the bottom?
Loose stitches on the bottom typically point to the upper thread tension being too loose. Ensure your upper thread is correctly threaded through all guides and tension discs, and increase the upper tension setting slightly.
How often should I change my needle?
Change your needle after every 8-10 hours of embroidery time, or at the start of a new project, whichever comes first. Also, replace it immediately if it bends, dulls, or you notice skipped stitches or fabric damage.
What kind of stabilizer should I use?
The type of stabilizer depends on your fabric and design. Use cut-away for stretchy fabrics, tear-away for stable fabrics, and water-soluble for delicate fabrics or toppings. For dense designs or delicate fabrics, you may need multiple layers or a heavier stabilizer.
Did this guide fix your machine?
Rate it - it helps other operators find the right fix.
Not sure which part is failing?
Need the logo stitched too?
Get your logo digitized by the people who know this machine
Upload the artwork, see the stitch count and the exact price in 10 seconds, then order with a free sew-out preview. $1 per 1,000 stitches, $10 minimum, 24-hour delivery. Vector conversion from $12.
After the fix
Fixed it? Keep the rest of the shop moving.
OS 360 is the shop software from the team behind this parts store. Every job keeps its status, deadline and owner while a Futura XL-420 head is down, restock alerts fire for needles, hooks and bobbins before you run dry, and quotes, invoices and payment live in one place.
- Jobs with status, deadline and owner - nothing slips during downtime
- Inventory with restock alerts, this store one click away
- Instant quotes, invoices and one place to collect payment