Digitally Controlled Presser Foot Malfunction in Tajima TMAR-V1512: Common Errors and Solutions
Digitally Controlled Presser Foot Malfunction in Tajima TMAR-V1512: Common Errors and Solutions
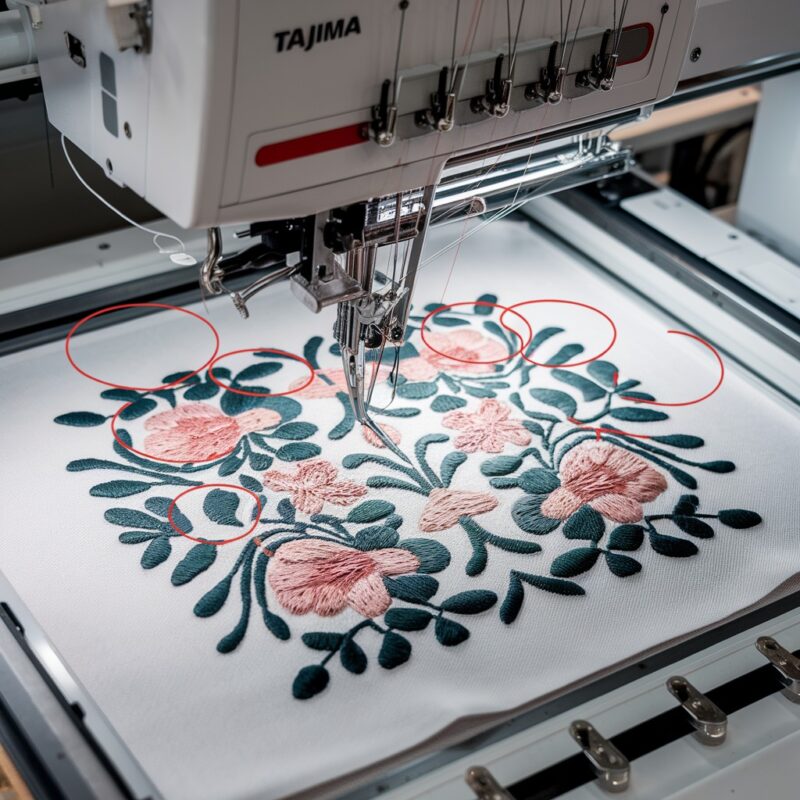
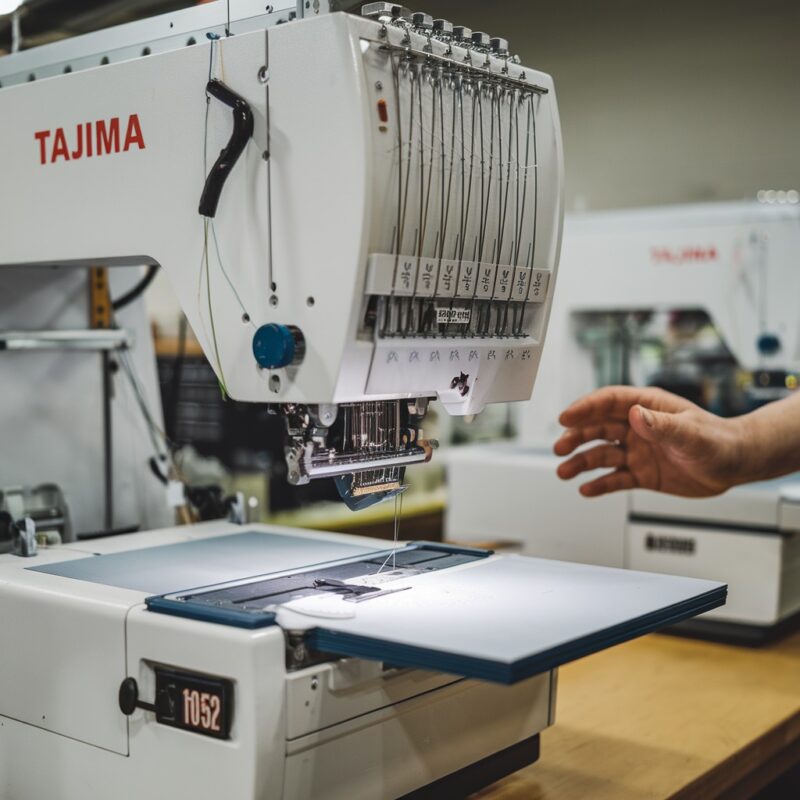
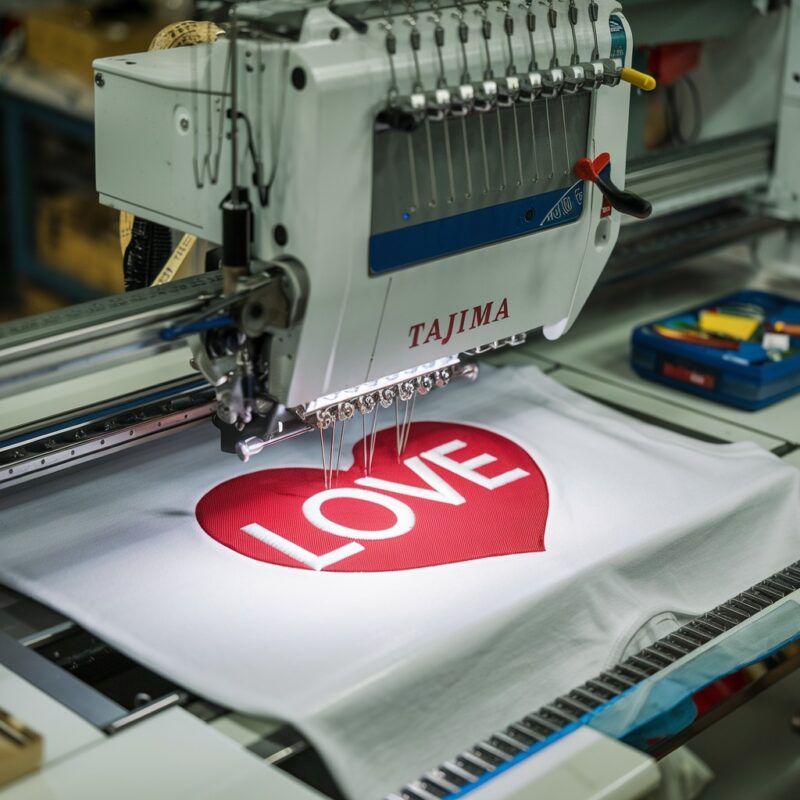
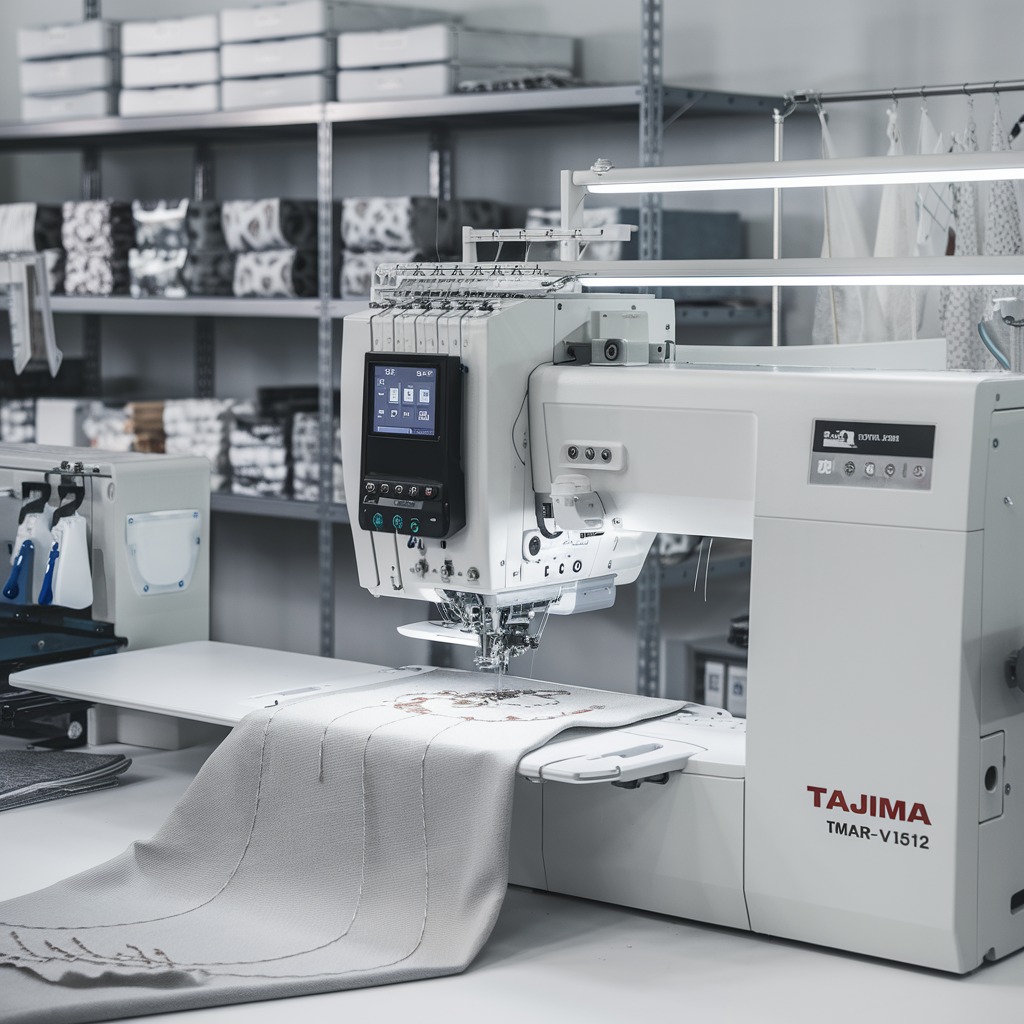
The Tajima TMAR-V1512 Series is renowned for its multi-head embroidery capabilities and digitally controlled presser foot, which ensures precise fabric handling. However, like any advanced feature, the presser foot can sometimes experience malfunctions. These issues can disrupt embroidery quality and productivity. Let’s explore common presser foot malfunctions and practical solutions to address them.
Common Errors in Digitally Controlled Presser Foot and Solutions
1. Presser Foot Fails to Adjust Properly
When the presser foot does not adjust to fabric thickness as expected, it can lead to thread tension issues or fabric puckering.
Solution:
- Ensure the fabric thickness settings are correctly inputted into the machine’s control panel.
- Update the machine‘s firmware to the latest version to prevent software-related glitches.
- Check for dust or lint buildup around the presser foot mechanism and clean it regularly.
2. Uneven Pressure on Fabric
Inconsistent pressure can result in distorted designs or skipped stitches.
Solution:
- Calibrate the digitally controlled presser foot using the machine‘s diagnostics mode.
- Inspect the presser foot mechanism for wear or damage and replace faulty parts.
- Ensure the machine is positioned on a stable surface to avoid vibration-related issues.
3. Presser Foot Jamming or Sticking
A jammed presser foot can halt the embroidery process and potentially damage the fabric.
Solution:
- Power off the machine and manually release the presser foot.
- Inspect for obstructions, such as tangled threads or debris, and remove them.
- Lubricate the presser foot mechanism as per the manufacturer’s guidelines.
4. Delayed Response During Speed Changes
The presser foot may fail to adjust quickly enough when switching between high and low speeds.
Solution:
- Reduce machine speed when working on thick or multi-layered fabrics.
- Check the machine‘s sensors to ensure they function correctly and recalibrate if needed.
- Consult the user manual for recommended settings when handling speed adjustments.
PROMOTIONAL SECTION
The All-in-One Solution For All Your Embroidery Business!
Enjoy $0.90 / 1000 Stitches Logo Digitizing
Monthly Cash Back, Free Delivery on Store-wide Products, Dedicated Account Manager, Exclusive Client Dashboard Panel, Bonus Credit & much more.
SIGN UP TODAY & GET FIRST 3 ORDER ABSOLUTELY FREE

Unlock game-changing benefits: expert digitizing services, technical embroidery guidance, seamless management of your business essentials, and free delivery on storewide products—all just for signing up with us. Don’t let these exclusive perks pass you by!
No Credit Card Required
Stay secure with no need to share your credit or debit card details! Experience 100% safe payment methods, including the option to purchase credits for your future orders. Plus, enjoy free credit as a bonus with every credit purchase and more exclusive benefits.
A Game-Changing Advantage
Imagine having a dedicated account manager by your side, ready to handle all your embroidery needs with precision and care. Whether it’s managing your digitizing orders, delivering essential embroidery supplies based on your every embroidery order, or sourcing those hard-to-find spare parts like motors, circuit boards, or sensors, we’ve got you covered. This incredible service ensures your business runs seamlessly, all at no extra cost or monthly fee.
It’s not just support—it’s the ultimate embroidery partnership you didn’t know you were missing for a $0 charge!
Exclusive Client Dashboard Panel
Get Free Account Setup (T&C Applied) and enjoy exclusive benefits: unlimited free estimate requests, streamlined order management, complimentary edit requests, 24/7 access to our ticket system, fast 6-12 hour turnaround times, round-the-clock email and live chat support, and 1-year free design file backup and more.
Recurring Monthly Cashback
Experience out of the box services with Cashback on monthly basis along with discount vouchers on Shop for Registered customers up to 60% on supplies, accessories, spare parts & sensors & Circuit boards and add extra value to your embroidery business.
Free Delivery on all Shop Products
Enjoy free delivery on embroidery supplies, accessories, spare parts, sensors & circuit boards, and store-products, delivered straight to your doorstep! Unlock this exclusive benefits by registering with us for all your digitizing needs. (Embroidery Machine Not Included)
5. Frequent Error Codes Related to the Presser Foot
Error codes, such as “Presser Foot Not Found” or “Adjustment Error,” can occur.
Solution:
- Refer to the error code guide in the manual and reset the machine.
- Ensure the presser foot is securely attached and properly aligned.
- Contact a certified technician if the issue persists after troubleshooting.
6. Difficulty in Handling Delicate or Specialty Fabrics
The digitally controlled presser foot may struggle with fabrics like silk, satin, or leather.
Solution:
- Use a fabric-specific presser foot attachment if available.
- Lower the foot pressure in the control panel to accommodate delicate fabrics.
- Test on a fabric sample before starting the embroidery process.
7. Excessive Noise During Operation
The presser foot may produce unusual or excessive noise during embroidery, signaling a potential issue.
Solution:
- Inspect for loose screws or components in the presser foot assembly and tighten them securely.
- Lubricate the presser foot mechanism to minimize friction, following the manufacturer’s recommended lubrication points.
- Check for misaligned parts and realign them as necessary.
8. Irregular Fabric Feeding
Improper fabric feeding can distort the design and result in skipped stitches or puckering.
Solution:
- Ensure that the presser foot is exerting even pressure across the fabric.
- Verify that the feed dogs beneath the fabric are functioning correctly and free of debris.
- Adjust the presser foot height for the fabric being used, especially for thicker or stretch materials.
9. Difficulty Handling Embroidery Hoops
If the presser foot interferes with the embroidery hoop movement, it can lead to uneven stitches or design misalignment.
Solution:
- Confirm that the embroidery hoop is properly secured and aligned before starting the design.
- Adjust the presser foot height to ensure sufficient clearance for the hoop.
- Test different hoop sizes to find one that works best with your specific design and fabric type.
10. Reduced Sensitivity of Presser Foot Sensors
Sensors that control the presser foot’s responsiveness may become less sensitive over time, leading to performance inconsistencies.
Solution:
- Clean the sensor area to remove dust or lint that might obstruct its functionality.
- Recalibrate the sensors using the machine‘s diagnostics menu.
- If recalibration fails, replace the sensor with an original part from the manufacturer.
11. Error During Automatic Presser Foot Adjustment
When the machine fails to automatically adjust the presser foot height or pressure, designs can become uneven or distorted.
Solution:
- Restart the machine to reset its settings and clear any temporary glitches.
- Update the machine‘s software to ensure compatibility with all automatic features.
- Switch to manual adjustment temporarily and contact technical support for further assistance.
12. Fabric Slippage Due to Inconsistent Pressure
Fabric slipping during embroidery can affect design placement and cause irregular stitching.
Solution:
- Use stabilizers appropriate for the fabric type to keep the material secure during embroidery.
- Lower the presser foot pressure slightly for slippery fabrics like silk or satin.
- Avoid over-tightening the embroidery hoop, as this can exacerbate slippage.
13. Presser Foot Fails to Lift at the End of the Design
The presser foot might not lift automatically after completing a design, causing difficulty in removing the fabric.
Solution:
- Check the machine settings to ensure the automatic lift function is enabled.
- Inspect the presser foot mechanism for obstructions and clear them if necessary.
- Manually lift the presser foot using the control panel or foot pedal as a temporary measure.
Tips to Avoid Presser Foot Issues Long-Term
- Use Genuine Parts and Accessories:
- Always use presser foot attachments and parts provided or recommended by Tajima to ensure compatibility.
- Keep the Machine Environment Clean:
- Provide Operator Training:
- Train operators to recognize the signs of presser foot malfunctions and perform routine maintenance checks.
- Log Errors and Resolutions:
- Maintain a log of common issues and their resolutions to streamline future troubleshooting efforts.
Conclusion
The Tajima TMAR-V1512 Series offers cutting-edge technology with its digitally controlled presser foot, enhancing embroidery precision and efficiency. However, malfunctions can arise if the system isn’t maintained or configured correctly. You can ensure smooth operations and consistent embroidery quality by addressing issues such as jamming, irregular fabric feeding, or sensor failures.
Staying proactive with maintenance, keeping the machine clean, and promptly addressing errors will help you get the most out of your embroidery machine and meet high production standards with ease.