How to Solve Puckering Embroidery Designs on Tajima TMAR-V1512 Machines

How to Solve Puckering or Distorted Embroidery Designs on Tajima TMAR-V1512 Machines
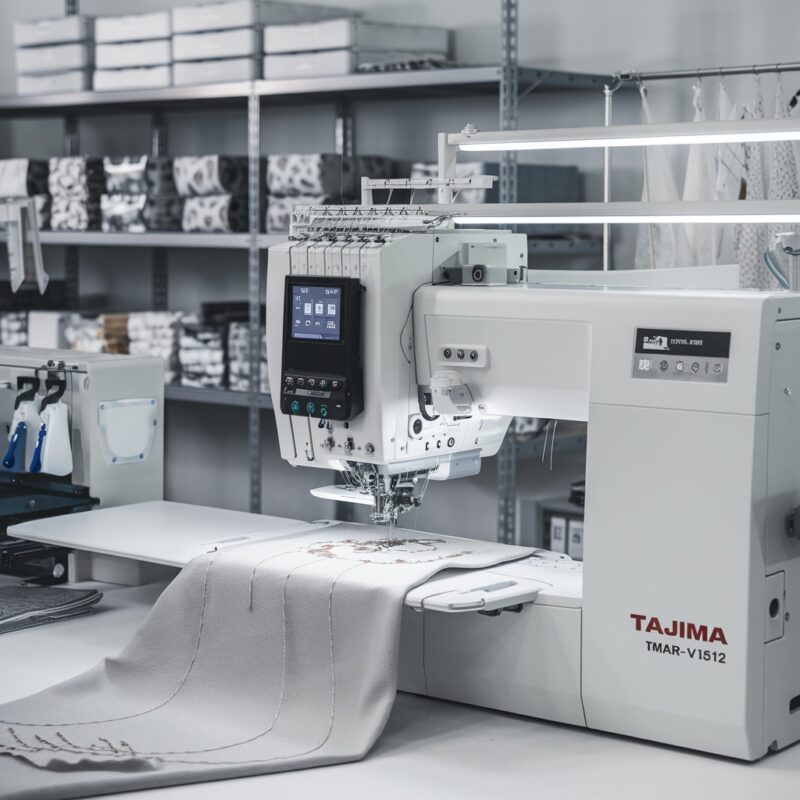
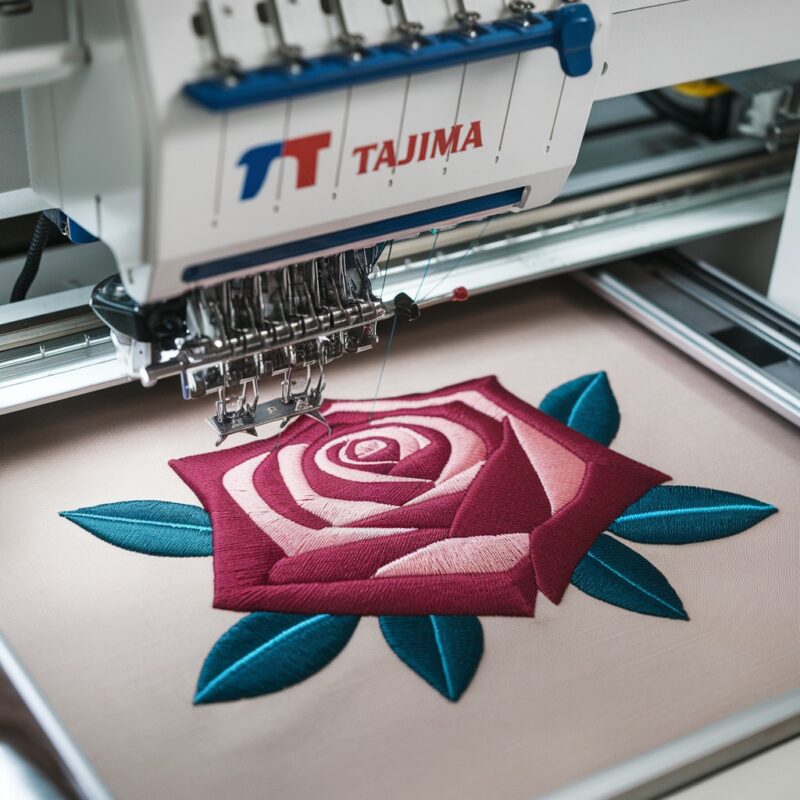
The Tajima TMAR-V1512 Series, equipped with multi-head capabilities and a digitally controlled presser foot, delivers high-quality embroidery on diverse fabrics. However, puckering or distorted embroidery designs can sometimes undermine your project’s appearance. Understanding the root causes and implementing effective solutions can restore design precision and fabric integrity.
Common Causes of Puckering or Distorted Embroidery Designs
- Incorrect Stabilizer Selection: The wrong type or insufficient stabilizer can fail to support the fabric, leading to puckering.
- Tension Issues: Overly tight thread tension creates unnecessary pull, distorting the fabric.
- Improper Hoop Tightness: A loosely hooped fabric can move during stitching, while excessive tightness can stretch the material.
- Uncalibrated Presser Foot Pressure: If the presser foot pressure is not set correctly, it can drag or stretch the fabric, causing puckering.
- Fabric Characteristics: Lightweight or stretch fabrics are prone to puckering if not handled correctly.
- High Stitch Density: Overly dense designs can stress the fabric, resulting in distortions.
Solutions for Puckering or Distorted Designs
1. Choose the Right Stabilizer
- Use stabilizers suited to your fabric type (e.g., cut-away for stretchy fabrics, tear-away for woven fabrics).
- Apply a double layer of stabilizer for added support if needed.
2. Adjust Thread Tension Properly
- Test thread tension on a scrap piece of fabric before starting the project.
- Ensure both top and bobbin thread tensions are balanced to avoid fabric pull.
3. Ensure Correct Hooping
- Hoop the fabric snugly but without stretching it. The material should lay flat and smooth within the hoop.
- For delicate or stretchy fabrics, consider floating them over the hoop using temporary adhesive spray.
4. Calibrate Presser Foot Pressure
- Utilize the digitally controlled presser foot to set the optimal pressure for the fabric type and thickness.
- Reduce pressure for lightweight or delicate fabrics to prevent unnecessary stretching.
5. Adjust Design Settings
- Lower the stitch density in design areas prone to puckering.
- Use underlay stitches to provide a stable base for the top stitches.
6. Consider Fabric Type
- Use backing fabric or spray starch to increase stiffness during embroidery for lightweight fabrics.
- Pre-wash fabrics are prone to shrinkage to prevent distortions after washing.
Advanced Solutions for Puckering & Distorted Designs
Puckering and design distortion can stem from a combination of factors. Addressing these issues in detail ensures precise embroidery output, especially on complex fabrics. Below are more in-depth solutions and insights to tackle puckering effectively:

1. Optimize Fabric Stabilization Techniques
- Layering Stabilizers: For extra support, use multiple layers of stabilizer. Combine a cut-away stabilizer with a water-soluble topping for intricate designs on stretch fabrics.
- Spray Adhesive: Temporarily adhere stabilizer to the fabric with embroidery spray adhesive to prevent shifting during embroidery.
- Fusible Stabilizers: For delicate fabrics like silk or satin, use a fusible stabilizer to prevent movement without pinning or hooping excessively.
2. Thread and Needle Selection
- Thread Quality: High-quality polyester or rayon threads provide better tension and reduce stress on the fabric.
- Needle Type: Use ballpoint needles for knits and sharp needles for woven fabrics. Ensure the needle size matches the thread and fabric thickness.
- Frequent Needle Changes: Replace the needle after every 8–10 hours of use to maintain sharpness and reduce thread breakage or puckering.
3. Digitizing Techniques for Puckering Prevention
- Reduce Stitch Density in Problem Areas: Use design software to adjust stitch counts in areas prone to puckering. Lowering density minimizes fabric stress.
- Pathing Optimization: Ensure the embroidery design path moves logically to avoid unnecessary fabric pull.
- Underlay Stitches: Incorporate underlay stitching, such as zigzag or edge run, to stabilize the fabric before topstitching.
4. Use Fabric-Specific Techniques
- Stretchy Fabrics: For knits or spandex, use a ballpoint needle, a cut-away stabilizer, and a light presser foot pressure to maintain fabric flexibility.
- Delicate Fabrics: Stabilize satin or chiffon with water-soluble toppings and minimal hooping pressure to avoid damage.
- Thick Fabrics: For denim or canvas, loosen the thread tension slightly and use a larger needle to prevent puckering due to fabric rigidity.
5. Leverage the Tajima TMAR-V1512’s Features
- Digitally Controlled Presser Foot: Fine-tune the presser foot pressure for each fabric type. For lightweight fabrics, reduce pressure to prevent drag and distortion.
- Multi-Head Calibration: Ensure all heads in the multi-head system are calibrated identically to avoid variations in design quality.
- Thread Sensor Check: Regularly test the thread sensor system to ensure thread flow is uninterrupted, as snags can lead to puckering.
6. Environmental Considerations
- Humidity Control: High humidity can cause the fabric to absorb moisture and distort under tension. Keep your embroidery area climate-controlled.
- Storage Best Practices: Roll fabrics rather than folding them to avoid creases that may contribute to distortion during hooping.
Preventative Maintenance Tips
- Machine Calibration: Regularly calibrate the TMAR-V1512 to maintain consistent tension, presser foot pressure, and hoop alignment.
- Clean and Oil Regularly: Keep the machine free of lint and ensure moving parts are well-lubricated to prevent performance issues.
- Inspect Hoops: Worn or warped hoops can cause uneven tension. Replace them when necessary to ensure a perfect fit.
Troubleshooting Checklist
Before starting any project, go through this quick checklist to minimize puckering or design distortion:
- Is the stabilizer correctly matched to the fabric?
- Are the fabric and stabilizer hooped snugly and smoothly?
- Is the thread tension balanced and adjusted for the fabric?
- Is the presser foot pressure set correctly for the material?
- Have you optimized the design density for your fabric?
- Are the needles and threads appropriate for the project?
- Is the embroidery machine properly cleaned and maintained?
Conclusion
Puckering and distorted embroidery designs can be avoided with the right combination of stabilizers, hooping techniques, and machine settings. The Tajima TMAR-V1512’s advanced features, like the digitally controlled presser foot and multi-head capabilities, make it easier to achieve precise embroidery on a wide variety of fabrics. Regular maintenance, coupled with proactive preparation, ensures smooth operations and professional-grade results. By applying these solutions, you’ll elevate your embroidery projects and maximize the capabilities of your Tajima machine.