Tajima TMBP-SC Series: Fixing Puckering and Distorted Embroidery Designs

Tajima TMBP-SC Series (Single-Head Compact): Fixing Puckering and Distorted Embroidery Designs
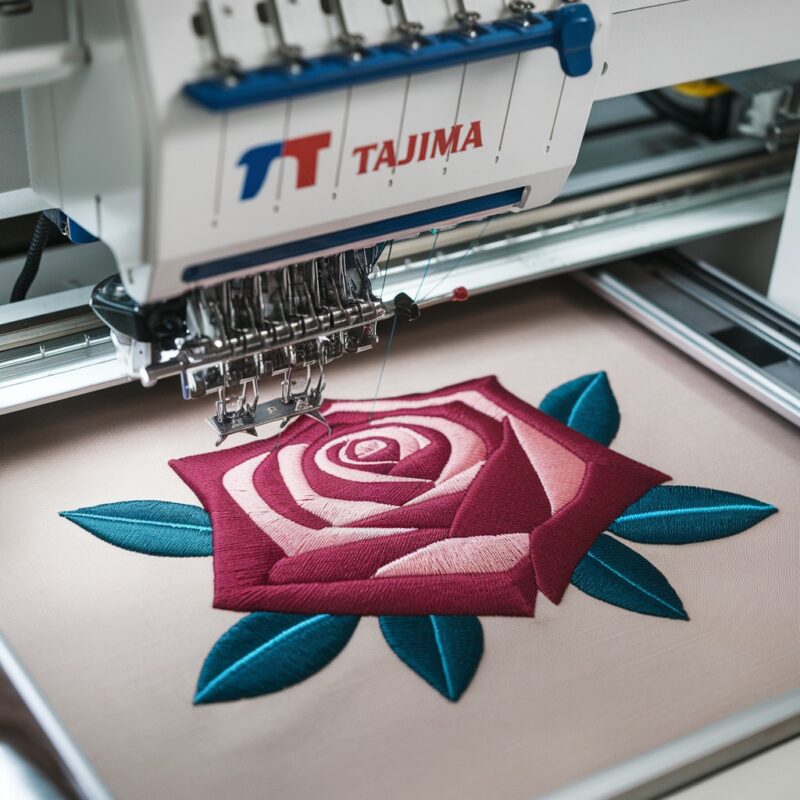
Puckering or distorted embroidery designs can be a frustrating issue, especially when working with the Tajima TMBP-SC Series (Single-Head Compact) embroidery machine. Puckering happens when the fabric gathers or wrinkles around the stitches, creating an uneven and undesirable finish. Distorted designs occur when the alignment of the stitches is off, leading to a design that doesn’t look as expected.
Let’s explore the common causes of puckering and distorted designs and how to resolve these issues to achieve smooth, professional embroidery results.
1. Incorrect Hoop Tension
One of the most frequent causes of puckering is improper hoop tension. If the fabric isn’t hooped tightly enough or is pulled too tightly, it can result in puckering either during or after the embroidery process.
Solution:
- Ensure the fabric is hooped snugly but not stretched. The fabric should lie flat and taut within the hoop, without any slack.
- Adjust the hoop tension by loosening or tightening the screws to find the right balance.
- Always test the hooping on a scrap piece of fabric to confirm there’s no excess movement or pulling.
2. Inadequate Stabilizer
Using the wrong type of stabilizer or not using enough stabilizer can lead to puckering, especially on lightweight or stretchy fabrics. Stabilizers provide support to the fabric, preventing it from shifting or distorting as the stitches are formed.
Solution:
- Choose a stabilizer that matches the fabric type. For light or delicate fabrics, use a lightweight stabilizer, while heavier fabrics may require a medium or heavy stabilizer.
- For stretchy fabrics like knits, use a cutaway stabilizer to prevent fabric stretching during stitching.
- Use multiple layers of stabilizer if necessary, particularly for more complex designs or larger areas of stitching.
3. Thread Tension Imbalance
If the upper or bobbin thread tension is too tight or too loose, it can cause the fabric to bunch up, leading to puckering or distorted designs. Balanced thread tension ensures even stitches without pulling on the fabric.
Solution:
- Adjust the thread tension on both the top and bottom threads to create a balanced stitch. If the fabric is puckering, try loosening the top thread tension slightly.
- Conduct a tension test by running a few stitches on a sample piece. You want the top and bottom threads to meet in the middle of the fabric without pulling to either side.
- Check the bobbin case tension to ensure it’s set properly for the type of thread and fabric you’re using.
PROMOTIONAL SECTION
The All-in-One Solution For All Your Embroidery Business!
Enjoy $0.90 / 1000 Stitches Logo Digitizing
Monthly Cash Back, Free Delivery on Store-wide Products, Dedicated Account Manager, Exclusive Client Dashboard Panel, Bonus Credit & much more.
SIGN UP TODAY & GET FIRST 3 ORDER ABSOLUTELY FREE

Unlock game-changing benefits: expert digitizing services, technical embroidery guidance, seamless management of your business essentials, and free delivery on storewide products—all just for signing up with us. Don’t let these exclusive perks pass you by!
No Credit Card Required
Stay secure with no need to share your credit or debit card details! Experience 100% safe payment methods, including the option to purchase credits for your future orders. Plus, enjoy free credit as a bonus with every credit purchase and more exclusive benefits.
A Game-Changing Advantage
Imagine having a dedicated account manager by your side, ready to handle all your embroidery needs with precision and care. Whether it’s managing your digitizing orders, delivering essential embroidery supplies based on your every embroidery order, or sourcing those hard-to-find spare parts like motors, circuit boards, or sensors, we’ve got you covered. This incredible service ensures your business runs seamlessly, all at no extra cost or monthly fee.
It’s not just support—it’s the ultimate embroidery partnership you didn’t know you were missing for a $0 charge!
Exclusive Client Dashboard Panel
Get Free Account Setup (T&C Applied) and enjoy exclusive benefits: unlimited free estimate requests, streamlined order management, complimentary edit requests, 24/7 access to our ticket system, fast 6-12 hour turnaround times, round-the-clock email and live chat support, and 1-year free design file backup and more.
Recurring Monthly Cashback
Experience out of the box services with Cashback on monthly basis along with discount vouchers on Shop for Registered customers up to 60% on supplies, accessories, spare parts & sensors & Circuit boards and add extra value to your embroidery business.
Free Delivery on all Shop Products
Enjoy free delivery on embroidery supplies, accessories, spare parts, sensors & circuit boards, and store-products, delivered straight to your doorstep! Unlock this exclusive benefits by registering with us for all your digitizing needs. (Embroidery Machine Not Included)
4. Poor Fabric Choice
Certain fabrics, especially delicate or stretchy materials like silk, satin, or jersey, are prone to puckering if not handled properly. These fabrics require extra attention to avoid distortion.
Solution:
- Choose a fabric that is suitable for the type of embroidery you’re doing. If using delicate fabrics, apply a fusible or tear-away stabilizer to help prevent movement.
- For stretchy or knit fabrics, always use a stabilizer and avoid over-stretching the fabric when hooping.
- Use needles and threads that are appropriate for the fabric to reduce the likelihood of puckering.
5. Design Density
Embroidery designs that are too dense for the fabric can cause puckering, as the stitches pull the fabric too tightly. Dense designs are especially problematic on lightweight or thin fabrics.
Solution:
- Reduce the stitch density in your embroidery software. This will lessen the strain on the fabric and reduce the chances of puckering.
- If you’re working with a pre-existing design, check the stitch count. High stitch counts on lightweight fabrics often cause puckering, so opt for a lower-density design or modify the current one.
- Test the design on a sample fabric to ensure it’s not too dense for the material you’re using.
6. Improper Needle Selection
The needle size and type can significantly impact how the fabric and thread interact. Using the wrong needle for the fabric type can lead to puckering or distortion.
Solution:
- Use a needle that matches the fabric and thread type. For lightweight fabrics, a smaller, finer needle (such as a size 70/10 or 75/11) is ideal, while heavier fabrics may require a larger needle (such as a size 80/12 or 90/14).
- Use ballpoint needles for knit or stretchy fabrics, as they reduce fabric damage and prevent pulling that could lead to puckering.
- Regularly change your needles to avoid dullness, which can contribute to fabric distortion.
7. Inconsistent Stitching Speed
Embroidery at inconsistent speeds can cause uneven stitch formation, leading to puckering or misaligned designs. Rapid speed changes may tug at the fabric unevenly, resulting in distortions.
Solution:
- Maintain a consistent stitching speed throughout the embroidery process. Avoid abrupt speed changes, as this can tug the fabric unevenly and create puckering.
- If possible, slow down the stitching speed slightly for more intricate or dense designs, which will allow the machine to handle the fabric and stitches more smoothly.
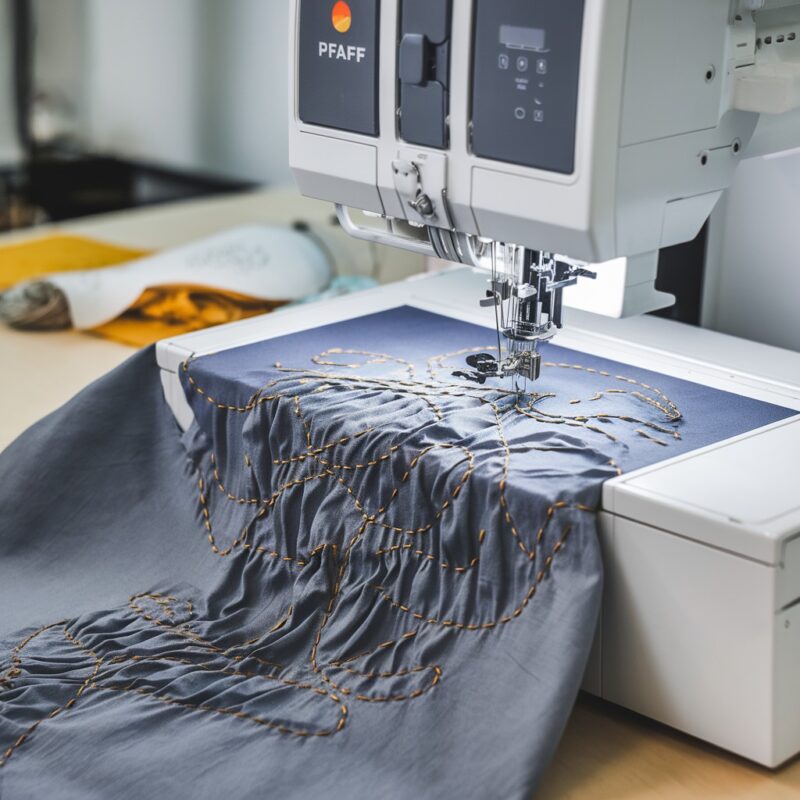
8. Fabric Shift During Embroidery
If the fabric moves or shifts during stitching, it can distort the design, causing the stitches to misalign or create a puckered appearance.
Solution:
- Use temporary adhesive sprays to keep the fabric securely in place, especially for delicate or slippery fabrics.
- Check that the embroidery hoop is properly secured, and the fabric is tightly held to prevent any movement.
- Make sure the hoop is correctly attached to the machine and aligned with the design area.
9. Overly Tight Bobbin Thread
When the bobbin thread is too tight, it pulls the fabric downward, leading to puckering or uneven stitches. This can also distort the overall design, especially on more delicate fabrics.
Solution:
- Adjust the bobbin tension so that it balances with the upper thread tension. The bobbin thread should move freely but with slight resistance.
- If you’re unsure about the correct tension, try using pre-wound bobbins that are designed for specific embroidery machines, as they are pre-set to the right tension levels.
10. Incorrect Software Settings
Sometimes, design issues like puckering or distortion stem from incorrect settings in the embroidery software, such as stitch density, underlay settings, or incorrect fabric selection.
Solution:
- Review your embroidery software settings, making sure they match the fabric and thread you are using. If you have selected the wrong fabric type in the software, it may lead to incorrect stitch density and tension settings.
- Enable the proper underlay options in your design software to provide better support for the stitches, especially on delicate fabrics.
- Run a test stitch on a scrap piece of fabric to identify if the software settings are contributing to the puckering issue.
11. Excessive Tension in the Thread Path
One of the less common but significant causes of puckering or distorted embroidery designs is when the thread path is too tight. If the thread is pulled too taut as it passes through various components of the machine, it can create uneven tension, leading to puckering, especially around stitch points.
Solution:
- Check the thread path for any blockages, tangles, or tight turns that might restrict the flow of the thread.
- Ensure the thread guides, needles, and tension disks are correctly aligned and free from debris or dust.
- Use smooth, high-quality thread that moves easily through the machine to reduce unnecessary friction or resistance.
12. Poor Fabric Alignment
Improper alignment of the fabric can lead to uneven stitching, which results in puckering or distortion. Even slight misalignments can create tension imbalances during stitching, especially when the machine starts working on thicker areas of the design.
Solution:
- Always ensure the fabric is perfectly aligned with the embroidery hoop and the machine’s stitching area.
- Use alignment marks or reference lines to guide the fabric placement before starting the embroidery.
- Double-check the fabric‘s alignment before each new section of stitching, especially on larger designs.
13. Incorrect Speed and Pressure on the Presser Foot
The presser foot plays an important role in keeping the fabric in place as the machine stitches. If the presser foot pressure is too high or too low, it can lead to fabric distortion or puckering.
Solution:
- Adjust the presser foot pressure according to the fabric thickness. For thicker fabrics, use higher pressure, and for lighter fabrics, reduce the pressure to avoid creating puckering.
- If your Tajima machine has an adjustable presser foot pressure setting, test different levels to find the optimal pressure for your fabric type.
- Make sure the presser foot is correctly positioned and not obstructing the fabric’s natural flow.
14. Fabric Shrinking During Embroidery
In some cases, the fabric may shrink during the embroidery process, leading to puckering or distortion. This is particularly common with natural fibers like cotton and linen, which have a tendency to shrink when stitched under tension.
Solution:
- Pre-wash and dry your fabric before starting the embroidery to avoid unexpected shrinkage during the stitching process.
- Consider using fabric stabilizers with built-in shrinkage resistance, especially when working with fabrics prone to shrinking.
- Test the fabric by running a few test stitches on a small section to check for potential shrinkage issues.
15. Too High or Too Low Needle Speed
The speed of the needle’s movement during stitching can impact the final look of your embroidery. If the needle speed is too high, it can create uneven stitching, leading to puckering and distortion. On the other hand, if the needle speed is too slow, it can cause tension issues and thread breakage.
Solution:
- Set the needle speed to an appropriate level for the complexity of the design. Faster speeds work well for simple patterns, while slower speeds are often necessary for intricate or dense designs.
- Test different speeds to find the optimal setting for your fabric and design type.
- Consider using a stitch regulator or fine-tuning the machine’s software to control the stitch speed more precisely.
16. Poor Thread Quality
Thread quality can have a huge impact on the final appearance of your embroidery. Lower-quality threads tend to fray, break, or even change thickness during stitching, which can lead to distortion and puckering, especially on delicate fabrics.
Solution:
- Use high-quality embroidery thread suited for your machine and the fabric you’re working with.
- If you’re working with fine fabrics, use fine threads such as polyester or rayon to prevent thick or coarse threads from causing issues.
- Ensure the thread is correctly stored and unwound to avoid tangling and kinks that can distort the stitching.
17. Using the Wrong Type of Needle for the Thread
Sometimes, using an inappropriate needle for the thread can cause thread tension issues, leading to puckering or distorted embroidery designs. For instance, using a needle with a small eye for thick thread can create too much tension, pulling the fabric out of shape.
Solution:
- Select a needle that is compatible with the thread type and fabric. For example, when using heavier threads, select a needle with a larger eye, such as a 90/14 or 100/16, to avoid excessive thread tension.
- Check that the needle is clean and free from any rust or debris that could affect its performance.
- Regularly replace needles as they wear out or become dull to ensure clean, smooth stitching.
18. Too Much Fabric Movement During Stitches
When the fabric moves too much during the stitching process, it leads to distortions in the design, especially in dense areas or with multi-colored threads. Fabric movement often occurs when the machine’s hold on the fabric isn’t secure enough.
Solution:
- Secure the fabric well before starting the embroidery by using stabilizers, clips, or adhesive sprays to keep the fabric in place.
- Make sure the fabric is properly hooped and that the hoop is securely attached to the machine.
- Avoid overhandling the fabric after it’s hooped to prevent unnecessary movement during stitching.
19. Thread Tension Too Tight or Loose
As mentioned previously, thread tension plays a huge role in ensuring a smooth finish. If the top or bobbin thread tension is too tight, the fabric may gather and pucker. Conversely, if the tension is too loose, it can lead to uneven stitching, also resulting in distorted designs.
Solution:
- Check both the top and bottom thread tensions to make sure they are balanced. Tighten or loosen the upper tension dial as needed, and adjust the bobbin tension if required.
- Perform a quick tension test using a piece of scrap fabric to verify if the tension settings are correct.
- If you’re using thicker or specialty threads, remember to adjust the tension accordingly.
20. Ignoring Maintenance and Cleaning
Embroidery machines, especially commercial ones like the Tajima TMBP-SC Series, require regular maintenance to perform at their best. A buildup of dust, thread lint, or other debris can affect the machine’s function, leading to distorted stitching and puckering.
Solution:
- Regularly clean your machine, including the needle area, bobbin case, and thread path, to ensure smooth operation.
- Lubricate the moving parts of the machine as per the manufacturer’s instructions.
- Schedule routine maintenance checks to ensure your machine is running optimally and avoid issues that could lead to puckering or design distortion.
Conclusion
Puckering and distorted embroidery designs on the Tajima TMBP-SC Series (Single-Head Compact) machine can often be resolved by addressing these common issues, such as improper hoop tension, wrong stabilizers, thread tension problems, or fabric choice. By following these tips and ensuring your machine is properly maintained, you’ll be able to achieve smooth, clear, and accurate designs every time. Remember that every fabric and design has unique needs, so always test and adjust your settings accordingly to ensure the best possible results.