Singer Futura XL-550: Common Errors in Puckering Embroidery Designs and Solutions
Singer Futura XL-550: Common Errors in Puckering Embroidery Designs and Solutions
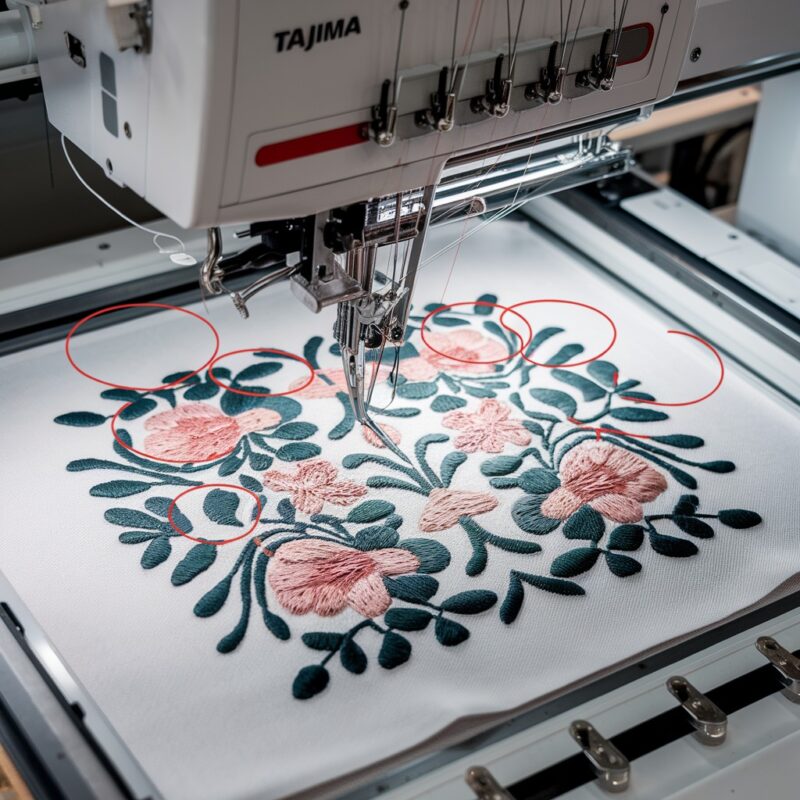
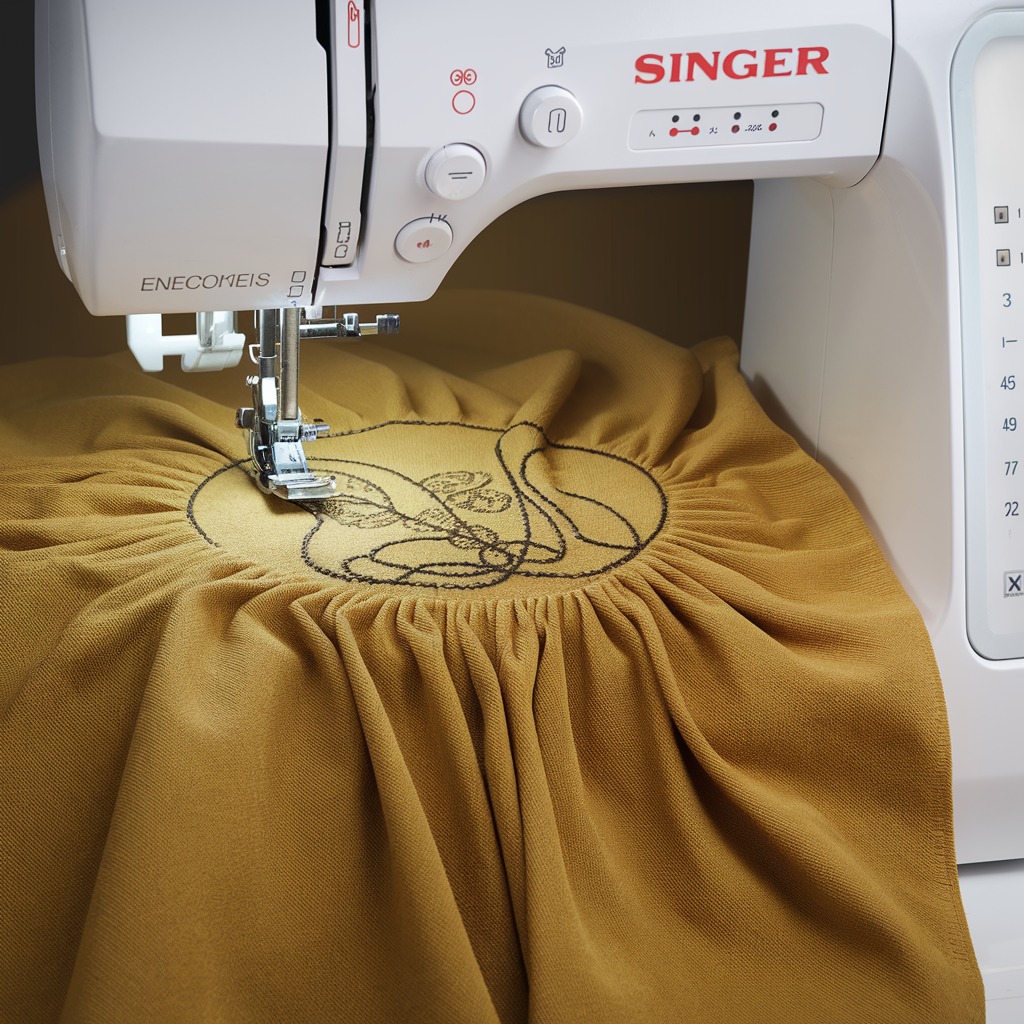
Puckering or distorted embroidery designs can be a frustrating issue when working with the Singer Futura XL-550. This problem occurs when the fabric wrinkles or the design becomes misaligned during or after stitching, leading to an unattractive finished product. Understanding the common causes of puckering and how to resolve them will help you achieve cleaner, more professional embroidery results. Here are some key reasons and solutions for puckering or distorted designs on the Singer Futura XL-550.
Common Causes and Solutions for Puckering or Distorted Designs
1. Improper Fabric Stabilization
The most common cause of puckering is inadequate fabric stabilization. If the stabilizer doesn’t support the fabric properly, the fabric can shift during embroidery, causing puckering and distortion.

Solution:
- Use the correct stabilizer for the fabric. For lightweight fabrics, use a cut-away stabilizer. For heavier fabrics, tear-away stabilizers can be used.
- If you’re using stretchy fabrics, opt for a fusible stabilizer to keep the fabric from shifting during stitching.
- Make sure the stabilizer covers the entire embroidery area and is hooped securely with the fabric to prevent movement.
2. Hoop Tension Issues
Incorrect hooping is another major cause of puckering. If the fabric is too loose in the hoop or overly stretched, it will shift, leading to design distortion.
Solution:
- Ensure the fabric is tightly hooped without being overstretched. The fabric should be taut, not pulled or distorted in the hoop.
- Check that the hoop is properly aligned and tightened before starting the embroidery. Always use the correct hoop size for your design.
- Avoid over-tightening the screws on the hoop, as this can stretch the fabric unnaturally.
3. Incorrect Thread Tension
Uneven thread tension can cause puckering by pulling the fabric excessively during stitching. Both upper and bobbin thread tensions must be balanced to prevent distortion.
Solution:
- Adjust the thread tension settings on your machine. Begin with the recommended tension for the thread and fabric type, and adjust as needed.
- Test the tension on a small scrap of fabric before embroidering the final design.
- If you’re using specialty threads like metallic or rayon, be aware that they may require specific tension adjustments.
4. Needle Size and Type
The wrong needle can also cause fabric to pucker or result in uneven stitches. A needle that is too large or dull can pull on the fabric, causing distortion.
Solution:
- Use a needle size appropriate for the fabric type. A fine needle (70/10) works best for lightweight fabrics, while a larger needle (90/14) is suitable for heavier fabrics.
- Change your needle regularly, especially if it becomes dull or damaged.
- For delicate fabrics, consider using a ballpoint needle to avoid tearing or damaging the fibers.
5. Fabric Type
Some fabrics, especially those that are very delicate, stretchy, or lightweight, are prone to puckering during embroidery. Silk, chiffon, and thin cottons, for example, may require extra care to prevent distortion.
Solution:
- Use a stabilizer that matches the fabric type. Delicate fabrics may require a lighter stabilizer, but ensure that it still provides adequate support.
- For very delicate fabrics, a water-soluble stabilizer can help stabilize the top surface while minimizing damage to the fabric.
- Pre-wash the fabric before embroidering, as some fabrics can shrink or distort after being washed, leading to puckering in the final design.
6. Improper Stitch Density
Designs with too high a stitch density can lead to puckering because the thread is too tightly packed into the fabric, pulling it out of shape.
Solution:
- Use embroidery software to check and adjust the stitch density of your design. Designs with very dense stitching may need to be edited to reduce the number of stitches.
- For very fine fabrics, lower the stitch density to reduce strain on the material.
- Always test the design on a scrap of fabric before embroidering on the final project.
7. Design Size and Fabric Compatibility
Larger or more complex designs may not work well with certain fabrics, especially if the fabric is lightweight or prone to stretching.
Solution:
- Choose embroidery designs that are appropriate for the fabric being used. Avoid overly large or dense designs for lightweight or delicate fabrics.
- If using a large design, consider splitting it into sections or using a combination of stabilizers to support the fabric during embroidery.
- Avoid embroidering large designs near fabric edges, as this can cause pulling and puckering.
8. Use a Basting Stitch
Basting stitches help to anchor the fabric to the stabilizer before the embroidery begins, ensuring that everything stays in place.
Solution:
- Apply a basting stitch around the perimeter of the design area. Many embroidery machines, including the Singer Futura XL-550, come with a basting stitch option. This stitch temporarily secures the fabric and stabilizer, reducing movement and preventing shifting.
- Basting can be done either manually or using your machine’s automatic basting function if available. Remove the basting stitch after the embroidery is complete.
9. Use a Layer Stabilizer for Delicate Fabrics
Some fabrics are more prone to distortion due to their delicate or slippery nature. A top-layer stabilizer can help prevent these fabrics from shifting during embroidery.
Solution:
- For fabrics like velvet, silk, and satin, consider using a water-soluble top stabilizer. This layer prevents the fabric from shifting or sinking into the stitches.
- Once the embroidery is complete, the water-soluble stabilizer can be dissolved with a bit of water, leaving behind a smooth, puckering-free design.
10. Slow Down the Machine Speed
High-speed embroidery can sometimes result in fabric distortion, especially when working with intricate designs or delicate fabrics.
Solution:
- Reduce the embroidery machine speed for more delicate or complex projects. The Singer Futura XL-550 allows you to adjust the speed, providing better control and reducing the risk of fabric shifting or puckering.
- Slower stitching gives the fabric more time to adjust to the needle movements, leading to smoother results and minimizing tension on the fabric.
11. Consider Using a Floating Method for Thick Fabrics
For thicker or hard-to-hoop fabrics, the traditional hooping method may not work well. In such cases, you can use a technique called “floating,” where the fabric is not directly hooped but is instead placed on top of the stabilizer.
Solution:
- Cut a piece of adhesive stabilizer and hoop it tightly. Then, place the fabric on top of the stabilizer without hooping it. The adhesive will hold the fabric in place without causing puckering or distortion.
- Use clips or pins to further secure the fabric around the hoop’s edges if needed. This method is useful for bulky fabrics like towels or thick jackets that are difficult to fit into a hoop.
12. Regular Machine Maintenance
Machine maintenance is critical in ensuring smooth embroidery operations. Dirt, lint buildup, or a dull needle can cause the machine to malfunction, leading to puckering or other design distortions.
Solution:
- Clean your machine regularly, removing any lint or debris that may have accumulated, especially around the bobbin case and needle plate.
- Keep your machine well-lubricated according to the manufacturer’s recommendations.
- Replace needles frequently, as a dull or bent needle can lead to fabric distortion.
13. Use Pre-Washed Fabric
Some fabrics shrink after the first wash, which can lead to puckering in the design if embroidered on unwashed fabric.
Solution:
- Pre-wash your fabric before starting the embroidery process, especially if you are using natural fibers like cotton or linen. This will prevent post-embroidery shrinkage that could distort your design.
- Make sure the fabric is fully dry and pressed before hooping it for embroidery.
14. Design Placement Considerations
The placement of your embroidery design can also impact whether puckering occurs. Embroidering near seams or edges can put unnecessary stress on the fabric, leading to distortion.
Solution:
- Avoid placing designs too close to fabric edges, seams, or other areas with irregular thicknesses.
- If you need to embroider near these areas, consider reinforcing the fabric with an additional stabilizer or adjusting the design to reduce stitch density.
Conclusion:
Puckering and design distortion on the Singer Futura XL-550 can be avoided with the right techniques and machine settings. From choosing the proper stabilizer to ensuring correct thread tension and using advanced methods like floating, you can achieve beautiful, smooth embroidery results. Regular machine maintenance, proper fabric preparation, and design placement will further help ensure that your projects remain professional-looking and free from puckering.
By following these guidelines and taking a bit of extra care, you’ll avoid common pitfalls and produce consistent, high-quality embroidery on any fabric.