Needle Breaking Issues on Singer Futura XL-580: Causes and Solutions

Common Needle-Breaking Issues on Singer Futura XL-580: Causes and Solutions
Needle breaking is one of the most common and frustrating issues faced by users of the Singer Futura XL-580 embroidery machine. This problem can disrupt your project and damage your fabric. However, understanding the root causes and applying the correct solutions can help prevent frequent needle breakage. Below, we explore the most common reasons behind needle breaking and how to fix them.
Causes of Needle Breaking on the Singer Futura XL-580
-
Incorrect Needle Type:
Using the wrong needle type for your fabric or thread can cause the needle to break under pressure.
Solution: Ensure that you are using the correct needle for your project. For thick or heavy fabrics, use a larger, stronger needle (e.g., a denim or embroidery needle). For delicate fabrics, use a smaller, fine needle. Always refer to the needle chart in your machine‘s manual. -
Needle Positioned Incorrectly:
If the needle is not inserted properly or not fully seated in its holder, it is more prone to breaking.
Solution: Always ensure the needle is inserted as far as it can go and that the flat side is facing the correct direction. Tighten the needle clamp securely after positioning the needle. -
Bent or Dull Needle:
Over time, needles can become dull or bent, making them more likely to break, especially when stitching dense designs.
Solution: Regularly replace needles to avoid issues. It is recommended to replace the needle after every project or after several hours of continuous use. Inspect the needle for any bends or dullness before starting your project.
-
Fabric Not Properly Stabilized:
Without proper stabilization, the fabric may shift or stretch during embroidery, leading to needle breakage.
Solution: Use the right type of stabilizer for your fabric. For stretchy or slippery fabrics, use a heavier stabilizer like a cut-away or an adhesive stabilizer to prevent movement. -
Incorrect Thread Tension:
High thread tension can cause excessive stress on the needle, leading to breakage.
Solution: Adjust the thread tension settings on your machine to suit your fabric and thread type. Run a test stitch on a piece of scrap fabric to ensure that the tension is balanced. -
Needle Striking Hoop or Presser Foot:
If the needle hits the embroidery hoop or presser foot, it can break instantly.
Solution: Make sure that the embroidery hoop is correctly aligned and not too close to the needle. Also, check that the presser foot is properly attached and functioning without obstruction. -
Sewing Too Fast:
High-speed embroidery can put undue stress on the needle, causing it to break, especially on dense designs or thick fabrics.
Solution: Slow down the machine’s speed when working on thick fabrics, complex designs, or multiple layers. The Singer Futura XL-580 allows you to adjust the speed to suit the project. -
Fabric is Too Thick or Layered:
If you’re working with particularly thick or layered fabrics, the needle may struggle to penetrate, leading to breakage.
Solution: Choose a needle size suitable for thick fabrics (e.g., a 90/14 or 100/16 size needle). If you’re working with multiple layers, consider reducing the layers or adjusting your design to accommodate. -
Poor Quality Thread:
Using low-quality or inappropriate thread can increase friction and tension on the needle, leading to breakage.
Solution: Always use high-quality embroidery thread specifically designed for machine embroidery. Avoid old or damaged thread that can weaken and cause unnecessary strain on the needle. -
Improper Bobbin Winding:
If the bobbin is wound unevenly or too tightly, it can create tension issues that contribute to needle breaking during embroidery.
Solution: Ensure that the bobbin is correctly wound using the machine’s automatic winding function. Make sure the thread is evenly distributed and that the bobbin tension is balanced. -
Misaligned Bobbin Case:
If the bobbin case is misaligned, it can cause the needle to strike it during embroidery, leading to breaks.
Solution: Inspect the bobbin case regularly and ensure it is correctly seated and aligned with the needle plate. If necessary, consult the machine’s manual for instructions on adjusting the bobbin case. -
Wrong Presser Foot:
Using the wrong presser foot for embroidery or using a damaged foot can cause the needle to hit it, leading to frequent breakage.
Solution: Make sure that the correct presser foot is installed for your embroidery project. The Singer Futura XL-580 comes with different feet, including a specialized embroidery foot, which must be used during embroidery. Ensure that the foot is properly attached and undamaged. -
Improper Threading:
Incorrect threading of the machine can increase tension on the needle, causing breaks during embroidery.
Solution: Always follow the correct threading path as per your machine’s manual. Double-check the threading each time you start a new project, ensuring the thread flows smoothly through the machine’s tension disks and guides. -
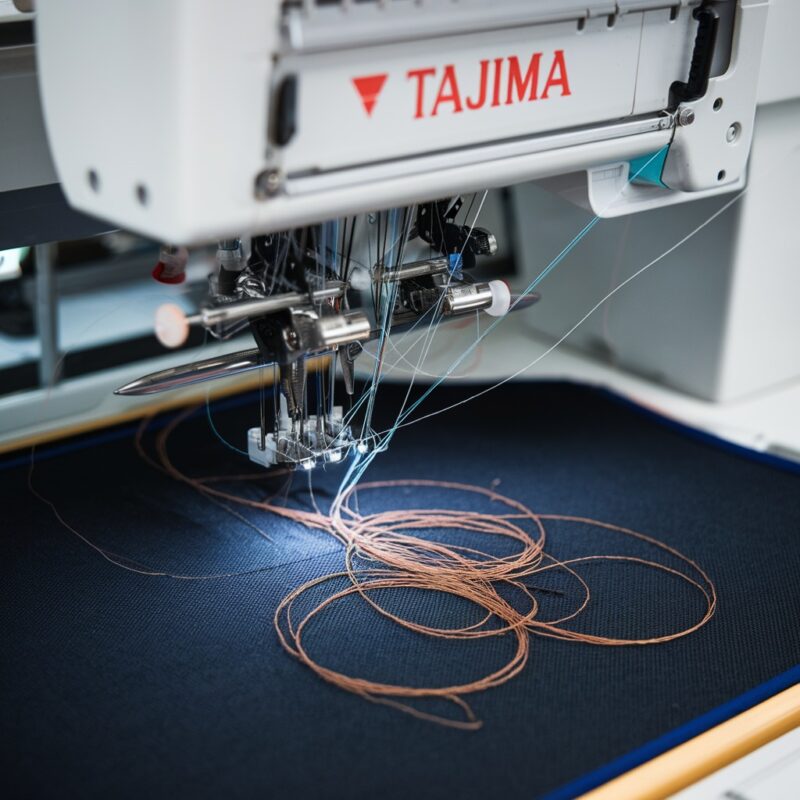
Thread Wrapped Around the Needle:
Sometimes the upper thread can wrap around the needle, causing it to snap, especially during dense or high-speed stitching.
Solution: Check periodically for any tangles or thread bunching around the needle area. Clear the thread path and ensure the thread is feeding smoothly from the spool. -
Incorrect Hoop Placement:
Misaligned or loose hoops can cause the fabric to move during stitching, leading to stress on the needle, and resulting in breakage.
Solution: Always make sure the fabric is hooped tightly and the hoop is properly placed in the machine’s embroidery area. Ensure the fabric is taut but not overly stretched, which could distort your design.Proactive Tips to Prevent Needle-Breaking
- Regular Needle Replacement: Don’t wait for the needle to break before replacing it. Regular changes can prevent breakage and ensure smooth stitching.
- Use High-Quality Needles: Cheap or inferior needles are more likely to break. Invest in high-quality embroidery needles that are durable and reliable.
- Hoop Fabric Properly: Ensure your fabric is taut and properly hooped to avoid unnecessary needle strain.
- Double-Check Design Settings: Make sure the design density and stitch length are appropriate for your project.
- Inspect Needles Regularly: Look for any bends, nicks, or dullness, and replace them as soon as any signs of wear are present.
- Calibrate Your Machine: Periodically recalibrate your machine to ensure it is functioning correctly and is in optimal condition. Refer to your machine‘s manual for details on how to do this.
- Perform Routine Maintenance: Keep your machine clean and free from dust or lint buildup. Regular oiling and professional servicing can also prevent issues that lead to needle breaking.