Errors and Solutions for Needle Breaking in Tajima TMBP-SC Series Embroidery Machines
Errors and Solutions for Needle Breaking in Tajima TMBP-SC Series Embroidery Machines
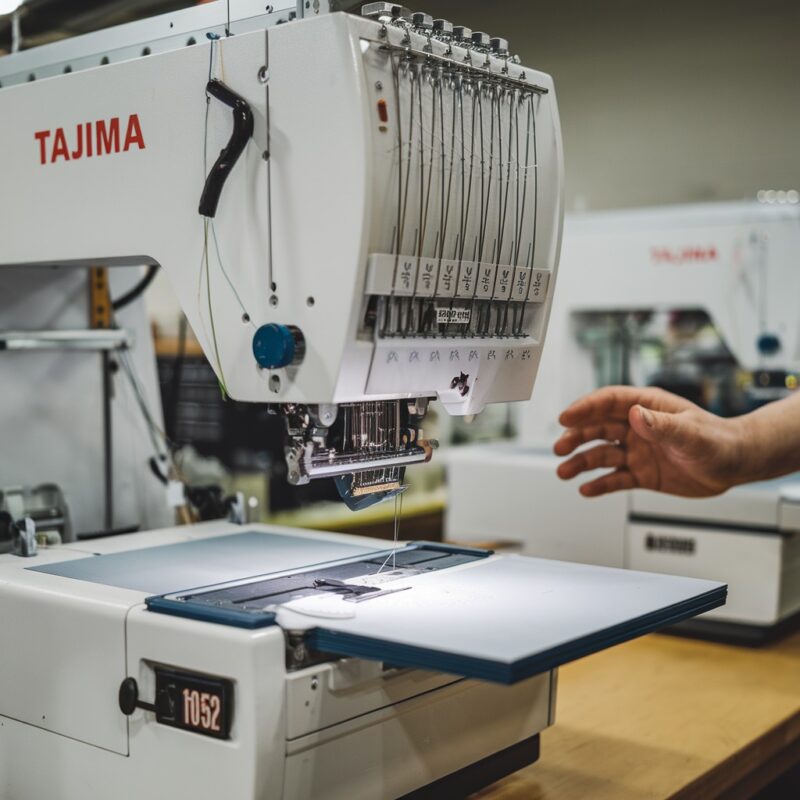
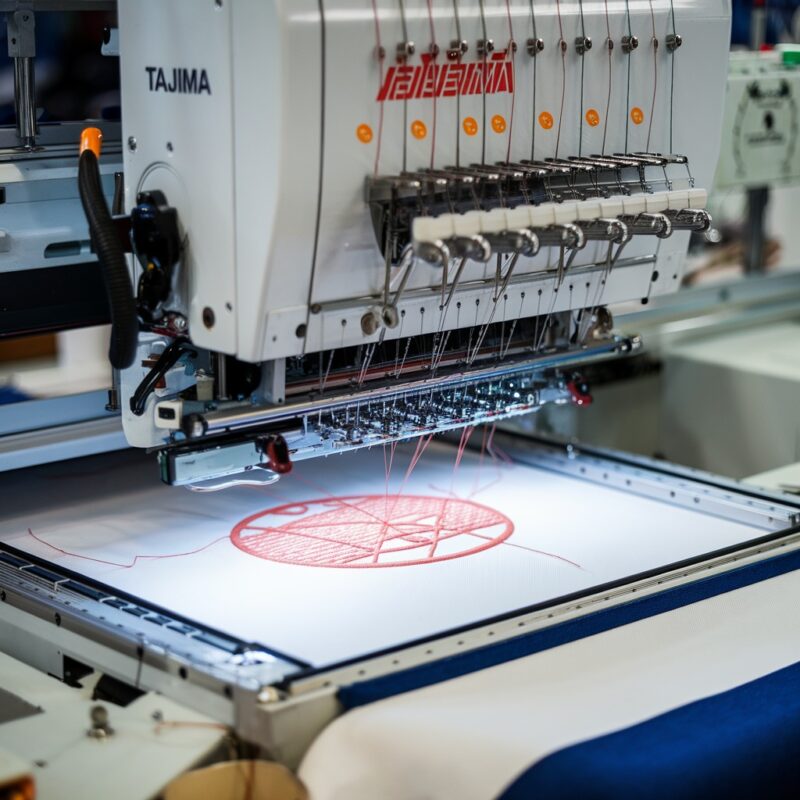
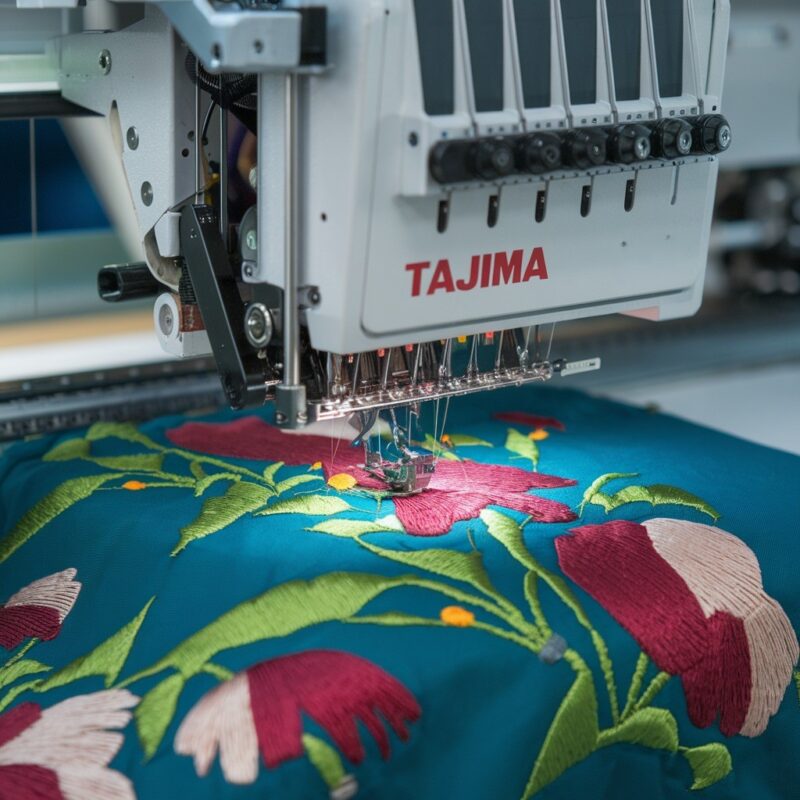
The Tajima TMBP-SC Series single-head compact embroidery machines are renowned for their efficiency and precision. However, like any sophisticated machine, they can encounter issues that disrupt your workflow, one of the most frustrating being needle-breaking. Understanding the common causes and solutions for needle breaks can help you keep your machine running smoothly and ensure that your embroidery projects progress without a hitch. Here’s a comprehensive guide to troubleshooting needle breaking in your Tajima TMBP-SC Series machine.
1. Incorrect Needle Size or Type
Using the wrong needle size or type can significantly increase the risk of needle breaking. If the needle is too small for the thread or fabric being used, it can bend and break during operation.
Solution:
- Always match the needle size and type to the fabric and thread you are using. Refer to the machine manual or thread manufacturer’s guidelines to select the appropriate needle for your project. For instance, use ballpoint needles for knits and sharp needles for woven fabrics.
2. Dull or Worn Needles
Needles can wear down over time or become dull from use. A worn needle can cause friction, leading to breakage as it struggles to penetrate the fabric properly.
Solution:
- Replace needles regularly, especially if you notice a change in stitch quality or if you’ve been working with particularly thick or dense materials. A good rule of thumb is to change the needle after every 8 to 10 hours of sewing or when switching to a different fabric type.
3. Improper Thread Tension
Incorrect thread tension can cause the needle to work harder than necessary, increasing the likelihood of breaking. If the upper thread tension is too tight, it can pull the needle out of alignment, leading to breakage.
Solution:
- Adjust the upper thread tension to achieve a balanced stitch. Test the tension on scrap fabric before starting your main project. Ideally, the tension should allow the top and bobbin threads to interlock evenly within the fabric.
PROMOTIONAL SECTION
The All-in-One Solution For All Your Embroidery Business!
Enjoy $0.90 / 1000 Stitches Logo Digitizing
Monthly Cash Back, Free Delivery on Store-wide Products, Dedicated Account Manager, Exclusive Client Dashboard Panel, Bonus Credit & much more.
SIGN UP TODAY & GET FIRST 3 ORDER ABSOLUTELY FREE

Unlock game-changing benefits: expert digitizing services, technical embroidery guidance, seamless management of your business essentials, and free delivery on storewide products—all just for signing up with us. Don’t let these exclusive perks pass you by!
No Credit Card Required
Stay secure with no need to share your credit or debit card details! Experience 100% safe payment methods, including the option to purchase credits for your future orders. Plus, enjoy free credit as a bonus with every credit purchase and more exclusive benefits.
A Game-Changing Advantage
Imagine having a dedicated account manager by your side, ready to handle all your embroidery needs with precision and care. Whether it’s managing your digitizing orders, delivering essential embroidery supplies based on your every embroidery order, or sourcing those hard-to-find spare parts like motors, circuit boards, or sensors, we’ve got you covered. This incredible service ensures your business runs seamlessly, all at no extra cost or monthly fee.
It’s not just support—it’s the ultimate embroidery partnership you didn’t know you were missing for a $0 charge!
Exclusive Client Dashboard Panel
Get Free Account Setup (T&C Applied) and enjoy exclusive benefits: unlimited free estimate requests, streamlined order management, complimentary edit requests, 24/7 access to our ticket system, fast 6-12 hour turnaround times, round-the-clock email and live chat support, and 1-year free design file backup and more.
Recurring Monthly Cashback
Experience out of the box services with Cashback on monthly basis along with discount vouchers on Shop for Registered customers up to 60% on supplies, accessories, spare parts & sensors & Circuit boards and add extra value to your embroidery business.
Free Delivery on all Shop Products
Enjoy free delivery on embroidery supplies, accessories, spare parts, sensors & circuit boards, and store-products, delivered straight to your doorstep! Unlock this exclusive benefits by registering with us for all your digitizing needs. (Embroidery Machine Not Included)
4. Needle Hitting the Hoop or Fabric
If the needle is misaligned or if the hoop is set incorrectly, the needle may strike the hoop or fabric, leading to breakage. This can occur particularly with intricate designs or when working with thick materials.
Solution:
- Always ensure that the fabric is hooped properly and that the hoop is positioned correctly in relation to the needle. Use a suitable stabilizer for the fabric to provide additional support and prevent the needle from hitting the hoop.
5. Excessive Speed Settings
Running the embroidery machine at excessively high speeds can put too much strain on the needle, causing it to break. This is particularly true when stitching dense designs or working with heavier fabrics.
Solution:
- Reduce the machine‘s speed settings, especially when working with intricate designs or thick materials. Slower speeds allow for better control and reduce the risk of needle breakage.
6. Fabric Too Thick or Dense
When the fabric being embroidered is too thick or dense for the needle being used, it can lead to needle breakage. This is often a problem with multiple layers or heavy materials.
Solution:
- Choose a larger, stronger needle suitable for heavy fabrics. Additionally, use appropriate stabilizers to support the fabric and prevent needle strain.
7. Improperly Installed Needle
If the needle is not installed correctly, it may be positioned at an improper angle, leading to breakage as it attempts to penetrate the fabric.
Solution:
- Make sure to install the needle with the flat side facing the right direction, usually towards the back of the machine. Double-check that the needle is securely tightened and in the correct position.
8. Thread Caught in the Needle or Hook
Sometimes, the thread can become caught in the needle or the machine’s hook, leading to excessive pressure on the needle and eventual breakage.
Solution:
- Regularly inspect the threading path for any tangles or catches. Ensure that the upper thread and bobbin are both correctly threaded and that there are no knots or tangles in the thread.
9. Overusing the Machine
Using the machine for long periods without breaks can lead to overheating, which may cause various mechanical failures, including needle breakage.
Solution:
- Schedule regular breaks during operation to allow the machine to cool down. This will help maintain optimal performance and reduce wear on the components, including the needles.
10. Inadequate Stabilization of Fabric
Insufficient stabilization can lead to fabric movement or distortion during the embroidery process, which can cause the needle to hit the fabric improperly and break. This is especially true for stretchy or slippery fabrics.
Solution:
- Always use an appropriate stabilizer for the fabric type and design complexity. For stretchy fabrics, consider using a cutaway stabilizer to maintain the fabric‘s shape. For delicate fabrics, opt for a lightweight tear-away stabilizer that won’t damage the material.
11. Incorrect Hooping Technique
Improper hooping can create uneven tension on the fabric, leading to movement while the machine is sewing. This movement can cause the needle to strike the hoop or the fabric itself.
Solution:
- Ensure that the fabric is hooped tightly but not overstretched. When hooping, make sure the fabric is flat and smooth, with no wrinkles or bunching. Always check the hooping technique recommended in the machine’s manual for best practices.
12. Using Specialty Threads
Specialty threads, such as metallic or thick threads, can require different needle types and sizes. Using standard needles with these types of threads may lead to breakage due to the added strain.
Solution:
- When using specialty threads, select the appropriate needle type designed for them, such as a metallic needle for metallic threads. These needles typically have a larger eye to accommodate thicker threads and reduce the risk of breakage.
13. Environmental Factors
Humidity and temperature can affect the performance of your embroidery machine and the materials used. High humidity can cause threads to swell or become weak, while extreme temperatures can affect needle integrity.
Solution:
- Store your threads and materials in a climate-controlled environment to maintain their quality. Avoid direct sunlight or damp areas to prevent thread degradation. Regularly check the machine for any signs of wear caused by environmental factors.
14. Misaligned Thread Path
If the thread path is misaligned, friction can be created as the thread moves through the machine. This can lead to thread wear and eventual breakage.
Solution:
- Regularly check the thread path for alignment issues. Ensure the thread passes through all the guides and tension discs as intended. If you notice any misalignments, re-thread the machine carefully, following the threading diagram in the manual.
15. Accumulation of Lint and Dust
Dust and lint buildup can obstruct the movement of the needle and thread, increasing the risk of breakage. This can occur in various parts of the machine, especially in the needle and bobbin areas.
Solution:
- Regularly clean your machine, focusing on the needle area, bobbin case, and any thread guides. Use a soft brush or compressed air to remove lint and dust. Maintaining a clean machine will help ensure smooth operation and reduce the chances of needle breakage.
16. Overuse of Certain Needle Types
Some needle types, like embroidery needles, are specifically designed for certain tasks. Overusing a needle type for applications outside its intended purpose can lead to breakage.
Solution:
- Use needle types according to their intended applications. For example, switch to a regular sewing needle when not embroidering, and reserve embroidery needles for your embroidery tasks. This will prolong the life of your needles and reduce breakage.
17. Machine Malfunction
In some cases, needle breaking may be caused by a malfunction within the machine itself, such as a misaligned needle bar or an issue with the hook mechanism.
Solution:
- If you have ruled out all other factors and the problem persists, consult the user manual for troubleshooting tips or seek professional servicing. Regular machine maintenance by a qualified technician can help identify and rectify mechanical issues before they cause more significant problems.
Conclusion
Needle breaking is a common concern for users of the Tajima TMBP-SC Series embroidery machines, but many of these issues can be prevented with proper care and attention. By selecting the right needle, maintaining appropriate tension, ensuring proper hooping, and performing regular maintenance, you can significantly reduce the likelihood of needle breaks. Keeping these best practices in mind will not only enhance your embroidery experience but also lead to higher-quality finished products.