Blog
Tajima TMBP-SC: Needle Breaking Troubleshooting Guide

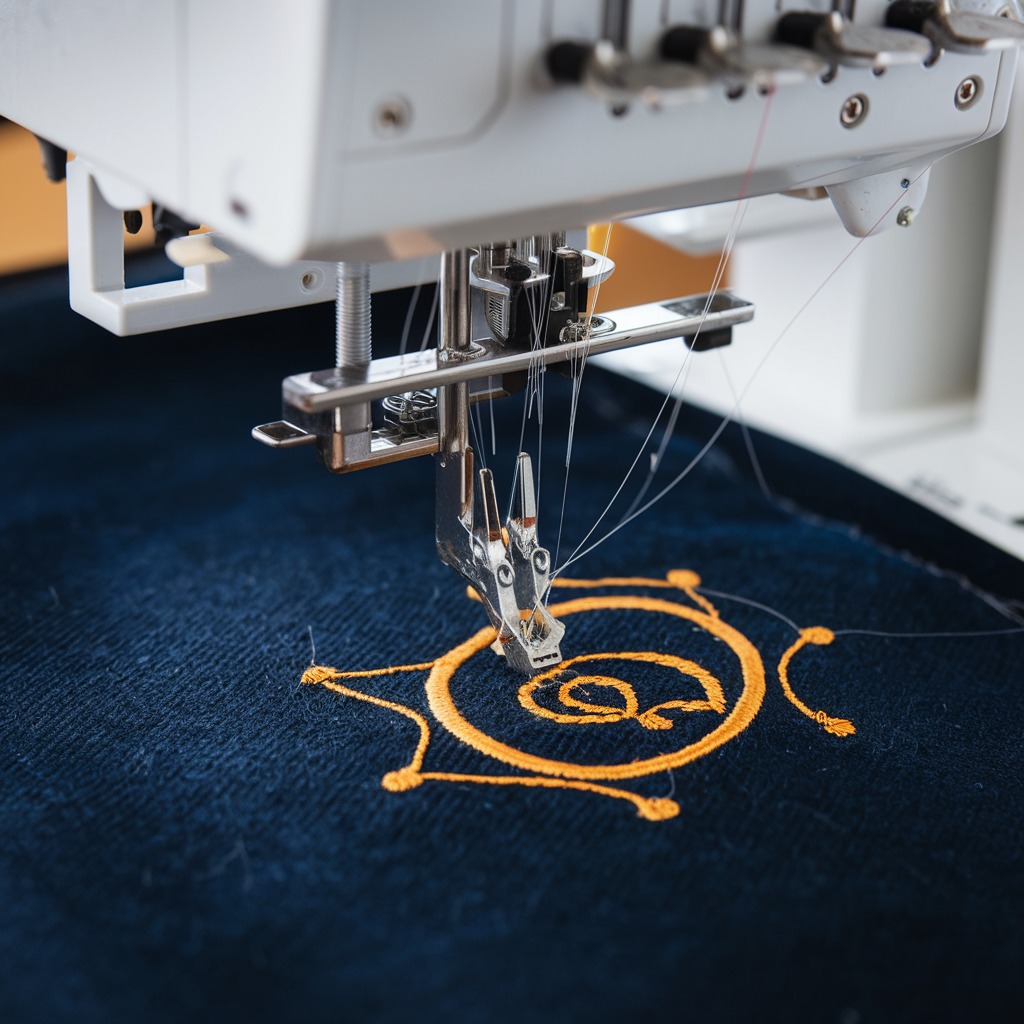
Quick answer: Needle breaking on a Tajima TMBP-SC is most often caused by incorrect needle installation, worn needles, improper thread tension, or the needle striking the hoop or fabric. Systematically check these common issues first.
Needle breaking is a common and frustrating issue on any embroidery machine, including the Tajima TMBP-SC. This guide provides practical, step-by-step solutions to diagnose and fix the most common causes of needle breakage, helping you get back to embroidering quickly.
Two-minute checks before you open anything
- Is the needle installed correctly with the scarf facing the back and fully seated?
- Is the needle dull, bent, or worn? Replace it.
- Is the upper thread tension too tight?
- Is the fabric hooped correctly and taut, without wrinkles?
- Is the machine speed appropriate for the design and material?
1. Improperly Installed Needle high likelihood
How to tell
Needle breaks immediately upon starting, or consistently breaks at the same point in the design. The needle may appear crooked or not fully seated in the needle bar.
Fix
- Loosen the needle set screw on the needle bar.
- Remove the old needle.
- Insert a new needle, ensuring the scarf (flat side) faces directly to the rear of the machine.
- Push the needle fully upwards into the needle bar until it stops.
- Tighten the needle set screw firmly. Do not overtighten.
- Manually turn the main shaft (hand wheel) to cycle the needle through a few stitches to confirm clearance.
Parts involved: Needles & needle bars → Screws, springs & small parts →
2. Dull, Worn, or Incorrect Needle Type/Size high likelihood
How to tell
Needle breaks after repeated use, or when encountering dense areas. Stitch quality may degrade before breakage. Using the wrong needle for the fabric or thread (e.g., too small for thick thread, sharp for knit, ballpoint for woven) can cause breakage.
Fix
- Replace the needle with a new, sharp needle of the correct type and size.
- For general embroidery, use a standard embroidery needle (e.g., DBxK5).
- Match needle size to thread weight and fabric density (e.g., larger needle for thicker threads/fabrics).
- Use ballpoint needles for knits and sharp needles for wovens.
- For specialty threads (metallic, thick), use needles designed for them (e.g., metallic needles with larger eyes).
Parts involved: Needles & needle bars → Threads & supplies →
Parts you may need for Tajima TMBP
In stock, tested before dispatch, Buyer Protection on every order. Part types for this problem: Needles & needle bars, Screws, springs & small parts, Threads & supplies, Thread path & tension.
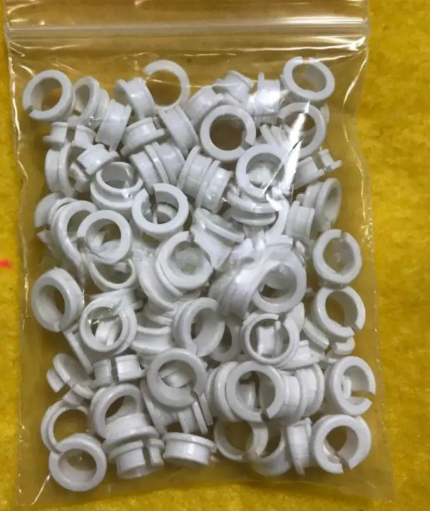 Tajima EF0613220000 EF0613210000 090460040020 090460040031 Presser ...$ 18.09View part →
 Tajima Magnetic Hoops for TEMX 1501, TFMX-C1201, SAI, TMEZ-S1501C E...$ 63.49View part →
 Sewtalent Magnetic Embroidery Hoops for Tajima TFMX-C1501 Machine -...$ 64.29View part →
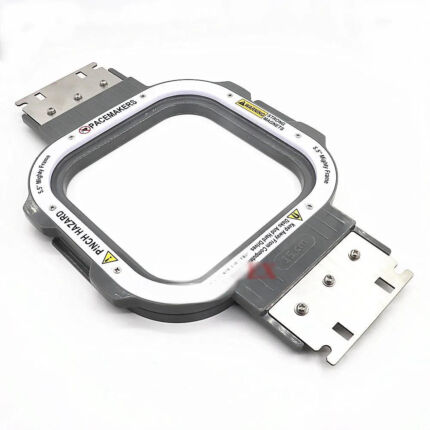 Tajima Magnetic Embroidery Hoop 150x150mm 5.5x5.5 Inches Length 355...$ 72.49View part →
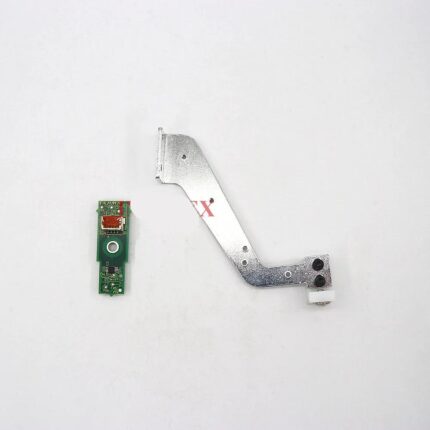 Tajima ICS131 0J2603200000 Thread Break Sensor & Bracket for TFMX, ...$ 97.09View part →
 Tajima 507309040020 Jump Control Rod Torsion Spring for TMFD Embroi...$ 9.99View part →
All Tajima TMBP parts → Needles & Needle Bars → Screws, Springs & Small Parts → Threads & Supplies →
3. Improper Thread Tension high likelihood
How to tell
Upper thread tension too tight causes the needle to deflect or work harder, leading to breakage. Stitches may appear pulled or puckered on the fabric surface. Bobbin thread may be visible on top.
Fix
- Reduce the upper thread tension by turning the tension dial counter-clockwise, usually in small increments.
- Test on scrap fabric: the top and bobbin threads should interlock evenly within the fabric layers, with minimal bobbin thread showing on top.
- Ensure the thread is correctly seated in all tension discs and thread guides.
Parts involved: Thread path & tension →
4. Needle Hitting Hoop, Presser Foot, or Fabric medium likelihood
How to tell
Needle breaks with a distinct 'clink' or 'snap' sound, often leaving a mark on the hoop or presser foot. This can happen if the fabric is not flat, the hoop is not secured, or the design is too close to the hoop edge.
Fix
- Ensure the fabric is hooped correctly: taut, flat, and wrinkle-free. Use appropriate stabilizer for the fabric type and design density.
- Verify the hoop is securely mounted on the machine's frame arms.
- Check the design placement relative to the hoop. Ensure sufficient clearance from the hoop's inner edge.
- Inspect the presser foot for damage or misalignment. Ensure it is correctly installed and not bent.
- If the needle consistently hits the presser foot, check for a bent needle bar or incorrect needle bar height (requires technician adjustment).
Parts involved: Hoops & frames → Presser feet & sewing parts → Needles & needle bars →
5. Thread Caught in Needle/Hook or Misaligned Thread Path medium likelihood
How to tell
Thread snags or jams, causing excessive drag on the needle. This can be due to poor thread quality, tangles, or obstructions in the thread path. Thread may fray or break before the needle.
Fix
- Re-thread the machine completely, ensuring the thread passes through all guides, tension discs, and the take-up lever correctly according to the machine's threading diagram.
- Inspect the entire thread path (from spool to needle eye) for any burrs, rough spots, or obstructions.
- Check the bobbin case for lint, nicks, or incorrect bobbin insertion. Ensure the bobbin thread unwinds smoothly.
- Remove any tangles or knots in the thread supply.
Parts involved: Thread path & tension → Rotary hooks & bobbin cases → Threads & supplies →
6. Excessive Machine Speed or Dense Fabric/Design medium likelihood
How to tell
Needle breaks more frequently when running at high speeds, especially with dense designs, thick fabrics, or multiple layers. The machine may sound strained.
Fix
- Reduce the machine's operating speed, particularly for intricate designs, dense stitch areas, or when working with thick/heavy materials.
- Use a larger, stronger needle suitable for the fabric and design density.
- Ensure proper fabric stabilization to prevent excessive drag on the needle.
Parts involved: Needles & needle bars → Threads & supplies →
7. Accumulation of Lint and Dust low likelihood
How to tell
Increased friction or obstruction in the needle area, bobbin case, or thread path. May cause thread fraying, skipped stitches, or general machine sluggishness before needle breakage.
Fix
- Power off and unplug the machine.
- Regularly clean the needle area, bobbin case, rotary hook area, and all thread guides using a soft brush or compressed air.
- Remove the needle plate and clean underneath it thoroughly.
Parts involved: Lubrication & maintenance → Rotary hooks & bobbin cases → Thread path & tension →
8. Machine Malfunction (e.g., Needle Bar or Hook Timing) low likelihood
How to tell
Needle breaks persist despite addressing all other common causes. May be accompanied by unusual noises, skipped stitches, or poor stitch formation. This often indicates an internal mechanical issue.
Fix
- If all other troubleshooting steps fail, this indicates a mechanical issue such as incorrect needle bar height, bent needle bar, or incorrect rotary hook timing.
- These adjustments require specialized tools and knowledge. Refer to your machine's service manual for specific adjustment procedures or contact a qualified technician.
Parts involved: Needles & needle bars → Rotary hooks & bobbin cases → Head & mechanical parts → Shafts, bearings & bushings →
Stop and call a technician if
- If needle breakage persists after trying all troubleshooting steps.
- If you suspect internal mechanical issues like needle bar misalignment or hook timing problems.
- If the machine makes unusual grinding or clunking noises.
Prevent it coming back
- Always use the correct needle type and size for your fabric and thread.
- Replace needles regularly; do not wait for them to break or cause poor stitch quality.
- Ensure proper upper and bobbin thread tension for balanced stitches.
- Hoop fabric correctly: taut, flat, and with appropriate stabilization.
- Keep your machine clean, especially the needle area, bobbin case, and thread path.
- Operate the machine at appropriate speeds for the design and material.
- Store threads and materials in a climate-controlled environment.
Frequently asked questions
How often should I change the needle on my Tajima TMBP-SC?
As a general guideline, change your needle after every 8-10 hours of sewing, or when switching to a different fabric type, or if you notice any change in stitch quality. For very dense designs or tough materials, change it more frequently.
What is the correct orientation for installing a needle in a Tajima TMBP-SC?
The needle must be inserted with the scarf (the flat side above the eye) facing directly towards the back of the machine. Push it fully up into the needle bar before tightening the set screw.
Why does my needle keep hitting the hoop?
This usually happens if the fabric is not hooped tightly and flat, if the hoop is not securely attached, or if the design is digitized too close to the hoop's edge. Ensure proper hooping and check design placement.
Can environmental factors affect needle breakage?
Yes, extreme humidity or temperature can affect thread integrity, making it more prone to breaking or causing issues that lead to needle strain. Store threads and materials in a climate-controlled environment.
Did this guide fix your machine?
Rate it - it helps other operators find the right fix.
Not sure which part is failing?
Need the logo stitched too?
Get your logo digitized by the people who know this machine
Upload the artwork, see the stitch count and the exact price in 10 seconds, then order with a free sew-out preview. $1 per 1,000 stitches, $10 minimum, 24-hour delivery. Vector conversion from $12.
After the fix
Fixed it? Keep the rest of the shop moving.
OS 360 is the shop software from the team behind this parts store. Every job keeps its status, deadline and owner while a TMBP-SC head is down, restock alerts fire for needles, hooks and bobbins before you run dry, and quotes, invoices and payment live in one place.
- Jobs with status, deadline and owner - nothing slips during downtime
- Inventory with restock alerts, this store one click away
- Instant quotes, invoices and one place to collect payment