Blog
Bird’s Nesting Troubleshooting for Tajima TMBP-SC

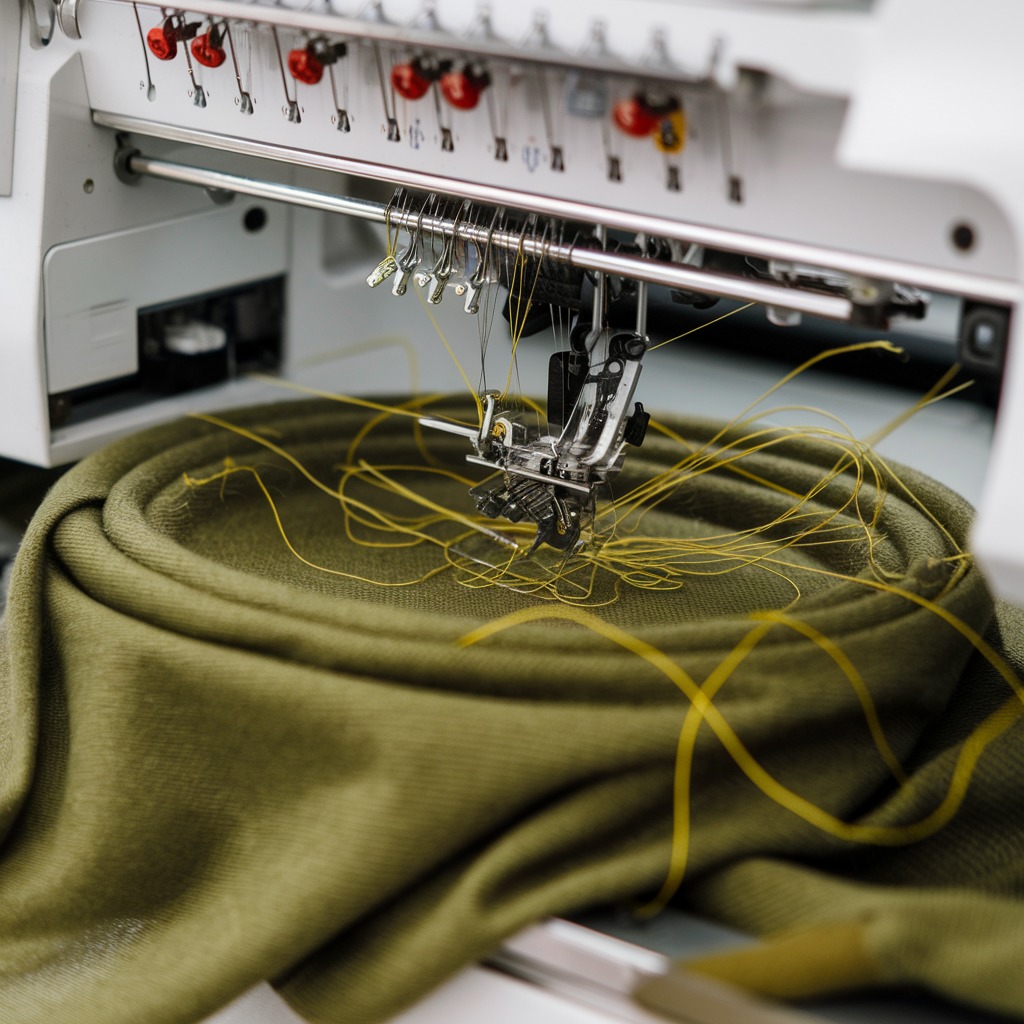
Quick answer: Bird's nesting on a Tajima TMBP-SC is typically caused by incorrect thread tension, improper threading, or issues with the bobbin and bobbin case. Start by re-threading the machine, checking bobbin installation, and verifying tension settings.
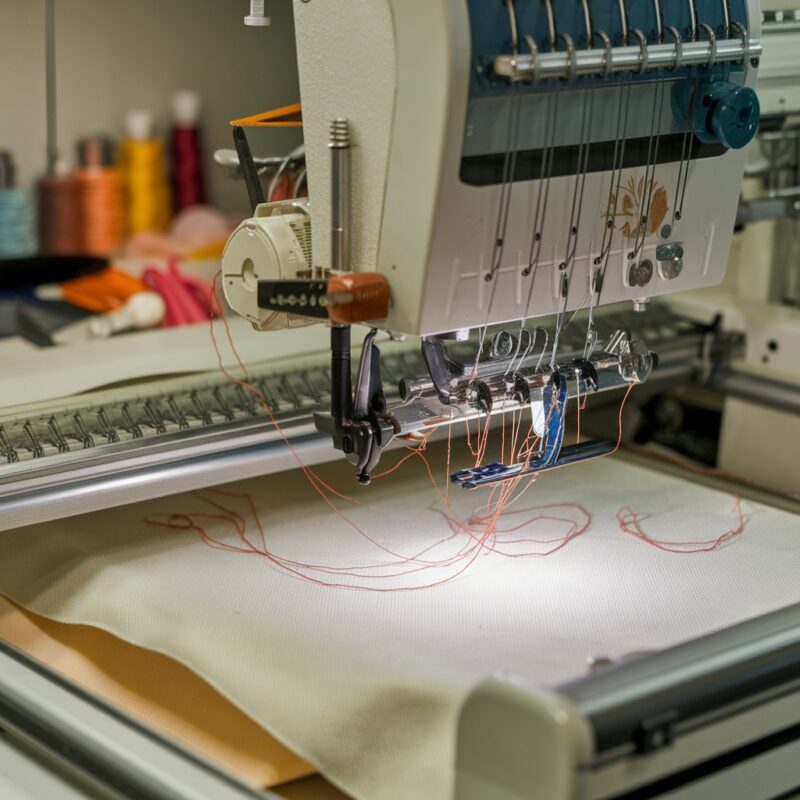
Bird's nesting, or thread jamming under the fabric, is a common issue that can disrupt embroidery on your Tajima TMBP-SC. This guide provides practical, step-by-step solutions to diagnose and resolve the problem, focusing on common causes and concrete repair actions for operators.
Two-minute checks before you open anything
- Is the machine threaded correctly through all guides and tension discs?
- Is the bobbin wound evenly and inserted correctly into the bobbin case?
- Is the bobbin case securely seated in the rotary hook?
- Is the fabric hooped tautly and without wrinkles?
- Is the needle new, sharp, and the correct type/size for your fabric and thread?
1. Incorrect Thread Tension (Upper or Bobbin) high likelihood
How to tell
Loops or excess thread visible on the underside of the fabric, or the upper thread appears too loose or too tight on the top surface. Stitches may not be balanced.
Fix
- Upper Thread Tension: Ensure the thread is correctly seated in the upper tension discs. Turn the upper tension dial clockwise in small increments to increase tension, or counter-clockwise to decrease. Test on scrap fabric. The ideal tension forms a balanced stitch where the bobbin thread is barely visible on the top, and the upper thread is barely visible on the underside.
- Bobbin Thread Tension: Remove the bobbin case. Hold it by the thread tail; it should slowly drop a few inches and then stop. If it drops too fast, tighten the small screw on the bobbin case clockwise in small increments. If it doesn't drop, loosen the screw counter-clockwise. Test and adjust until the bobbin case drops smoothly but not freely. Refer to your machine manual for specific bobbin tension drop test recommendations.
Parts involved: Thread path & tension → Rotary hooks & bobbin cases →
2. Improper Threading high likelihood
How to tell
Thread skipping guides, not fully seated in tension discs, or missing the take-up lever. Visual inspection will reveal misrouted thread.
Fix
- Completely unthread the machine.
- Carefully re-thread the upper thread path, ensuring the thread passes through all guides, tension discs, and the take-up lever. Verify the thread is fully seated in the tension discs.
- Thread the needle from front to back, ensuring the thread passes cleanly through the eye.
Parts involved: Thread path & tension →
Parts you may need for Tajima TMBP
In stock, tested before dispatch, Buyer Protection on every order. Part types for this problem: Thread path & tension, Rotary hooks & bobbin cases, Needles & needle bars, Screws, springs & small parts.
 Tajima Magnetic Hoops for TEMX 1501, TFMX-C1201, SAI, TMEZ-S1501C E...$ 63.49View part →
 Sewtalent Magnetic Embroidery Hoops for Tajima TFMX-C1501 Machine -...$ 64.29View part →
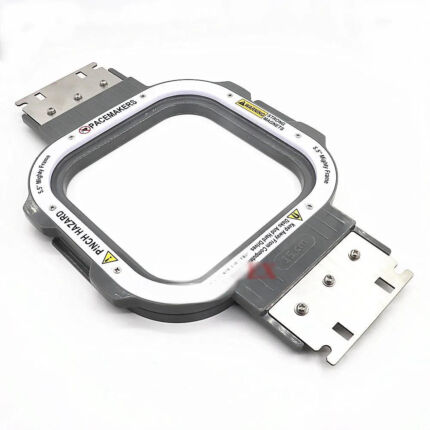 Tajima Magnetic Embroidery Hoop 150x150mm 5.5x5.5 Inches Length 355...$ 72.49View part →
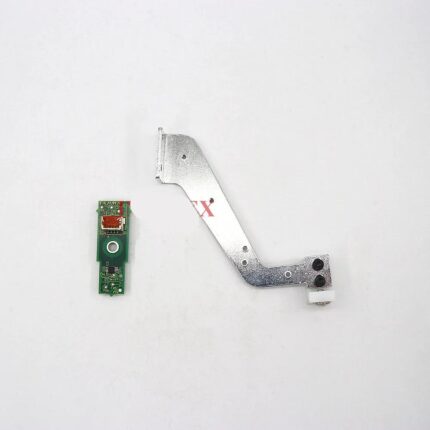 Tajima ICS131 0J2603200000 Thread Break Sensor & Bracket for TFMX, ...$ 97.09View part →
 Tajima 507309040020 Jump Control Rod Torsion Spring for TMFD Embroi...$ 9.99View part →
 Onloyo 9-Pin Thread Guide for Tajima, Feiya, ZGM Embroidery Machines$ 36.99View part →
All Tajima TMBP parts → Thread Path & Tension → Rotary Hooks & Bobbin Cases → Needles & Needle Bars →
3. Bobbin Case Issues high likelihood
How to tell
Bobbin not unwinding smoothly, bobbin case feels loose or incorrectly seated, or thread tangles inside the bobbin area.
Fix
- Remove the bobbin case and bobbin.
- Inspect the bobbin for even winding; if uneven, rewind it or use a new, evenly wound bobbin.
- Insert the bobbin into the bobbin case, ensuring it unwinds in the correct direction (usually counter-clockwise when viewed from the top).
- Re-insert the bobbin case into the rotary hook, ensuring it clicks securely into place and is not loose or misaligned.
Parts involved: Rotary hooks & bobbin cases →
4. Loose Needle Clamp medium likelihood
How to tell
Needle wobbles or moves during stitching, leading to inconsistent stitches or thread breaks. Visually inspect the needle for movement.
Fix
- Turn off the machine power.
- Loosen the needle clamp screw slightly.
- Ensure the needle is inserted fully upwards into the needle bar, with the scarf (flat side) facing the back of the machine.
- Tighten the needle clamp screw firmly, but do not overtighten, which could strip the screw or damage the needle bar.
Parts involved: Needles & needle bars → Screws, springs & small parts →
5. Damaged or Incorrect Needle medium likelihood
How to tell
Skipped stitches, thread breaks, fabric damage, or a visible burr/bend on the needle. The needle may struggle to penetrate the fabric.
Fix
- Turn off the machine power.
- Remove the current needle and inspect it closely for any bends, burrs, or a dull point. Replace if any damage is found.
- Ensure the needle type and size are appropriate for the fabric and thread being used. For example, a ballpoint needle for knits, sharp for wovens, and a size compatible with thread thickness. Refer to your manual for recommended needle types.
- Install a new, correct needle as per the 'Loose Needle Clamp' fix steps.
Parts involved: Needles & needle bars →
6. Fabric Not Properly Hooped medium likelihood
How to tell
Fabric appears loose, wrinkled, or shifts within the hoop during embroidery. Stitches may be distorted or uneven.
Fix
- Remove the hoop from the machine.
- Unhoop the fabric and re-hoop it, ensuring it is taut like a drum, without wrinkles or slack.
- Ensure the stabilizer is also hooped correctly with the fabric, providing adequate support for the design and fabric type.
Parts involved: Hoops & frames → Threads & supplies →
7. Dirty Tension Discs or Thread Path medium likelihood
How to tell
Inconsistent upper thread tension, even after adjustment. Lint or debris may be visible in the tension discs or thread guides.
Fix
- Unthread the machine.
- Use a lint-free cloth, small brush, or compressed air to clean out any lint, dust, or thread debris from the upper tension discs and all thread guides.
- Ensure the thread path is completely clear before re-threading.
Parts involved: Thread path & tension → Lubrication & maintenance →
8. Dirty Bobbin Area medium likelihood
How to tell
Bobbin thread not feeding smoothly, resistance when pulling bobbin thread, or visible lint/thread scraps in the bobbin case or rotary hook area.
Fix
- Turn off the machine power.
- Remove the needle plate, bobbin case, and bobbin.
- Use a small brush, tweezers, or compressed air to thoroughly clean out any lint, dust, or thread tails from the bobbin case, rotary hook, and surrounding area.
- Inspect the bobbin case for any nicks or burrs that could snag the thread. Smooth with fine-grit sandpaper if minor, otherwise replace.
Parts involved: Rotary hooks & bobbin cases → Lubrication & maintenance → Screws, springs & small parts →
9. Poor Quality or Incompatible Thread medium likelihood
How to tell
Frequent thread breaks, excessive lint buildup, or thread fraying, even with correct tension and threading. Stitches may appear inconsistent.
Fix
- Replace the current thread with a high-quality embroidery thread specifically designed for machine embroidery.
- Ensure the thread weight is appropriate for your needle size and design density.
- Clean the thread path and tension discs after using lower quality threads due to increased lint.
Parts involved: Threads & supplies →
10. Bent or Damaged Needle Plate low likelihood
How to tell
Needle hitting the needle plate, visible damage (bends, nicks, burrs) around the needle hole on the plate. May cause thread breaks or skipped stitches.
Fix
- Turn off the machine power.
- Remove the needle plate (usually held by two screws).
- Inspect the needle hole and surrounding area for any bends, nicks, or burrs. A smooth, flat surface is crucial.
- If damaged, replace the needle plate with a new, genuine Tajima TMBP-SC compatible part.
- Reinstall the new needle plate, ensuring it is flush and secure.
Parts involved: Presser feet & sewing parts → Screws, springs & small parts →
11. Insufficient or Incorrect Stabilizer Use low likelihood
How to tell
Fabric puckering, stretching, or distorting during embroidery, especially with dense designs or stretchy fabrics. Stitches may sink into the fabric.
Fix
- Assess the fabric type and design density.
- Select an appropriate stabilizer (e.g., cut-away for stretchy fabrics, tear-away for stable wovens, multiple layers for dense designs).
- Ensure the stabilizer is hooped tautly with the fabric, providing firm support without adding bulk that prevents the hoop from seating correctly.
Parts involved: Threads & supplies → Hoops & frames →
12. Sewing Over Thick Seams or Layers low likelihood
How to tell
Machine struggles to penetrate the fabric, leading to thread breaks or bird's nesting specifically when stitching over thick areas.
Fix
- Reduce the machine's embroidery speed when approaching or stitching over thick seams or multiple layers.
- Consider using a slightly larger or stronger needle (e.g., a titanium-coated needle) for these areas.
- Adjust upper thread tension slightly looser if the machine is struggling to pull the thread through the dense material.
Parts involved: Needles & needle bars →
13. Overloaded Bobbin Case low likelihood
How to tell
Bobbin thread appears to be packed too tightly, causing resistance or uneven feeding from the bobbin case. Visual inspection of the bobbin.
Fix
- Remove the bobbin and bobbin case.
- Ensure the bobbin is wound with the correct amount of thread, not overfilled. The thread should be flush with the bobbin edges, not bulging.
- Rewind the bobbin if it is overfilled or unevenly wound.
Parts involved: Rotary hooks & bobbin cases →
14. General Lack of Maintenance low likelihood
How to tell
Persistent issues despite addressing specific causes, increased machine noise, or visible accumulation of lint and debris in various machine areas.
Fix
- Perform a thorough cleaning of the entire machine, including the bobbin area, needle bar, and thread path.
- Oil the machine according to the manufacturer's recommendations in your Tajima TMBP-SC manual. Pay attention to rotary hook lubrication.
- Regularly check for loose screws or worn parts.
Parts involved: Lubrication & maintenance → Screws, springs & small parts → Head & mechanical parts →
Stop and call a technician if
- If the issue persists after performing all troubleshooting steps.
- If you suspect internal mechanical damage to the rotary hook or needle bar assembly.
- If you encounter error codes not related to simple thread issues.
- If you are uncomfortable performing a specific repair or part replacement.
Prevent it coming back
- Always use high-quality embroidery thread and needles appropriate for your fabric and design.
- Ensure fabric is hooped tautly and securely with adequate stabilizer.
- Perform daily cleaning of the bobbin area, rotary hook, and thread path.
- Follow the manufacturer's recommended oiling schedule for your Tajima TMBP-SC.
- Regularly inspect needles for damage and replace them proactively.
- Check and adjust upper and bobbin thread tension before starting new projects or after changing thread types.
Frequently asked questions
What is bird's nesting in embroidery?
Bird's nesting refers to a tangled mess of thread that accumulates on the underside of the fabric during embroidery. It typically indicates an issue with thread tension, threading, or bobbin function.
Why does my Tajima TMBP-SC keep getting bird's nests?
Common reasons include incorrect upper or bobbin thread tension, improper machine threading, issues with the bobbin or bobbin case, a damaged needle, or fabric not being hooped tightly enough.
How do I prevent bird's nesting on my embroidery machine?
Regularly check and adjust thread tension, ensure correct threading, use high-quality thread and needles, hoop fabric tautly with appropriate stabilizer, and perform routine cleaning and maintenance of your machine.
Can a dull needle cause bird's nesting?
Yes, a dull, bent, or incorrect needle can cause bird's nesting. It may not pierce the fabric cleanly, leading to thread snagging, skipped stitches, and thread bunching underneath the fabric.
How often should I clean my Tajima TMBP-SC to prevent bird's nesting?
The frequency depends on usage, but a light cleaning of the bobbin area and thread path should be done daily or after every few hours of operation. A more thorough cleaning and oiling should follow the schedule in your machine's manual, typically weekly or monthly.
Did this guide fix your machine?
Rate it - it helps other operators find the right fix.
Not sure which part is failing?
Need the logo stitched too?
Get your logo digitized by the people who know this machine
Upload the artwork, see the stitch count and the exact price in 10 seconds, then order with a free sew-out preview. $1 per 1,000 stitches, $10 minimum, 24-hour delivery. Vector conversion from $12.
After the fix
Fixed it? Keep the rest of the shop moving.
OS 360 is the shop software from the team behind this parts store. Every job keeps its status, deadline and owner while a TMBP-SC head is down, restock alerts fire for needles, hooks and bobbins before you run dry, and quotes, invoices and payment live in one place.
- Jobs with status, deadline and owner - nothing slips during downtime
- Inventory with restock alerts, this store one click away
- Instant quotes, invoices and one place to collect payment