
Blog
Singer 241 Series: Maintenance Guide

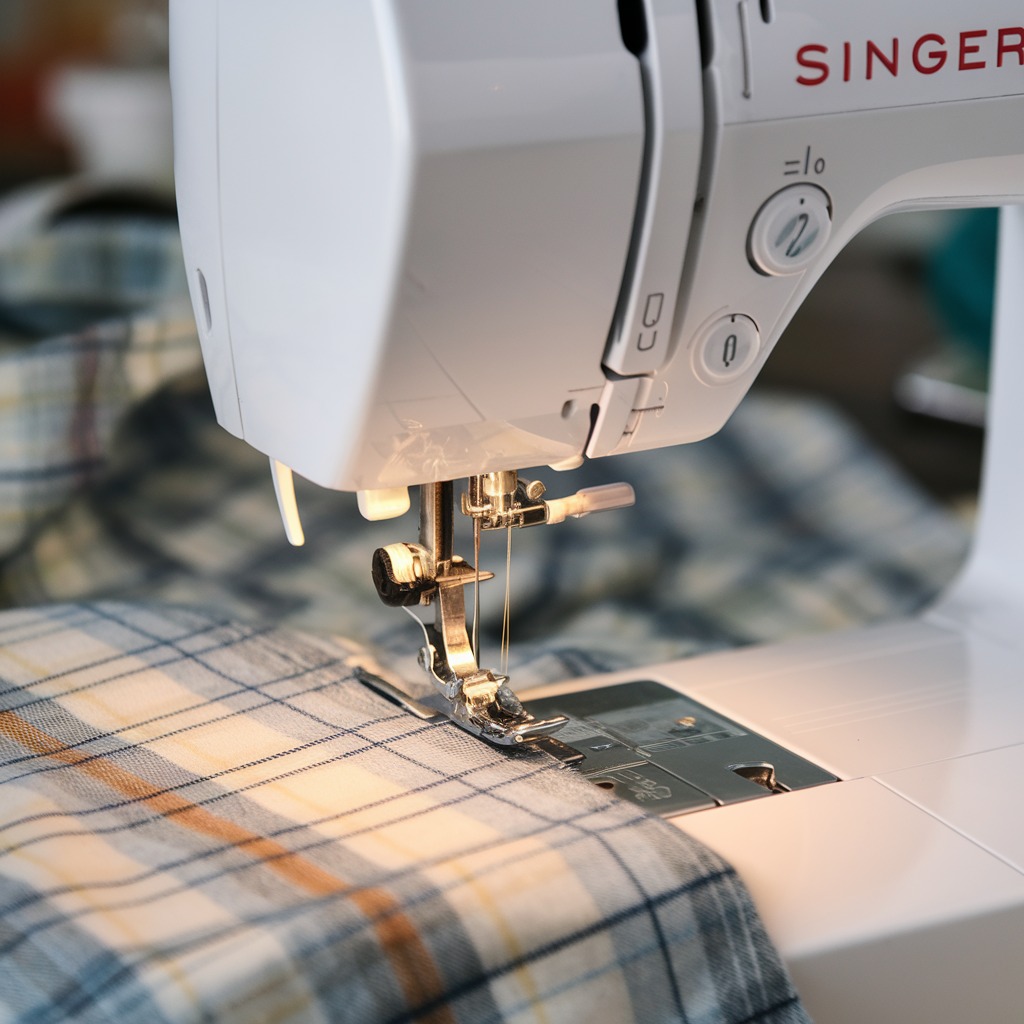
Quick answer: Regular maintenance for the Singer 241 series involves daily cleaning and oiling, weekly checks of key components like needles and hooks, and monthly deep cleaning and inspection of feed dogs, tension assemblies, and belts. Replacing worn needles, cleaning the bobbin area, and ensuring proper lubrication are critical to prevent common issues and extend machine life.
The Singer 241 series is a workhorse in industrial sewing, known for its durability and consistent performance. To ensure your machine continues to operate at peak efficiency and avoid costly downtime, regular and thorough maintenance is essential. This guide outlines key maintenance tasks, identifies common wear parts, and provides a schedule to keep your Singer 241 running smoothly for years to come.
Two-minute checks before you open anything
- Check needle for sharpness and straightness.
- Ensure thread is correctly routed through all guides and tension discs.
- Verify bobbin is wound evenly and inserted correctly.
- Check for any visible lint buildup in the bobbin area or around the feed dogs.
- Listen for any unusual noises during initial operation.
1. Needles high likelihood
How to tell
Skipped stitches, thread breakage, fabric snags, dull or bent needle point, excessive noise during stitching. A worn needle can also cause damage to the bobbin case or hook.
Fix
- Turn off the machine and raise the needle bar to its highest position.
- Loosen the needle clamp screw and carefully remove the old needle.
- Inspect the needle for any signs of bending, burrs, or a dull tip. Even slight damage can cause significant problems.
- Insert a new needle (e.g., Groz-Beckert DBX1 16×257 DB*1 Industrial Sewing Needles) with the scarf facing the hook, pushing it up as far as it will go into the needle bar.
- Tighten the needle clamp screw securely. Do not overtighten.
- Perform a test stitch on scrap fabric to ensure proper function.
Parts involved: Needles & needle bars →
2. Rotary Hook and Bobbin Case medium likelihood
How to tell
Poor stitch quality (loose stitches, looping), frequent thread jams or breakage, excessive noise from the bobbin area, burrs or nicks visible on the hook point or bobbin case edges.
Fix
- Turn off the machine and remove the needle and bobbin.
- Open the bobbin case cover and remove the bobbin case.
- Carefully remove the rotary hook assembly (consult your machine's manual for specific removal steps, as this can vary).
- Clean the hook race and bobbin case thoroughly with a small brush and compressed air to remove lint and thread debris.
- Inspect the hook point and the edges of the bobbin case for any burrs, nicks, or rough spots. Use a magnifying glass if necessary.
- If burrs are present, they can sometimes be very gently smoothed with fine-grit sandpaper or an emery board, but replacement is often the best solution for significant damage.
- Apply a drop or two of sewing machine oil to the hook race before reassembling.
- Reinstall the hook assembly and bobbin case, ensuring all parts are seated correctly. Test with scrap fabric.
A damaged hook or bobbin case can cause significant thread issues and may require replacement to restore stitch quality.
Parts involved: Rotary hooks & bobbin cases →
Parts you may need for Singer
In stock, tested before dispatch, Buyer Protection on every order. Part types for this problem: Rotary hooks & bobbin cases, Needles & needle bars, Thread path & tension, Presser feet & sewing parts.
 Bobbin Case & 2 Metal Bobbins for Brother, Janome, Singer, Babylock...$ 5.59View part →
 11PCS Low Shank Presser Foot Kit Set for Singer Brother Janome Kenm...$ 25.09View part →
 Flying Tiger DBx1 Industrial Lockstitch Needles, 100 pcs/box, Sizes...$ 12.09View part →
 AA7032 Open Toe Quilting & Embroidery Presser Foot for Brother, Jan...$ 5.49View part →
 32-Piece Universal Presser Foot Kit for Brother CS6000i, Singer 442...$ 34.99View part →
 ORGAN HAX1 Household Sewing Machine Needles for SINGER & BROTHER, S...$ 6.49View part →
All Singer parts → Rotary Hooks & Bobbin Cases → Needles & Needle Bars → Thread Path & Tension →
3. Feed Dogs and Throat Plate medium likelihood
How to tell
Uneven fabric feeding, fabric not moving smoothly, fabric damage (scratches or holes), skipped stitches due to improper fabric movement. Lint buildup between feed dog teeth is also a common sign of neglect.
Fix
- Turn off the machine and raise the presser foot.
- Remove the needle and presser foot for better access.
- Unscrew and remove the throat plate.
- Use a small brush or compressed air to thoroughly clean lint and debris from around and between the feed dog teeth.
- Inspect the feed dog teeth for wear, damage, or dullness. Worn teeth will appear rounded or flattened.
- Inspect the throat plate needle hole for burrs or enlargement. A burred hole can snag thread; an enlarged hole can cause skipped stitches or fabric damage.
- If either component is significantly worn or damaged, it should be replaced.
- Reinstall the throat plate, presser foot, and needle. Test on scrap fabric.
Parts involved: Presser feet & sewing parts →
4. Thread Tension Assembly medium likelihood
How to tell
Inconsistent stitch tension (loops on top or bottom), thread shredding or breaking at the tension discs, difficulty adjusting tension, lint or debris visible between tension discs.
Fix
- Turn off the machine and remove the thread.
- Raise the presser foot to release tension on the discs.
- Using a thin piece of fabric or dental floss, 'floss' between the tension discs to remove any trapped lint or thread fragments.
- Inspect the tension discs for any nicks, grooves, or damage. Ensure they are clean and smooth.
- Check the tension spring for proper function; it should provide consistent resistance.
- If the discs are damaged or the spring is weak, these components may need to be replaced.
- Re-thread the machine and test the tension on scrap fabric, adjusting as necessary.
Parts involved: Thread path & tension →
5. Drive Belts low likelihood
How to tell
Machine runs sluggishly or inconsistently, squealing noises, visible cracks, fraying, or stretching on the belt. Machine may stop unexpectedly or not start.
Fix
- Turn off and unplug the machine.
- Locate the drive belt, typically found by removing a cover on the machine head or under the machine table.
- Inspect the belt for any signs of wear: cracks, fraying, glazing (shiny surface), or excessive slack.
- If the belt is worn, it will need to be replaced. Note the belt's size or part number before ordering a replacement.
- To replace, carefully remove the old belt and fit the new one, ensuring it is properly seated on all pulleys.
- Adjust belt tension according to your machine's manual (it should be taut but not overly tight).
- Replace covers and test the machine.
Parts involved: Belts, pulleys & gears →
Maintenance schedule
| When | What to do | Why |
|---|---|---|
| Daily (or per 8 hours of operation) | Clean and Oil Hook Area | Removes lint and thread fragments from the bobbin case and hook race, preventing thread jams, poor stitch quality, and excessive wear. Oiling ensures smooth operation and reduces friction. |
| Daily (or per 8 hours of operation) | Wipe Down Machine Surface | Prevents dust and lint from entering internal mechanisms and keeps the machine clean for optimal operation. |
| Weekly (or every 40 hours of operation) | Clean Feed Dogs and Throat Plate | Removes packed lint that can hinder fabric feeding and cause uneven stitches. Inspect for burrs or damage. |
| Weekly (or every 40 hours of operation) | Clean Thread Tension Assembly | Removes lint and debris from between tension discs, ensuring consistent thread tension and preventing thread breakage or shredding. |
| Weekly (or every 40 hours of operation) | Inspect and Replace Needle | A dull or bent needle is the leading cause of skipped stitches, thread breakage, and fabric damage. Regular inspection and replacement are crucial. |
| Monthly (or every 160 hours of operation) | Lubricate All Moving Parts (as per manual) | Ensures all shafts, linkages, and bearings are properly lubricated to reduce friction, prevent wear, and maintain smooth, quiet operation. Refer to your machine's manual for specific oiling points. |
| Monthly (or every 160 hours of operation) | Inspect Drive Belts | Checks for signs of wear, cracking, or stretching that could lead to slippage, loss of power, or belt failure. |
| Quarterly (or every 500 hours of operation) | Inspect Rotary Hook and Bobbin Case for Wear | Checks for burrs, nicks, or excessive wear that can cause thread issues and damage to other components. Replace if damaged. |
| Annually (or every 2000 hours of operation) | Professional Service/Overhaul | A professional technician can perform a thorough cleaning, inspect internal components, check timing, and replace worn parts that are not easily accessible during routine maintenance. |
Stop and call a technician if
- If you encounter persistent timing issues that you cannot resolve with basic adjustments.
- If there are unusual grinding noises or severe mechanical binding.
- If the motor is overheating or showing signs of electrical problems.
- For any repairs involving internal components that require specialized tools or extensive disassembly beyond routine maintenance.
Prevent it coming back
- Always use high-quality needles appropriate for your fabric and thread type, and replace them regularly.
- Use only industrial-grade sewing machine oil for lubrication.
- Keep your workspace clean to minimize dust and lint accumulation around the machine.
- Avoid forcing thick materials through the machine if it's not designed for them, as this can strain components.
- Address minor issues promptly; small problems can quickly escalate into major repairs if ignored.
Frequently asked questions
How often should I oil my Singer 241?
For industrial use, your Singer 241 should be oiled daily or at the start of each shift, especially in high-use areas like the hook race, needle bar, and presser bar mechanisms. Always refer to your machine's manual for specific oiling points and frequency.
What kind of oil should I use for my Singer 241?
Always use high-quality, clear, non-staining sewing machine oil (often labeled as 'white oil' or 'industrial sewing machine oil'). Never use household oils, WD-40, or vegetable oils, as these can gum up the machine and cause damage.
Why is my Singer 241 skipping stitches after maintenance?
Skipped stitches after maintenance often point to an incorrectly installed or damaged needle, incorrect needle size for the thread/fabric, a burr on the hook point, or improper timing. Double-check your needle installation, inspect the hook, and ensure the machine is threaded correctly.
Can I use compressed air to clean my Singer 241?
Yes, compressed air is excellent for blowing out lint and dust from hard-to-reach areas, especially around the feed dogs and bobbin case. However, use it cautiously and avoid blowing debris further into sensitive mechanical parts. Always follow up with a brush for stubborn lint.
Did this guide fix your machine?
Rate it - it helps other operators find the right fix.
Not sure which part is failing?
Need the logo stitched too?
Get your logo digitized by the people who know this machine
Upload the artwork, see the stitch count and the exact price in 10 seconds, then order with a free sew-out preview. $1 per 1,000 stitches, $10 minimum, 24-hour delivery. Vector conversion from $12.
After the fix
Fixed it? Keep the rest of the shop moving.
OS 360 is the shop software from the team behind this parts store. Every job keeps its status, deadline and owner while a Singer head is down, restock alerts fire for needles, hooks and bobbins before you run dry, and quotes, invoices and payment live in one place.
- Jobs with status, deadline and owner - nothing slips during downtime
- Inventory with restock alerts, this store one click away
- Instant quotes, invoices and one place to collect payment





