Blog
Tajima TFMX-C: Troubleshooting Skipped Stitches

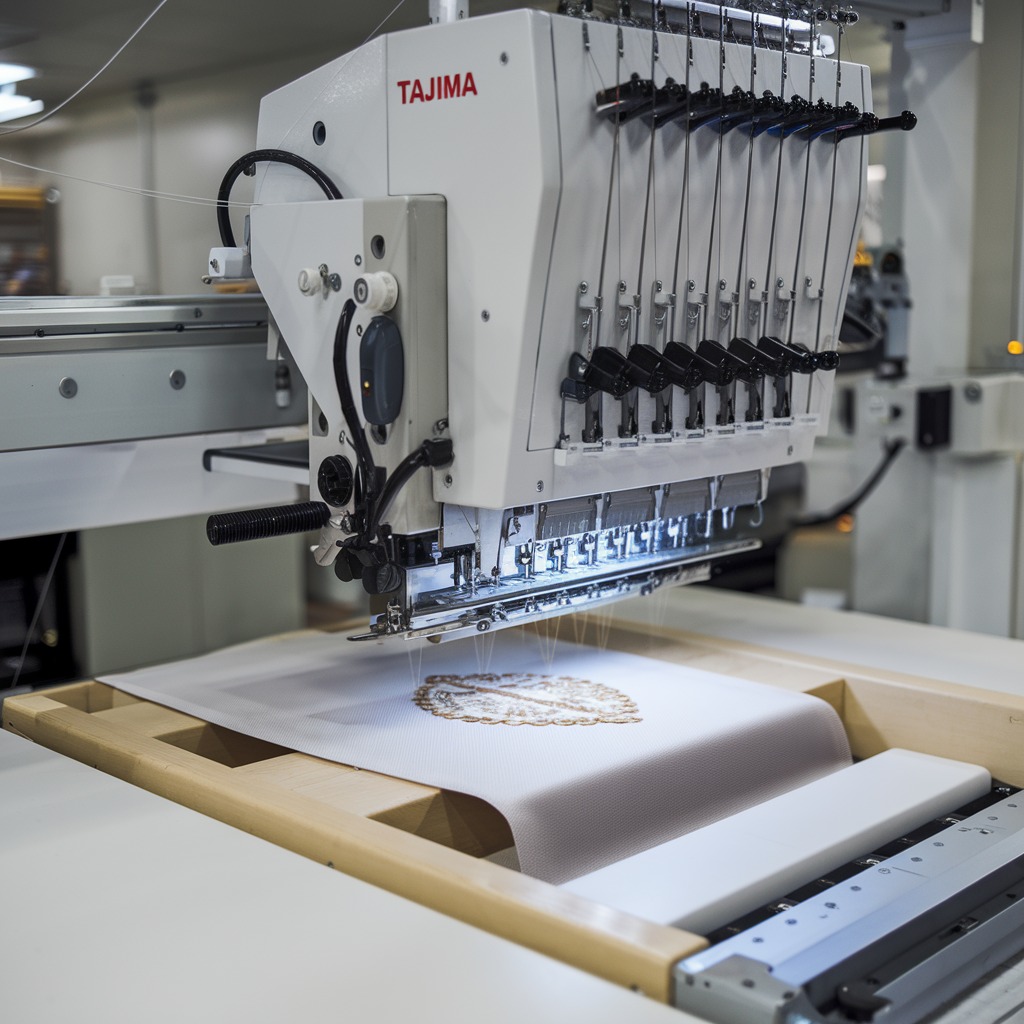
Quick answer: Skipped stitches on a Tajima TFMX-C are most commonly caused by a worn or damaged needle, incorrect thread tension, or obstructions in the thread path. Systematically check these areas first.
Skipped stitches are a common frustration on Tajima TFMX-C series embroidery machines, directly impacting the quality and appearance of your designs. This guide provides practical, step-by-step solutions to diagnose and resolve this issue, helping you maintain optimal machine performance.
Two-minute checks before you open anything
- Inspect the needle for any signs of wear, bending, or burrs. Replace if necessary.
- Verify upper and bobbin thread tension. Perform a tension test stitch.
- Check the entire thread path for snags, lint, or incorrect threading.
- Clean the rotary hook area, bobbin case, and needle plate for lint and debris.
1. Worn or Damaged Needle high likelihood
How to tell
The needle tip appears dull, bent, or has burrs when inspected closely. The needle may struggle to penetrate fabric smoothly, causing a 'pop' sound or visible fabric damage.
Fix
- Power off the machine.
- Loosen the needle set screw on the needle bar.
- Remove the old needle.
- Insert a new, correct type and size needle for your fabric and thread, ensuring the scarf faces the rotary hook and the needle is fully seated upwards.
- Tighten the needle set screw securely.
- Perform a test stitch.
Parts involved: Needles & needle bars →
2. Incorrect Thread Tension (Upper or Bobbin) high likelihood
How to tell
Stitches appear loose, loopy, or break frequently. On the underside of the fabric, either the bobbin thread is too visible (upper tension too loose) or the upper thread is too visible (bobbin tension too loose).
Fix
- Ensure the machine is threaded correctly through all guides and tension discs.
- For upper thread tension: Adjust the tension knob on the tension base. Turn clockwise to increase tension, counter-clockwise to decrease. Make small adjustments (e.g., 1/4 turn).
- For bobbin thread tension: Remove the bobbin case. Adjust the small screw on the bobbin case tension spring. Turn clockwise to increase tension, counter-clockwise to decrease. Test bobbin tension using a bobbin tension gauge or the 'drop test' (bobbin case should slowly drop a few inches when held by the thread).
- Perform a test stitch on scrap fabric to verify balance. The bobbin thread should show about 1/3 of the way up from the bottom on the back of the embroidery.
TENSION BASE assembly.
Parts involved: Thread path & tension →
Parts you may need for Tajima TFMX
In stock, tested before dispatch, Buyer Protection on every order. Part types for this problem: Needles & needle bars, Thread path & tension, Threads & supplies, Rotary hooks & bobbin cases.
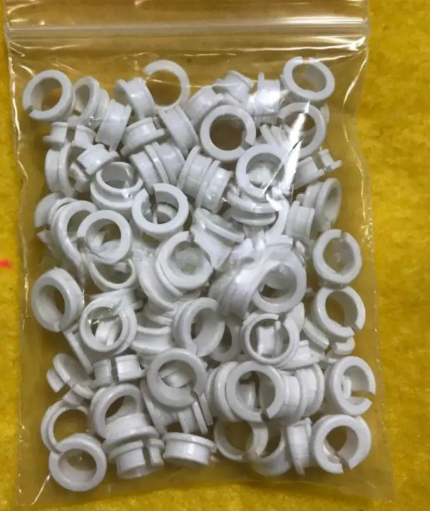 Tajima EF0613220000 EF0613210000 090460040020 090460040031 Presser ...$ 18.09View part →
 Tajima TC Sensor Card & Thread Contact Set 0J2602300A22 0J2602300A2...$ 18.09View part →
 Tajima Magnetic Hoops for TEMX 1501, TFMX-C1201, SAI, TMEZ-S1501C E...$ 63.49View part →
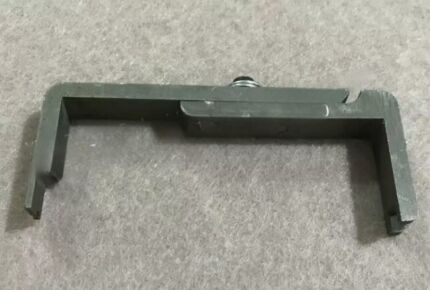 TAJIMA ZG0030400000 Needle Bar Connecting Stud Gauge for TAJIMA Chi...$ 39.49View part →
 Sewtalent Magnetic Embroidery Hoops for Tajima TFMX-C1501 Machine -...$ 64.29View part →
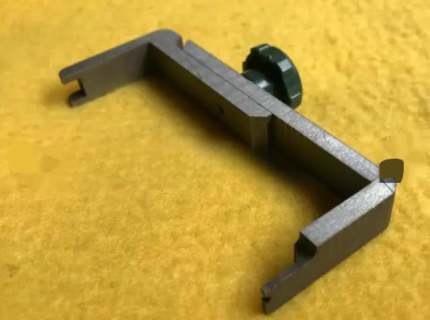 Tajima ZG0030400000 Needle Bar Connecting Stud Gauge for TMFX, TFMX...$ 39.49View part →
All Tajima TFMX parts → Needles & Needle Bars → Thread Path & Tension → Threads & Supplies →
3. Thread Path Obstruction or Poor Thread Quality high likelihood
How to tell
Thread snags, frays, or breaks along its path. Lint or debris is visible in thread guides, tension discs, or the take-up lever. Low-quality thread may appear fuzzy, inconsistent in thickness, or break easily.
Fix
- Unthread the machine completely.
- Inspect all thread guides, the pre-tensioner, main tension discs, take-up lever, and needle eye for lint, burrs, or damage. Use a soft brush or compressed air to clean.
- Ensure the thread spool unwinds smoothly without catching.
- Rethread the machine carefully, ensuring the thread is seated correctly in all components.
- Replace current thread with a known high-quality embroidery thread. Store thread in a cool, dry environment.
UPPER THREAD HOLDER assembly.
Parts involved: Thread path & tension → Threads & supplies →
4. Dust and Debris Accumulation high likelihood
How to tell
Visible lint, thread bits, or oil residue in the needle plate opening, rotary hook area, or bobbin case. Machine operation may sound rough or sluggish.
Fix
- Power off the machine.
- Remove the needle plate screws and lift the needle plate.
- Remove the bobbin case and bobbin.
- Carefully clean the entire rotary hook area, including the race, with a soft brush or compressed air. Remove any accumulated lint or thread fragments.
- Clean the bobbin case and bobbin thoroughly.
- Reinstall the bobbin case, bobbin, and needle plate. Ensure the needle plate is seated correctly before tightening screws.
CYLINDER BED assembly.
Parts involved: Rotary hooks & bobbin cases → Lubrication & maintenance → Screws, springs & small parts →
5. Worn Rotary Hook or Bobbin Case medium likelihood
How to tell
The rotary hook point or bobbin case has visible nicks, burrs, or excessive wear. The hook may not consistently catch the needle thread loop, or the bobbin case may not hold the bobbin securely.
Fix
- Power off the machine.
- Remove the needle plate, bobbin, and bobbin case.
- Carefully inspect the tip of the rotary hook for any damage or dullness. Check the bobbin case for burrs or deformation.
- If wear or damage is present, replace the rotary hook and/or bobbin case with genuine Tajima parts. Refer to your machine's parts manual for the correct part number.
- Reassemble and test.
CYLINDER BED assembly.
Parts involved: Rotary hooks & bobbin cases →
6. Incorrect Hook Timing medium likelihood
How to tell
Skipped stitches occur consistently, especially at higher speeds or with certain stitch types, even after checking other common causes. The rotary hook may not be meeting the needle at the correct point in its travel to form a loop.
Fix
- This is an advanced adjustment. If unsure, consult a qualified technician.
- Power off the machine.
- Remove the needle plate and bobbin case.
- Manually rotate the main shaft (using the hand wheel) to bring the needle to its lowest point, then slightly up (approximately 2.0-2.2mm from its lowest point).
- At this point, the tip of the rotary hook should be precisely at the center of the needle scarf, just above the needle eye.
- If timing is off, loosen the set screws on the rotary hook drive gear (refer to your machine's service manual for exact location and procedure).
- Adjust the rotary hook position until it meets the needle correctly.
- Tighten the set screws and re-verify timing by slowly rotating the main shaft.
- Reassemble and test.
CYLINDER BED, MAIN SHAFT DRIVE SYSTEM assemblies.
Parts involved: Rotary hooks & bobbin cases → Belts, pulleys & gears → Shafts, bearings & bushings →
7. Improper Presser Foot Height medium likelihood
How to tell
The presser foot either clamps the fabric too tightly (impeding fabric movement) or is too high (allowing fabric to lift with the needle, causing flagging). This prevents proper loop formation.
Fix
- Power off the machine.
- Loosen the presser foot height adjustment screw (location varies by head, consult manual).
- Adjust the presser foot height so it gently holds the fabric against the needle plate without excessive pressure, allowing the fabric to move freely but preventing it from lifting with the needle.
- For general embroidery, the presser foot should just clear the fabric surface when the needle is at its highest point. For thicker materials, it may need to be slightly higher.
- Tighten the adjustment screw securely.
- Perform a test stitch.
NEEDLE BAR CASE 1 assembly.
Parts involved: Presser feet & sewing parts → Head & mechanical parts →
8. Needle-Thread-Fabric Mismatch medium likelihood
How to tell
Thread frequently breaks, frays, or skips stitches when using a specific combination of needle, thread, and fabric. The needle may be too small for the thread, too large for the fabric, or the wrong point type.
Fix
- Ensure the needle size is appropriate for the thread thickness (e.g., larger needle for thicker thread). Refer to a needle-thread compatibility chart.
- Select the correct needle point type for the fabric: use a sharp point (e.g., DBxK5 SES) for woven fabrics and a ballpoint (e.g., DBxK5 SUK) for knits or stretchy materials.
- Replace the needle with the correct type and size.
- Perform a test stitch.
Parts involved: Needles & needle bars → Threads & supplies →
9. Improper Fabric Stabilization or Hooping low likelihood
How to tell
Fabric shifts or puckers during embroidery. Stitches may be uneven, distorted, or skipped in areas where the fabric moves excessively. The hoop may not be tight enough, or the stabilizer is inadequate.
Fix
- Ensure the correct type and weight of stabilizer is used for the fabric (cut-away for unstable fabrics, tear-away for stable, water-soluble for delicate).
- Hoop the fabric and stabilizer tautly and evenly, ensuring no wrinkles or slack. Avoid over-tightening, which can distort the fabric.
- For slippery fabrics, consider using a temporary adhesive spray or a specialty stabilizer to prevent movement.
- Verify the hoop is securely seated in the framing arms.
FRAMING assembly.
Parts involved: Hoops & frames → Threads & supplies →
10. Excessive Machine Speed low likelihood
How to tell
Skipped stitches occur more frequently at the machine's maximum operating speed, especially on intricate designs or challenging materials.
Fix
- Reduce the machine's operating speed, particularly for complex designs, dense stitch counts, or difficult fabrics.
- Monitor stitch quality at reduced speeds. If the issue resolves, gradually increase speed to find the optimal balance.
Stop and call a technician if
- If you suspect hook timing is off and are not comfortable making precise mechanical adjustments.
- If the issue persists after trying all common troubleshooting steps.
- If you observe damage to internal components that require specialized tools or knowledge to replace.
Prevent it coming back
- Perform daily cleaning of the rotary hook area, bobbin case, and needle plate to remove lint and debris.
- Regularly inspect and replace needles before they become dull or damaged.
- Use high-quality embroidery threads, needles, and stabilizers appropriate for your fabric and design.
- Ensure operators are properly trained in machine threading, hooping techniques, and basic maintenance.
- Maintain correct upper and bobbin thread tension settings.
- Avoid operating the machine at maximum speed for extended periods, especially with intricate designs.
Frequently asked questions
Why do skipped stitches happen only on certain needles or colors?
This often points to an issue specific to that needle bar or thread. Check the needle on that specific head for damage, verify its tension unit, and inspect the thread for quality or snags unique to that color's path.
Can old embroidery designs cause skipped stitches?
Yes, if the design has very short stitch lengths, high density, or poorly digitized angles, it can stress the needle and thread, leading to skipped stitches. Review design parameters in your software.
How often should I replace my embroidery machine needles?
Needle replacement frequency depends on usage and fabric type. As a general rule, replace needles after 6-8 hours of continuous sewing, or immediately if you notice any dullness, bending, or burrs, or if you hear unusual sounds during stitching.
From the Tajima TFMX-IIC parts book
The assemblies involved in this problem, as the manufacturer lists them. Open a section to see every part number, which ones we stock, and get a price on the rest.
Did this guide fix your machine?
Rate it - it helps other operators find the right fix.
Not sure which part is failing?
Need the logo stitched too?
Get your logo digitized by the people who know this machine
Upload the artwork, see the stitch count and the exact price in 10 seconds, then order with a free sew-out preview. $1 per 1,000 stitches, $10 minimum, 24-hour delivery. Vector conversion from $12.
After the fix
Fixed it? Keep the rest of the shop moving.
OS 360 is the shop software from the team behind this parts store. Every job keeps its status, deadline and owner while a TFMX-C head is down, restock alerts fire for needles, hooks and bobbins before you run dry, and quotes, invoices and payment live in one place.
- Jobs with status, deadline and owner - nothing slips during downtime
- Inventory with restock alerts, this store one click away
- Instant quotes, invoices and one place to collect payment