Blog
Tajima Embroidery Machine Troubleshooting: Common Errors and Fixes

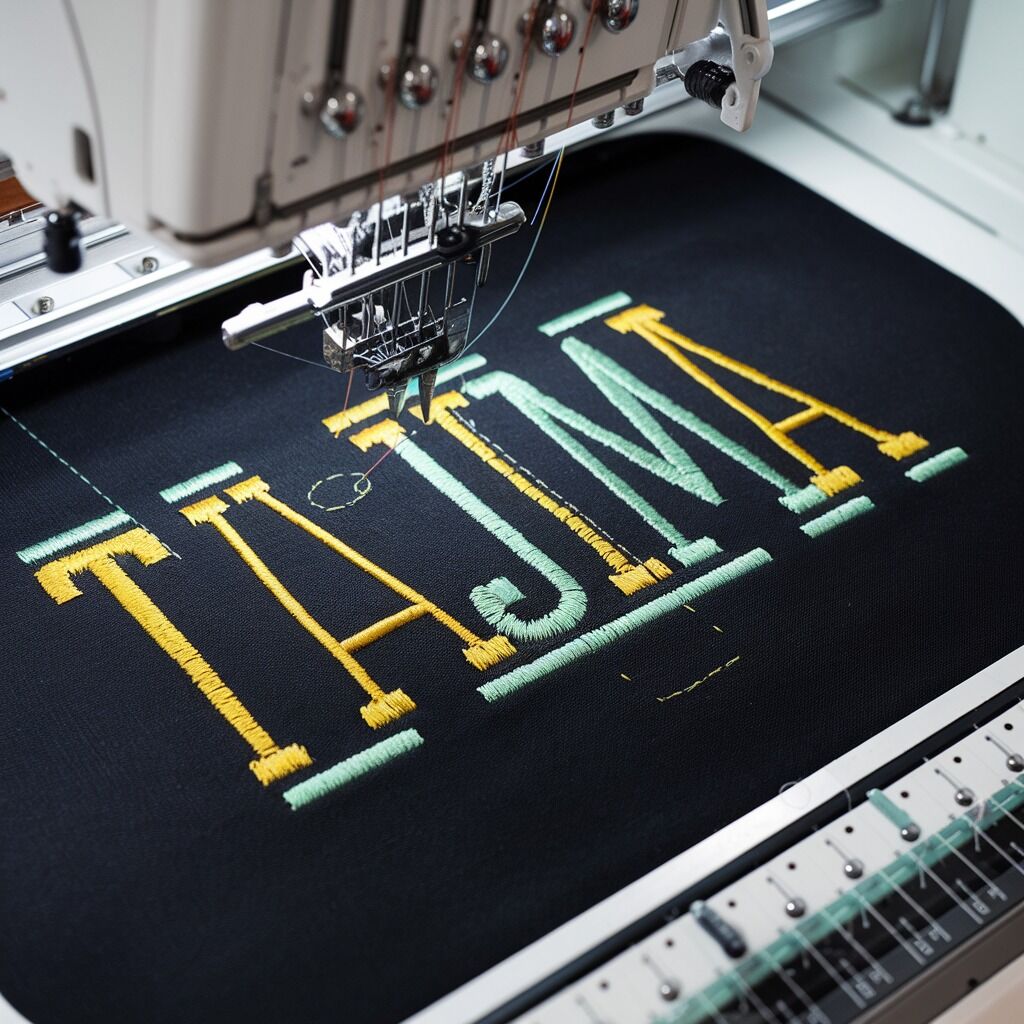
Quick answer: Most Tajima embroidery machine issues stem from incorrect threading, worn needles, or improper tension. Always check these fundamental areas first for quick resolution.
Tajima embroidery machines are renowned for their precision and durability, but like any sophisticated equipment, they can encounter issues. This guide provides practical, step-by-step troubleshooting for common problems, helping operators quickly diagnose and resolve issues to maintain machine efficiency and output quality.
Two-minute checks before you open anything
- Verify the needle is the correct type and size for your fabric and thread, and is installed correctly.
- Inspect the needle for any signs of damage (bend, burr, dullness) and replace if necessary.
- Confirm the upper thread is correctly routed through all guides and tension discs.
- Check the bobbin is correctly wound, inserted, and its tension is appropriate.
- Ensure the fabric is hooped tightly and correctly, without slipping or excessive tension.
- Clean the thread path, bobbin area, and trimmer mechanism for lint and debris.
1. Thread Breakage high likelihood
How to tell
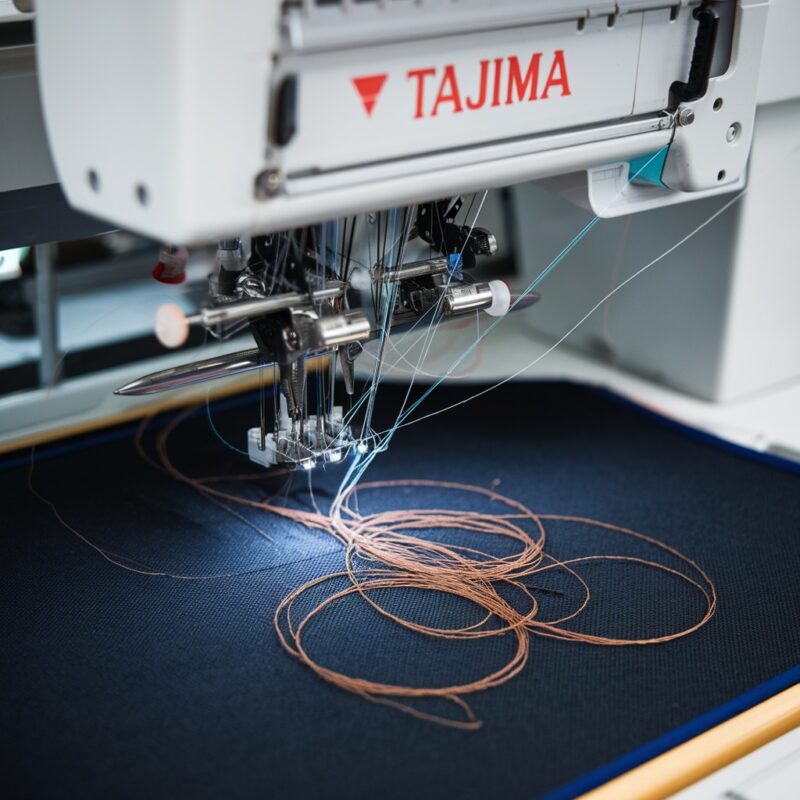
The thread snaps during embroidery, often resulting in a 'thread break' error message on the control panel.
Fix
- Check the machine manual for the recommended needle type and size for your specific fabric and thread. Replace the current needle if it does not match.
- Perform a tension test. Adjust the upper thread tension dial incrementally. For bobbin tension, make small adjustments to the screw on the bobbin case. The bobbin thread should pull smoothly with slight resistance.
- Carefully inspect the needle for any bends, burrs, or dullness. Replace the needle immediately if any damage is found.
- Use compressed air or a small brush to thoroughly clean all thread guides, tension discs, the take-up lever, and the area around the needle bar. Remove any lint or thread fragments.
Parts involved: Needles & needle bars → Thread path & tension → Rotary hooks & bobbin cases → Threads & supplies →
2. Needle Breakage high likelihood
How to tell
The needle breaks during stitching, sometimes with a loud snap. This can damage the fabric or the rotary hook.
Fix
- Ensure the needle is inserted fully into the needle bar with the scarf (flat side) facing the correct direction (usually to the back or left, check your machine manual). Tighten the needle clamp screw securely.
- Verify the fabric is hooped tautly and evenly, without wrinkles or slack. If the fabric is very thick, consider a larger needle size or a different stabilizer. Consult your manual for maximum fabric thickness guidelines.
- Manually rotate the handwheel to slowly lower the needle. Observe the clearance between the needle and the hoop or presser foot. Adjust the hoop position or presser foot height if there is contact. If the needle is hitting the rotary hook, stop and call a technician.
- Replace needles regularly, especially after extended use or if working with dense materials. A dull or weakened needle is more prone to breaking.
Parts involved: Needles & needle bars → Hoops & frames → Presser feet & sewing parts → Threads & supplies →
Parts you may need for Tajima
In stock, tested before dispatch, Buyer Protection on every order. Part types for this problem: Needles & needle bars, Thread path & tension, Rotary hooks & bobbin cases, Threads & supplies.
 40 Weight 120D/2 Polyester Embroidery Thread 4000M PET-121 for Brot...$ 17.49View part →
 Groz Beckert RG DBXK5 Embroidery Needles Nm 65/9, 70/10, 75/11, 80/...$ 36.29View part →
 Hirose HSH-7.94ATR(MTQ) KHS12-RYP Rotary Hook for Tajima, Barudan, ...$ 18.09View part →
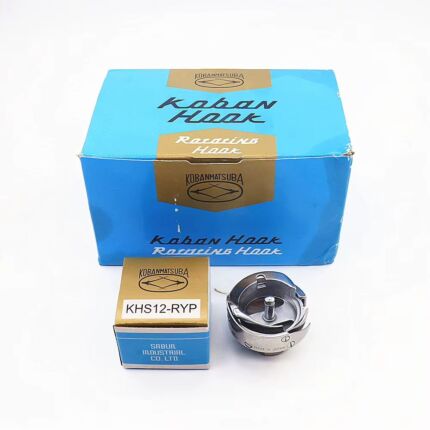 Koban KHS12-RYP Rotary Hook with Trimmer for Tajima, Barudan, SWF, ...$ 33.49View part →
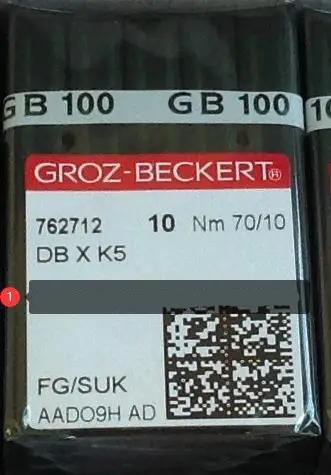 Groz-Beckert DBXK5 FG/SUK Embroidery Needles (100 Pcs) for Tajima, ...$ 34.49View part →
 OZXHIXU 3.5mm Copper Hoop Screw for Tajima & Chinese Embroidery Mac...$ 11.29View part →
All Tajima parts → Needles & Needle Bars → Thread Path & Tension → Rotary Hooks & Bobbin Cases →
3. Birdnesting (Thread Bunching Under Fabric) medium likelihood
How to tell
A tangled mass of thread forms on the underside of the fabric, often causing the machine to jam or stop.
Fix
- Remove the bobbin case and inspect the bobbin. Ensure it is wound evenly and inserted correctly. Adjust the bobbin case tension screw in very small increments (e.g., 1/8th turn) until the bobbin thread pulls smoothly with consistent resistance.
- Completely re-thread the upper thread, ensuring it passes through all guides, tension discs, and the take-up lever correctly. Pay close attention to the thread path diagram on your machine.
- Remove the needle and re-install it, ensuring it is fully seated and oriented correctly (scarf facing the correct direction). Tighten the needle clamp screw firmly.
- Ensure the fabric is stretched taut and evenly in the hoop, with no slack or wrinkles. Use an appropriate stabilizer for the fabric type and design density to prevent slipping.
Parts involved: Rotary hooks & bobbin cases → Thread path & tension → Needles & needle bars → Hoops & frames → Threads & supplies →
4. Tension Issues (Uneven Stitching) medium likelihood
How to tell
Stitches appear loose, looped, or uneven on the top or bottom of the fabric, indicating an imbalance between upper and bobbin thread tension.
Fix
- Perform a tension test (e.g., a simple satin stitch block). Adjust the upper thread tension dial incrementally. For bobbin tension, make small adjustments to the screw on the bobbin case. Aim for a balanced stitch where a small amount of bobbin thread shows on the top, and a small amount of upper thread shows on the bottom.
- Remove the upper tension discs and clean any lint or debris that may be preventing them from gripping the thread properly. If discs are visibly worn or grooved, they may need replacement.
- Completely re-thread the machine, following the correct path for both upper and bobbin threads. Ensure the thread is seated correctly in all guides and tension discs.
Parts involved: Thread path & tension → Rotary hooks & bobbin cases → Threads & supplies →
5. Skipped Stitches medium likelihood
How to tell
Gaps appear in the embroidery design where stitches should be, or stitches are not forming correctly.
Fix
- Ensure the needle is fully inserted into the needle bar with the scarf facing the correct direction. Verify you are using the correct needle type and size for your fabric and thread.
- Inspect the needle carefully for any bends, burrs, or a dull point. Replace the needle immediately if any damage is found.
- If the above steps do not resolve the issue, the machine's timing (the synchronization between the needle and the rotary hook) may be off. This is an advanced adjustment. Consult your machine's service manual for timing procedures or contact a qualified technician.
Timing adjustments often involve the rotary hook and needle bar mechanisms.
Parts involved: Needles & needle bars → Rotary hooks & bobbin cases → Threads & supplies →
6. Misalignment of Design low likelihood
How to tell
The embroidered design appears shifted, distorted, or not centered correctly on the fabric.
Fix
- Ensure the fabric is stretched taut and evenly in the hoop, with no slack or wrinkles. Use an appropriate stabilizer to prevent fabric movement during embroidery.
- Before starting the machine, use the 'trace' or 'outline' function on the control panel to verify the design's placement relative to the hooped fabric. Adjust the design position on the control panel as needed.
- Confirm that the hoop is securely attached to the machine's pantograph arms and that all clamps are tightened. Check for any play or looseness in the hoop or pantograph.
Parts involved: Hoops & frames → Threads & supplies →
7. Thread Trimmer Malfunction low likelihood
How to tell
The machine fails to cut threads automatically between color changes or jumps, requiring manual trimming.
Fix
- Visually inspect the trimmer blades (usually located near the rotary hook). If they appear dull, chipped, or broken, they will need to be replaced. Refer to your machine's manual for replacement instructions.
- Use compressed air and a small brush to thoroughly clean the area around the trimmer blades and mechanism. Remove any lint, thread scraps, or debris that might be obstructing its movement.
- If cleaning and blade replacement do not resolve the issue, the timing of the trimmer mechanism may be off, or a solenoid/motor controlling it might be faulty. This requires advanced adjustment or part replacement. Consult your machine's service manual or contact a qualified technician.
Parts involved: Cutters & trimmers → Rotary hooks & bobbin cases → Solenoids & magnets → Motors & drivers →
8. Fabric Puckering low likelihood
How to tell
The fabric gathers, wrinkles, or pulls around the embroidered area, distorting the design.
Fix
- Reduce the upper thread tension slightly. If the bobbin tension is too high, it can also contribute to puckering; make small adjustments to the bobbin case screw.
- Ensure the fabric is hooped tautly but not overstretched. If the fabric is very thin or delicate, consider using a 'floating' method where the fabric is not directly hooped but secured to a hooped stabilizer.
- Always use a stabilizer appropriate for the fabric type and design density. For light fabrics or dense designs, a heavier cut-away or tear-away stabilizer may be required. Ensure the stabilizer is also hooped tautly with the fabric.
Parts involved: Thread path & tension → Hoops & frames → Threads & supplies →
Stop and call a technician if
- If the machine's timing is off and you are not comfortable making precise mechanical adjustments.
- If you suspect a faulty circuit board, motor, or sensor.
- If the machine displays error codes that are not covered in the operator's manual or persist after basic troubleshooting.
- For complex mechanical repairs involving internal components that require specialized tools or knowledge.
Prevent it coming back
- Perform daily cleaning: Remove lint and thread fragments from the bobbin case, rotary hook, thread path, and trimmer area.
- Lubricate moving parts: Follow your machine's manual for regular oiling schedules and specific lubrication points to reduce friction and wear.
- Inspect and replace needles: Change needles regularly (e.g., every 8-10 hours of use) and immediately if they show signs of damage or dullness.
- Check tension discs: Ensure tension discs are clean and free of debris to allow smooth thread movement and consistent tension.
- Use appropriate supplies: Always use high-quality needles, threads, and stabilizers suitable for your fabric and design.
- Maintain software: Keep your embroidery machine's software and design software updated to prevent compatibility issues and ensure optimal performance.
Frequently asked questions
How often should I change the needle on my Tajima machine?
Needle replacement frequency depends on usage and material. As a general rule, change needles every 8-10 hours of continuous embroidery, or immediately if you notice any signs of damage (bend, burr, dullness) or experience skipped stitches or thread breaks.
What is the correct way to clean my Tajima embroidery machine?
Regularly use compressed air and a small brush to remove lint and thread debris from the bobbin case, rotary hook area, tension discs, thread guides, and trimmer mechanism. Avoid using liquid cleaners directly on electronic components. Refer to your machine's manual for specific cleaning instructions and lubrication points.
Why is my Tajima machine making a strange noise?
Unusual noises can indicate a lack of lubrication, loose components, or a foreign object. Stop the machine immediately. Check for thread jams, lint buildup, or loose screws. Lubricate moving parts as per your manual. If the noise persists, it may indicate a mechanical issue requiring a technician.
Can I use any brand of thread with my Tajima machine?
While many brands of embroidery thread are compatible, using high-quality thread designed for industrial embroidery machines is recommended. Poor quality or inconsistent thread can lead to frequent thread breaks, tension issues, and lint buildup. Always test new thread brands before a production run.
Did this guide fix your machine?
Rate it - it helps other operators find the right fix.
Not sure which part is failing?
Need the logo stitched too?
Get your logo digitized by the people who know this machine
Upload the artwork, see the stitch count and the exact price in 10 seconds, then order with a free sew-out preview. $1 per 1,000 stitches, $10 minimum, 24-hour delivery. Vector conversion from $12.
After the fix
Fixed it? Keep the rest of the shop moving.
OS 360 is the shop software from the team behind this parts store. Every job keeps its status, deadline and owner while a Tajima head is down, restock alerts fire for needles, hooks and bobbins before you run dry, and quotes, invoices and payment live in one place.
- Jobs with status, deadline and owner - nothing slips during downtime
- Inventory with restock alerts, this store one click away
- Instant quotes, invoices and one place to collect payment