Blog
Singer Futura XL-400: Troubleshooting Skipped Stitches

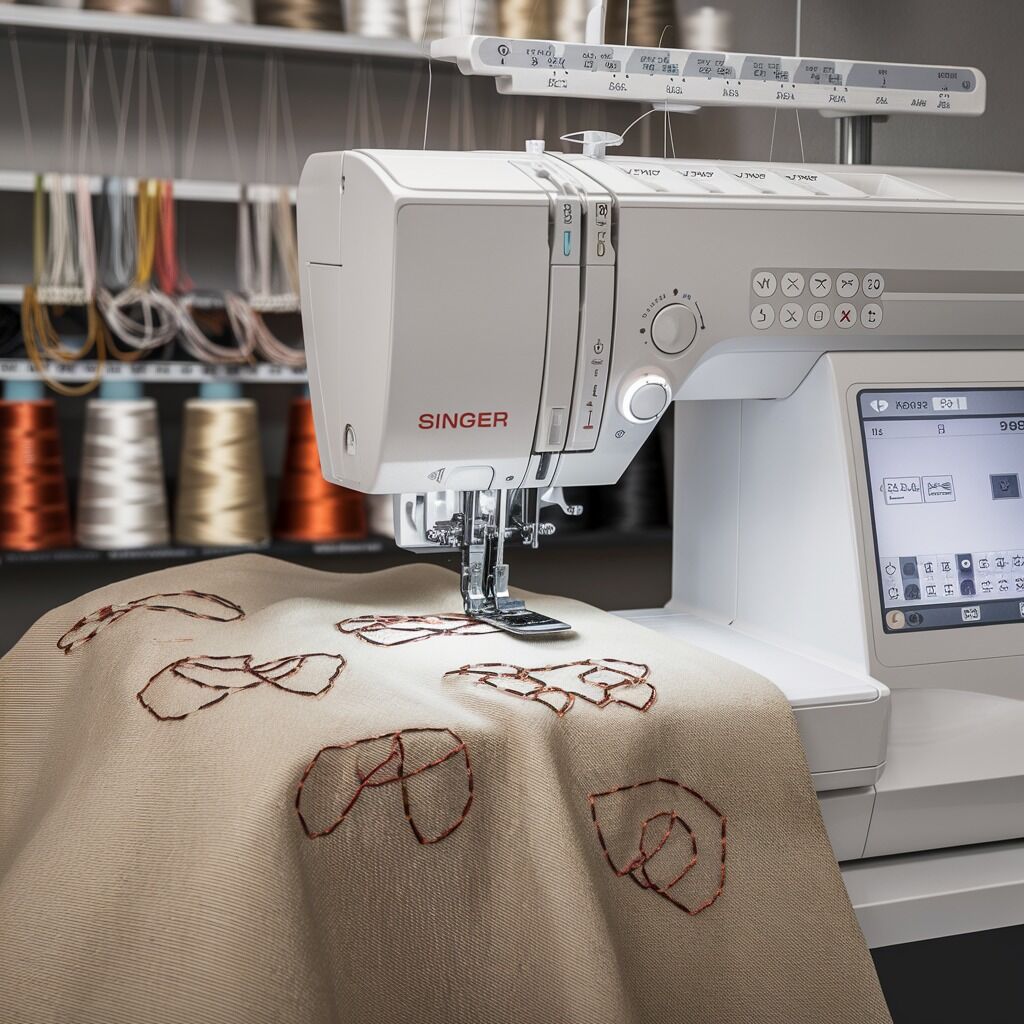
Quick answer: Skipped stitches on the Singer Futura XL-400 are most commonly caused by using the wrong needle, poor thread quality, incorrect thread tension, or improper machine setup (threading, bobbin). Less common causes include a dirty/worn needle, fabric issues, or high sewing speed. Address these by checking and correcting each potential issue systematically.
Skipped stitches are a common and frustrating issue for Singer Futura XL-400 embroidery machine users, impacting project quality and wasting materials. This guide provides practical, step-by-step solutions to diagnose and fix the most common causes of skipped stitches, empowering you to get your machine running smoothly again. We'll focus on actionable checks and repairs you can perform at your machine.
Two-minute checks before you open anything
- Is the correct needle type and size installed for your fabric?
- Is the thread high-quality and free of tangles or damage?
- Is the machine threaded correctly, including the bobbin?
- Is the needle clean and sharp, not bent or dull?
- Is the presser foot lowered and engaged properly?
1. Incorrect Needle Type or Size high likelihood
How to tell
Skipped stitches occur, especially when changing fabric types. The needle may struggle to penetrate the fabric, or create too large a hole. Check the needle currently installed.
Fix
- Select a needle appropriate for your fabric type and weight. For most woven fabrics, a universal needle is suitable. For knits, use a ballpoint or stretch needle. For embroidery, use an embroidery-specific needle.
- Ensure the needle size matches the fabric weight. Thicker fabrics require larger needles (e.g., 90/14 or 100/16), while delicate fabrics need smaller needles (e.g., 70/10 or 75/11). Refer to your machine's manual or fabric manufacturer guidelines.
- Insert the new needle correctly, ensuring the flat side of the needle shank faces the back of the machine and it is pushed up as far as it will go before tightening the needle clamp screw.
Always use genuine Singer or high-quality universal embroidery machine needles.
Parts involved: Needles & needle bars →
2. Poor Thread Quality or Condition high likelihood
How to tell
The thread may fray, break, or snag during stitching. Visible inconsistencies, slubs, or damage on the thread itself. Old or improperly stored thread can become brittle.
Fix
- Use high-quality embroidery thread compatible with your Singer Futura XL-400. Avoid cheap or very old thread.
- Inspect the thread spool for tangles, nicks, or areas where the thread is frayed or damaged. If found, re-spool the thread or use a new spool.
- Ensure the thread unwinds smoothly from the spool. Use a thread stand if needed for larger cones to prevent snags.
Parts involved: Threads & supplies →
Parts you may need for Singer
In stock, tested before dispatch, Buyer Protection on every order. Part types for this problem: Needles & needle bars, Threads & supplies, Thread path & tension, Rotary hooks & bobbin cases.
 Bobbin Case & 2 Metal Bobbins for Brother, Janome, Singer, Babylock...$ 5.59View part →
 11PCS Low Shank Presser Foot Kit Set for Singer Brother Janome Kenm...$ 23.49View part →
 PET-121 40WT 120D/2 Polyester Embroidery Thread 4000M Spool, 80 Mad...$ 17.49View part →
 Flying Tiger DBx1 Industrial Lockstitch Needles, 100 pcs/box, Sizes...$ 10.99View part →
 PET-80 80 Madeira Colors Embroidery Thread Set - Premium 40WT Polye...$ 15.99View part →40 Weight 120D/2 Polyester Embroidery Thread 4000M PET-121 for Brot...$ 17.49View part →
All Singer parts → Needles & Needle Bars → Threads & Supplies → Thread Path & Tension →
3. Improper Thread Tension high likelihood
How to tell
Stitches appear loose or bunched on the top or bottom of the fabric (tension too loose). Fabric puckers, or the thread breaks frequently (tension too tight). The bobbin thread may be visible on the top, or the top thread visible on the bottom.
Fix
- Refer to your Singer Futura XL-400 manual for the recommended tension settings for your specific thread type and fabric.
- Adjust the upper thread tension dial incrementally. Start with the recommended setting and make small adjustments (e.g., half a number at a time).
- Check bobbin tension. While less frequently adjusted, ensure the bobbin case is threaded correctly and the bobbin tension screw is not excessively loose or tight. A common test is to hold the bobbin case by the thread; it should slowly unspool with a slight tug.
- Test stitch on a scrap piece of your project fabric after each adjustment until stitches are balanced and lie flat.
Parts involved: Thread path & tension → Rotary hooks & bobbin cases →
4. Incorrect Machine Setup (Threading/Bobbin) high likelihood
How to tell
Skipped stitches, thread breaks, or poor stitch formation from the start of a project or after re-threading. The machine may make unusual noises or struggle to form stitches.
Fix
- Completely re-thread the upper thread path. Ensure the thread passes through all guides, tension discs, and the take-up lever correctly. Do this with the presser foot raised to ensure the tension discs are open.
- Check the bobbin. Ensure it is wound evenly, inserted correctly into the bobbin case, and the bobbin case is properly seated in the rotary hook area. The thread should pull smoothly from the bobbin case.
- Verify the presser foot is lowered before starting to sew. If the presser foot is up, the upper thread tension will not engage properly.
Parts involved: Thread path & tension → Rotary hooks & bobbin cases → Presser feet & sewing parts →
5. Dirty or Worn Needle high likelihood
How to tell
The needle tip may appear dull, bent, or have burrs. Fabric may snag or pull when the needle penetrates. Skipped stitches may occur progressively over time or after extensive use.
Fix
- Replace the needle. A good rule of thumb is to change the needle after every 8 hours of sewing or at the start of a new project.
- Inspect the old needle for any visible damage (bent, dull tip, burrs).
- Clean the needle area and around the needle plate. Lint and debris can accumulate, affecting needle performance and thread path.
Parts involved: Needles & needle bars → Lubrication & maintenance →
6. Fabric Issues or Lack of Stabilizer medium likelihood
How to tell
Skipped stitches occur primarily on slippery, stretchy, or delicate fabrics. The fabric may shift or pucker during embroidery, leading to inconsistent stitch formation.
Fix
- Always use an appropriate stabilizer for your fabric type. For stretchy fabrics, use a cut-away or tear-away stabilizer. For delicate fabrics, use a water-soluble or heat-away stabilizer.
- Hoop the fabric and stabilizer correctly, ensuring both are taut but not stretched. Avoid hooping too tightly, which can distort the fabric.
- Consider using temporary adhesive spray or basting stitches to secure multiple layers of stabilizer or fabric within the hoop.
Parts involved: Hoops & frames → Threads & supplies →
7. High Sewing Speed low likelihood
How to tell
Skipped stitches occur more frequently when the machine is operating at its highest speed settings, especially on intricate designs or challenging fabrics. Reducing speed resolves the issue.
Fix
- Reduce the embroidery speed setting on your Singer Futura XL-400. Slower speeds allow the machine mechanisms to operate more precisely and give the thread and needle more time to form each stitch correctly.
- For very dense designs or challenging materials, consider running the machine at a moderate to slow speed.
8. Worn or Damaged Machine Components low likelihood
How to tell
Skipped stitches persist after all other troubleshooting steps have been exhausted. This could indicate wear in the rotary hook, needle bar, or other timing-critical components. The machine may also exhibit unusual noises or vibrations.
Fix
- Perform thorough cleaning and lubrication as per the machine's manual. Lint and debris can impede moving parts.
- Inspect the rotary hook for burrs, nicks, or damage. Even small imperfections can snag thread and cause skipped stitches.
- Check for any looseness in the needle bar or presser foot assembly. Tighten any loose screws if found.
- If the issue persists, professional diagnosis of timing, hook-to-needle clearance, or other mechanical adjustments may be required.
Specific internal components like the rotary hook or needle bar assembly may require replacement if damaged. Consult your service manual for part identification.
Parts involved: Rotary hooks & bobbin cases → Needles & needle bars → Head & mechanical parts → Lubrication & maintenance → Screws, springs & small parts →
Stop and call a technician if
- If skipped stitches persist after systematically trying all troubleshooting steps.
- If you suspect internal mechanical damage, such as a bent needle bar or damaged rotary hook.
- If the machine makes unusual grinding noises or jams frequently, indicating a more serious mechanical issue.
- If you are unable to identify the cause and are uncomfortable disassembling parts beyond basic cleaning.
Prevent it coming back
- Always use the correct needle type and size for your fabric and thread.
- Invest in high-quality embroidery thread and store it properly to prevent damage.
- Ensure your machine is threaded correctly, both top and bobbin, before each project.
- Change your needle regularly (every 8 hours of use or per project) and inspect it for damage.
- Use appropriate stabilizers for your fabric to prevent shifting and puckering.
- Perform regular cleaning and lubrication of your machine as recommended in the manual.
- Avoid running the machine at excessively high speeds, especially on intricate designs or challenging materials.
Frequently asked questions
How often should I change the needle on my Singer Futura XL-400?
It's recommended to change your needle after every 8 hours of sewing or at the start of a new embroidery project. Needles dull over time, which can lead to skipped stitches and fabric damage.
What is the best thread tension setting for my machine?
There isn't a single 'best' setting. Thread tension is dependent on the type of thread, fabric, and stabilizer you are using. Always refer to your Singer Futura XL-400 manual for recommended starting points and test on a scrap piece of fabric to achieve balanced stitches.
Can old thread cause skipped stitches?
Yes, old thread can become brittle, dry, or lose its elasticity, making it prone to breaking, fraying, and snagging, which can directly lead to skipped stitches. Always use fresh, high-quality thread for best results.
Did this guide fix your machine?
Rate it - it helps other operators find the right fix.
Not sure which part is failing?
Need the logo stitched too?
Get your logo digitized by the people who know this machine
Upload the artwork, see the stitch count and the exact price in 10 seconds, then order with a free sew-out preview. $1 per 1,000 stitches, $10 minimum, 24-hour delivery. Vector conversion from $12.
After the fix
Fixed it? Keep the rest of the shop moving.
OS 360 is the shop software from the team behind this parts store. Every job keeps its status, deadline and owner while a Futura XL-400 head is down, restock alerts fire for needles, hooks and bobbins before you run dry, and quotes, invoices and payment live in one place.
- Jobs with status, deadline and owner - nothing slips during downtime
- Inventory with restock alerts, this store one click away
- Instant quotes, invoices and one place to collect payment