Blog
Singer Embroidery Machine: Bird’s Nesting Troubleshooting

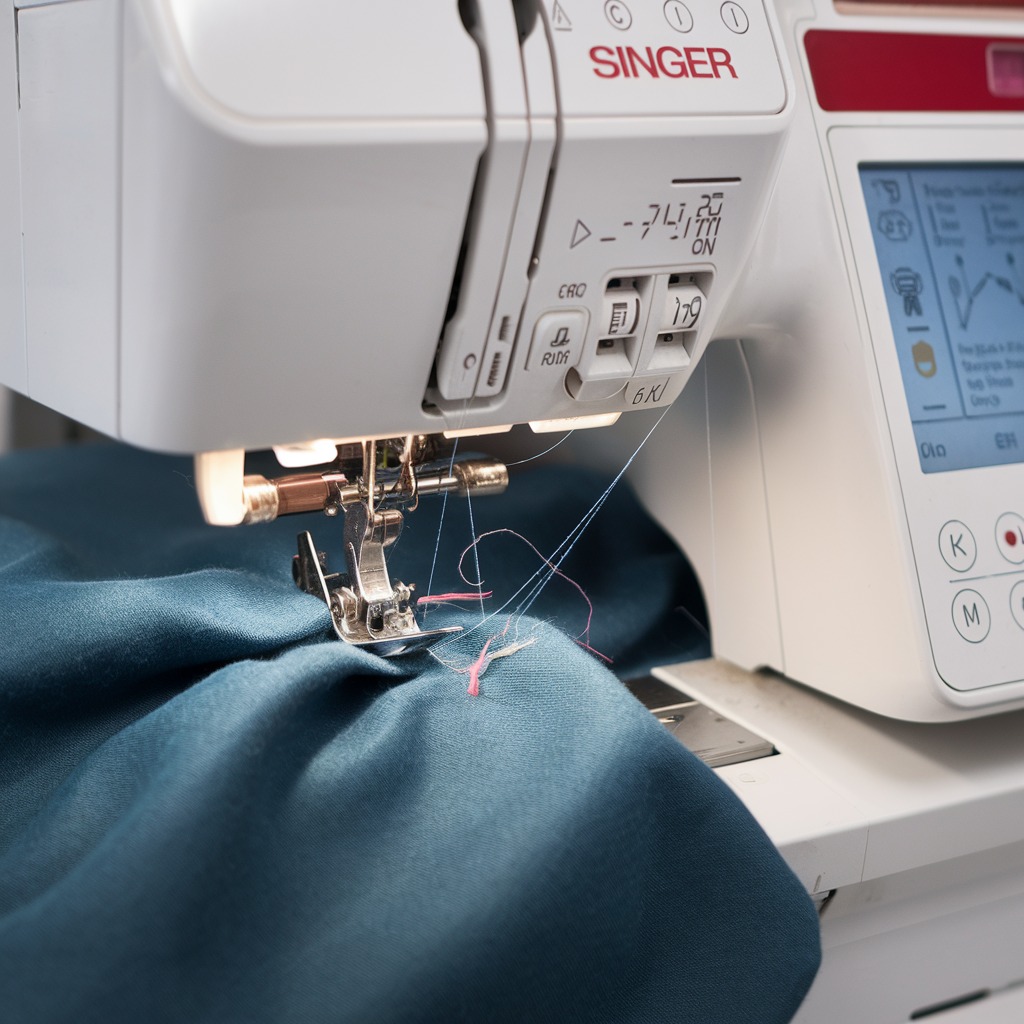
Quick answer: Bird's nesting on a Singer embroidery machine is most commonly caused by incorrect upper thread path, improperly inserted or wound bobbin, or imbalanced thread tension. Always check these first.
Bird's nesting, or thread jamming under the fabric, is a frequent frustration for Singer embroidery machine users. This guide provides practical steps to diagnose and resolve the most common causes of this issue, helping you get back to smooth embroidery.
Two-minute checks before you open anything
- Is the upper thread correctly routed through all guides and tension discs?
- Is the bobbin wound evenly and inserted correctly, with the thread pulling smoothly?
- Is the fabric taut and secure in the embroidery hoop, with appropriate stabilizer?
- Is the needle the correct type and size for your fabric and thread?
1. Incorrect Upper Threading high likelihood
How to tell
The upper thread may appear loose, skip guides, or not be seated correctly in the tension discs. Stitch quality will be poor, with loops or tangles forming on the underside of the fabric.
Fix
- Remove the upper thread completely from the machine.
- Ensure the presser foot is raised to open the tension discs.
- Thread the machine carefully, following the numbered path indicated on your machine.
- Verify the thread passes through all guides, including the take-up lever, and is seated firmly between the tension discs.
- Lower the presser foot before starting to sew.
Parts involved: Thread path & tension → Needles & needle bars →
2. Incorrect Bobbin Insertion or Winding high likelihood
How to tell
The bobbin thread may not pull smoothly, or the bobbin may be inserted in the wrong direction. The thread can snag or create loops on the fabric's underside. A poorly wound bobbin will appear uneven or loose.
Fix
- Remove the bobbin case and bobbin.
- Inspect the bobbin for even winding; if uneven or loose, re-wind it or use a new, pre-wound bobbin.
- Insert the bobbin into the bobbin case according to your machine's manual, ensuring the thread feeds in the correct direction (usually clockwise or counter-clockwise, check your specific model).
- Pull the bobbin thread through the tension spring on the bobbin case.
- Reinsert the bobbin case firmly into its housing until it clicks into place.
Parts involved: Rotary hooks & bobbin cases → Threads & supplies →
Parts you may need for Singer
In stock, tested before dispatch, Buyer Protection on every order. Part types for this problem: Thread path & tension, Needles & needle bars, Rotary hooks & bobbin cases, Threads & supplies.
 Bobbin Case & 2 Metal Bobbins for Brother, Janome, Singer, Babylock...$ 5.59View part →
 11PCS Low Shank Presser Foot Kit Set for Singer Brother Janome Kenm...$ 15.49View part →
 PET-121 40WT 120D/2 Polyester Embroidery Thread 4000M Spool, 80 Mad...$ 11.99View part →
 Flying Tiger DBx1 Industrial Lockstitch Needles, 100 pcs/box, Sizes...$ 10.99View part →
 PET-80 80 Madeira Colors Embroidery Thread Set - Premium 40WT Polye...$ 10.49View part →40 Weight 120D/2 Polyester Embroidery Thread 4000M PET-121 for Brot...$ 11.99View part →
All Singer parts → Thread Path & Tension → Needles & Needle Bars → Rotary Hooks & Bobbin Cases →
3. Imbalanced Thread Tension high likelihood
How to tell
If the upper thread tension is too loose, it will pull excess thread to the underside, creating loops and tangles. If the bobbin tension is too loose, the upper thread will pull it to the top. Stitches will look uneven or messy.
Fix
- Perform a test stitch on a scrap piece of fabric with similar weight and type.
- Adjust the upper thread tension dial incrementally (usually start with small adjustments like 1-2 numbers). Turn the dial to a higher number to increase tension, lower to decrease.
- The goal is for the upper and bobbin threads to meet perfectly within the fabric layers, with no loops on either side.
- If significant adjustment is needed for the bobbin tension, consult your machine's manual for instructions on adjusting the bobbin case tension screw. Make very small turns (e.g., 1/8th of a turn) at a time.
Parts involved: Thread path & tension →
4. Loose Fabric in the Hoop medium likelihood
How to tell
The fabric may shift or pucker during embroidery, leading to uneven stitch formation and thread bunching underneath. The design may also appear distorted.
Fix
- Remove the hoop from the machine.
- Ensure the fabric is taut in the hoop, like a drum, without being stretched or distorted.
- Use appropriate stabilizer for your fabric type and design density, ensuring it is also taut and securely hooped with the fabric.
- Re-hoop if necessary, making sure the fabric is smooth and wrinkle-free.
Parts involved: Hoops & frames →
5. Incompatible Needle and Thread medium likelihood
How to tell
The needle may struggle to penetrate the fabric, or the thread may shred, break, or not form proper stitches. Skipped stitches or thread jams can occur.
Fix
- Check the needle type and size. Ensure it is appropriate for your fabric (e.g., ballpoint for knits, sharp for wovens) and thread weight.
- Ensure the needle is inserted correctly, with the flat side facing the back of the machine.
- Replace the needle with a new, correct size and type needle if unsure or if the current needle is bent or dull.
- Verify that the thread weight is compatible with the needle eye size; thread should pass smoothly through the needle eye.
Parts involved: Needles & needle bars → Threads & supplies →
6. Dirty or Damaged Needle Plate low likelihood
How to tell
Lint, dust, or thread fragments can accumulate around the needle plate opening or in the bobbin area, obstructing thread movement. Burrs or nicks on the needle plate can snag the thread, causing jams.
Fix
- Turn off and unplug the machine.
- Remove the needle plate (refer to your manual for specific removal instructions).
- Using a small brush or vacuum, carefully clean any lint, dust, or thread buildup from the needle plate area and the bobbin housing.
- Inspect the needle plate for any burrs, nicks, or rough edges, especially around the needle hole. Run a finger gently over the surface to feel for imperfections.
- If damaged, replace the needle plate. If only slightly rough, very fine sandpaper (600+ grit) can sometimes smooth minor burrs, but replacement is recommended for significant damage.
- Reinstall the needle plate securely.
A damaged needle plate should be replaced to prevent recurring issues.
Parts involved: Presser feet & sewing parts → Lubrication & maintenance →
Stop and call a technician if
- If, after following all troubleshooting steps, the machine continues to bird's nest.
- If you suspect internal mechanical damage or electronic issues that are beyond basic user maintenance.
- If you are unable to identify the cause or safely perform the recommended fixes.
Prevent it coming back
- Always re-thread the machine completely if you encounter any stitch issues.
- Use high-quality embroidery thread to minimize breakage and tension problems.
- Replace needles regularly, ideally for each new project, to ensure sharpness and prevent damage to fabric or thread.
- Perform regular cleaning of the bobbin area and under the needle plate to remove lint and debris.
- Test stitch on a scrap piece of fabric before starting a new project to verify tension and threading.
Frequently asked questions
What is 'bird's nesting' in embroidery?
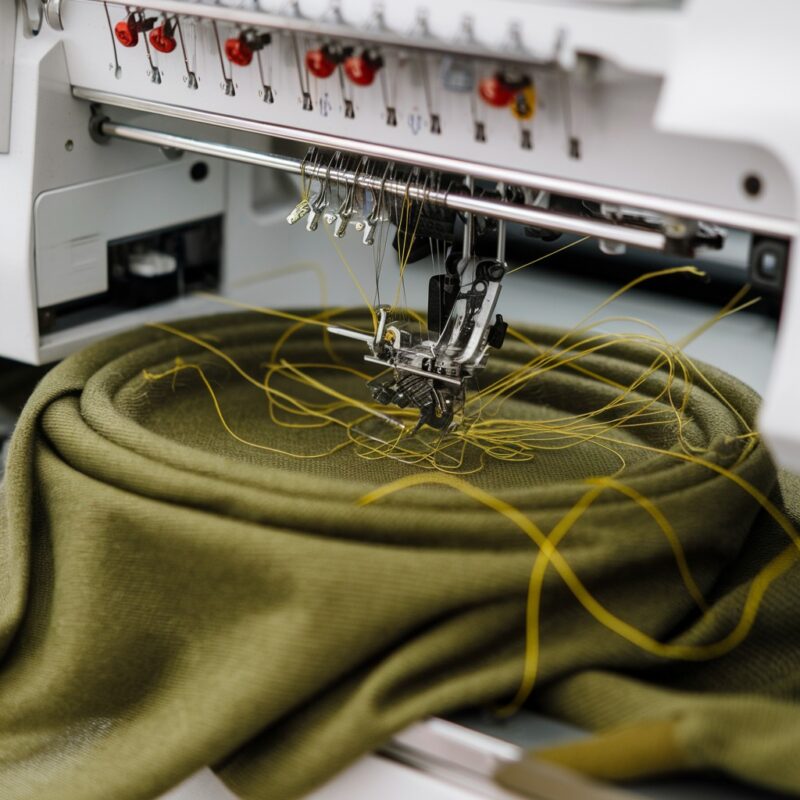
Bird's nesting refers to a common issue where excessive thread builds up and tangles underneath the fabric, creating a messy 'nest' of thread. It indicates a problem with thread delivery or tension.
Why does my Singer machine keep bird's nesting?
Common reasons include incorrect upper threading, improperly inserted or wound bobbin, imbalanced thread tension, fabric not hooped tightly enough, or using an incorrect needle for the thread/fabric.
How do I prevent bird's nesting on my Singer embroidery machine?
Always ensure correct threading, proper bobbin insertion, balanced tension, securely hooped fabric, and use the right needle and quality thread. Regular cleaning and maintenance also help prevent this issue.
Did this guide fix your machine?
Rate it - it helps other operators find the right fix.
Not sure which part is failing?
Need the logo stitched too?
Get your logo digitized by the people who know this machine
Upload the artwork, see the stitch count and the exact price in 10 seconds, then order with a free sew-out preview. $1 per 1,000 stitches, $10 minimum, 24-hour delivery. Vector conversion from $12.
After the fix
Fixed it? Keep the rest of the shop moving.
OS 360 is the shop software from the team behind this parts store. Every job keeps its status, deadline and owner while a Singer head is down, restock alerts fire for needles, hooks and bobbins before you run dry, and quotes, invoices and payment live in one place.
- Jobs with status, deadline and owner - nothing slips during downtime
- Inventory with restock alerts, this store one click away
- Instant quotes, invoices and one place to collect payment