Errors in Design Misalignment or Shifting on the Tajima TMAR-V1512 Series and Solutions

Errors in Design Misalignment or Shifting on the Tajima TMAR-V1512 Series and Solutions
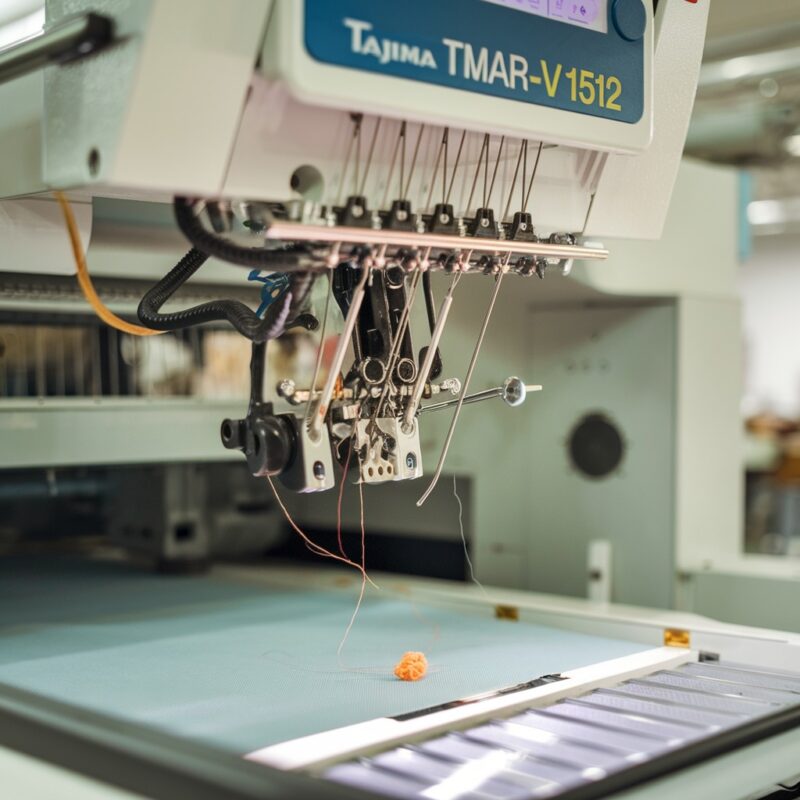
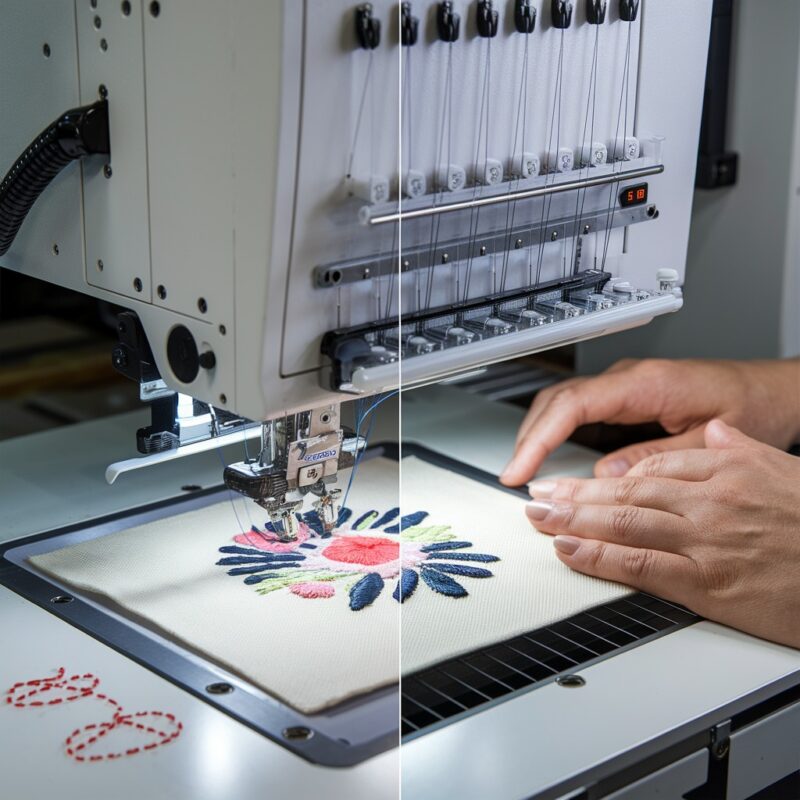
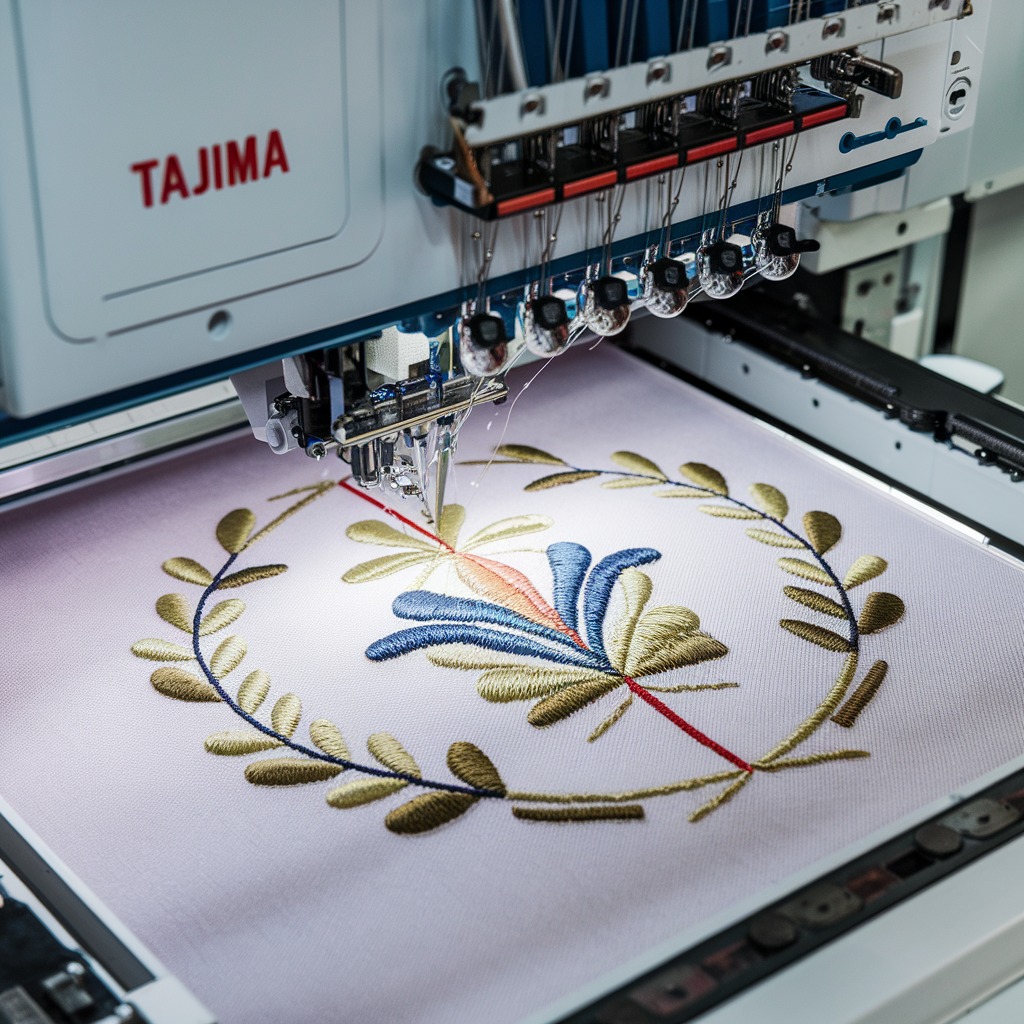
Embroidery design misalignment or shifting is a frustrating issue that impacts the final product’s quality, especially on the Tajima TMAR-V1512 Series (Multi-Head with Digitally Controlled Presser Foot). This series offers precise control and capabilities, but like all machines, it requires proper setup and troubleshooting to prevent errors. Below, we explore the common causes of design misalignment and the actionable solutions to resolve them.
Understanding Design Misalignment on TMAR-V1512
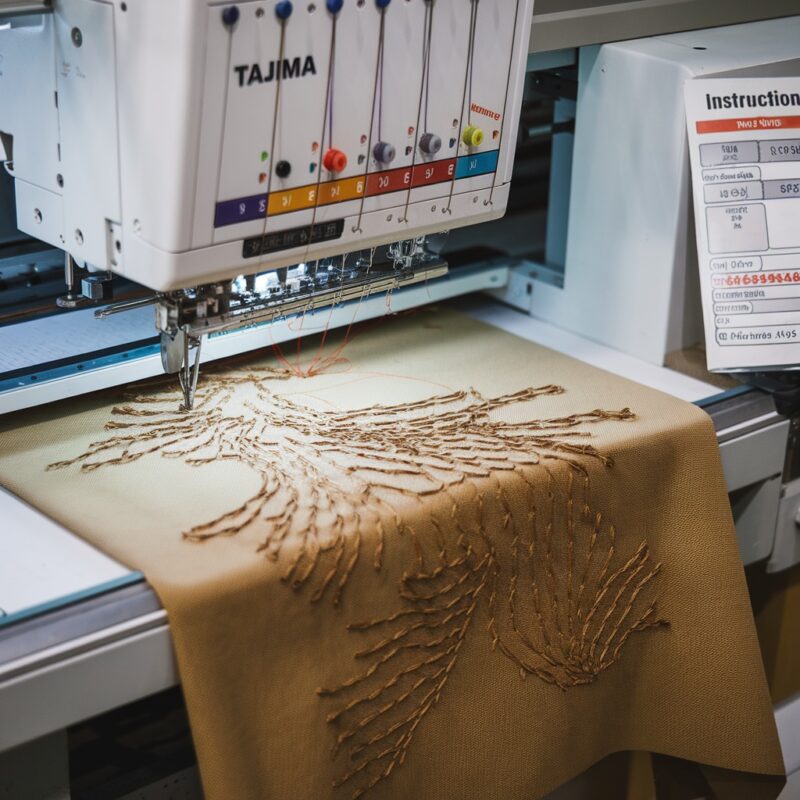
Misalignment occurs when the design elements fail to line up correctly, resulting in uneven patterns, overlapping stitches, or gaps. It often stems from issues with hooping, fabric tension, machine settings, or environmental factors.

1. Hooping Errors
- Cause: Improper hooping can lead to fabric slippage during stitching, causing the design to shift.
- Solution:
2. Stabilizer Problems
- Cause: Using the wrong stabilizer type or insufficient stabilizer can result in fabric movement, leading to misalignment.
- Solution:
- Choose a stabilizer that matches the fabric type and design complexity (e.g., cut-away for stretch fabrics, tear-away for wovens).
- For larger designs, consider using a double layer of stabilizer.
- Secure the stabilizer to the fabric with spray adhesive or basting stitches to prevent shifting.
3. Thread Tension Issues
- Cause: Incorrect thread tension can distort the fabric and pull the design out of alignment.
- Solution:
4. Machine Calibration
- Cause: Miscalibration of the TMAR-V1512 heads can result in inconsistent stitching and shifting.
- Solution:
5. Environmental Factors
- Cause: Vibrations, uneven surfaces, or high humidity can affect the machine’s stability and cause fabric movement.
- Solution:
- Place the machine on a stable, level surface to minimize vibrations.
- Maintain a controlled environment with consistent humidity and temperature.
- Avoid overloading the embroidery area with accessories that may interfere with fabric movement.
6. Digitizing Errors
- Cause: Poorly digitized designs with incorrect pathing or excessive stitch density can lead to misalignment during embroidery.
- Solution:
- Use professional digitizing software to optimize designs for the TMAR-V1512.
- Reduce stitch density in areas prone to distortion or puckering.
- Ensure the design path moves logically to prevent overlapping or skipped areas.
7. Multi-Head Synchronization
- Cause: When working on multiple heads, synchronization issues can result in design inconsistencies across the heads.
- Solution:
- Regularly synchronize all machine heads and test them with a trial run.
- Monitor each head during operation to ensure consistent stitching.
8. Fabric Properties and Handling
- Cause: Lightweight, stretchy, or slippery fabrics can easily move during embroidery, leading to misalignment.
- Solution:
- For delicate fabrics like silk or chiffon, use a stabilizer specifically designed for fine materials.
- When working with stretchy fabrics such as knits, opt for a cut-away stabilizer to maintain fabric structure.
- Pre-test fabric behavior by creating a small sample to check stability under stitching.
9. Thread Quality and Compatibility
- Cause: Poor-quality or incompatible threads can cause irregular stitches and fabric distortion.
- Solution:
- Use high-quality embroidery threads compatible with the machine’s settings.
- Avoid mixing different thread types (e.g., rayon and polyester) as they can behave differently under tension.
- Perform regular thread checks to identify and replace frayed or weak threads.
10. Presser Foot Adjustment
- Cause: The presser foot may not apply consistent pressure, causing the fabric to shift during stitching.
- Solution:
- Take full advantage of the digitally controlled presser foot feature. Adjust pressure settings to match the thickness and type of fabric.
- For multilayered fabrics, increase pressure slightly to ensure stability.
- Test presser foot adjustments on scrap material before beginning your design.
11. Overcompensating for Tight Tension
- Cause: Excessively tight tension on either the fabric or thread can create pulling, leading to distortions or shifts.
- Solution:
- Loosen thread tension incrementally until you achieve a balance that minimizes pull on the fabric.
- Avoid over-tightening the hoop; instead, let the stabilizer and fabric work together for support.
- Use an embroidery-specific tension gauge to ensure consistent thread flow.
12. Overcrowded Design Elements
- Cause: Highly detailed designs with densely packed stitches can stress the fabric, causing shifting or puckering.
- Solution:
- Simplify intricate designs by spacing out dense stitch areas.
- Use a combination of lighter fill stitches and underlay stitches to distribute tension evenly.
- Ensure that pathing within the design doesn’t result in repeated overstitching in one area.
13. Operator Errors
- Cause: Inexperience or skipping critical setup steps can lead to preventable design shifting.
- Solution:
- Train operators to properly set up the machine, including hooping, stabilizer application, and presser foot adjustments.
- Create a checklist of setup tasks to ensure nothing is missed before starting embroidery.
- Encourage regular machine operation training to maintain skill levels.
14. Periodic Machine Reassessment
- Cause: Over time, normal wear and tear can impact the alignment of machine components, resulting in consistent misalignment issues.
- Solution:
15. Multi-Head Workflow Coordination
- Cause: When using multiple heads, a lack of synchronization between heads can result in inconsistent designs.
- Solution:
Conclusion
Achieving flawless alignment with the Tajima TMAR-V1512 Series involves a combination of proper setup, precision tools, and preventative maintenance. From selecting the correct stabilizer to leveraging the digitally controlled presser foot, every detail matters in ensuring your design remains perfectly aligned. Addressing these factors not only prevents misalignment but also elevates the quality of your embroidery, saving time and resources in the long run.
Take advantage of the advanced capabilities of the TMAR-V1512 by applying these solutions, and watch your embroidery results improve dramatically.