Blog
Tajima Embroidery Machine: Troubleshooting Skipped Stitches

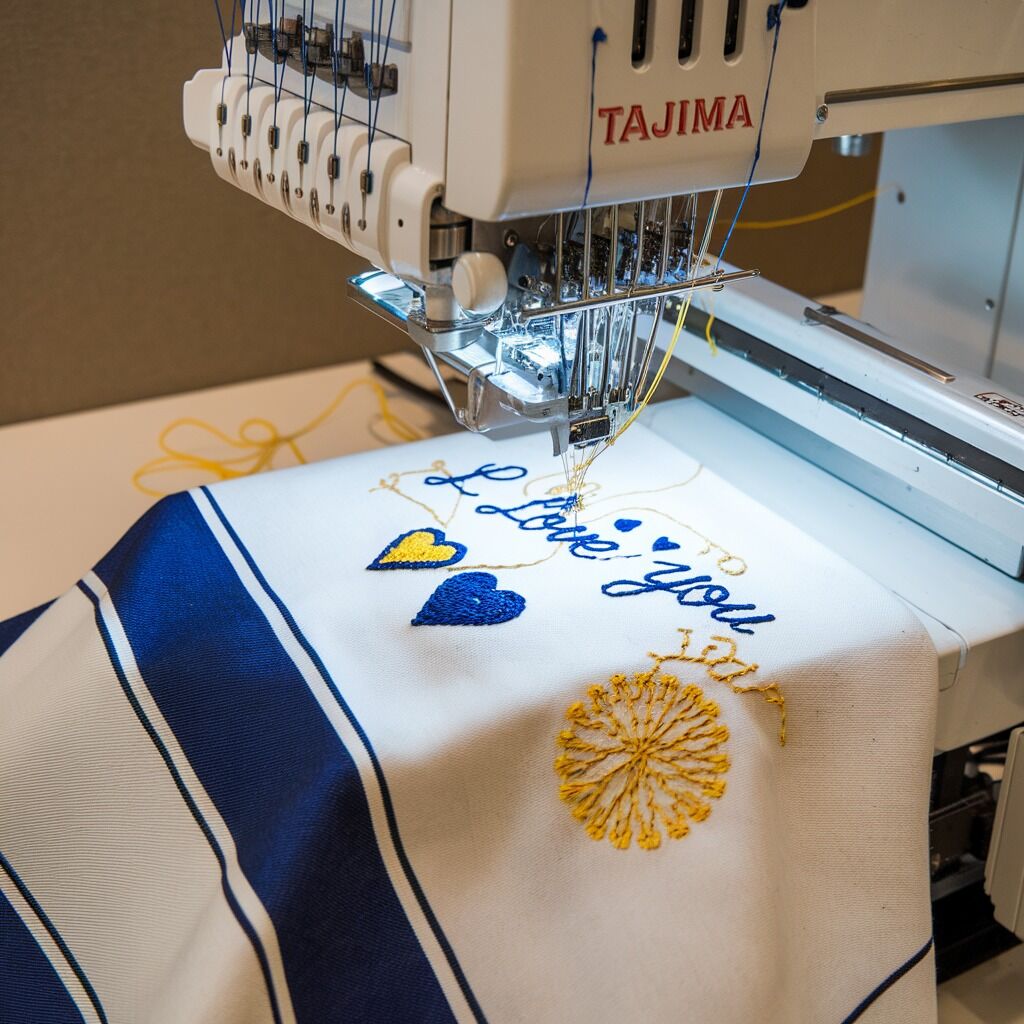
Quick answer: Skipped stitches on a Tajima embroidery machine are most often caused by a dull or bent needle, incorrect threading, imbalanced thread tension, or debris in the bobbin area. Inspect and replace the needle, re-thread the machine, adjust tension, and clean the hook area.
Skipped stitches are a common frustration for Tajima embroidery machine operators, leading to imperfect designs and wasted materials. This guide provides practical, step-by-step instructions to diagnose and resolve the most frequent causes of skipped stitches, helping you restore your machine's optimal performance.
Two-minute checks before you open anything
- Is the needle dull, bent, or damaged? Replace it.
- Is the machine threaded correctly from spool to needle eye?
- Is the bobbin correctly inserted and wound?
- Are the upper and lower thread tensions balanced?
- Is the bobbin case and rotary hook area clean and free of lint?
1. Dull, Bent, or Damaged Needle high likelihood
How to tell
Visually inspect the needle tip for any burrs, bends, or dullness. Run a finger gently along the needle point (away from the tip) to feel for roughness. A bent needle will often cause the thread to fray or break, or the needle to hit the needle plate.
Fix
- Turn off the machine power.
- Loosen the needle clamp screw using the appropriate screwdriver.
- Remove the old needle.
- Insert a new, correct type and size needle (e.g., DBxK5 for general embroidery) with the scarf (flat side) facing the back of the machine.
- Push the needle up as far as it will go into the needle bar.
- Tighten the needle clamp screw securely.
- Perform a test stitch on scrap fabric.
Always use genuine or high-quality embroidery machine needles appropriate for your machine model and application.
Parts involved: Needles & needle bars →
2. Incorrect Machine Threading high likelihood
How to tell
Observe the thread path from the spool to the needle. Look for thread bypassing guides, not sitting correctly in tension disks, or being caught on machine parts. Check if the bobbin is inserted with the thread unwinding in the correct direction (usually counter-clockwise when viewed from the top for drop-in bobbins, or as per manual for front-load bobbin cases).
Fix
- Turn off the machine power.
- Remove the upper thread completely from the machine.
- Consult your Tajima machine's operation manual for the exact threading path.
- Re-thread the machine carefully, ensuring the thread passes through every guide, take-up lever, and tension disk correctly.
- Ensure the thread is seated firmly between the tension disks.
- Remove the bobbin case. Check for any lint or thread scraps inside.
- Re-insert the bobbin correctly into its case, ensuring the thread unwinds in the specified direction and is properly routed through the bobbin case tension spring.
- Re-insert the bobbin case into the rotary hook assembly.
- Perform a test stitch on scrap fabric.
Parts involved: Thread path & tension →
Parts you may need for Tajima
In stock, tested before dispatch, Buyer Protection on every order. Part types for this problem: Needles & needle bars, Thread path & tension, Rotary hooks & bobbin cases, Lubrication & maintenance.
 40 Weight 120D/2 Polyester Embroidery Thread 4000M PET-121 for Brot...$ 17.49View part →
 Groz Beckert RG DBXK5 Embroidery Needles Nm 65/9, 70/10, 75/11, 80/...$ 36.29View part →
 Hirose HSH-7.94ATR(MTQ) KHS12-RYP Rotary Hook for Tajima, Barudan, ...$ 12.09View part →
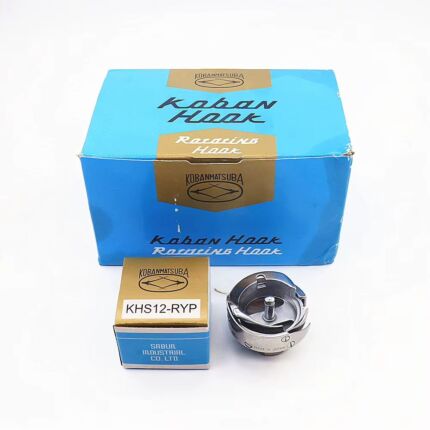 Koban KHS12-RYP Rotary Hook with Trimmer for Tajima, Barudan, SWF, ...$ 22.29View part →
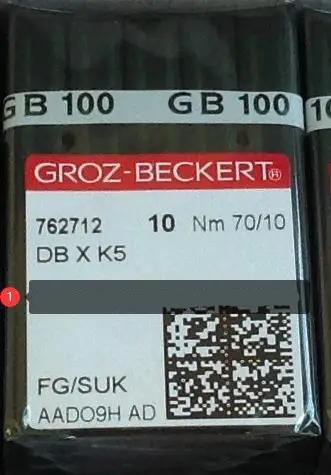 Groz-Beckert DBXK5 FG/SUK Embroidery Needles (100 Pcs) for Tajima, ...$ 23.09View part →
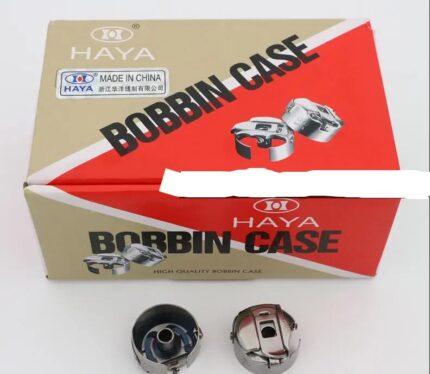 HAYA MGP BC-DBZ(1)-NBL KF220440 ME0503000NBL Bobbin Case (50 Pcs) f...$ 66.29View part →
All Tajima parts → Needles & Needle Bars → Thread Path & Tension → Rotary Hooks & Bobbin Cases →
3. Imbalanced Thread Tension high likelihood
How to tell
Perform a test stitch on a scrap piece of fabric. If the top thread appears as straight lines on the underside of the fabric, the top tension is too tight. If the bobbin thread shows on the top surface, the top tension is too loose. Ideal tension shows a balanced stitch where the top and bobbin threads meet neatly within the fabric layers, with a small knot visible on the underside.
Fix
- Turn off the machine power.
- Ensure the machine is threaded correctly and the bobbin is properly installed.
- Adjust the upper thread tension dial incrementally (e.g., 1/4 turn at a time). Start by loosening if the top thread is too tight, or tightening if it's too loose.
- For bobbin tension, remove the bobbin case. If the bobbin case has an adjustment screw, turn it slightly (e.g., 1/8 turn) clockwise to increase tension or counter-clockwise to decrease. Note: Bobbin tension is usually adjusted less frequently than upper tension.
- Perform a test stitch after each adjustment until a balanced stitch is achieved. Refer to your machine manual for recommended tension settings if available.
Parts involved: Thread path & tension → Rotary hooks & bobbin cases →
4. Lint and Debris in Rotary Hook or Thread Path high likelihood
How to tell
Visually inspect the bobbin case area, rotary hook, and thread tension disks. Lint, thread fragments, or dust can accumulate, obstructing thread movement or interfering with hook timing. The machine may also make unusual noises or the thread may snag.
Fix
- Turn off the machine power.
- Remove the needle plate, bobbin case, and bobbin.
- Using a small brush, tweezers, or compressed air (used carefully, blowing away from sensitive electronics), thoroughly clean all lint and debris from the bobbin case, rotary hook assembly, and under the needle plate.
- Inspect the thread path, especially the upper tension disks, for any trapped lint. Use a thin piece of fabric or dental floss to clean between the tension disks.
- Reassemble the bobbin case, bobbin, and needle plate.
- Perform a test stitch on scrap fabric.
Parts involved: Rotary hooks & bobbin cases → Thread path & tension → Lubrication & maintenance →
5. Incorrect Needle Type/Size or Thread Incompatibility medium likelihood
How to tell
Skipped stitches occur consistently despite correct threading and tension. The thread may fray or break frequently. The needle may struggle to penetrate the fabric cleanly. Check the needle size against the thread weight and fabric type. For example, a fine needle with heavy thread, or a ballpoint needle on woven fabric, can cause issues.
Fix
- Turn off the machine power.
- Verify the needle type (e.g., sharp for wovens, ballpoint for knits, embroidery-specific) and size (e.g., 75/11, 90/14) are appropriate for the fabric and thread being used. Consult a needle/thread compatibility chart if unsure.
- Replace the needle with the correct type and size.
- Ensure the thread weight is compatible with the needle eye size. The thread should pass smoothly through the needle eye without excessive friction or looseness.
- Perform a test stitch on scrap fabric.
Parts involved: Needles & needle bars → Threads & supplies →
6. Improper Fabric Hooping medium likelihood
How to tell
The fabric may pucker, shift, or show signs of uneven tension within the hoop. Skipped stitches might appear in specific areas where the fabric is loose or distorted. The needle may push the fabric down instead of piercing it cleanly.
Fix
- Remove the hoop from the machine.
- Ensure the fabric is taut in the hoop, like a drum, without being stretched or distorted. Avoid over-tightening which can damage the fabric.
- Use appropriate stabilizer for the fabric type and design density. For stretchy or thin fabrics, use a cut-away or tear-away stabilizer to provide adequate support.
- Ensure the hoop is securely attached to the machine's pantograph or hoop holder.
- Perform a test stitch or re-run the design.
Parts involved: Hoops & frames → Threads & supplies →
7. Machine Speed Too High for Application low likelihood
How to tell
Skipped stitches occur more frequently at higher machine speeds, especially with dense designs, thick fabrics, or metallic threads. The machine may sound strained, or the thread may break more often.
Fix
- Reduce the machine's operating speed via the control panel.
- For very intricate designs, dense stitch counts, or challenging materials, operate at a slower speed to allow the needle, thread, and hook mechanism sufficient time to form each stitch correctly.
- Perform a test stitch or re-run the design at the reduced speed.
Stop and call a technician if
- If skipped stitches persist after performing all troubleshooting steps.
- If you suspect internal mechanical issues like hook timing being off (requires specialized tools and knowledge).
- If the machine displays error codes related to stitching or timing that you cannot resolve.
Prevent it coming back
- Perform regular machine maintenance, including cleaning the rotary hook area, tension disks, and oiling as per your Tajima machine's manual.
- Always use high-quality embroidery needles and threads appropriate for your fabric and design.
- Ensure fabric is properly hooped, taut like a drum, and adequately stabilized for the design density.
- Conduct a test stitch on scrap fabric before starting a new project to verify stitch quality and tension.
- Replace needles proactively after 8-10 hours of use or when changing fabric types.
Frequently asked questions
Why do I get skipped stitches only on certain parts of my design?
This often points to localized issues like fabric hooping problems (loose in one area), a specific needle that might be slightly bent, or a section of the design that is particularly dense and requires slower speed or different needle/thread combination.
How often should I change my embroidery machine needle?
It's best practice to change your needle after every 8-10 hours of sewing time, or when starting a new project, switching fabric types, or if you notice any stitching issues like skipped stitches, thread breaks, or fabric damage.
Can poor quality thread cause skipped stitches?
Yes, low-quality thread can be inconsistent in thickness, have slubs, or be prone to fraying, all of which can lead to improper stitch formation and skipped stitches. Always use high-quality embroidery thread.
Did this guide fix your machine?
Rate it - it helps other operators find the right fix.
Not sure which part is failing?
Need the logo stitched too?
Get your logo digitized by the people who know this machine
Upload the artwork, see the stitch count and the exact price in 10 seconds, then order with a free sew-out preview. $1 per 1,000 stitches, $10 minimum, 24-hour delivery. Vector conversion from $12.
After the fix
Fixed it? Keep the rest of the shop moving.
OS 360 is the shop software from the team behind this parts store. Every job keeps its status, deadline and owner while a Tajima head is down, restock alerts fire for needles, hooks and bobbins before you run dry, and quotes, invoices and payment live in one place.
- Jobs with status, deadline and owner - nothing slips during downtime
- Inventory with restock alerts, this store one click away
- Instant quotes, invoices and one place to collect payment