Blog
Singer Embroidery Machine Stops or Won’t Sew: Troubleshooting Guide

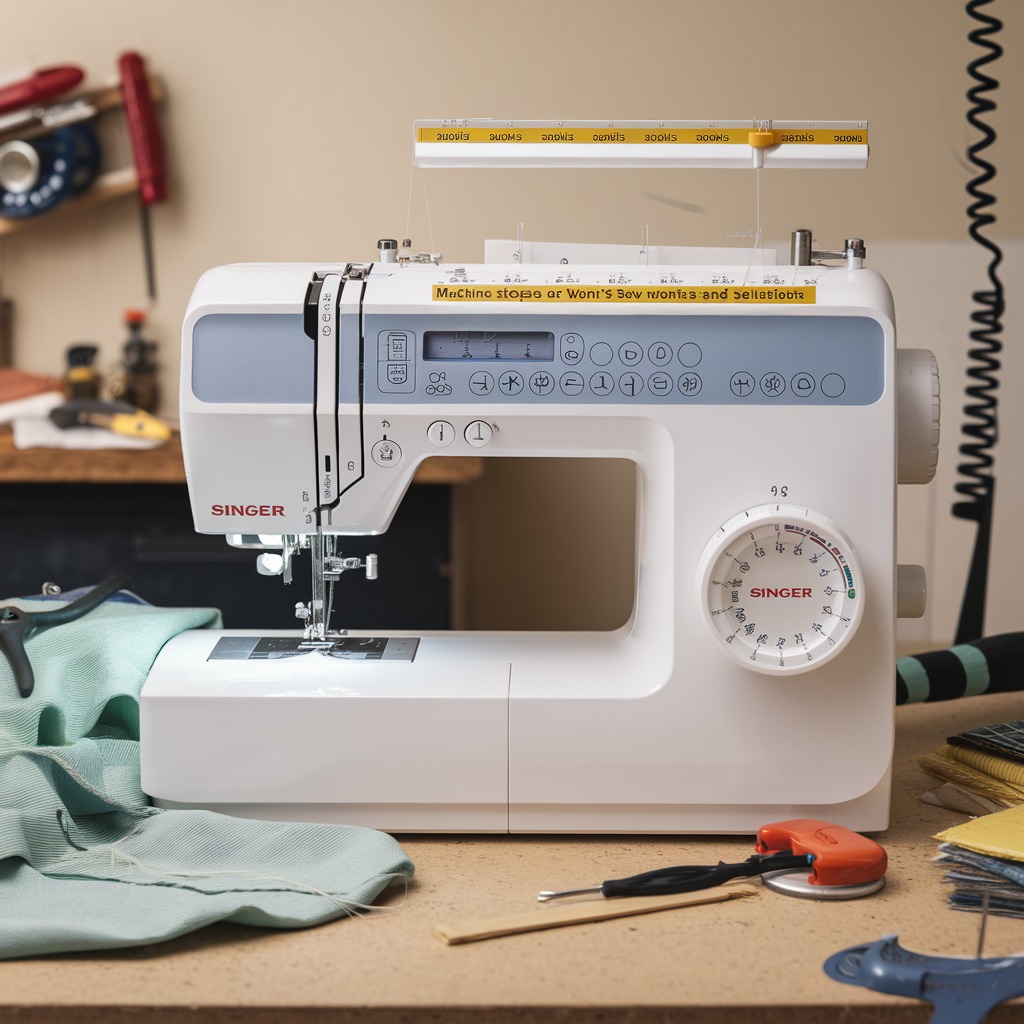
Quick answer: Most Singer embroidery machine stoppages are due to threading errors, needle issues, or bobbin problems. Start by re-threading both upper and bobbin threads, checking the needle, and ensuring the bobbin is correctly wound and inserted. Clean the machine regularly to prevent lint buildup.
A Singer embroidery machine that stops or refuses to sew can be frustrating, but many common issues are simple to diagnose and fix. This guide provides practical, step-by-step instructions for operators to troubleshoot and resolve the most frequent causes of machine stoppage, helping you get back to embroidering quickly.
Two-minute checks before you open anything
- Is the machine powered on and plugged in securely?
- Is the foot pedal connected and free of obstructions?
- Is the upper thread correctly seated in all guides and tension discs?
- Is the bobbin correctly inserted and wound, with thread pulling smoothly?
- Is the needle straight, sharp, and inserted correctly?
- Are there any visible thread tangles in the needle plate or bobbin area?
1. Incorrect Upper Threading or Thread Tangles high likelihood
How to tell
Machine stops abruptly, upper thread breaks, or stitches are irregular/missing. Visible thread tangles around the take-up lever, tension discs, or needle area. The thread sensor may activate.
Fix
- Power off the machine.
- Completely remove the upper thread from the machine.
- Inspect the thread path for any snags, burrs, or lint buildup, especially in the tension discs and thread guides. Clean if necessary.
- Re-thread the machine carefully, ensuring the thread passes through every guide, the take-up lever, and the tension discs correctly. Refer to your machine's manual for the exact threading path.
- Ensure the presser foot is raised when threading to allow the thread to seat properly in the tension discs.
Parts involved: Threads & supplies → Thread path & tension → Sensors & switches →
2. Bobbin Issues (Incorrectly Wound, Empty, or Inserted) high likelihood
How to tell
Machine stops, bobbin thread breaks, stitches are loose on the top side of the fabric, or no bobbin thread appears. The bobbin may be visibly empty, wound unevenly, or incorrectly seated in the bobbin case.
Fix
- Power off the machine.
- Remove the bobbin case and bobbin.
- Check if the bobbin is empty; if so, wind a new bobbin with the correct thread type and ensure it's wound evenly and not too full or too loose.
- Inspect the bobbin case for any lint, debris, or damage. Clean thoroughly.
- Re-insert the bobbin into the bobbin case, ensuring the thread feeds in the correct direction (usually clockwise for drop-in bobbins, or as specified in your manual).
- Insert the bobbin case back into the machine, ensuring it clicks securely into place. Pull the bobbin thread through the tension spring on the bobbin case.
Parts involved: Rotary hooks & bobbin cases → Threads & supplies → Lubrication & maintenance →
Parts you may need for Singer
In stock, tested before dispatch, Buyer Protection on every order. Part types for this problem: Threads & supplies, Thread path & tension, Sensors & switches, Rotary hooks & bobbin cases.
 Bobbin Case & 2 Metal Bobbins for Brother, Janome, Singer, Babylock...$ 5.59View part →
 11PCS Low Shank Presser Foot Kit Set for Singer Brother Janome Kenm...$ 15.49View part →
 PET-121 40WT 120D/2 Polyester Embroidery Thread 4000M Spool, 80 Mad...$ 11.99View part →
 Flying Tiger DBx1 Industrial Lockstitch Needles, 100 pcs/box, Sizes...$ 10.99View part →
 PET-80 80 Madeira Colors Embroidery Thread Set - Premium 40WT Polye...$ 10.49View part →40 Weight 120D/2 Polyester Embroidery Thread 4000M PET-121 for Brot...$ 11.99View part →
All Singer parts → Threads & Supplies → Thread Path & Tension → Sensors & Switches →
3. Damaged or Incorrect Needle high likelihood
How to tell
Machine stops abruptly, makes a loud 'thunk' sound, skips stitches, or produces uneven stitches. The needle may be visibly bent, broken, dull, or have a burr on the tip. Incorrect needle type or size for the fabric/thread.
Fix
- Power off the machine.
- Loosen the needle clamp screw (usually with a small screwdriver or by hand).
- Remove the old needle.
- Inspect the needle plate for any damage caused by a broken needle. If damaged, it may need replacement.
- Insert a new, correct type and size needle for your fabric and thread. Ensure the flat side of the needle shaft faces the back (or as indicated in your machine manual) and is pushed up as far as it will go into the needle bar.
- Tighten the needle clamp screw securely, but do not overtighten.
Parts involved: Needles & needle bars → Screws, springs & small parts → Presser feet & sewing parts →
4. Incorrect Thread Tension medium likelihood
How to tell
Stitches are uneven, looping on the top or bottom of the fabric, thread breaks frequently, or the machine jams. The machine may stop due to thread entanglement caused by imbalanced tension.
Fix
- Power off the machine.
- Ensure both upper and bobbin threads are correctly threaded and seated.
- Perform a test stitch on a scrap piece of fabric similar to your project.
- Adjust the upper thread tension dial incrementally (usually a numbered dial on the front of the machine). Increase the number to tighten, decrease to loosen. Start with the recommended setting from your manual.
- If the bobbin thread tension seems incorrect, consult your machine manual for instructions on adjusting the bobbin case tension screw. This is often a very small screw on the bobbin case and should be adjusted with caution, as slight turns make a big difference.
Parts involved: Thread path & tension → Threads & supplies → Rotary hooks & bobbin cases →
5. Lint Buildup or Lack of Maintenance medium likelihood
How to tell
Machine runs sluggishly, makes unusual noises, jams frequently, or stops without a clear reason. Visible lint, dust, and thread fibers are present in the bobbin area, feed dogs, or under the needle plate.
Fix
- Power off and unplug the machine.
- Remove the needle, presser foot, and needle plate (refer to your manual for removal instructions, usually involves a few screws).
- Using a small brush (often supplied with the machine) and/or a vacuum cleaner with a narrow attachment, thoroughly clean out all lint, dust, and thread debris from the bobbin case area, feed dogs, and any accessible moving parts.
- Apply a small amount of sewing machine oil to the designated lubrication points as specified in your machine's manual. Do not over-oil.
- Reassemble the machine, ensuring all parts are correctly seated and screws are tightened.
Regular cleaning and oiling are crucial for machine longevity and smooth operation. Refer to your machine's manual for specific cleaning and oiling points and frequency.
Parts involved: Lubrication & maintenance → Rotary hooks & bobbin cases → Presser feet & sewing parts → Screws, springs & small parts →
6. Foot Pedal or Power Supply Issues low likelihood
How to tell
Machine does not start or operate at all, even when powered on. Power light may not illuminate. Machine may start intermittently or run erratically. Visible damage to the power cord or foot pedal cable.
Fix
- Ensure the machine's power cord is securely plugged into a working wall outlet and into the machine.
- Verify the foot pedal cable is firmly connected to the machine's port.
- Inspect the power cord and foot pedal cable for any visible cuts, fraying, or damage. If damaged, replacement is necessary.
- Test the wall outlet with another appliance to ensure it has power.
- If possible, test with a known working foot pedal or power cord (if interchangeable with another machine you own).
- Check the machine's main power switch for proper operation.
Damaged power cords or foot pedals should be replaced with genuine Singer parts or compatible alternatives to ensure safety and proper function.
Parts involved: Cables & wiring → Motors & drivers → Circuit boards & electronics →
7. Thread Sensor Malfunction low likelihood
How to tell
Machine stops and displays a 'thread error' or similar message (check your machine's display). This occurs even after re-threading and confirming no visible tangles or breaks.
Fix
- Power off the machine.
- Carefully inspect the thread path, especially near any visible thread sensors (often small optical sensors near the take-up lever or bobbin area).
- Clean any lint or debris that might be obstructing the sensor's view.
- Re-thread the machine meticulously, ensuring the thread passes correctly through all guides and the sensor's detection path.
- If the issue persists after thorough cleaning and re-threading, the sensor itself may be faulty. Consult your machine manual for sensor location and potential reset procedures, or contact a technician.
Parts involved: Sensors & switches → Thread path & tension → Circuit boards & electronics →
Stop and call a technician if
- If the machine displays an error code not covered in your manual's basic troubleshooting.
- If the motor runs but the needle bar or hook assembly does not move.
- If there is visible damage to internal components, circuit boards, or wiring.
- If the machine emits smoke, burning smells, or unusual grinding noises.
- If troubleshooting steps for power supply or sensor issues do not resolve the problem, indicating a potential internal electrical or electronic fault.
Prevent it coming back
- Always use the correct needle type and size for your fabric and thread. Replace needles regularly (after 8-10 hours of sewing or if bent/dull).
- Use high-quality embroidery thread that is suitable for your machine to minimize breaks and tangles.
- Ensure both upper and bobbin threads are correctly and securely threaded through all guides and tension components before starting a project.
- Regularly clean the bobbin area, feed dogs, and under the needle plate to remove lint and debris. Oil your machine according to the manufacturer's recommendations.
- Perform a test stitch on scrap fabric before each new project to verify tension settings.
- Inspect power cords and foot pedal cables periodically for any signs of wear or damage and replace them if necessary.
Frequently asked questions
Why does my Singer embroidery machine keep stopping mid-stitch?
Frequent stoppages mid-stitch are most commonly caused by upper or bobbin thread issues (tangles, breaks, incorrect threading), a bent or dull needle, or incorrect tension settings. Less often, it could be lint buildup or a sensor activation.
How often should I clean my Singer embroidery machine?
Regular cleaning is essential. For frequent users, clean the bobbin area and feed dogs after every 8-10 hours of use or after every major project. Refer to your machine's manual for specific cleaning and oiling schedules.
What type of needle should I use for my Singer embroidery machine?
Always use embroidery-specific needles (e.g., 'Embroidery' or 'Sharp' point) of the correct size for your fabric and thread. Consult your machine's manual for recommended needle systems (e.g., 130/705 H-E) and sizes.
Did this guide fix your machine?
Rate it - it helps other operators find the right fix.
Not sure which part is failing?
Need the logo stitched too?
Get your logo digitized by the people who know this machine
Upload the artwork, see the stitch count and the exact price in 10 seconds, then order with a free sew-out preview. $1 per 1,000 stitches, $10 minimum, 24-hour delivery. Vector conversion from $12.
After the fix
Fixed it? Keep the rest of the shop moving.
OS 360 is the shop software from the team behind this parts store. Every job keeps its status, deadline and owner while a Singer head is down, restock alerts fire for needles, hooks and bobbins before you run dry, and quotes, invoices and payment live in one place.
- Jobs with status, deadline and owner - nothing slips during downtime
- Inventory with restock alerts, this store one click away
- Instant quotes, invoices and one place to collect payment