
Blog
Tajima TMEG Series: Essential Maintenance Schedule & Wear Parts Guide

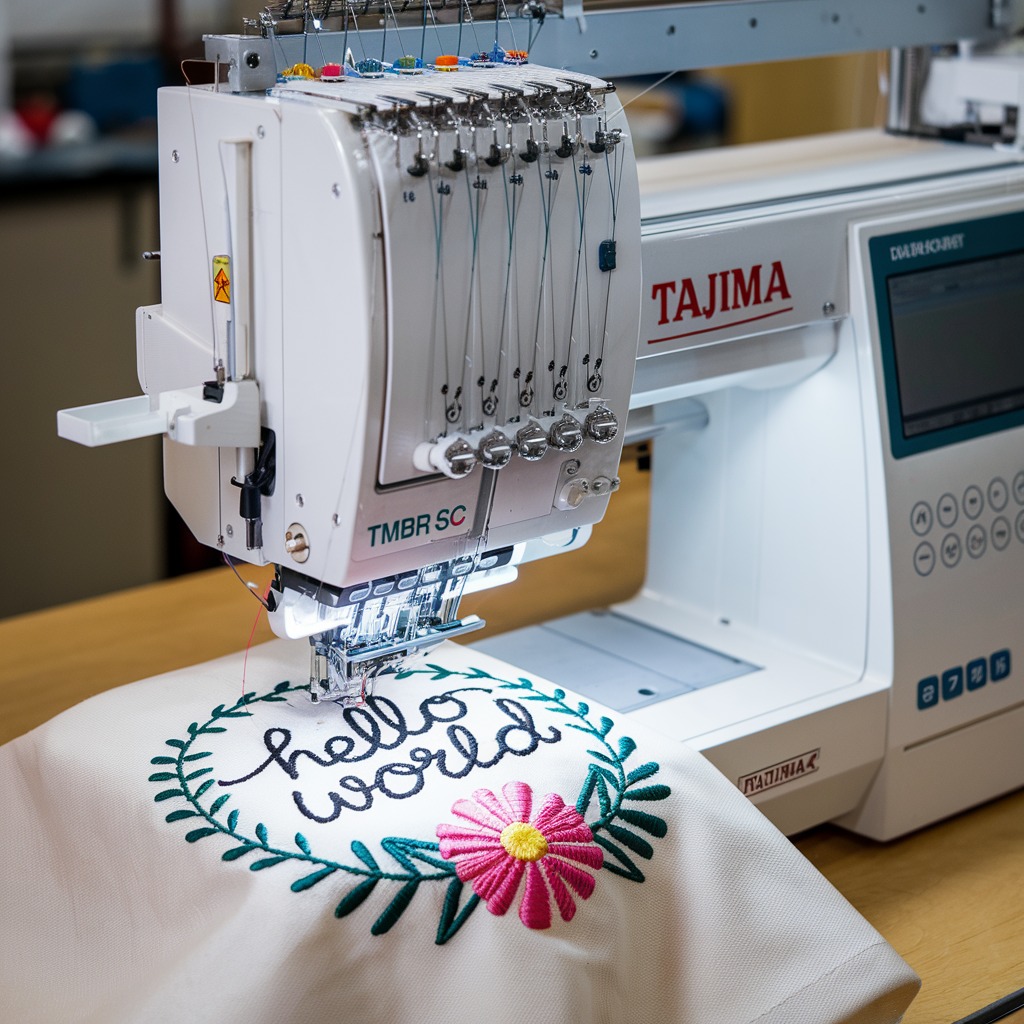
Quick answer: Regular maintenance is crucial for Tajima TMEG machines. Key wear parts include needle bar guides, thread take-up springs, and synchronous belts. Follow a daily, weekly, and monthly schedule for cleaning, lubrication, and inspection to ensure optimal performance and extend machine life.
The Tajima TMEG series embroidery machines are workhorses, known for their reliability and precision. To maintain their high performance and extend their lifespan, consistent and thorough maintenance is essential. This guide provides a realistic maintenance schedule and identifies common wear parts, helping you keep your TMEG machine running smoothly and efficiently.
Two-minute checks before you open anything
- Check for any unusual noises or vibrations during operation.
- Inspect needles for bends, burrs, or dullness before each shift.
- Verify that all thread paths are clear and free of lint or snags.
- Ensure bobbin cases are clean and free of lint.
- Check the tension of the top thread and bobbin thread.
- Look for any loose screws or connections.
1. Needle Bar Guides high likelihood
How to tell
Worn needle bar guides can cause excessive needle bar play, leading to poor stitch quality, skipped stitches, or even needle breaks. You might hear a clicking or rattling sound from the needle area. Visually inspect for grooves or damage on the guide surfaces.
Fix
- Power off and unplug the machine.
- Remove the needle plate and presser foot assembly for better access.
- Manually move the needle bars up and down to feel for excessive side-to-side play.
- Inspect the needle bar guides for visible wear, such as grooves or scoring.
- If worn, carefully remove the old guides, noting their orientation.
- Install new Tajima Needle Bar Guide (e.g., 090450036011, 090450049011, 09045005Y011) ensuring correct alignment.
- Test needle bar movement for smooth operation and reduced play.
Tajima Needle Bar Guide 090450036011, 090450049011, 09045005Y011
Parts involved: Needles & needle bars → Shafts, bearings & bushings →
2. Hook Thread Take-Up Spring high likelihood
How to tell
A weak or broken hook thread take-up spring can lead to loose stitches, looping on the underside of the fabric, or thread breaks. The spring may appear stretched, bent, or visibly broken.
Fix
- Power off and unplug the machine.
- Locate the hook thread take-up spring, usually near the rotary hook assembly.
- Inspect the spring for signs of fatigue, deformation, or breakage.
- If faulty, carefully remove the old spring using needle-nose pliers or tweezers.
- Install a new Tajima 0C0220060060 Hook Thread Take-Up Spring, ensuring it is correctly seated and tensioned.
- Test the machine with scrap fabric to verify proper stitch formation.
Tajima 0C0220060060 Hook Thread Take-Up Spring
Parts involved: Thread path & tension → Screws, springs & small parts →
Parts you may need for Tajima TMEG
In stock, tested before dispatch, Buyer Protection on every order. Part types for this problem: Needles & needle bars, Thread path & tension, Screws, springs & small parts, Shafts, bearings & bushings.
 TAJIMA DU-10 XY Driver Board EH5404000000 MP-117-1-A for TME-HC, TM...$ 156.49View part →
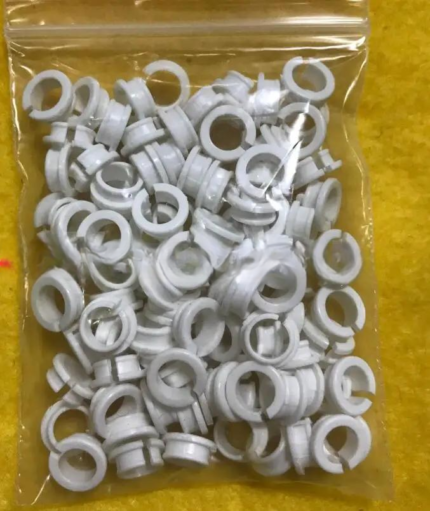 Tajima EF0613220000 EF0613210000 090460040020 090460040031 Presser ...$ 18.09View part →
 Tajima 9ZJ4040A0000 USB Linker External Reader for TMEG, TMEF, TMBE...$ 257.49View part →
 Tajima 0C0220080000 EF0910000000 Spring Hook for TMEG TMFD STNE TFK...$ 5.49View part →
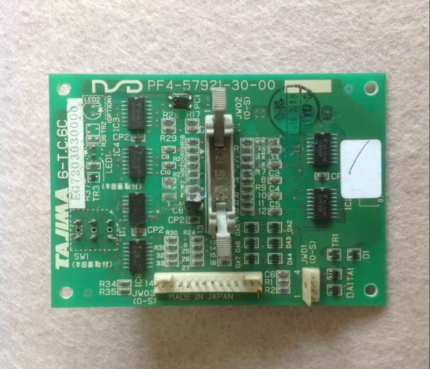 Tajima 6-T.C.6C 6-T.C.6B EG7203020000 EG7203030000 PF4-57921-30-00 ...$ 59.09View part →
 Onloyo 502107010003 Stopper Collar 7.94mm Dia. for Tajima TMEG TMFD...$ 39.49View part →
All Tajima TMEG parts → Needles & Needle Bars → Thread Path & Tension → Screws, Springs & Small Parts →
3. Needle Retention Compression Spring high likelihood
How to tell
If needles are not held securely, they can fall out, rotate, or break frequently. The needle retention spring might be weak, bent, or missing. This can also cause inconsistent needle depth.
Fix
- Power off and unplug the machine.
- Carefully inspect the needle bar area for the small compression spring that holds the needle in place.
- Check if the spring has lost its tension, is bent, or is broken.
- If faulty, use fine-tipped pliers to remove the old spring.
- Install a new Onloyo 507605030044 EF0618030000 Needle Retention Compression Spring.
- Ensure the needle is held firmly in the needle bar after replacement.
Onloyo 507605030044 EF0618030000 Needle Retention Compression Spring
Parts involved: Needles & needle bars → Screws, springs & small parts →
4. Thread Guide Collar Ceramic Coil medium likelihood
How to tell
Chipped, cracked, or deeply grooved ceramic coils can snag thread, causing thread breaks, fraying, or inconsistent tension. Visually inspect all ceramic thread guides for damage.
Fix
- Power off and unplug the machine.
- Trace the thread path and locate all ceramic thread guide coils.
- Use a magnifying glass to inspect for any chips, cracks, or sharp edges that could damage the thread.
- If damage is found, carefully remove the damaged coil.
- Install a new Tajima 516503010011 MX0521010000 Thread Guide Collar Ceramic Coil, ensuring it is securely seated.
- Run a piece of thread through the new guide to check for smooth passage.
Tajima 516503010011 MX0521010000 Thread Guide Collar Ceramic Coil
Parts involved: Thread path & tension →
5. Oil-Bushing Bobbin Shaft Sleeve medium likelihood
How to tell
A worn or dry bobbin shaft sleeve can cause increased friction, leading to noisy operation, excessive heat, or even seizure of the bobbin shaft. You might notice resistance when rotating the bobbin shaft manually.
Fix
- Power off and unplug the machine.
- Locate the bobbin shaft assembly.
- Inspect the oil-bushing sleeve for signs of wear, such as scoring or excessive play in the shaft.
- If worn, carefully disassemble the bobbin shaft to access and replace the sleeve.
- Install a new Onloyo 509179010000 EF0206000001 Oil-Bushing Bobbin Shaft Sleeve.
- Apply a small amount of machine oil to the new bushing before reassembly.
- Ensure smooth rotation of the bobbin shaft after reassembly.
Onloyo 509179010000 EF0206000001 Oil-Bushing Bobbin Shaft Sleeve
Parts involved: Shafts, bearings & bushings → Lubrication & maintenance →
6. Synchronous Belts medium likelihood
How to tell
Worn, cracked, or stretched synchronous belts can cause timing issues, skipped stitches, inconsistent stitch length, or complete machine stoppage. You may see visible cracks, fraying, or hear squealing sounds. Check for excessive slack.
Fix
- Power off and unplug the machine.
- Locate the various synchronous belts (e.g., X-axis, Y-axis, main drive).
- Inspect belts for cracks, missing teeth, fraying, or excessive wear.
- Check belt tension; it should be firm but not overly tight.
- If a belt is worn or damaged, carefully loosen tensioners and remove the old belt.
- Install a new Tajima Synchronous Belt (e.g., 623500270000, 623500360000, 623500400000, 623500430000 or W35-S5M) of the correct size and type.
- Adjust tension according to manufacturer specifications (refer to your machine manual).
- Manually rotate the machine to ensure smooth movement and proper timing.
Tajima Synchronous Belt 623500270000, 623500360000, 623500400000, 623500430000, Tajima W35-S5M Synchronous Belt
Parts involved: Belts, pulleys & gears →
7. DU-10 XY Driver Board low likelihood
How to tell
Malfunctions of the XY driver board can lead to erratic or non-responsive X or Y axis movement, incorrect design placement, or complete failure of movement in one or both directions. Error codes related to motor drivers may appear.
Fix
- Power off and unplug the machine.
- Consult your machine manual for diagnostic steps related to XY axis errors.
- If diagnostics point to the DU-10 XY Driver Board, carefully locate the board within the machine's control cabinet.
- Before handling, ensure proper static discharge precautions are taken.
- Carefully disconnect all cables from the old board, noting their positions.
- Remove the old board and install a new Tajima DU-10 XY Driver Board EH5404000000 MP-117-1-A.
- Reconnect all cables securely.
- Power on the machine and test XY axis movement.
Tajima DU-10 XY Driver Board EH5404000000 MP-117-1-A
Parts involved: Circuit boards & electronics → Motors & drivers →
8. Control Panel Monitor Operation Box low likelihood
How to tell
A faulty control panel can manifest as a blank screen, unresponsive buttons, garbled display, or inability to load designs. The machine may not start or operate correctly.
Fix
- Power off and unplug the machine.
- Check all cable connections to the control panel for looseness or damage.
- If the issue persists, the control panel itself may be faulty.
- Carefully disconnect the cables from the back of the existing control panel.
- Remove the old control panel assembly.
- Install a new Used Barudan, Tajima TMEG, SWF Embroidery Machine Control Panel Monitor Operation Box or Tajima ETJ-MONITOR/TEMG Monitor with Floppy Driver for TMEG Series Embroidery Machines.
- Reconnect all cables securely.
- Power on and test machine functionality and display.
Used Barudan, Tajima TMEG, SWF Embroidery Machine Control Panel Monitor Operation Box, Tajima ETJ-MONITOR/TEMG Monitor with Floppy Driver for TMEG Series Embroidery Machines
Parts involved: Control panels & displays →
9. USB Linker / Floppy Drive Emulator low likelihood
How to tell
Inability to load designs from USB or floppy disk, 'disk read error' messages, or slow data transfer can indicate a problem with the data input device.
Fix
- Power off and unplug the machine.
- First, try using a different USB drive or floppy disk to rule out media issues.
- If the problem persists, inspect the USB linker or floppy drive emulator for physical damage or loose connections.
- Carefully disconnect the existing data input device.
- Install a new Tajima 9ZJ4040A0000 USB Linker External Reader or Gotek USB Floppy Drive Emulator Reader.
- Reconnect securely and test design loading functionality.
Tajima 9ZJ4040A0000 USB Linker External Reader for TMEG, Tajima KP-BS-T-113 USB Reader, Gotek USB Floppy Drive Emulator Reader 720K Low Density 34-Pin for Tajima TMEG Embroidery Machines
Parts involved: Floppy, USB & memory →
Maintenance schedule
| When | What to do | Why |
|---|---|---|
| Daily (before/after each shift) | Clean the rotary hook area | Removes lint and thread debris that can cause skipped stitches, thread breaks, and damage to the hook. |
| Daily (before/after each shift) | Oil the rotary hook and needle bars | Reduces friction and wear, ensuring smooth operation and preventing premature part failure. Refer to your manual for specific oiling points. |
| Daily (before/after each shift) | Clean under the needle plate | Prevents lint buildup that can interfere with stitch formation and cause thread breaks. |
| Weekly | Clean tension assemblies and thread guides | Removes lint and wax buildup that can cause inconsistent thread tension and thread breaks. |
| Weekly | Inspect needles and needle bars | Checks for bent, dull, or burred needles and excessive play in needle bar guides, preventing stitch quality issues and needle breaks. |
| Weekly | Check and clean bobbin cases | Ensures smooth bobbin thread delivery and prevents lint-related issues. |
| Monthly | Lubricate all major moving parts (cams, shafts, linkages) | Reduces friction and wear on critical mechanical components. Consult your machine manual for specific lubrication points and types. |
| Monthly | Inspect synchronous belts for wear and tension | Ensures proper timing and movement of X/Y axes and main drive, preventing timing errors and poor stitch registration. |
| Monthly | Clean the entire machine exterior and interior accessible areas | Prevents dust and debris from entering sensitive components and maintains overall machine hygiene. |
| Every 500-1000 operating hours (or Annually) | Inspect and replace worn needle bar guides, thread take-up springs, and ceramic thread guides | These parts experience high friction and stress; proactive replacement prevents major stitch quality issues and downtime. |
| Every 500-1000 operating hours (or Annually) | Check and adjust machine timing (hook-to-needle timing, needle bar height) | Critical for optimal stitch formation and preventing needle breaks. This may require a technician or experienced operator. |
| Every 1000-2000 operating hours (or Annually) | Inspect and replace synchronous belts if signs of wear are present | Belts degrade over time; proactive replacement prevents unexpected breakdowns and timing issues. |
Stop and call a technician if
- If you encounter persistent error codes that you cannot resolve with basic troubleshooting.
- If you suspect a major electrical or mechanical failure (e.g., motor issues, main board failure).
- If you are uncomfortable performing a specific repair or adjustment.
- For annual preventative maintenance checks and calibration.
Prevent it coming back
- Always use high-quality needles, threads, and bobbin cases suitable for your machine and material.
- Avoid running the machine at excessively high speeds for extended periods, especially with dense designs.
- Ensure proper hooping tension to prevent fabric movement and reduce stress on needles and machine parts.
- Keep the work area clean and free of dust and debris, which can accumulate in moving parts.
- Follow the recommended lubrication schedule diligently, using only approved machine oils.
- Regularly check and adjust thread tension to prevent unnecessary strain on the thread path components.
Frequently asked questions
How often should I oil my Tajima TMEG machine?
You should oil your Tajima TMEG machine daily, especially the rotary hook and needle bars. Refer to your machine's specific manual for detailed lubrication points and recommended oil types and frequencies.
What causes thread breaks on my TMEG?
Thread breaks can be caused by many factors, including worn needle bar guides, damaged thread guide coils, incorrect thread tension, burrs on the needle plate or hook, a dull or bent needle, or poor quality thread. Regular inspection and maintenance of the thread path are essential.
Why are my stitches looping on the underside of the fabric?
Looping on the underside often indicates an issue with the top thread tension or the hook thread take-up spring. Check if the top thread is properly seated in all tension discs and guides. Inspect the hook thread take-up spring for weakness or breakage.
How do I know when to replace my needle bar guides?
Replace needle bar guides if you notice excessive play in the needle bars, inconsistent stitch quality, frequent needle breaks, or visible grooves and wear on the guide surfaces. Feeling for side-to-side movement of the needle bar when it's at its lowest point can help identify wear.
Can I use generic parts for my Tajima TMEG?
While some generic parts may fit, using genuine Tajima parts or high-quality aftermarket parts specifically designed for your TMEG series is recommended. This ensures proper fit, function, and longevity, preventing potential damage to other machine components.
Did this guide fix your machine?
Rate it - it helps other operators find the right fix.
Not sure which part is failing?
Need the logo stitched too?
Get your logo digitized by the people who know this machine
Upload the artwork, see the stitch count and the exact price in 10 seconds, then order with a free sew-out preview. $1 per 1,000 stitches, $10 minimum, 24-hour delivery. Vector conversion from $12.
After the fix
Fixed it? Keep the rest of the shop moving.
OS 360 is the shop software from the team behind this parts store. Every job keeps its status, deadline and owner while a TMEG head is down, restock alerts fire for needles, hooks and bobbins before you run dry, and quotes, invoices and payment live in one place.
- Jobs with status, deadline and owner - nothing slips during downtime
- Inventory with restock alerts, this store one click away
- Instant quotes, invoices and one place to collect payment





