Blog
Tajima TMAR-V1512: Troubleshooting Uneven Design Across Heads

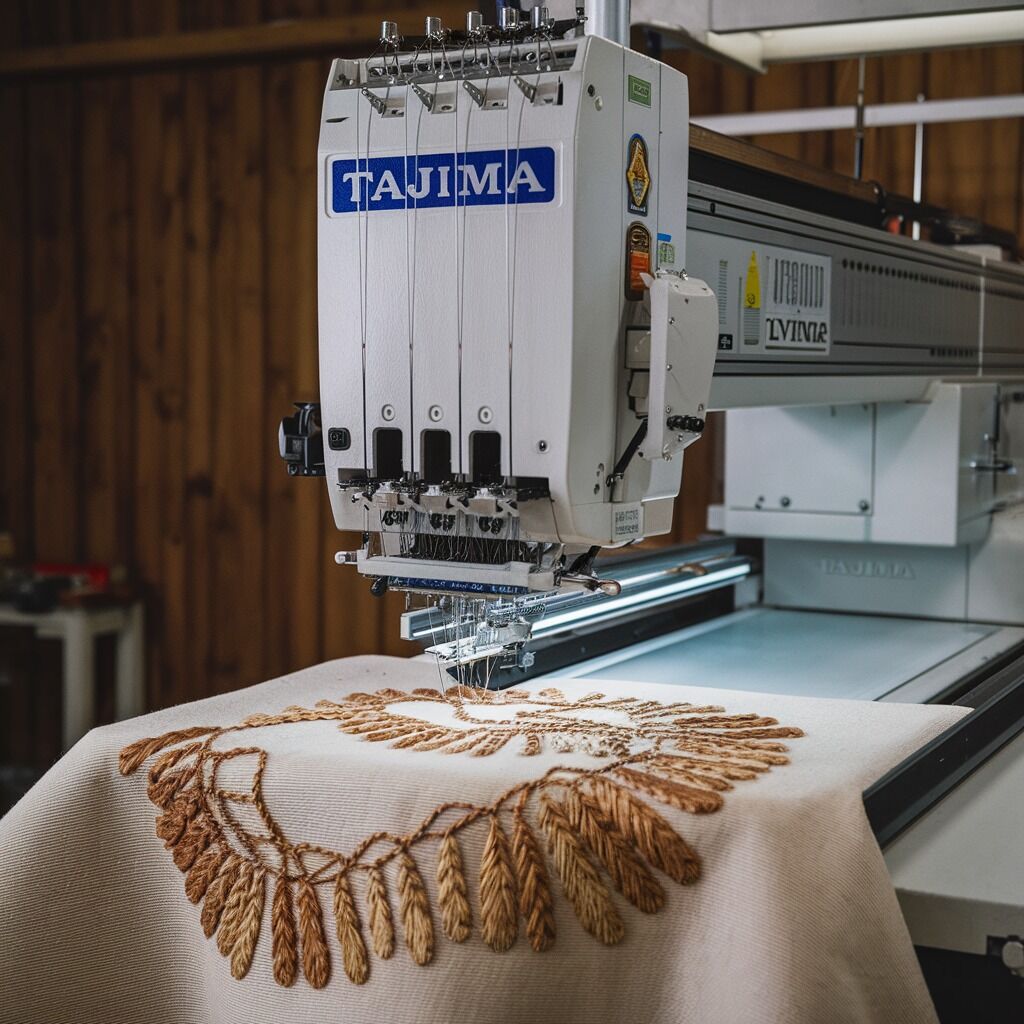
Quick answer: Uneven designs across Tajima TMAR-V1512 heads are typically caused by inconsistent tension, improper head or presser foot calibration, or variations in materials. Systematically check and adjust these elements on each head.
The Tajima TMAR-V1512 is a robust multi-head embroidery machine, but uneven design across heads can compromise production quality. This guide provides practical, step-by-step troubleshooting for common causes, empowering you to diagnose and resolve issues directly at the machine. Focus on systematic checks and precise adjustments to restore consistent embroidery across all heads.
Two-minute checks before you open anything
- Check thread and bobbin tension on all heads.
- Verify all needles are the same type and size.
- Ensure all bobbins are wound consistently and bobbin cases are identical.
- Confirm presser foot settings are uniform across all heads.
- Inspect hooping for even fabric tension and proper alignment.
1. Inconsistent Thread or Bobbin Tension high likelihood
How to tell
Stitches appear loose, tight, or inconsistent on specific heads compared to others. Looping may be visible on the top or bottom of the fabric.
Fix
- Perform a tension test on each head using a scrap piece of fabric and a simple block or letter design.
- Adjust the upper thread tension knob on each head until the bobbin thread shows approximately 1/3 on the underside of the fabric.
- For bobbin tension, use a bobbin tension gauge. Drop the bobbin case with the bobbin inserted; it should slowly unspool. Adjust the small screw on the bobbin case to achieve consistent tension across all heads (typically 18-22 grams for standard embroidery thread, but check your machine's manual for recommended values).
- Ensure all bobbins are wound consistently and are from the same batch.
Parts involved: Thread path & tension → Rotary hooks & bobbin cases → Threads & supplies →
2. Improper Head Calibration or Alignment medium likelihood
How to tell
Design elements are shifted or misaligned on one or more heads relative to others. Stitch placement is inconsistent.
Fix
- Access the machine's service menu for head calibration (refer to your Tajima TMAR-V1512 manual for specific steps).
- Use the machine's built-in alignment tools or a calibration grid design to verify the positioning of each head.
- Adjust the X and Y offsets for any head that shows misalignment until all heads are synchronized.
- Perform a test sew to confirm alignment.
Calibration is primarily a software adjustment, but severe misalignment could indicate mechanical issues.
Parts involved: Head & mechanical parts → Control panels & displays →
Parts you may need for Tajima TMAR
In stock, tested before dispatch, Buyer Protection on every order. Part types for this problem: Thread path & tension, Rotary hooks & bobbin cases, Threads & supplies, Head & mechanical parts.
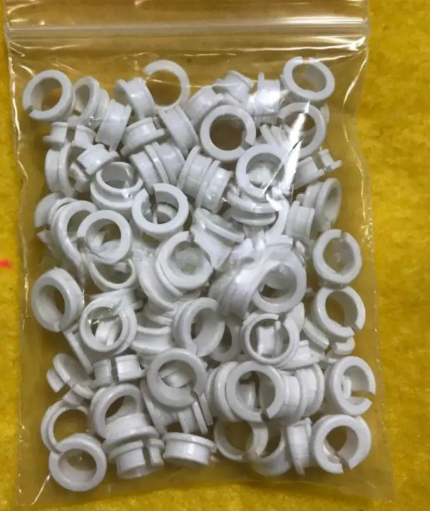 Tajima EF0613220000 EF0613210000 090460040020 090460040031 Presser ...$ 18.09View part →
 Tajima TC Sensor Card & Thread Contact Set 0J2602300A22 0J2602300A2...$ 18.09View part →
 KHS20-R Jumbo Rotary Hook for TAJIMA TME-DC, TMFX, TMB, TMAR, TMEZ ...$ 21.29View part →
 TAJIMA SWF KN/GN Presser Foot 93MM 97MM 100MM for High-Speed Embroi...$ 3.99View part →
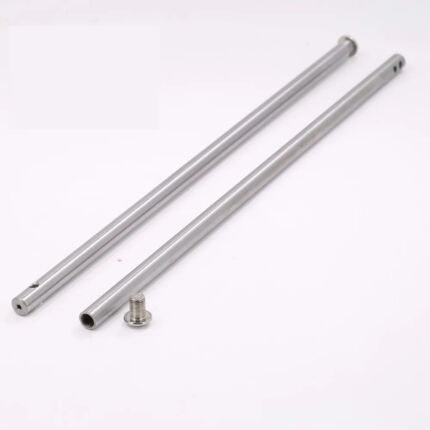 Tajima Embroidery Machine Needle Bar 207MM 212MM Replacement Part$ 3.49View part →
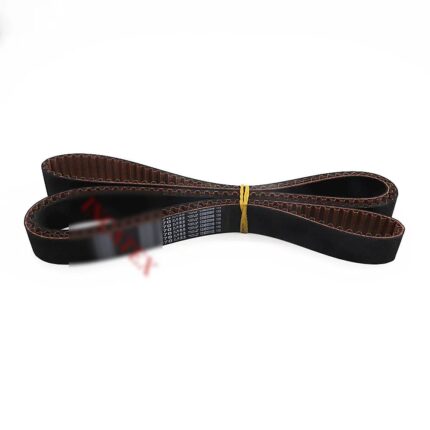 Genuine Japanese MBL S5M1270 Timing Belt 20mm for Tajima TFMX, TMAR...$ 61.99View part →
All Tajima TMAR parts → Thread Path & Tension → Rotary Hooks & Bobbin Cases → Threads & Supplies →
3. Inconsistent Needles or Thread high likelihood
How to tell
Stitch quality varies between heads, including skipped stitches, thread breaks, or different stitch appearance. Thread color or sheen may differ slightly.
Fix
- Ensure all heads are equipped with the exact same needle type (e.g., DBxK5), size (e.g., 75/11), and brand suitable for the fabric and design.
- Replace any bent, dull, or burred needles on all heads.
- Use thread from the same manufacturer, type, and dye lot for all heads to maintain uniformity in color, thickness, and texture.
- Inspect threads for knots, frays, or inconsistencies before use.
Parts involved: Needles & needle bars → Threads & supplies →
4. Variations in Presser Foot Pressure medium likelihood
How to tell
Fabric puckering, flagging, or inconsistent stitch formation on specific heads. The fabric may not be held securely during stitching.
Fix
- Access the machine's digital controls for presser foot pressure adjustment (refer to your Tajima TMAR-V1512 manual).
- Calibrate the presser foot pressure for each head based on the fabric's thickness and texture. Start with a medium setting and adjust as needed.
- Ensure uniform settings are applied across all heads.
- Perform a test sew to observe fabric handling and stitch quality.
Parts involved: Presser feet & sewing parts → Control panels & displays →
5. Misaligned Hoop Placement or Fabric Stretch/Slack high likelihood
How to tell
Design is shifted or distorted on the fabric, particularly if the fabric shifts during embroidery. Registration marks may not align.
Fix
- Double-check hoop alignment on the machine's arms using the alignment guides.
- Ensure the fabric is hooped tautly and evenly, without stretching or sagging, before starting the embroidery process.
- Use appropriate stabilizers for the fabric type and design density to provide a firm base.
- Verify that the hoop arms are securely locked in place and not loose.
Parts involved: Hoops & frames → Threads & supplies →
6. Worn or Misaligned Belts and Gears low likelihood
How to tell
Grinding noises, jerky movements, or inconsistent head synchronization. Design elements may be consistently shifted or distorted on one or more heads.
Fix
- Power off and unplug the machine.
- Carefully inspect the timing belts and gears associated with head movement for signs of wear, fraying, cracks, or missing teeth.
- Check for proper tension on timing belts; they should be taut but not overly tight (refer to manual for specific tensioning procedures).
- Replace any worn or damaged belts or gears promptly.
- Lubricate moving parts as recommended in the machine's user manual to ensure smooth operation.
Parts involved: Belts, pulleys & gears → Shafts, bearings & bushings → Lubrication & maintenance →
7. Worn Bobbin Cases or Rotary Hooks medium likelihood
How to tell
Inconsistent bobbin thread tension, looping, or thread breaks specific to certain heads. Scratches or burrs on the bobbin case or rotary hook.
Fix
- Remove the bobbin case from each head and inspect for wear, burrs, or damage, especially around the tension spring and thread exit points.
- Replace any bobbin cases that show signs of wear or damage.
- Inspect the rotary hook for nicks, burrs, or excessive wear. A damaged hook can fray thread or cause skipped stitches.
- If the rotary hook is damaged, it will need to be replaced and timed correctly (this is an advanced procedure, consult your manual or a technician).
- Standardize bobbin tension using a bobbin tension gauge on all bobbin cases.
Parts involved: Rotary hooks & bobbin cases → Screws, springs & small parts →
Stop and call a technician if
- If head calibration cannot be achieved through software adjustments, indicating a deeper mechanical issue.
- If rotary hook replacement or timing is required and you are not experienced with this procedure.
- If worn belts or gears are identified and you are unsure about replacement or tensioning.
- If the issue persists after performing all troubleshooting steps, suggesting a more complex electrical or mechanical fault.
Prevent it coming back
- Perform regular maintenance, including cleaning thread paths, tension assemblies, and rotary hooks.
- Conduct routine head calibration checks using the machine's built-in tools or a test design.
- Standardize all materials: use the same needle type/size, thread brand/type/dye lot, and bobbin type across all heads.
- Regularly inspect bobbin cases and rotary hooks for wear or damage.
- Ensure consistent hooping practices, using appropriate stabilizers and maintaining even fabric tension.
- Monitor and maintain consistent environmental conditions (temperature, humidity) in your workspace.
- Follow the machine's lubrication schedule as outlined in the TMAR-V1512 manual.
Frequently asked questions
Why is only one head producing an uneven design?
If only one head is affected, the issue is likely isolated to that specific head. Focus your troubleshooting on its individual tension settings, needle, bobbin case, presser foot pressure, or potential mechanical issues like a worn needle bar or rotary hook.
How often should I calibrate my Tajima TMAR-V1512 heads?
Head calibration should be performed as needed, typically when you notice alignment issues or after significant maintenance. Regular checks with a test design can help determine if calibration is required. Refer to your machine's manual for recommended intervals.
Can environmental factors affect design consistency?
Yes, significant fluctuations in temperature and humidity can affect thread and fabric behavior, leading to inconsistencies. Maintaining a controlled environment and storing materials properly can help mitigate these issues.
What is the best way to ensure consistent thread tension across all heads?
The best way is to use a tension gauge for bobbin tension and perform a visual tension test for upper thread on each head. Stitch a simple design on scrap fabric and adjust until the bobbin thread shows about 1/3 on the underside of the fabric for all heads.
Did this guide fix your machine?
Rate it - it helps other operators find the right fix.
Not sure which part is failing?
Need the logo stitched too?
Get your logo digitized by the people who know this machine
Upload the artwork, see the stitch count and the exact price in 10 seconds, then order with a free sew-out preview. $1 per 1,000 stitches, $10 minimum, 24-hour delivery. Vector conversion from $12.
After the fix
Fixed it? Keep the rest of the shop moving.
OS 360 is the shop software from the team behind this parts store. Every job keeps its status, deadline and owner while a TMAR-V1512 head is down, restock alerts fire for needles, hooks and bobbins before you run dry, and quotes, invoices and payment live in one place.
- Jobs with status, deadline and owner - nothing slips during downtime
- Inventory with restock alerts, this store one click away
- Instant quotes, invoices and one place to collect payment