Blog
Tajima Embroidery Machine Troubleshooting: Common Errors & Solutions

Quick answer: Most Tajima embroidery machine errors stem from incorrect thread tension, worn needles, improper threading, or poor fabric hooping. Systematically check these areas first.
Tajima embroidery machines are robust, but even the best equipment encounters issues. This guide provides practical, step-by-step solutions for common operational problems, helping you diagnose and resolve them efficiently. Always refer to your specific machine model's operator manual for detailed specifications and safety procedures.
Two-minute checks before you open anything
- Verify the machine is threaded correctly from spool to needle.
- Inspect the needle for bends, burrs, or dullness and replace if necessary.
- Check bobbin tension and ensure the bobbin case is clean.
- Confirm the fabric is hooped tightly and correctly stabilized.
- Ensure the correct needle type is used for the fabric and thread.
1. Frequent Thread Breakage high likelihood
How to tell
The upper thread repeatedly snaps during the embroidery process, often accompanied by error messages or machine stoppage.
Fix
- Replace the current thread with a high-quality embroidery thread suitable for your machine and needle size.
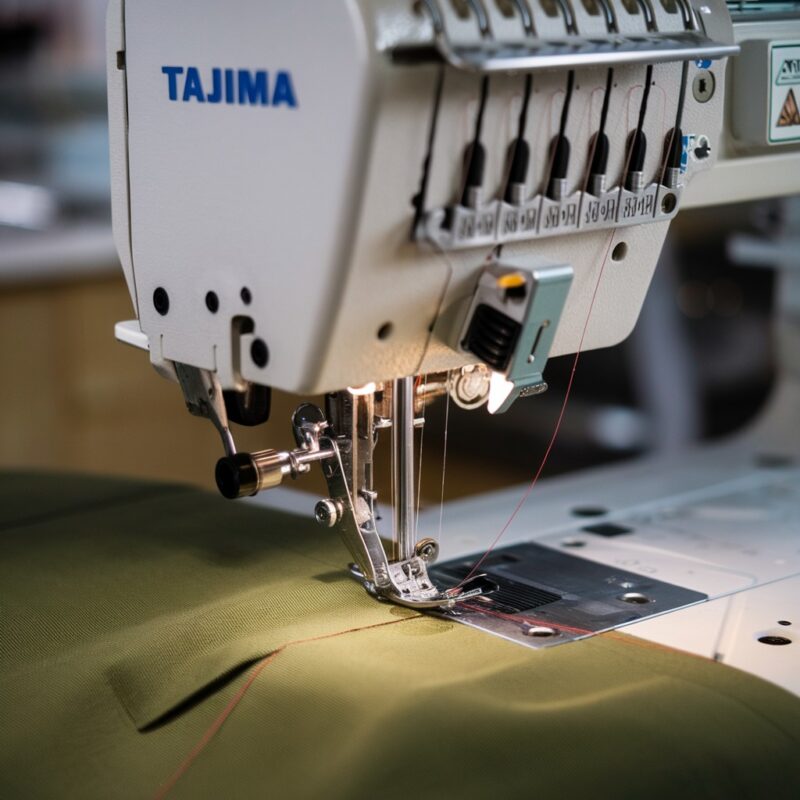
- Re-thread the entire upper thread path, ensuring it passes through all guides, tension discs, and the take-up lever correctly. Listen for the 'click' when seating the thread in tension discs.
- Adjust the upper thread tension. Start with the manufacturer's recommended setting (often around 180-220 on Tajima's main tension knob) and adjust in small increments (e.g., 1/4 turn) until stitches are balanced.
- Inspect the needle for any burrs, bends, or dullness. Replace the needle with a new, correct size and type for your fabric and thread.
- Clean the thread path, including tension discs and thread guides, with compressed air or a soft brush to remove lint buildup.
Parts involved: Threads & supplies → Thread path & tension → Needles & needle bars →
2. Needle Breaking Repeatedly high likelihood
How to tell
Needles snap frequently, sometimes with a loud 'clunk' sound, often damaging the needle plate or rotary hook.
Fix
- Ensure the correct needle system (e.g., DBxK5) and size (e.g., 75/11, 90/14) are used for the fabric and thread type. Consult your machine's manual.
- Check that the needle is inserted correctly: fully seated into the needle bar with the scarf (long groove) facing the front and the eye aligned correctly. Tighten the needle clamp screw securely.
- Verify the hoop is correctly positioned and tightened. Ensure the fabric is taut and not sagging, which could cause the needle to strike the hoop or frame.
- Inspect the needle plate for any burrs or damage around the needle hole. Replace if damaged.
- Check for any obstructions in the bobbin area or rotary hook that the needle might be striking. Remove any thread jams or debris.
- If the needle is consistently hitting the rotary hook, a timing adjustment may be required. This is an advanced procedure; consult your machine's service manual or a qualified technician.
Parts involved: Needles & needle bars → Hoops & frames → Rotary hooks & bobbin cases → Head & mechanical parts →
Parts you may need for Tajima
In stock, tested before dispatch, Buyer Protection on every order. Part types for this problem: Threads & supplies, Thread path & tension, Needles & needle bars, Hoops & frames.
 40 Weight 120D/2 Polyester Embroidery Thread 4000M PET-121 for Brot...$ 17.49View part →
 Groz Beckert RG DBXK5 Embroidery Needles Nm 65/9, 70/10, 75/11, 80/...$ 36.29View part →
 Hirose HSH-7.94ATR(MTQ) KHS12-RYP Rotary Hook for Tajima, Barudan, ...$ 18.09View part →
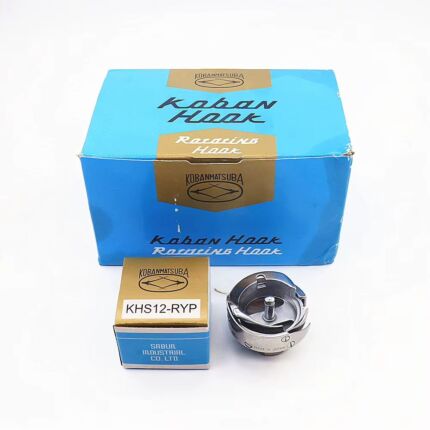 Koban KHS12-RYP Rotary Hook with Trimmer for Tajima, Barudan, SWF, ...$ 33.49View part →
 Gotek SFRM72-FU Floppy Drive Emulator USB Reader for Tajima, Baruda...$ 59.29View part →
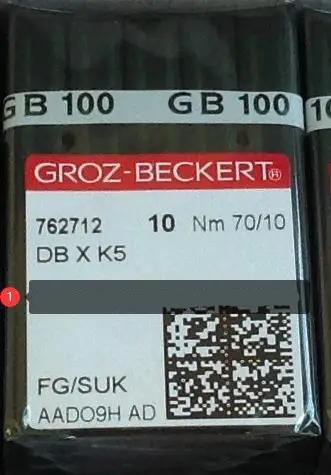 Groz-Beckert DBXK5 FG/SUK Embroidery Needles (100 Pcs) for Tajima, ...$ 34.49View part →
All Tajima parts → Threads & Supplies → Thread Path & Tension → Needles & Needle Bars →
3. Skipped Stitches medium likelihood
How to tell
Stitches are missing or inconsistent, creating gaps in the embroidery design.
Fix
- Replace the needle with a new, sharp needle of the correct type and size. Ensure it is inserted correctly and fully seated.
- Adjust upper thread tension. If too loose, the needle may not form a proper loop for the hook to catch. If too tight, it can pull the fabric excessively. Aim for balanced tension.
- Check bobbin tension. If too loose, it can interfere with loop formation. If too tight, it can pull the upper thread excessively.
- Ensure the fabric is properly stabilized with an appropriate backing for its type and density of the design. The fabric should not move or pucker during stitching.
- Verify the thread path is clear and the thread is not catching on any guides or burrs.
Parts involved: Needles & needle bars → Thread path & tension → Threads & supplies →
4. Bird's Nesting (Thread Jamming Under Fabric) high likelihood
How to tell
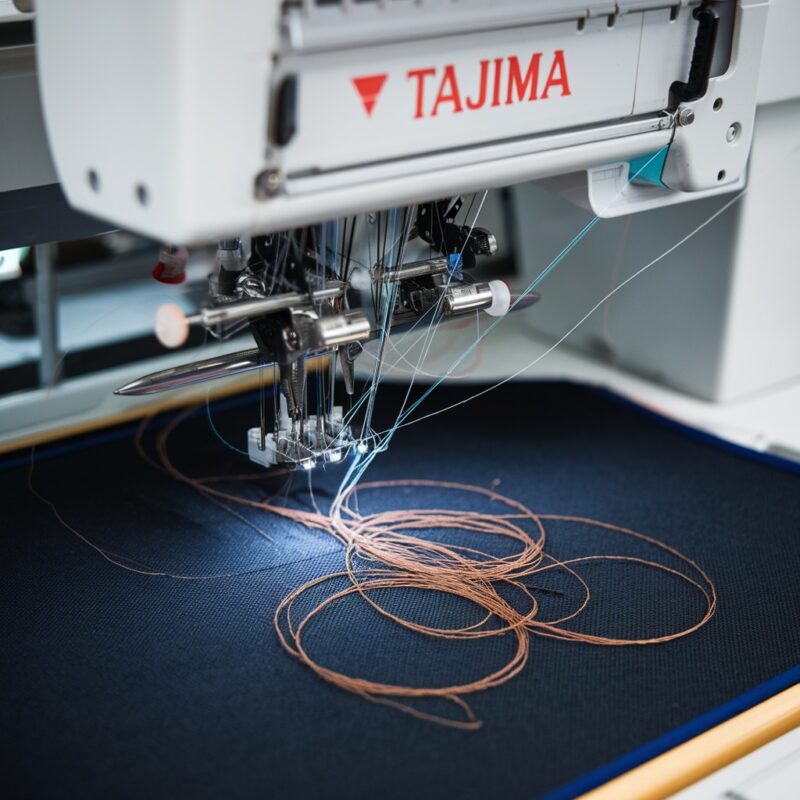
A mass of tangled thread accumulates on the underside of the fabric, often causing machine stoppage and thread breaks.
Fix
- Completely remove all thread from the machine (upper and bobbin). Re-thread the upper thread path carefully, ensuring it is seated correctly in all guides and tension discs.
- Remove the bobbin case. Inspect it for lint, debris, or damage. Clean thoroughly with a brush or compressed air. Replace if damaged.
- Check the bobbin tension. It should be firm enough to prevent the bobbin from free-spinning but loose enough to allow the thread to pull smoothly. A common test is to hold the bobbin case by its thread; it should slowly drop a few inches and then stop.
- Ensure the bobbin is wound evenly and correctly. An improperly wound bobbin can cause tension issues.
- Verify the needle is inserted correctly and is not bent or dull, as this can affect loop formation and lead to nesting.
Parts involved: Rotary hooks & bobbin cases → Thread path & tension → Needles & needle bars → Threads & supplies →
5. Puckering or Distorted Embroidery medium likelihood
How to tell
The fabric gathers or wrinkles around the embroidery, or the design appears stretched and misshapen.
Fix
- Ensure the fabric is hooped securely and tautly, without stretching it. The fabric should be drum-tight in the hoop.
- Use the correct type and weight of stabilizer for your fabric and design density. For dense designs or stretchy fabrics, use a heavier cut-away or multiple layers.
- Balance the upper and bobbin thread tensions. Excessive tension on either thread can pull the fabric, causing puckering. Adjust in small increments.
- Consider using a water-soluble topping on top of textured fabrics (e.g., terry cloth) to prevent stitches from sinking into the pile, which can also contribute to distortion.
Parts involved: Hoops & frames → Threads & supplies → Thread path & tension →
6. Machine Stops or Won't Sew medium likelihood
How to tell
The machine halts unexpectedly during operation or fails to start a design, often accompanied by an error code on the control panel.
Fix
- Check for any thread jams around the needle, bobbin case, or rotary hook. Carefully remove all tangled thread and debris.
- Inspect the needle for breakage or damage. Replace if necessary.
- Review the machine's control panel for any error messages. Consult your Tajima operator's manual for specific error code meanings and troubleshooting steps.
- Verify that all safety switches (e.g., hoop sensor, thread break sensors) are clear and functioning correctly.
- Ensure the design file is not corrupted. Try loading a different, known-good design to test.
Parts involved: Needles & needle bars → Rotary hooks & bobbin cases → Sensors & switches → Floppy, USB & memory → Control panels & displays →
7. Design Misalignment or Shifting medium likelihood
How to tell
The embroidery design does not stitch in the intended location, or parts of the design are offset from each other.
Fix
- Re-hoop the fabric, ensuring it is perfectly taut and square within the hoop. Avoid stretching the fabric when hooping.
- Use an appropriate stabilizer that prevents fabric movement. For slippery fabrics, consider using temporary adhesive spray or a sticky-back stabilizer.
- Ensure the machine is placed on a stable, level surface to prevent vibration-induced shifting.
- Check that the hoop arms are securely attached and that the hoop itself is firmly seated in the hoop holder.
- Inspect the drive belts and pulleys for any looseness or wear that could cause play in the X/Y movement. Tighten or replace as needed.
Parts involved: Hoops & frames → Threads & supplies → Belts, pulleys & gears →
Stop and call a technician if
- If the machine displays complex error codes not covered in your manual and basic troubleshooting fails.
- If you suspect internal mechanical damage (e.g., timing issues, motor problems, damaged circuit boards).
- If you are uncomfortable performing advanced adjustments like timing or replacing major electronic components.
- If the machine continues to malfunction after attempting all relevant troubleshooting steps.
Prevent it coming back
- Use only high-quality embroidery threads and needles appropriate for your fabric and design.
- Perform daily cleaning of the bobbin area, needle plate, and thread path to remove lint and debris.
- Follow the manufacturer's lubrication schedule diligently, using recommended oils.
- Ensure proper fabric hooping and stabilization for every project.
- Regularly inspect needles for wear and replace them proactively.
- Keep your machine on a stable, level surface to minimize vibration.
Frequently asked questions
Why does my Tajima machine keep breaking thread?
Frequent thread breaks are usually due to incorrect upper thread tension, a worn or damaged needle, poor quality thread, or an obstruction in the thread path. Check these areas systematically.
What causes bird's nesting under my fabric?
Bird's nesting is most commonly caused by improper upper threading, incorrect bobbin tension (often too loose), or a dirty/damaged bobbin case. Re-thread carefully and inspect your bobbin system.
How often should I change the needle on my Tajima?
Change your needle every 6-8 hours of continuous sewing, or sooner if you notice skipped stitches, thread breaks, or hear unusual noises. Always change it when switching to a new project or fabric type.
My machine is making strange noises. What should I do?
Unusual noises often indicate a mechanical issue. Stop the machine immediately. Check for thread jams, a bent needle hitting the hook, or loose components. Lubricate moving parts as per your maintenance schedule. If the noise persists, it may indicate a more serious internal issue requiring professional inspection.
Did this guide fix your machine?
Rate it - it helps other operators find the right fix.
Not sure which part is failing?
Need the logo stitched too?
Get your logo digitized by the people who know this machine
Upload the artwork, see the stitch count and the exact price in 10 seconds, then order with a free sew-out preview. $1 per 1,000 stitches, $10 minimum, 24-hour delivery. Vector conversion from $12.
After the fix
Fixed it? Keep the rest of the shop moving.
OS 360 is the shop software from the team behind this parts store. Every job keeps its status, deadline and owner while a Tajima head is down, restock alerts fire for needles, hooks and bobbins before you run dry, and quotes, invoices and payment live in one place.
- Jobs with status, deadline and owner - nothing slips during downtime
- Inventory with restock alerts, this store one click away
- Instant quotes, invoices and one place to collect payment