Blog
Tajima Embroidery Machine Troubleshooting: Common Errors and Repair Guide

Quick answer: Most Tajima embroidery machine issues stem from incorrect tension, worn needles, or improper threading. Start by re-threading, checking your needle, and verifying tension settings.
Tajima embroidery machines are robust, but like any precision equipment, they can encounter issues. This guide provides practical, step-by-step solutions for common problems, empowering you to diagnose and fix many issues yourself. Always refer to your specific Tajima machine's manual for detailed diagrams and model-specific instructions.
Two-minute checks before you open anything
- Is the machine correctly threaded from spool to needle?
- Is the needle new, sharp, and the correct type/size for your fabric and thread?
- Are the upper and bobbin tensions set appropriately for your materials?
- Is the fabric hooped securely and taut, without wrinkles?
- Is the bobbin wound evenly and inserted correctly, free of lint?
1. Thread Breakage high likelihood
How to tell
The upper thread snaps during embroidery, often causing the machine to stop and signal a thread break. You may see frayed thread ends.
Fix
- Inspect the needle for burrs, bends, or dullness. Replace if any damage is found. Ensure it's the correct type and size for your thread and fabric.
- Completely re-thread the upper thread path, ensuring the thread passes through all guides, tension discs, and the take-up lever correctly. Verify the thread is seated properly in the tension discs.
- Check the upper thread tension dial. Adjust it incrementally (e.g., a quarter turn) to increase or decrease tension. Refer to your Tajima manual for recommended starting tension values for different thread types.
- Examine the thread spool for nicks, tangles, or poor winding. Use high-quality embroidery thread and ensure it's not old or brittle.
- Clean the thread path, including the tension discs and guides, to remove any lint or debris that could be snagging the thread.
Needles are a consumable item and should be replaced regularly. Quality thread is essential for consistent performance.
Parts involved: Needles & needle bars → Thread path & tension → Threads & supplies → Lubrication & maintenance →
2. Bird Nesting (Thread Bunching) high likelihood
How to tell
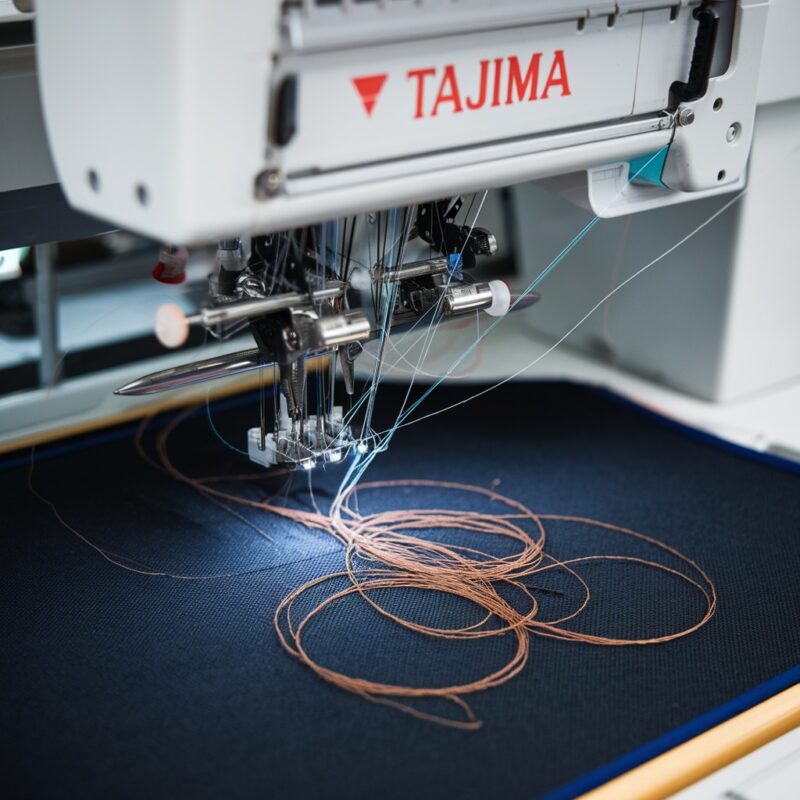
A large, tangled mass of thread forms on the underside of the fabric, often resembling a bird's nest. This usually indicates an issue with upper thread tension or bobbin tension.
Fix
- Completely re-thread the upper thread path, ensuring the thread is properly seated in all guides and tension discs. A common cause is the thread not being correctly seated in the upper tension discs.
- Check the bobbin case tension. If it's too loose, the bobbin thread will be pulled up excessively. Use a bobbin tension gauge if available, or perform the 'drop test' (hold the bobbin case by the thread, it should slowly drop a few inches then stop). Adjust the small screw on the bobbin case incrementally.
- Verify the upper thread tension. If it's too loose, the upper thread will not pull the bobbin thread up correctly. Increase upper tension slightly.
- Clean the bobbin case and the area around the rotary hook to remove any lint or debris that could impede thread movement.
A properly functioning bobbin case and clean rotary hook area are critical for balanced stitching.
Parts involved: Thread path & tension → Rotary hooks & bobbin cases → Lubrication & maintenance →
Parts you may need for Tajima
In stock, tested before dispatch, Buyer Protection on every order. Part types for this problem: Rotary hooks & bobbin cases, Needles & needle bars, Thread path & tension, Presser feet & sewing parts.
 40 Weight 120D/2 Polyester Embroidery Thread 4000M PET-121 for Brot...$ 17.49View part →
 TAJIMA DU-10 XY Driver Board EH5404000000 MP-117-1-A for TME-HC, TM...$ 140.49View part →
 Groz Beckert RG DBXK5 Embroidery Needles Nm 65/9, 70/10, 75/11, 80/...$ 36.29View part →
 Hirose HSH-7.94ATR(MTQ) KHS12-RYP Rotary Hook for Tajima, Barudan, ...$ 18.09View part →
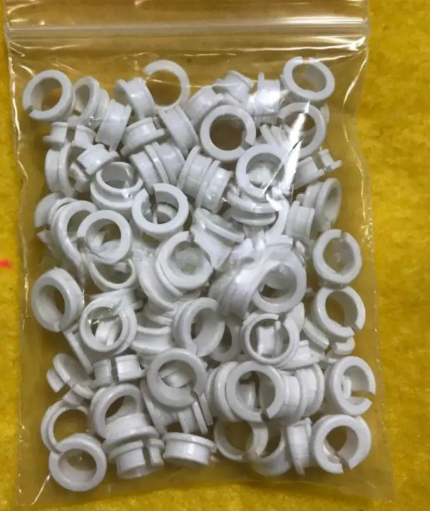 Tajima EF0613220000 EF0613210000 090460040020 090460040031 Presser ...$ 18.09View part →
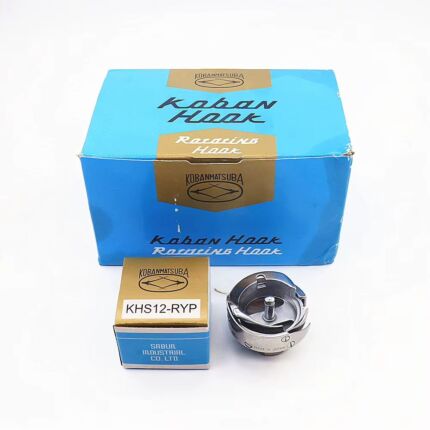 Koban KHS12-RYP Rotary Hook with Trimmer for Tajima, Barudan, SWF, ...$ 33.49View part →
All Tajima parts → Rotary Hooks & Bobbin Cases → Needles & Needle Bars → Thread Path & Tension →
3. Needle Breakage high likelihood
How to tell
The needle snaps during embroidery, often with an audible 'crack'. This can damage the fabric or the rotary hook.
Fix
- Ensure the correct needle type and size are used for the fabric and thread. Using a needle too fine for dense material or too large for delicate fabric can cause breakage.
- Verify the fabric is hooped securely and taut, without any slack or wrinkles. The needle hitting a loose spot or the hoop itself is a primary cause.
- Check the machine speed. For very dense designs or thick materials, reduce the machine's operating speed to lessen stress on the needle.
- Inspect the needle bar for any looseness or misalignment. If the needle bar is bent or loose, it can cause the needle to strike the rotary hook or presser foot. This may require a technician.
- Examine the rotary hook for damage if a needle break occurred. A damaged hook can cause subsequent needle breaks.
Always use genuine Tajima-compatible needles. A damaged rotary hook needs immediate attention to prevent further issues.
Parts involved: Needles & needle bars → Hoops & frames → Rotary hooks & bobbin cases →
4. Skipped Stitches medium likelihood
How to tell
Stitches are missing from the embroidery design, resulting in gaps or an uneven appearance. The machine may continue to sew but the stitch quality is poor.
Fix
- Replace the needle. A worn, bent, or dull needle is a very common cause of skipped stitches as it cannot properly form a loop for the rotary hook to catch.
- Ensure the correct needle size and type are being used for the fabric and thread combination. An incorrect needle may not penetrate the fabric cleanly.
- Verify both upper and bobbin thread tensions are correctly balanced. Imbalanced tension can prevent proper loop formation.
- Check that the fabric is hooped securely and taut. Movement of the fabric during stitching can cause the needle to miss the fabric or the rotary hook to miss the loop.
- Inspect the rotary hook for any burrs or damage that might interfere with loop catching. Clean the area thoroughly.
A fresh, sharp needle is often the simplest solution for skipped stitches.
Parts involved: Needles & needle bars → Thread path & tension → Hoops & frames → Rotary hooks & bobbin cases →
5. Fabric Shifting / Design Misalignment medium likelihood
How to tell
The embroidery design is not aligned correctly on the fabric, or the fabric moves during stitching, causing distorted or overlapping elements.
Fix
- Ensure the fabric is hooped as tightly as possible without distorting the fabric itself. There should be no slack or wrinkles within the hoop.
- Use the appropriate stabilizer for your fabric type and design density. For unstable fabrics, use a heavier cut-away or multiple layers of tear-away stabilizer.
- Check that the hoop is securely clamped into the machine's arms and that the arms themselves are not loose or damaged.
- If using adhesive spray, ensure it provides sufficient grip. For slippery fabrics, consider using temporary fabric adhesive or basting stitches around the design area.
Proper hooping technique and stabilizer selection are critical for preventing fabric movement.
Parts involved: Hoops & frames → Threads & supplies →
6. Bobbin Issues (Poor Stitch Quality, Jams) high likelihood
How to tell
Inconsistent stitch quality, loops on the top or bottom of the fabric, thread jams in the bobbin area, or the bobbin thread running out unexpectedly.
Fix
- Use high-quality, evenly wound bobbins. Pre-wound bobbins are often more consistent. If winding your own, ensure the bobbin winder is functioning correctly and winding evenly.
- Clean the bobbin case and the entire rotary hook area thoroughly. Lint and debris are common culprits for tension issues and jams.
- Ensure the bobbin is inserted into the bobbin case correctly and the thread is properly routed through the tension spring of the bobbin case.
- Verify you are using the correct size and type of bobbin for your Tajima machine. Refer to your machine's manual.
- Check the bobbin case tension. Adjust the small screw on the bobbin case incrementally if the tension is too loose or too tight.
A clean bobbin case and correctly tensioned bobbin are fundamental for good stitch formation.
Parts involved: Rotary hooks & bobbin cases → Threads & supplies → Lubrication & maintenance →
7. Machine Stopping Mid-Operation medium likelihood
How to tell
The machine abruptly stops during embroidery, often displaying an error message on the control panel (e.g., 'Thread Break', 'Needle Break', 'Emergency Stop').
Fix
- Check for a thread break. If the upper or bobbin thread has snapped, re-thread the machine and replace the bobbin if necessary.
- Inspect the needle for breakage. Replace a broken needle immediately.
- Look for any obstructions in the embroidery area, such as fabric bunched up, a hoop hitting the needle plate, or loose threads caught in moving parts.
- Check the control panel for specific error codes. Consult your Tajima machine's manual to interpret the code and follow the recommended troubleshooting steps.
- Ensure all safety sensors (e.g., emergency stop button, hoop detection) are not accidentally triggered or malfunctioning. If a sensor is faulty, it may require a technician.
Many machine stops are protective measures. Address the root cause before restarting.
Parts involved: Threads & supplies → Needles & needle bars → Sensors & switches → Control panels & displays →
8. Color Changes Not Functioning Properly low likelihood
How to tell
The machine fails to change to the next color automatically, changes to the wrong color, or the needle bar mechanism jams during a color change.
Fix
- Verify the embroidery design file. Ensure the color change commands are correctly programmed and the color sequence matches your desired outcome. Re-load the design if necessary.
- Check for any physical obstructions around the needle bar selection mechanism. Remove any lint, thread scraps, or debris.
- Manually cycle through the needle bars using the control panel to check for smooth movement. If there is resistance or grinding, lubrication may be needed, or there could be a mechanical issue.
- Consult your Tajima machine's manual for specific troubleshooting steps related to the color change mechanism. This can sometimes indicate a sensor or motor issue that may require a technician.
Regular cleaning and lubrication of the needle bar change mechanism can prevent issues.
Parts involved: Head & mechanical parts → Sensors & switches → Motors & drivers → Control panels & displays →
Stop and call a technician if
- If the machine displays an error code not covered in your manual's basic troubleshooting.
- If you suspect a motor, circuit board, or major mechanical component failure.
- If you hear grinding noises, see smoke, or smell burning.
- If the needle bar mechanism is bent or severely misaligned.
- If you have followed all troubleshooting steps and the problem persists.
Prevent it coming back
- Clean the machine regularly: Remove lint, dust, and thread scraps from the needle area, bobbin case, and rotary hook after every few hours of use.
- Oil the machine: Follow your Tajima manual's guidelines for lubrication points and frequency. Use only approved embroidery machine oil.
- Replace needles proactively: Don't wait for a needle to break or cause issues. Replace needles every 6-8 hours of sewing time or with each new project.
- Use quality supplies: Invest in high-quality embroidery thread, bobbins, and stabilizers appropriate for your fabric and design.
- Check tension settings: Periodically verify and adjust upper and bobbin tensions, especially when changing thread types, fabrics, or designs.
- Properly hoop fabric: Always ensure fabric is taut and securely hooped with appropriate stabilizer to prevent shifting and needle damage.
Frequently asked questions
How often should I replace my Tajima machine's needle?
Needles should be replaced every 6-8 hours of continuous embroidery, or immediately if you notice any signs of wear, bending, burrs, or if you experience thread breaks or skipped stitches. For very dense designs or tough materials, replace more frequently.
What is the correct way to thread my Tajima machine?
Always follow the threading path indicated in your Tajima machine's manual. Ensure the thread passes through all guides, the tension discs (making sure it's seated deeply), and the take-up lever before going through the needle eye. Improper threading is a leading cause of many issues.
How do I know if my tension settings are correct?
The ideal tension results in a balanced stitch where about one-third of the bobbin thread shows on the underside of the fabric, and the top thread looks smooth on the top. Perform a test sew on a scrap piece of your fabric and adjust incrementally until balanced. Refer to your Tajima manual for specific tension guidelines.
My machine is making unusual noises. What should I do?
Immediately stop the machine. Unusual noises often indicate a mechanical issue, such as a loose screw, a part rubbing, or a lack of lubrication. Inspect the needle area, rotary hook, and moving parts for any visible problems. Clean and lubricate according to your manual. If the noise persists, contact a technician.
Did this guide fix your machine?
Rate it - it helps other operators find the right fix.
Not sure which part is failing?
Need the logo stitched too?
Get your logo digitized by the people who know this machine
Upload the artwork, see the stitch count and the exact price in 10 seconds, then order with a free sew-out preview. $1 per 1,000 stitches, $10 minimum, 24-hour delivery. Vector conversion from $12.
After the fix
Fixed it? Keep the rest of the shop moving.
OS 360 is the shop software from the team behind this parts store. Every job keeps its status, deadline and owner while a Tajima head is down, restock alerts fire for needles, hooks and bobbins before you run dry, and quotes, invoices and payment live in one place.
- Jobs with status, deadline and owner - nothing slips during downtime
- Inventory with restock alerts, this store one click away
- Instant quotes, invoices and one place to collect payment