Blog
Tajima TMAR-K: Troubleshooting Uneven Stitching Across Heads

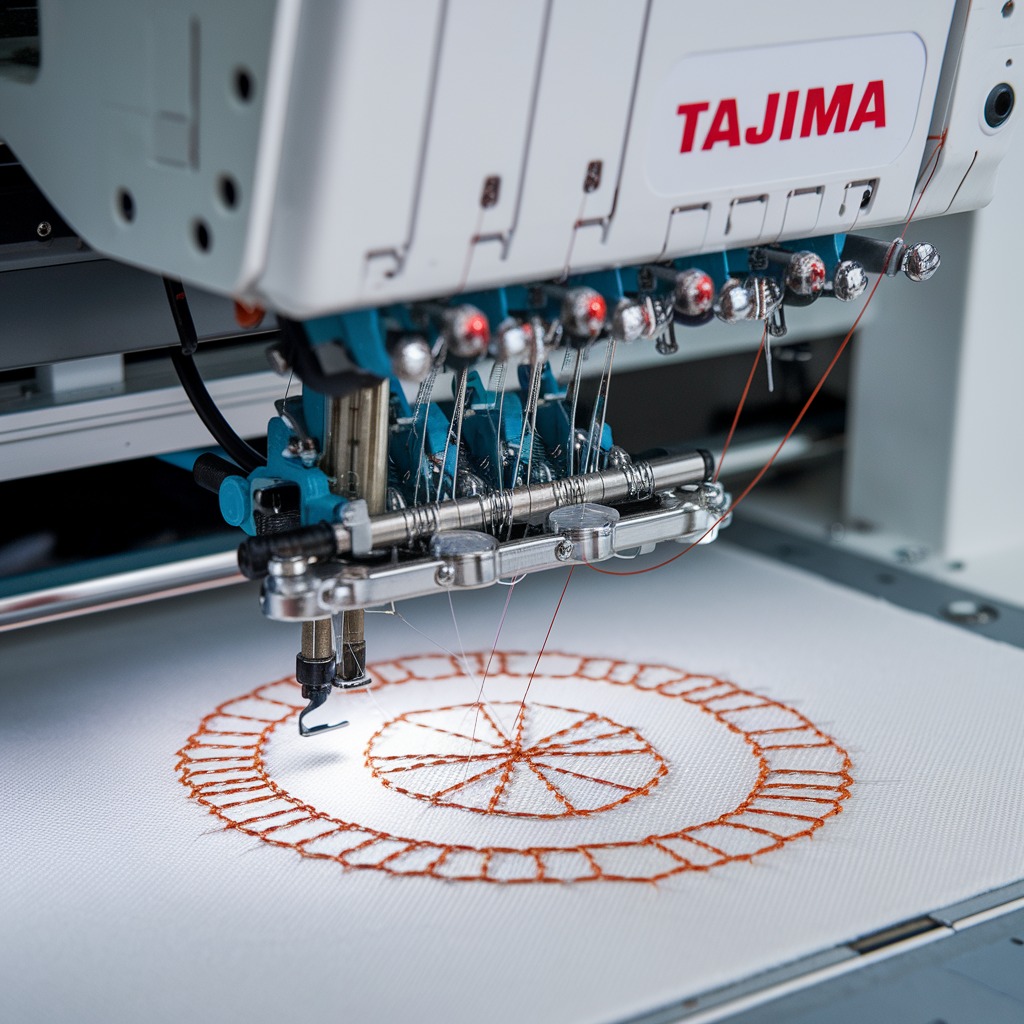
Quick answer: Uneven stitching on your Tajima TMAR-K often stems from inconsistent thread tension, worn needles, or improper hooping. Systematically check and adjust these elements across all heads for uniform results.
The Tajima TMAR-K series is known for its multi-head capabilities, but achieving consistent stitch quality across all heads can be challenging. Uneven stitching often points to discrepancies in setup or wear between individual heads. This guide provides practical, step-by-step troubleshooting to help you identify and resolve these issues, ensuring uniform and professional embroidery results.
Two-minute checks before you open anything
- Verify all heads are threaded identically and correctly according to the machine's threading guide.
- Check that all needles are new, identical in type and size, and correctly inserted with the scarf facing the hook.
- Perform a simple tension test (e.g., pull test or tension gauge) on each head to identify variations.
- Ensure fabric is hooped evenly and taut, without overstretching, across all frames.
- Inspect all thread paths, from the spool to the needle, for lint, tangles, or obstructions.
1. Inconsistent Thread Tension high likelihood
How to tell
Stitches appear loose, tight, or unevenly formed on different heads. Bobbin thread may show through on top, or top thread may show through on the bottom inconsistently across heads.
Fix
- Perform a tension test on each head: thread a needle with the production thread, lower the presser foot, and pull the thread. The resistance should feel consistent across all heads.
- Adjust the upper tension dials (main tension and check spring tension) on each head until the resistance is uniform. Refer to your machine manual for specific tension settings if available.
- Remove bobbin cases from all heads. Check for lint or debris inside the bobbin case and under the tension spring. Clean thoroughly.
- Verify bobbin tension is consistent across all heads. Use a bobbin tension gauge if available, or perform a drop test: hold the bobbin thread, and the bobbin case should slowly drop 1-2 inches (2.5-5 cm) before stopping. Adjust the small screw on the bobbin case tension spring as needed.
Ensure all tension disks, springs, and bobbin cases are clean and free from wear.
Parts involved: Thread path & tension → Rotary hooks & bobbin cases →
2. Worn, Damaged, or Mismatched Needles high likelihood
How to tell
Skipped stitches, frayed thread, or small holes in the fabric appearing on specific heads. Stitch quality varies significantly between heads.
Fix
- Inspect each needle point for burrs, bends, or dullness. Replace any damaged needles immediately.
- Verify that all needles across all heads are of the exact same type, size, and brand (e.g., DBxK5, 75/11).
- Ensure all needles are inserted correctly and fully seated into the needle bar, with the scarf (long groove) facing the rotary hook.
Using high-quality, consistent needles is crucial for uniform stitching.
Parts involved: Needles & needle bars →
Parts you may need for Tajima TMAR
In stock, tested before dispatch, Buyer Protection on every order. Part types for this problem: Rotary hooks & bobbin cases, Needles & needle bars, Thread path & tension, Presser feet & sewing parts.
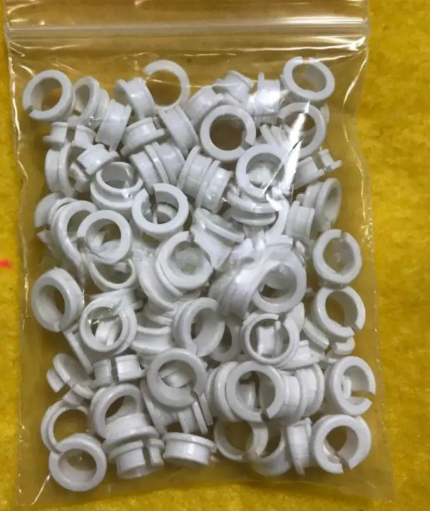 Tajima EF0613220000 EF0613210000 090460040020 090460040031 Presser ...$ 18.09View part →
 Tajima TC Sensor Card & Thread Contact Set 0J2602300A22 0J2602300A2...$ 18.09View part →
 KHS20-R Jumbo Rotary Hook for TAJIMA TME-DC, TMFX, TMB, TMAR, TMEZ ...$ 21.29View part →
 TAJIMA SWF KN/GN Presser Foot 93MM 97MM 100MM for High-Speed Embroi...$ 3.99View part →
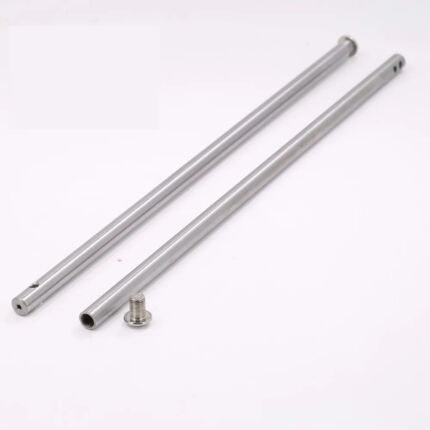 Tajima Embroidery Machine Needle Bar 207MM 212MM Replacement Part$ 3.49View part →
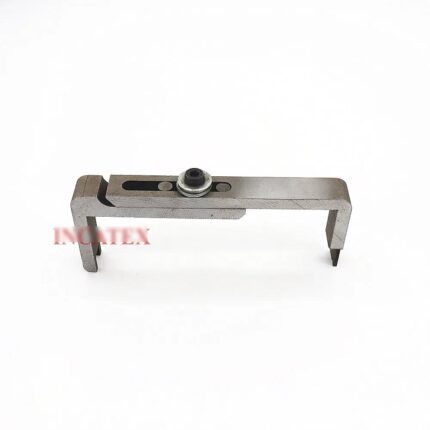 Tajima Embroidery Machine Gauge for TFMX, TMAR, TFGN, TMEZ Series M...$ 40.49View part →
All Tajima TMAR parts → Rotary Hooks & Bobbin Cases → Needles & Needle Bars → Thread Path & Tension →
3. Improper Fabric Hooping high likelihood
How to tell
Fabric puckering, shifting, or inconsistent stitch density, especially noticeable on larger designs or specific areas of the embroidery.
Fix
- Ensure the fabric is hooped evenly and taut, but not overstretched. The fabric should feel like a drumhead.
- Verify that the inner and outer rings of the hoop are properly aligned and securely tightened on all frames.
- Check for any damage or warping in the hoops or frames themselves. Replace if necessary.
- Use appropriate backing for the fabric type and design density to provide adequate stability.
Consistent hooping technique and quality hoops are essential.
Parts involved: Hoops & frames → Threads & supplies →
4. Thread Path Obstructions high likelihood
How to tell
Thread breaks, shredding, or inconsistent thread flow on specific heads. Stitches may appear tighter or looser on affected heads.
Fix
- Thoroughly clean the entire thread path on all heads, from the thread guide at the top to the needle eye. Use compressed air and a small brush.
- Pay close attention to the tension disks, pre-tension guides, thread take-up lever, and thread guides near the needle.
- Check for any burrs or sharp edges on thread guides that could be snagging the thread. Smooth with fine-grit sandpaper if safe, or replace the guide.
- Ensure thread cones are unwinding smoothly without tangles or snags.
Regular cleaning prevents most thread path issues.
Parts involved: Thread path & tension → Screws, springs & small parts →
5. Worn or Mismatched Bobbin Cases/Rotary Hooks medium likelihood
How to tell
Inconsistent bobbin thread appearance, looping on the underside, or frequent thread breaks specific to certain heads. Clicking or grinding noises from the hook area.
Fix
- Remove all bobbin cases and inspect them for nicks, burrs, or wear on the edges or tension spring. Replace any damaged bobbin cases.
- Ensure all bobbin cases are identical in type and brand. Mismatched cases can lead to tension discrepancies.
- Inspect the rotary hooks for nicks, burrs, or excessive wear, especially on the hook point. A damaged hook can fray thread or cause skipped stitches.
- Clean the rotary hook area thoroughly, removing any lint or thread fragments. Lubricate the hook race with a drop of machine oil as per your manual.
Rotary hooks and bobbin cases are critical wear parts affecting stitch quality.
Parts involved: Rotary hooks & bobbin cases → Lubrication & maintenance →
6. Presser Foot Misalignment or Incorrect Height medium likelihood
How to tell
Fabric lifting or flagging inconsistently on different heads, leading to uneven stitch formation or looping.
Fix
- Visually inspect the presser feet on all heads to ensure they are at a uniform height and are not bent or damaged.
- Adjust the presser foot height on any head that appears too high or too low. Refer to your Tajima TMAR-K manual for the correct adjustment procedure and recommended height (often a specific clearance above the needle plate when lowered).
- Ensure the presser foot is centered around the needle hole and not interfering with the needle's path.
Correct presser foot function is vital for fabric control during stitching.
Parts involved: Presser feet & sewing parts → Screws, springs & small parts →
7. Inconsistent Machine Settings medium likelihood
How to tell
Variations in stitch density, design placement, or overall appearance between heads, despite identical physical setup.
Fix
- Access the control panel and verify that all heads are synchronized to operate at the same speed.
- Check for any head-specific offsets or adjustments that may have been inadvertently applied to design placement or stitch density. Reset to default or ensure uniformity.
- If using design scaling, ensure it's applied uniformly or not at all if consistency is desired.
Software settings can override mechanical consistency if not managed.
Parts involved: Control panels & displays →
8. Machine Wear and Tear medium likelihood
How to tell
Gradual degradation of stitch quality on one or more heads over time, often accompanied by unusual noises, play in components, or visible wear.
Fix
- Perform a thorough visual inspection of all moving parts on each head, including needle bars, take-up levers, and linkages, checking for excessive play or looseness.
- Check for worn bearings or bushings in the head mechanism. Gently try to wiggle components that should be firm.
- Lubricate all designated points on each head according to the Tajima TMAR-K maintenance schedule in your manual.
- Identify and replace any visibly worn or damaged mechanical components. This may require a technician for complex parts.
Regular maintenance and timely replacement of worn parts are crucial for machine longevity and consistent performance.
Parts involved: Head & mechanical parts → Shafts, bearings & bushings → Lubrication & maintenance → Screws, springs & small parts →
9. Head Timing Misalignment low likelihood
How to tell
Consistent skipped stitches, thread breaks, or looping on specific heads, especially at high speeds. May also cause needle breaks or damage to the rotary hook.
Fix
- This is an advanced adjustment. If you suspect timing issues, refer to the detailed timing adjustment procedures in your Tajima TMAR-K service manual.
- Key timing points to check include needle bar height, needle-to-hook clearance, and hook rotation timing relative to the needle's lowest point.
- Ensure all heads are timed identically. Incorrect timing can lead to severe machine damage.
Timing adjustments should only be performed by experienced technicians or by carefully following the service manual.
Parts involved: Head & mechanical parts → Rotary hooks & bobbin cases → Needles & needle bars →
10. Design File Errors low likelihood
How to tell
Uneven stitching that is consistent across all heads for a specific design, but not for others. May appear as inconsistent density or poor registration.
Fix
- Test the problematic design on a single head first to isolate if the issue is machine-related or design-related.
- Review the design file in your digitizing software. Check for inconsistent stitch densities, overlapping stitches, or poor underlay application.
- Ensure the design is properly digitized for multi-head embroidery, considering pull compensation and push compensation.
While not a machine part, the design file directly impacts stitch quality.
Parts involved: Floppy, USB & memory →
Stop and call a technician if
- If you suspect head timing misalignment and are not comfortable performing the adjustment yourself.
- If you've replaced all common wear parts and performed all adjustments, but the issue persists.
- For complex mechanical issues involving internal head components, motors, or circuit boards.
- If the machine displays error codes related to head function that you cannot resolve with the manual.
Prevent it coming back
- Implement a consistent daily and weekly cleaning schedule for all heads, focusing on thread paths and bobbin areas.
- Always use new, identical needles of the correct type and size across all heads for each production run.
- Perform regular tension checks (upper and bobbin) on all heads to catch variations early.
- Inspect bobbin cases and rotary hooks periodically for wear or damage and replace as needed.
- Ensure all fabric is hooped consistently and correctly, using appropriate backing for the design.
- Use high-quality, consistent thread from the same brand and dye lot for all heads.
- Follow the machine's lubrication schedule diligently to minimize wear on moving parts.
Frequently asked questions
Why is only one head stitching unevenly?
If only one head is affected, the problem is likely isolated to that specific head. Focus your troubleshooting on its thread path, needle, bobbin case, presser foot, and tension settings. Compare its setup directly to a head that is stitching correctly.
How often should I clean my Tajima TMAR-K?
Regular daily cleaning of thread paths, bobbin areas, and under the needle plate is recommended, especially during production. A more thorough weekly or monthly cleaning, including lubrication, should follow the schedule in your machine's manual.
Can environmental factors cause uneven stitching?
Yes, extreme temperature or humidity fluctuations can affect thread performance, causing it to stretch or shrink, leading to tension issues. Dust can also accumulate in thread paths. Maintain a stable, clean environment for optimal performance.
What is the most common cause of uneven stitching?
Inconsistent thread tension (both upper and bobbin) and worn or mismatched needles are among the most frequent culprits for uneven stitching across multiple heads. Always start by checking these fundamental elements.
Did this guide fix your machine?
Rate it - it helps other operators find the right fix.
Not sure which part is failing?
Need the logo stitched too?
Get your logo digitized by the people who know this machine
Upload the artwork, see the stitch count and the exact price in 10 seconds, then order with a free sew-out preview. $1 per 1,000 stitches, $10 minimum, 24-hour delivery. Vector conversion from $12.
After the fix
Fixed it? Keep the rest of the shop moving.
OS 360 is the shop software from the team behind this parts store. Every job keeps its status, deadline and owner while a TMAR-K head is down, restock alerts fire for needles, hooks and bobbins before you run dry, and quotes, invoices and payment live in one place.
- Jobs with status, deadline and owner - nothing slips during downtime
- Inventory with restock alerts, this store one click away
- Instant quotes, invoices and one place to collect payment