Blog
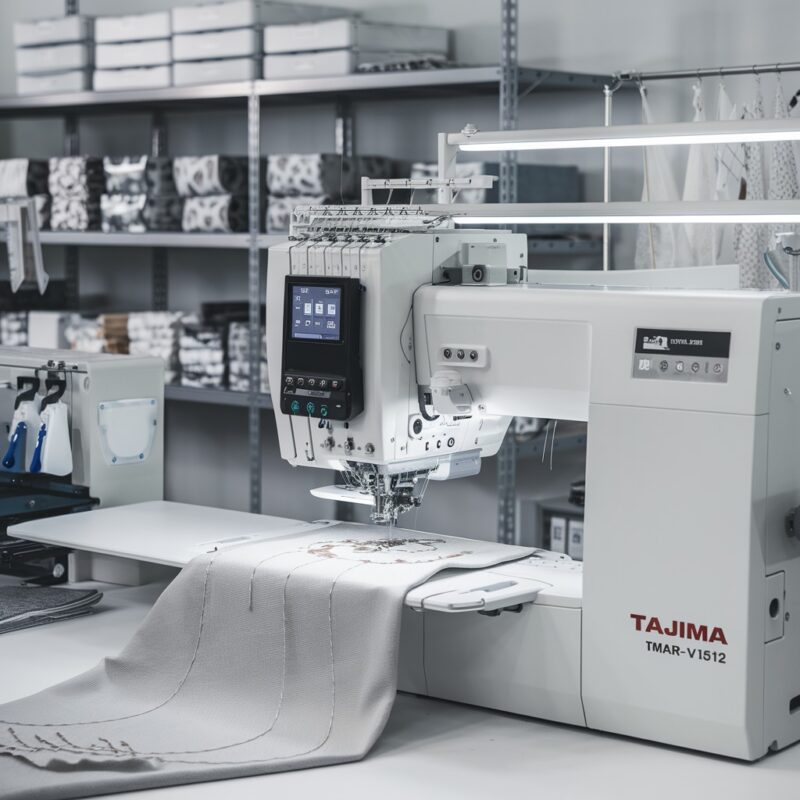
Tajima TMAR-V1512: Troubleshooting Puckering & Distorted Embroidery

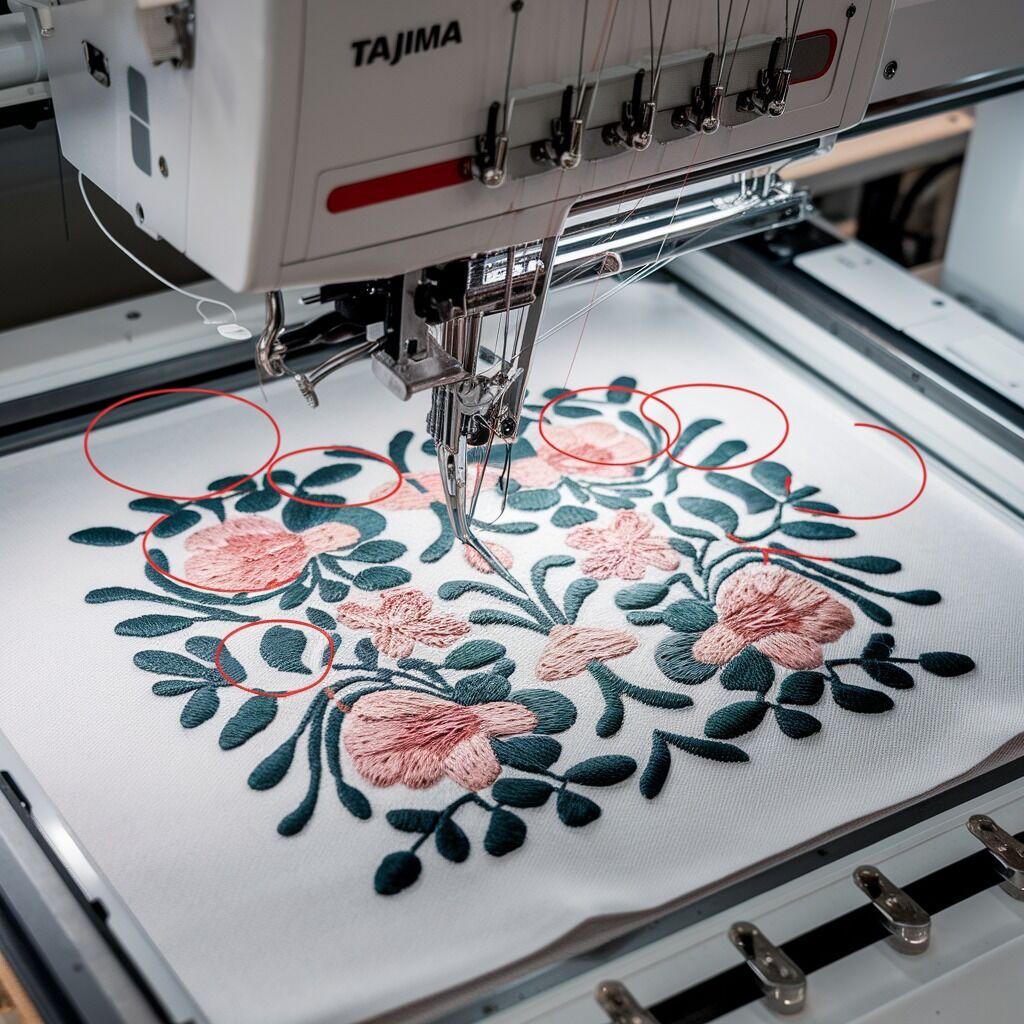
Quick answer: Puckering on your Tajima TMAR-V1512 is usually caused by incorrect stabilizer, unbalanced thread tension, improper hooping, or incorrect presser foot pressure. Adjust these settings and ensure proper machine maintenance.
Puckering or distorted embroidery designs can compromise the quality of your projects on the Tajima TMAR-V1512. This guide provides practical, step-by-step solutions for common causes, empowering you to achieve precise and professional embroidery results.
Two-minute checks before you open anything
- Is the stabilizer correctly matched to the fabric?
- Are the fabric and stabilizer hooped snugly and smoothly?
- Is the thread tension balanced and adjusted for the fabric?
- Is the presser foot pressure set correctly for the material?
- Have you optimized the design density for your fabric?
- Are the needles and threads appropriate for the project?
- Is the embroidery machine properly cleaned and maintained?
1. Incorrect Stabilizer Selection or Application high likelihood
How to tell
Fabric appears unsupported, stretches, or buckles during stitching, especially on lightweight or stretchy materials. Puckering is often visible around dense stitch areas.
Fix
- Select a stabilizer appropriate for your fabric type and stitch density (e.g., cut-away for stretchy fabrics, tear-away for woven fabrics, water-soluble topping for intricate designs).
- For added support, use multiple layers of stabilizer or a heavier weight stabilizer.
- For delicate fabrics, consider fusible stabilizers to prevent movement without excessive hooping pressure.
- Use temporary adhesive spray to secure the stabilizer to the fabric, preventing shifting during embroidery.
Stabilizer is a consumable item.
Parts involved: Threads & supplies →
2. Improper Hooping Technique high likelihood
How to tell
Fabric appears loose or wrinkled within the hoop, or shows signs of stretching. Puckering is often uneven across the design or concentrated in areas where the fabric was not flat.
Fix
- Hoop the fabric and stabilizer together, ensuring both are taut but not stretched. The material should lay flat and smooth within the hoop.
- For delicate or stretchy fabrics, 'float' the fabric over the hooped stabilizer, securing it with temporary adhesive spray, rather than hooping the fabric directly.
- Inspect hoops for wear or warping. Replace any damaged hoops to ensure even tension and a perfect fit.
Parts involved: Hoops & frames →
Parts you may need for Tajima TMAR
In stock, tested before dispatch, Buyer Protection on every order. Part types for this problem: Threads & supplies, Hoops & frames, Thread path & tension, Rotary hooks & bobbin cases.
 Tajima TC Sensor Card & Thread Contact Set 0J2602300A22 0J2602300A2...$ 18.09View part →
 KHS20-R Jumbo Rotary Hook for TAJIMA TME-DC, TMFX, TMB, TMAR, TMEZ ...$ 21.29View part →
 TAJIMA SWF KN/GN Presser Foot 93MM 97MM 100MM for High-Speed Embroi...$ 3.99View part →
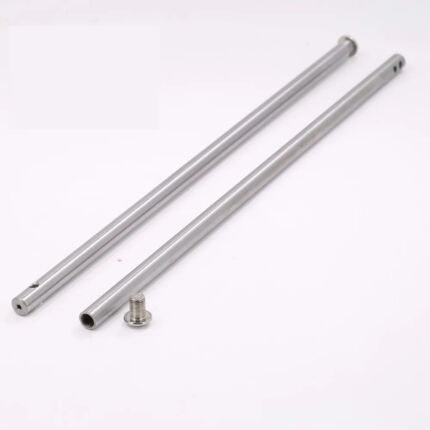 Tajima Embroidery Machine Needle Bar 207MM 212MM Replacement Part$ 3.49View part →
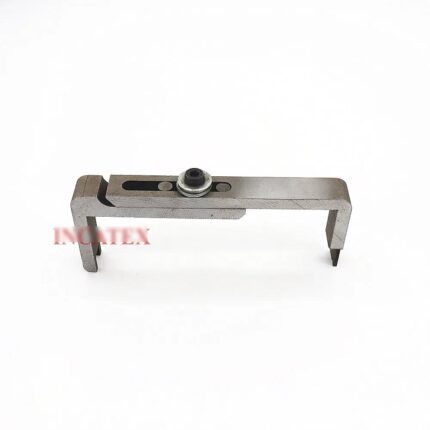 Tajima Embroidery Machine Gauge for TFMX, TMAR, TFGN, TMEZ Series M...$ 40.49View part →
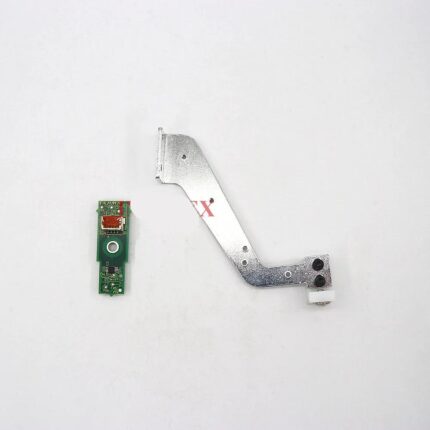 Tajima ICS131 0J2603200000 Thread Break Sensor & Bracket for TFMX, ...$ 97.09View part →
All Tajima TMAR parts → Threads & Supplies → Hoops & Frames → Thread Path & Tension →
3. Unbalanced Thread Tension medium likelihood
How to tell
Top thread loops visible on the underside of the fabric, or bobbin thread visible on the top side. Fabric may appear pulled or gathered along stitch lines. Test tension on a scrap fabric by stitching a satin column; the bobbin thread should show approximately 1/3 of the stitch width on the underside.
Fix
- Perform a tension test on a scrap piece of the same fabric and stabilizer before starting the project.
- Adjust the top thread tension dial (usually located on the thread tree or head) incrementally. Turn clockwise to increase tension, counter-clockwise to decrease.
- Adjust the bobbin case tension screw (small screw on the bobbin case) incrementally. Turn clockwise to increase tension, counter-clockwise to decrease. Make very small adjustments.
- Ensure both top and bobbin thread tensions are balanced to avoid fabric pull. The goal is for the bobbin thread to show about 1/3 on the back of a satin stitch.
Parts involved: Thread path & tension → Rotary hooks & bobbin cases →
4. Incorrect Presser Foot Pressure medium likelihood
How to tell
Fabric drags, stretches, or puckers as the needle moves. Visible marks or indentations on the fabric from the presser foot. Puckering is often consistent across the design.
Fix
- Utilize the Tajima TMAR-V1512's digitally controlled presser foot to set the optimal pressure for the fabric type and thickness.
- Access the presser foot pressure settings via the machine's control panel.
- Reduce pressure for lightweight or delicate fabrics to prevent unnecessary stretching or dragging.
- Increase pressure for thicker fabrics to ensure proper fabric hold without excessive compression. Refer to your machine's manual for recommended pressure ranges for different fabric types.
Parts involved: Presser feet & sewing parts → Control panels & displays →
5. Inappropriate Needle or Thread Selection low likelihood
How to tell
Skipped stitches, thread breaks, or visible holes/damage to the fabric. Puckering may be localized around stitch penetrations.
Fix
- Use ballpoint needles for knits and stretchy fabrics to push fabric fibers aside rather than cutting them.
- Use sharp needles for woven fabrics to cleanly penetrate the material.
- Ensure the needle size matches the thread weight and fabric thickness. A needle too large can create excessive holes, while one too small can cause thread breaks.
- Replace needles frequently, typically after every 8–10 hours of use, to maintain sharpness and prevent damage to fabric and thread.
- Use high-quality polyester or rayon threads for better tension consistency and reduced stress on the fabric.
Needles and threads are consumable items.
Parts involved: Needles & needle bars → Threads & supplies →
6. High Stitch Density or Poor Digitizing low likelihood
How to tell
Fabric appears overly stressed, stiff, or gathered in areas with very dense stitching. Puckering is concentrated in specific design elements.
Fix
- Review the embroidery design file. Lower the stitch density in design areas prone to puckering using your digitizing software.
- Incorporate underlay stitches (e.g., zigzag or edge run) to provide a stable base for top stitches, especially on stretchy fabrics.
- Optimize the embroidery design path to avoid unnecessary fabric pull during stitching.
7. Fabric Characteristics & Preparation low likelihood
How to tell
Puckering is more prevalent on specific fabric types (e.g., very lightweight, stretchy, or delicate materials).
Fix
- For lightweight fabrics, use backing fabric or spray starch to increase stiffness during embroidery.
- Pre-wash fabrics prone to shrinkage to prevent distortions after washing.
- For stretchy fabrics (knits, spandex), use a ballpoint needle, cut-away stabilizer, and light presser foot pressure.
- For delicate fabrics (satin, chiffon), use water-soluble toppings and minimal hooping pressure.
- For thick fabrics (denim, canvas), slightly loosen thread tension and use a larger needle.
Fabric is a consumable item.
Parts involved: Threads & supplies →
8. Machine Calibration or Maintenance Issues low likelihood
How to tell
Inconsistent puckering across different heads (multi-head machines) or general degradation of stitch quality over time. Thread sensor errors may occur.
Fix
- Regularly calibrate the TMAR-V1512 to maintain consistent tension, presser foot pressure, and hoop alignment. Refer to your machine's service manual for calibration procedures.
- Ensure all heads in a multi-head system are calibrated identically to avoid variations in design quality.
- Keep the machine free of lint and ensure moving parts are well-lubricated according to the maintenance schedule in your manual.
- Regularly test the thread sensor system to ensure thread flow is uninterrupted. A faulty sensor can lead to snags and tension issues.
Parts involved: Lubrication & maintenance → Sensors & switches → Head & mechanical parts →
Stop and call a technician if
- If puckering persists after trying all troubleshooting steps.
- If you suspect internal machine calibration issues that require specialized tools or knowledge.
- If you encounter error codes related to presser foot, tension, or head mechanisms that you cannot resolve.
Prevent it coming back
- Always match stabilizer type and weight to the fabric and design density.
- Hoop fabric and stabilizer snugly and smoothly, avoiding stretching.
- Regularly test and adjust thread tension for both top and bobbin threads.
- Calibrate presser foot pressure for each fabric type using the digital controls.
- Optimize design density and incorporate underlay stitches in your digitizing software.
- Use the correct needle type and size for your fabric and thread, and replace needles frequently.
- Perform routine cleaning and lubrication as per your machine's maintenance schedule.
- Store fabrics properly (rolled, not folded) and control humidity in your embroidery environment.
Frequently asked questions
Why does my Tajima TMAR-V1512 pucker only on certain fabrics?
Different fabrics require specific stabilizers, needle types, thread tensions, and presser foot pressures. Lightweight or stretchy fabrics are more prone to puckering if these settings are not adjusted correctly for their characteristics.
Can old needles cause puckering?
Yes, dull or bent needles can damage fabric fibers, create inconsistent stitch holes, and lead to thread breaks, all of which can contribute to puckering. Replace needles regularly, typically after 8-10 hours of use.
How do I know if my thread tension is balanced?
Stitch a satin column on a scrap piece of fabric. If the tension is balanced, the bobbin thread should show about one-third of the stitch width on the underside of the fabric. Adjust top or bobbin tension until this balance is achieved.
What is the 'digitally controlled presser foot' on the TMAR-V1512 and how does it help?
The digitally controlled presser foot allows you to precisely adjust the pressure the foot applies to the fabric via the machine's control panel. This is crucial for preventing fabric stretching or dragging, especially on delicate or varying fabric thicknesses, thereby reducing puckering.
Did this guide fix your machine?
Rate it - it helps other operators find the right fix.
Not sure which part is failing?
Need the logo stitched too?
Get your logo digitized by the people who know this machine
Upload the artwork, see the stitch count and the exact price in 10 seconds, then order with a free sew-out preview. $1 per 1,000 stitches, $10 minimum, 24-hour delivery. Vector conversion from $12.
After the fix
Fixed it? Keep the rest of the shop moving.
OS 360 is the shop software from the team behind this parts store. Every job keeps its status, deadline and owner while a TMAR-V1512 head is down, restock alerts fire for needles, hooks and bobbins before you run dry, and quotes, invoices and payment live in one place.
- Jobs with status, deadline and owner - nothing slips during downtime
- Inventory with restock alerts, this store one click away
- Instant quotes, invoices and one place to collect payment