Blog
Embroidery Design Misalignment or Shifting Troubleshooting

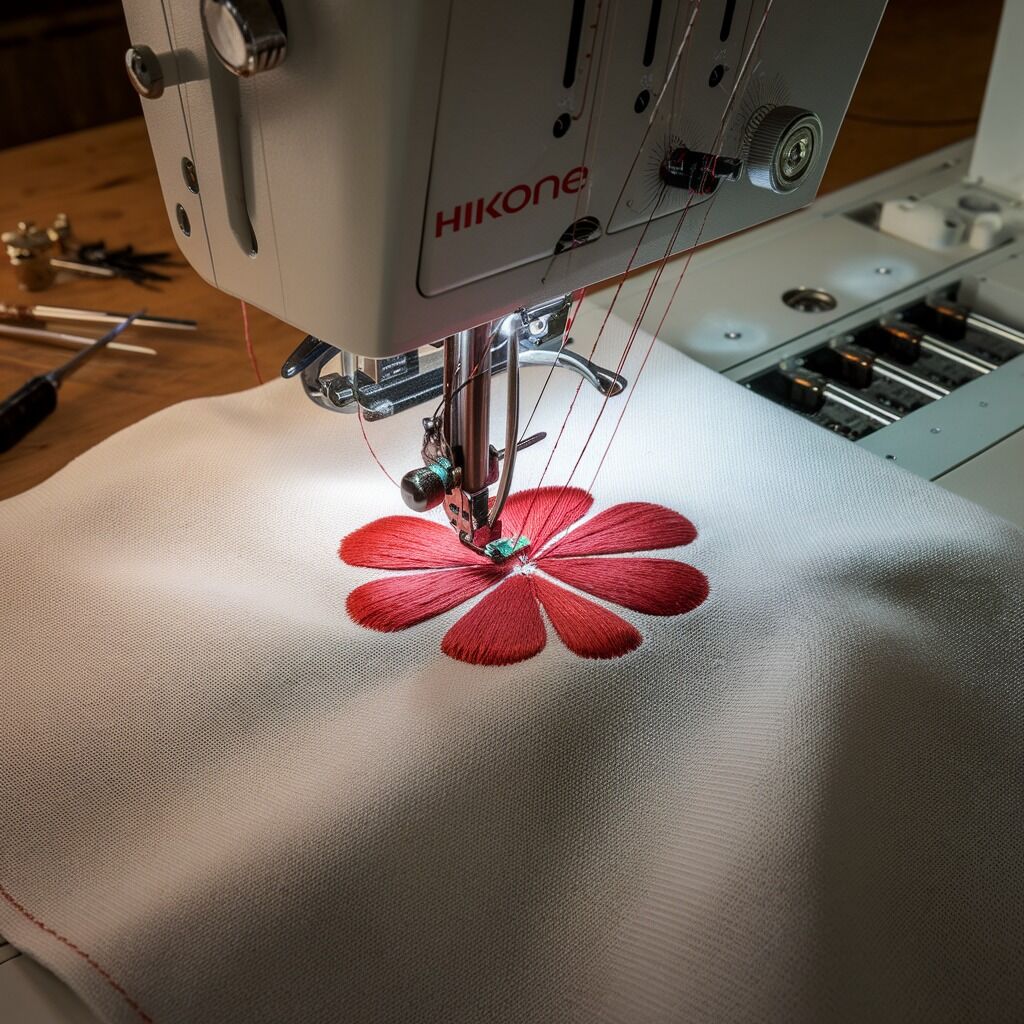
Quick answer: Design misalignment or shifting is most commonly caused by improper hooping, incorrect hoop tension, or inadequate fabric stabilization. Ensure your fabric is taut in the hoop, use the correct stabilizer, and verify thread tension. Check machine stability and calibration if basic hooping adjustments don't resolve the issue.
Design misalignment or shifting during embroidery can significantly affect the quality of your work, resulting in distorted, incomplete, or offset designs. This guide will help you diagnose and resolve common causes of these alignment challenges on your embroidery machine.
Two-minute checks before you open anything
- Is the fabric securely hooped and taut, but not stretched?
- Is the hoop tension appropriate for your fabric type?
- Are you using the correct type and amount of stabilizer for your fabric and design?
- Is the top and bobbin thread tension balanced?
- Is the embroidery machine on a stable, vibration-free surface?
1. Fabric Slipping in Hoop high likelihood
How to tell
The embroidered design appears distorted, shifted, or incomplete, and the fabric feels loose or has moved within the hoop after stitching. This is often visible as puckering or uneven areas around the design.
Fix
- Remove the hoop from the machine.
- Unhoop the fabric and stabilizer.
- Re-hoop the fabric, ensuring it is taut and flat, but not stretched or distorted. The fabric should feel firm when gently tapped.
- Tighten the hoop screw firmly to secure the inner hoop ring against the outer ring and fabric.
- If using a very slippery fabric, consider applying a temporary adhesive spray to the stabilizer before hooping, or use a basting stitch to secure the fabric to the stabilizer and hoop area.
Ensure your hoops are not warped or damaged, which can prevent proper fabric grip.
Parts involved: Hoops & frames → Threads & supplies →
2. Incorrect Hoop Tension high likelihood
How to tell
If the fabric is too loose, it will shift easily during stitching, causing misalignment. If it's too tight, the fabric may distort or pucker, leading to an uneven stitch-out or design distortion. You might see stress marks on the fabric around the hoop.
Fix
- Remove the hoop from the machine.
- Unhoop the fabric and stabilizer.
- Re-hoop the fabric, adjusting the hoop screw to achieve appropriate tension. For most fabrics, the fabric should be drum-tight but not stretched. Delicate fabrics require less tension, while thicker materials need a firmer hold.
- Perform a test stitch on scrap fabric to verify the fabric remains stable and undistorted throughout the embroidery process.
Parts involved: Hoops & frames →
Parts you may need for your machine
In stock, tested before dispatch, Buyer Protection on every order. Part types for this problem: Hoops & frames, Threads & supplies, Thread path & tension, Rotary hooks & bobbin cases.
 TC-805 Stainless Steel Yarn Shears – Precision Thread Clippers for ...$ 3.59View part →
 Bobbin Case & 2 Metal Bobbins for Brother, Janome, Singer, Babylock...$ 5.59View part →
 3200M Metallic Silk Thread Computer Cross-stitch Thread for Machine...$ 0.00View part →
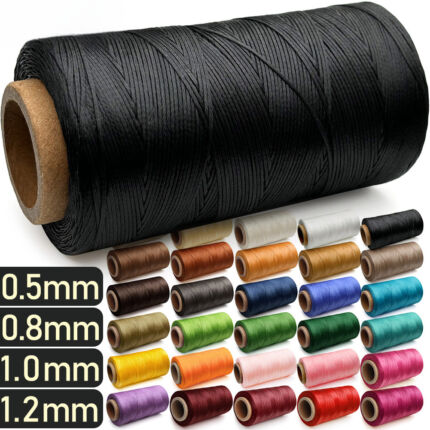 PG220 Flat Waxed Thread for Leather Sewing & Crafting - 0.5mm, 0.8m...$ 19.49View part →
 WUTA 1052020/1052023/1052021 Leather Waxed Round Polyester Hand Sti...$ 6.09View part →
 100 Random Color Thread Spools Set - 250 Yards Each for Hand & Mach...$ 31.29View part →
All your machine parts → Hoops & Frames → Threads & Supplies → Thread Path & Tension →
3. Improper Fabric Stabilization high likelihood
How to tell
The fabric puckers, shifts, or distorts during embroidery, especially with dense designs. The stitches may not lay flat, or the design appears uneven and misaligned. This is more apparent on stretchy or delicate fabrics.
Fix
- Identify the fabric type and design density. Consult stabilizer charts if unsure.
- Select the appropriate stabilizer: cut-away for stretchy or delicate fabrics, tear-away for stable woven fabrics, or wash-away for temporary support or delicate items.
- Ensure you are using enough stabilizer. For dense designs or unstable fabrics, consider using two layers of stabilizer or a heavier weight stabilizer.
- Re-hoop the fabric with the correct stabilizer, ensuring both are taut and flat.
Parts involved: Threads & supplies →
4. Thread Tension Imbalance medium likelihood
How to tell
The fabric may appear to be pulled or distorted in one direction during stitching. You might see bobbin thread pulling through to the top, or top thread showing on the underside. This uneven pulling can cause the fabric to shift slightly over the course of the design.
Fix
- Perform a tension test stitch (e.g., a satin stitch column) on scrap fabric.
- Adjust the top thread tension dial incrementally. Turn clockwise to increase tension, counter-clockwise to decrease.
- If the bobbin tension is suspected, remove the bobbin case and check its tension. Refer to your machine's manual for specific bobbin tension adjustment procedures, as this often requires a small screwdriver and precise turns.
- Aim for balanced tension where the bobbin thread shows approximately 1/3 on the underside of the top stitch, and the top thread shows approximately 1/3 on the top side of the bobbin stitch.
Parts involved: Thread path & tension → Rotary hooks & bobbin cases →
5. Unstable Embroidery Table or Workspace medium likelihood
How to tell
The entire machine vibrates excessively during operation, especially during fast movements or dense stitching. This vibration can cause the hoop or fabric to subtly shift, leading to overall design misalignment. You might notice the machine 'walking' on the table.
Fix
- Ensure the embroidery machine is placed on a sturdy, level, and stable surface. Avoid lightweight or wobbly tables.
- Check that all feet on the machine are making firm contact with the table.
- If vibrations persist, consider placing an anti-vibration mat or a heavy, dense mat under the machine to absorb movement.
- Tighten any loose screws on the machine's base or frame if accessible and indicated by your machine's manual.
Parts involved: Screws, springs & small parts →
6. Machine Calibration Issues low likelihood
How to tell
Designs consistently shift or misalign even after addressing all hooping, tension, and stabilization issues. This is often more noticeable in complex, multi-color designs where registration between colors is critical. The embroidery arm may not move to the precise coordinates it should.
Fix
- Consult your machine's operator manual for instructions on checking and adjusting machine calibration or alignment. Some machines have a built-in diagnostic or calibration routine.
- Run a test pattern (often a crosshair or grid) to visually assess the machine's alignment accuracy.
- If calibration adjustments are available in the user menu, follow the manual's steps precisely. Do not attempt to adjust internal mechanical components without specific instructions.
- If the issue persists or no user-level calibration is available, this may require a qualified technician.
Parts involved: Motors & drivers → Circuit boards & electronics → Sensors & switches → Belts, pulleys & gears →
Stop and call a technician if
- If machine calibration issues persist after following manual instructions, or if your machine lacks user-adjustable calibration.
- If you suspect internal mechanical issues (e.g., loose belts, worn gears, motor problems) that are not user-serviceable.
- If the machine consistently misaligns designs despite all troubleshooting steps, indicating a deeper electronic or mechanical fault.
Prevent it coming back
- Perform regular machine maintenance, including cleaning the bobbin area, oiling as per your manual, and checking for loose screws or worn parts.
- Always perform a test stitch on scrap fabric similar to your final material before starting a new project to check for potential alignment or tension issues.
- Monitor the embroidery process, especially during the first few color changes, to catch any misalignments early.
Frequently asked questions
Why does my embroidery design keep shifting?
Design shifting is most commonly due to the fabric not being securely held in the hoop, incorrect hoop tension, or using the wrong type/amount of stabilizer. Other factors include unbalanced thread tension, an unstable machine workspace, or, less commonly, machine calibration issues.
How do I prevent fabric from slipping in the embroidery hoop?
Ensure the fabric is taut but not stretched when hooping, and tighten the hoop screw firmly. Use the correct hoop size for your design and fabric. For slippery fabrics, consider basting or using a temporary adhesive spray on the stabilizer.
What is the correct hoop tension for embroidery?
The fabric should be drum-tight in the hoop, meaning it feels firm when tapped, but not so tight that the fabric is stretched or distorted. Adjust tension based on fabric type: lighter for delicate fabrics, firmer for thicker materials.
Can thread tension cause design misalignment?
Yes, if the top or bobbin thread tension is significantly unbalanced, it can cause the fabric to be pulled unevenly during stitching, leading to slight shifts or distortions in the design.
Did this guide fix your machine?
Rate it - it helps other operators find the right fix.
Not sure which part is failing?
Need the logo stitched too?
Get your logo digitized by the people who know this machine
Upload the artwork, see the stitch count and the exact price in 10 seconds, then order with a free sew-out preview. $1 per 1,000 stitches, $10 minimum, 24-hour delivery. Vector conversion from $12.
After the fix
Fixed it? Keep the rest of the shop moving.
OS 360 is the shop software from the team behind this parts store. Every job keeps its status, deadline and owner while a embroidery head is down, restock alerts fire for needles, hooks and bobbins before you run dry, and quotes, invoices and payment live in one place.
- Jobs with status, deadline and owner - nothing slips during downtime
- Inventory with restock alerts, this store one click away
- Instant quotes, invoices and one place to collect payment