Blog
Singer Embroidery Machine: Troubleshooting Uneven Stitch Quality

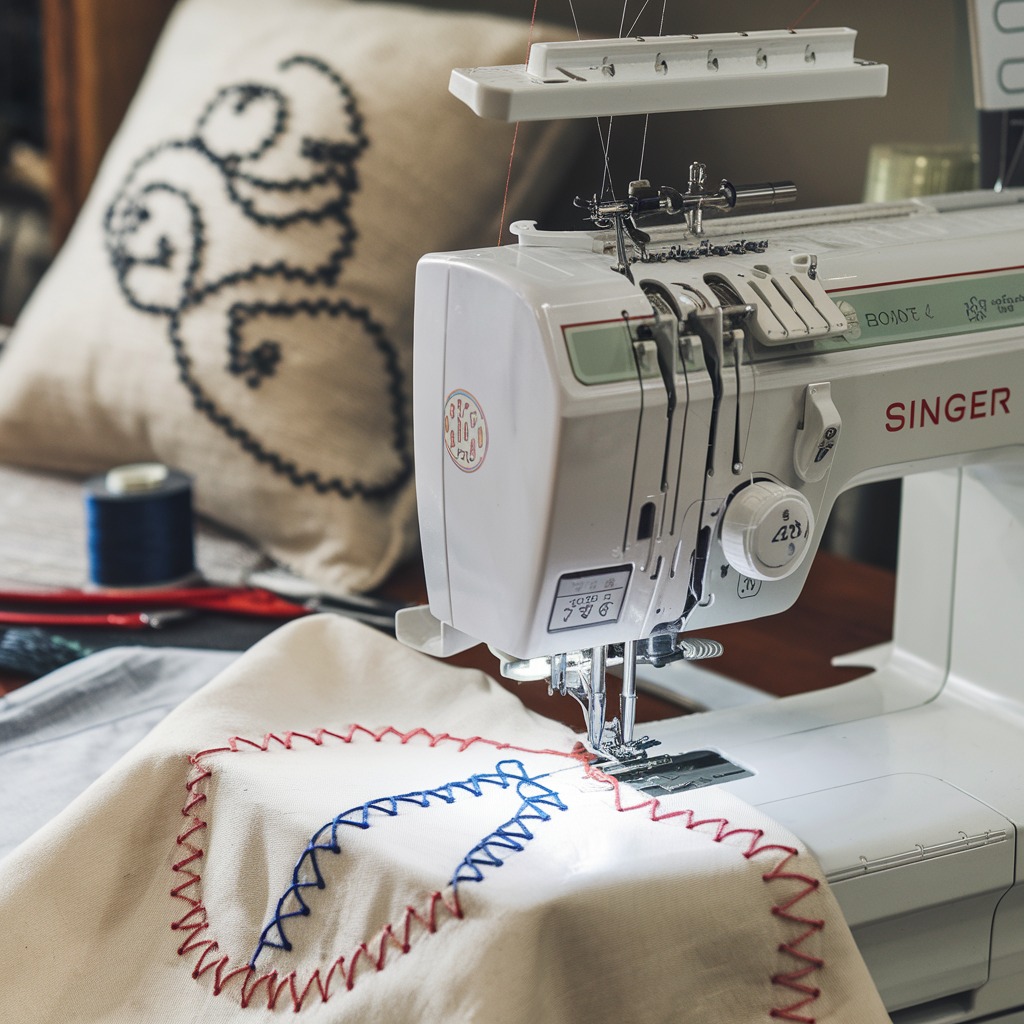
Quick answer: Uneven stitch quality on a Singer embroidery machine is most often caused by incorrect thread tension, an unsuitable or damaged needle, or improper hooping. Systematically check and adjust these elements to restore consistent stitching.
Uneven stitch quality can be a frustrating issue for any embroidery machine operator. This guide provides practical, step-by-step troubleshooting for your Singer embroidery machine, focusing on the most common causes and their solutions. By systematically addressing these points, you can restore your machine's performance and achieve the consistent, high-quality embroidery you expect.
Two-minute checks before you open anything
- Verify the needle is new, sharp, and correctly sized for your fabric and thread.
- Ensure the fabric is hooped tautly and evenly, without stretching, and the hoop screws are tight.
- Check that the upper thread is correctly routed through all guides and tension discs.
- Inspect the bobbin for proper winding and correct insertion into the bobbin case.
- Clean the bobbin area and tension discs for lint and debris.
1. Incorrect Thread Tension high likelihood
How to tell
Stitches appear loose or looped on the top or bottom of the fabric, or the fabric puckers excessively. The 'lockstitch' (where top and bobbin threads meet) is not centered within the fabric layers.
Fix
- Upper Thread Tension: Locate the upper thread tension dial. Start by setting it to the manufacturer's recommended mid-range setting (often 3-5). If top stitches are loose, increase tension by turning the dial to a higher number. If bobbin thread shows on top, decrease tension by turning to a lower number. Make small adjustments (e.g., 0.5 increments) and test.
- Bobbin Tension: Remove the bobbin case. Hold the bobbin case by the thread tail; it should slowly unspool with a slight tug. If it drops freely, the tension is too loose. If it doesn't move, it's too tight. Adjust the small screw on the bobbin case spring in tiny increments (e.g., 1/8 turn) clockwise to tighten, counter-clockwise to loosen. Note the original screw position before adjusting.
- Test: Always test tension on a scrap piece of your project fabric with the actual design before continuing.
Bobbin cases are precision parts; if the tension screw is stripped or the spring damaged, replacement may be necessary.
Parts involved: Thread path & tension → Rotary hooks & bobbin cases → Threads & supplies →
2. Unsuitable or Damaged Needle high likelihood
How to tell
Skipped stitches, frequent thread breaks, fabric damage (holes, snags), dull or bent needle point visible upon inspection. The wrong needle type can cause poor penetration or excessive friction.
Fix
- Inspect Needle: Carefully remove the needle and inspect its point for dullness, burrs, or bends. Run a fingernail gently down the point; it should feel smooth.
- Replace Needle: Always replace the needle with a new one after every 8-10 hours of embroidery or at the start of a new project. Ensure the new needle is the correct type (e.g., embroidery, sharp, ballpoint) and size (e.g., 75/11, 90/14) for your fabric and thread weight. Insert the needle correctly, with the flat side facing the back of the machine, and tighten the needle clamp screw securely.
Parts involved: Needles & needle bars → Screws, springs & small parts →
Parts you may need for Singer
In stock, tested before dispatch, Buyer Protection on every order. Part types for this problem: Thread path & tension, Rotary hooks & bobbin cases, Threads & supplies, Needles & needle bars.
 Bobbin Case & 2 Metal Bobbins for Brother, Janome, Singer, Babylock...$ 5.59View part →
 11PCS Low Shank Presser Foot Kit Set for Singer Brother Janome Kenm...$ 15.49View part →
 PET-121 40WT 120D/2 Polyester Embroidery Thread 4000M Spool, 80 Mad...$ 17.49View part →
 Flying Tiger DBx1 Industrial Lockstitch Needles, 100 pcs/box, Sizes...$ 10.99View part →
 PET-80 80 Madeira Colors Embroidery Thread Set - Premium 40WT Polye...$ 15.99View part →40 Weight 120D/2 Polyester Embroidery Thread 4000M PET-121 for Brot...$ 17.49View part →
All Singer parts → Thread Path & Tension → Rotary Hooks & Bobbin Cases → Threads & Supplies →
3. Improper Hooping high likelihood
How to tell
Fabric puckering, shifting during embroidery, design distortion, gaps in stitching, or misaligned elements. The fabric may feel loose within the hoop.
Fix
- Re-hoop Fabric: Remove the hoop and re-hoop the fabric. Ensure the fabric is taut like a drum, but not stretched or distorted. The grain of the fabric should be straight.
- Stabilizer: Confirm you are using the correct type and weight of stabilizer for your fabric and design density. The stabilizer should be hooped with the fabric, or adhered securely if using a 'floating' method.
- Hoop Tightness: Ensure the outer hoop screw is tightened sufficiently to hold the fabric and stabilizer firmly without slipping. Check for any cracks or damage to the hoop itself.
Parts involved: Hoops & frames → Threads & supplies →
4. Dirty or Unmaintained Machine medium likelihood
How to tell
Grinding noises, sluggish machine operation, frequent thread breaks, lint buildup in the bobbin area, under the needle plate, or around tension discs. Old, gummy oil can restrict movement.
Fix
- Clean Bobbin Area: Remove the needle plate, bobbin case, and bobbin. Use a small brush or vacuum to remove all lint, dust, and thread bits from the bobbin housing, feed dogs, and rotary hook area.
- Clean Tension Discs: Floss the upper tension discs with a piece of strong thread or a lint-free cloth to remove any trapped debris.
- Lubricate: Apply a small drop of high-quality sewing machine oil to the points specified in your machine's manual. Do not over-oil. Wipe away any excess oil.
- Needle Plate Inspection: Check the needle plate hole for burrs or damage that could snag thread. If damaged, replace the needle plate.
Parts involved: Lubrication & maintenance → Rotary hooks & bobbin cases → Presser feet & sewing parts → Screws, springs & small parts →
5. Poor Thread Quality medium likelihood
How to tell
Frequent thread breaks, shredding, excessive lint accumulation, inconsistent tension despite adjustments, or poor stitch formation even with correct tension settings. The thread may feel brittle or have uneven thickness.
Fix
- Replace Thread: Remove the current thread and replace it with a high-quality embroidery thread from a reputable brand. Polyester or rayon embroidery threads are generally recommended for their strength and consistency.
- Check Spooling: Ensure the thread is unwinding smoothly from the spool or cone. A poorly wound spool or a snagging thread stand can cause tension inconsistencies.
Parts involved: Threads & supplies →
6. Incorrect Machine Speed low likelihood
How to tell
Stitches appear less consistent at very high or very low speeds, especially with complex designs or delicate fabrics. Machine may struggle or vibrate excessively at high speeds.
Fix
- Adjust Speed: Set the machine's embroidery speed to a moderate, steady pace. Consult your machine's manual for recommended speed ranges for different fabric types and design densities. Avoid running at maximum speed unless specifically required and tested.
Stop and call a technician if
- If, after performing all troubleshooting steps, the uneven stitch quality persists.
- If you suspect internal mechanical damage (e.g., bent needle bar, timing issues) that requires disassembly beyond basic maintenance.
- If the machine displays error codes related to stitching or motor function.
- If you are uncomfortable performing any of the recommended adjustments or repairs.
Prevent it coming back
- Test Stitch: Always run a test stitch on a scrap piece of your project fabric before starting the main embroidery. This helps identify tension, needle, or hooping issues early.
- Bobbin Winding: Ensure bobbins are wound evenly and smoothly. An improperly wound bobbin can cause significant tension problems.
- Regular Needle Replacement: Make it a habit to change your needle frequently (e.g., after every project or 8-10 hours of use) to prevent dullness or bending.
- Routine Cleaning & Oiling: Follow your Singer machine's manual for regular cleaning of lint and debris, especially in the bobbin area and tension discs, and for proper lubrication.
Frequently asked questions
Why do my stitches look loose on top and tight on the bottom?
This usually indicates that your upper thread tension is too loose, or your bobbin tension is too tight. Increase your upper thread tension slightly, or carefully loosen your bobbin tension screw in small increments.
How often should I change my embroidery machine needle?
As a general rule, change your needle after every 8-10 hours of embroidery or at the start of each new project. For very dense designs or delicate fabrics, change it more frequently.
What is the best way to prevent fabric puckering during embroidery?
Ensure your fabric is hooped tautly but not stretched, use the correct type and weight of stabilizer for your fabric and design, and check your thread tension settings. Sometimes, reducing the design density or using a water-soluble topping can also help.
My machine keeps breaking thread, could this cause uneven stitches?
Yes, frequent thread breaks can lead to gaps and inconsistencies in your stitch pattern. Common causes include a dull needle, incorrect tension, poor thread quality, or lint buildup in the thread path.
Did this guide fix your machine?
Rate it - it helps other operators find the right fix.
Not sure which part is failing?
Need the logo stitched too?
Get your logo digitized by the people who know this machine
Upload the artwork, see the stitch count and the exact price in 10 seconds, then order with a free sew-out preview. $1 per 1,000 stitches, $10 minimum, 24-hour delivery. Vector conversion from $12.
After the fix
Fixed it? Keep the rest of the shop moving.
OS 360 is the shop software from the team behind this parts store. Every job keeps its status, deadline and owner while a Singer head is down, restock alerts fire for needles, hooks and bobbins before you run dry, and quotes, invoices and payment live in one place.
- Jobs with status, deadline and owner - nothing slips during downtime
- Inventory with restock alerts, this store one click away
- Instant quotes, invoices and one place to collect payment