Blog
Tajima Embroidery Machine: Troubleshooting Puckering or Distorted Designs

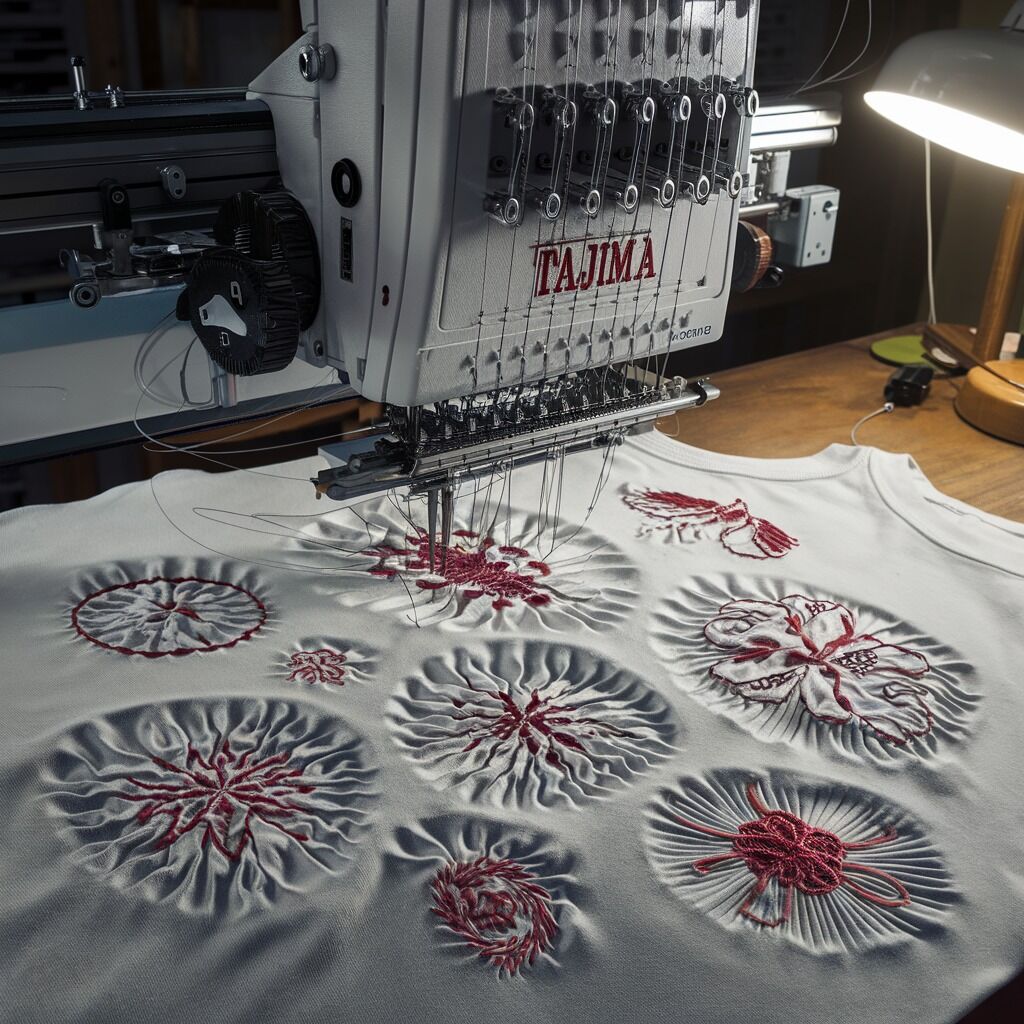
Quick answer: Puckering or distorted embroidery designs on a Tajima machine are most commonly caused by incorrect fabric stabilization, improper hooping, or unbalanced thread tension. Systematically check these areas first.
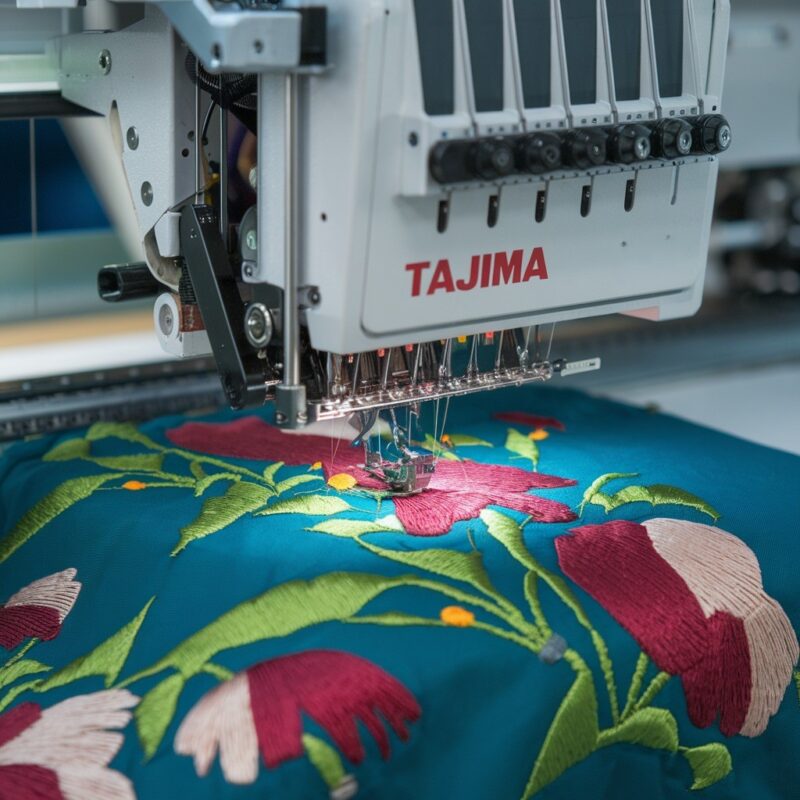
Puckering or distorted embroidery designs are common frustrations on Tajima machines, causing fabric to wrinkle around the design or stitches to appear uneven. This guide provides practical steps to diagnose and resolve these issues, ensuring high-quality embroidery results.
Two-minute checks before you open anything
- Verify the correct stabilizer type and weight is used for your fabric and design density.
- Ensure the fabric is hooped tautly and evenly, without stretching or slack.
- Check both upper thread and bobbin thread tension for balance using a test stitch.
- Confirm the needle type and size are appropriate for the fabric and thread.
- Inspect the bobbin for even winding and correct seating in the bobbin case.
1. Incorrect Fabric Stabilization high likelihood
How to tell
The fabric shifts or wrinkles around the embroidery design during stitching, leading to uneven stitches or puckering. This is often more apparent on lightweight or stretchy materials.
Fix
- Identify the fabric type (e.g., knit, woven, delicate, heavy).
- Select a stabilizer appropriate for the fabric weight and design density. For light or stretchy fabrics, use a cut-away or fusible stabilizer.
- Ensure the stabilizer is securely adhered or hooped with the fabric, covering the entire embroidery area, to prevent any movement during stitching.
Parts involved: Threads & supplies →
2. Improper Hooping high likelihood
How to tell
The fabric appears loose within the hoop, or conversely, is stretched excessively. Puckering often forms around the edges of the design or the fabric shifts during embroidery.
Fix
- Loosen the hoop screw and place the fabric and stabilizer into the hoop.
- Gently pull the fabric taut in all directions, ensuring it is smooth and flat without wrinkles.
- Tighten the hoop screw until the fabric is held securely. The fabric should feel like a drum skin, but not be stretched so tightly that it distorts the fabric weave.
- Avoid hooping over seams or thick areas that prevent the fabric from lying flat.
Parts involved: Hoops & frames →
Parts you may need for Tajima
In stock, tested before dispatch, Buyer Protection on every order. Part types for this problem: Threads & supplies, Hoops & frames, Thread path & tension, Rotary hooks & bobbin cases.
 40 Weight 120D/2 Polyester Embroidery Thread 4000M PET-121 for Brot...$ 17.49View part →
 Groz Beckert RG DBXK5 Embroidery Needles Nm 65/9, 70/10, 75/11, 80/...$ 36.29View part →
 Hirose HSH-7.94ATR(MTQ) KHS12-RYP Rotary Hook for Tajima, Barudan, ...$ 18.09View part →
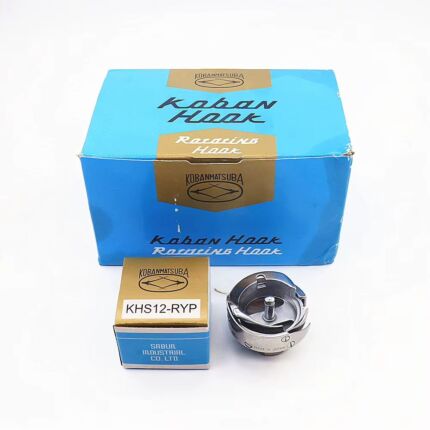 Koban KHS12-RYP Rotary Hook with Trimmer for Tajima, Barudan, SWF, ...$ 33.49View part →
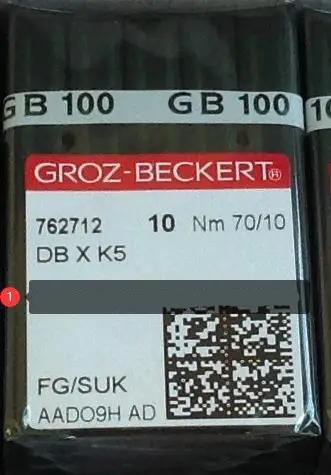 Groz-Beckert DBXK5 FG/SUK Embroidery Needles (100 Pcs) for Tajima, ...$ 34.49View part →
 OZXHIXU 3.5mm Copper Hoop Screw for Tajima & Chinese Embroidery Mac...$ 11.29View part →
All Tajima parts → Threads & Supplies → Hoops & Frames → Thread Path & Tension →
3. Unbalanced Thread Tension high likelihood
How to tell
Stitches appear too tight on the top or bottom, pulling the fabric. A test stitch on scrap fabric will show either the bobbin thread pulling through to the top or the upper thread pulling through to the bottom, indicating an imbalance.
Fix
- Perform a test stitch on a scrap piece of the same fabric with the same design.
- If the bobbin thread is visible on top, decrease the upper thread tension by turning the upper tension dial counter-clockwise in small increments (e.g., 1/4 turn).
- If the upper thread is visible on the bottom, increase the upper thread tension by turning the upper tension dial clockwise in small increments.
- If upper tension adjustments don't resolve the issue, check the bobbin case tension. Use a bobbin tension gauge or perform the 'drop test' (hold the bobbin case by the thread; it should slowly drop a few inches then stop). Adjust the small screw on the bobbin case clockwise to increase tension, or counter-clockwise to decrease it, in very small increments. Refer to your machine's manual for specific bobbin tension guidelines.
- Always re-test after each adjustment.
Parts involved: Thread path & tension → Rotary hooks & bobbin cases →
4. Incompatible Needle and Thread medium likelihood
How to tell
Stitches may skip, break, or appear uneven. The fabric might show small holes or runs, especially with delicate materials. Thread shredding can also occur.
Fix
- Select a needle size appropriate for the fabric weight and thread thickness. For delicate or lightweight fabrics, use a smaller needle (e.g., DBxK5 size 75/11). For heavier fabrics or thicker threads, use a larger needle (e.g., 90/14).
- Choose a needle point type suitable for the fabric. A sharp point is generally good for wovens, while a ballpoint or light ballpoint is better for knits to prevent fabric damage.
- Ensure you are using high-quality embroidery thread that is compatible with your machine and fabric. Avoid old or poorly stored thread that may have become brittle.
Parts involved: Needles & needle bars → Threads & supplies →
5. Excessive Design Density medium likelihood
How to tell
The fabric bunches or puckers specifically in areas with very dense stitching, where many stitches are concentrated in a small area. The fabric may feel stiff and distorted after embroidery.
Fix
- Review the embroidery design file. If possible, reduce the stitch density in areas with complex or overly dense stitching using your embroidery software.
- Consider resizing the design if it's too dense for the chosen fabric. Ensure that resizing maintains appropriate stitch density.
- For very dense designs, consider using a heavier stabilizer or a 'no-show' mesh stabilizer to provide more support.
Parts involved: Threads & supplies →
6. Improper Bobbin Thread Winding low likelihood
How to tell
Stitch quality is inconsistent, leading to irregular tension and puckering. The bobbin thread may appear lumpy or unevenly distributed on the bobbin spool.
Fix
- Remove the bobbin and inspect its winding. It should be smooth and even, without any lumps or loose areas.
- If uneven, re-wind the bobbin using the machine's bobbin winder, ensuring the thread feeds smoothly and under consistent tension.
- Ensure the bobbin is the correct size and type for your Tajima machine and is inserted correctly into the bobbin case.
Parts involved: Rotary hooks & bobbin cases → Threads & supplies →
7. Fabric Shrinkage low likelihood
How to tell
Puckering or distortion appears after the embroidery is complete, especially after the fabric has been exposed to moisture or heat (e.g., washing, steaming).
Fix
- For fabrics known to shrink, pre-wash and pre-shrink the fabric according to its care instructions before hooping and embroidering.
- Allow the fabric to dry completely and press it flat before beginning the embroidery process.
Parts involved: Threads & supplies →
Stop and call a technician if
- If after systematically checking all tension settings, hooping, and stabilizer options, the issue persists.
- If you suspect internal machine timing issues or mechanical problems that are beyond basic operator adjustments.
- If the machine displays error codes related to stitch formation that you cannot resolve with manual troubleshooting.
Prevent it coming back
- Always match the stabilizer type and weight to the fabric and design density.
- Ensure fabric is hooped tautly and evenly, without overstretching or leaving slack.
- Regularly test and adjust upper and bobbin thread tension for balance.
- Use the correct needle size and type for your fabric and thread combination.
- Review design stitch density and adjust if necessary for the fabric being used.
- Pre-wash and pre-shrink fabrics known to shrink before embroidery.
- Maintain consistent, appropriate machine speed for the design complexity and fabric type.
Frequently asked questions
Why does my fabric pucker even with the correct stabilizer?
Even with the correct stabilizer, puckering can occur if the fabric is not hooped correctly (too loose or overstretched), if thread tension is unbalanced, or if the design itself has excessive stitch density for the fabric type. Re-check your hooping technique and perform a tension test.
Can machine speed affect puckering?
Yes, embroidering at excessively high speeds, especially with delicate fabrics or intricate designs, can cause the fabric to shift or stretch, leading to puckering or distortion. Try reducing the machine speed for better stitch control.
How do I know if my bobbin tension is correct?
A common method is the 'drop test': hold the bobbin case by the bobbin thread. The bobbin case should slowly drop a few inches and then stop. If it drops too fast, tension is too loose; if it doesn't drop, it's too tight. For precise settings, use a bobbin tension gauge or consult your Tajima machine's manual for specific values.
Did this guide fix your machine?
Rate it - it helps other operators find the right fix.
Not sure which part is failing?
Need the logo stitched too?
Get your logo digitized by the people who know this machine
Upload the artwork, see the stitch count and the exact price in 10 seconds, then order with a free sew-out preview. $1 per 1,000 stitches, $10 minimum, 24-hour delivery. Vector conversion from $12.
After the fix
Fixed it? Keep the rest of the shop moving.
OS 360 is the shop software from the team behind this parts store. Every job keeps its status, deadline and owner while a Tajima head is down, restock alerts fire for needles, hooks and bobbins before you run dry, and quotes, invoices and payment live in one place.
- Jobs with status, deadline and owner - nothing slips during downtime
- Inventory with restock alerts, this store one click away
- Instant quotes, invoices and one place to collect payment