
What is this case study? This page documents a real completed Digitizing order produced by 360 Digitizing Solutions for a Cap Front placement on Cap. To protect client privacy, company and brand names have been anonymized. Browse specs, before/after images, and production notes below.
Mastering Complex Cap Front Embroidery Digitizing
Discover how our specialized approach turned a detailed customer design into a clean, highly optimized cap front embroidery file.
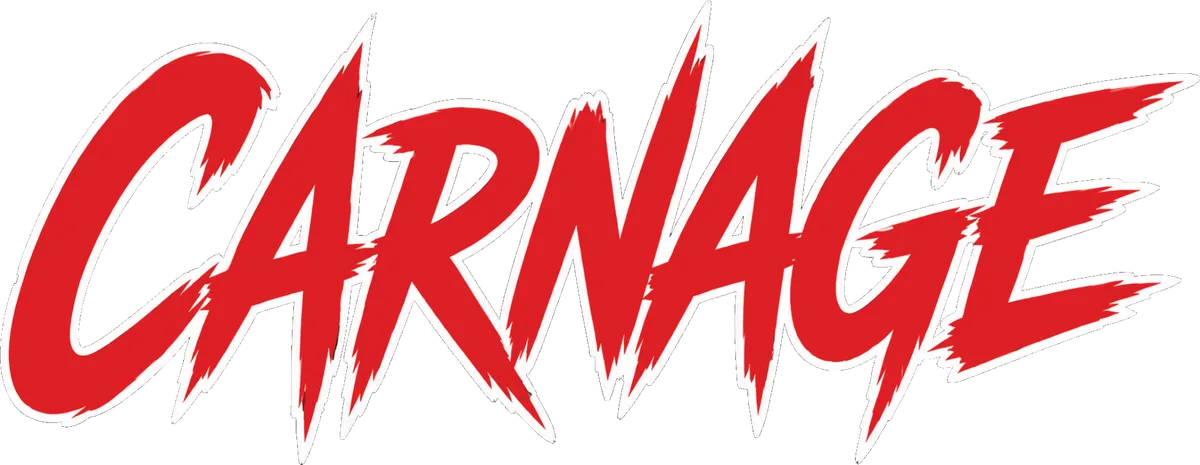
Customer Original Artwork
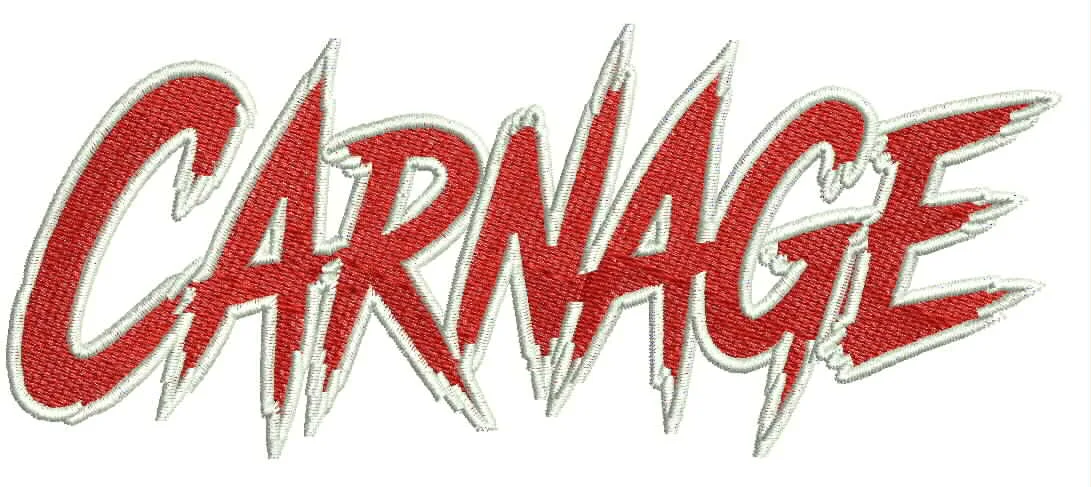
Final Digitized Proof
Order Specifications
Project Background
Caps present unique physical hurdles due to their curved panels, rigid front seams, and restricted sewing fields. Embroidering a wide, detailed logo measuring 5.25 by 2.04 inches on a standard cap front means the stitch path must accommodate the center seam properly. Our digitizers reviewed the artwork to identify potential trouble spots where overlapping threads could create excessive bulk or cause needle deflection during high-speed runs on commercial embroidery equipment.
The primary challenge for this order was balancing the high level of detail requested by the client with the physical limitations of cap embroidery. If the stitch density was set too high, the fabric would warp and cause thread breaks. Conversely, lowering the density too much would make the design look thin and incomplete. Our team needed a precise strategy to map out the 17,267 stitches effectively.
We also had to account for how the cap frames would hold the material during production. Since caps are clamped firmly around a curved driver, any poor pull compensation plan would result in gaps between design segments once unhooped. Our digitizers set out to build a robust framework from scratch, prioritizing clean alignment and smooth running stitches that would sit flat against the cap surface.
Ultimately, the goal was to provide our client with a production-ready file that their machine operators could load and run immediately with zero guesswork. By studying the client artwork thoroughly, our team ensured that every single element of the graphic found its proper place within the stitch architecture, guaranteeing a professional retail-ready outcome for the final headwear batch.
Technical Production Process
Next, we carefully adjusted stitch angles and directions to manage pull compensation across the 5.25-inch width. By breaking the design into logical segments and setting opposing push-pull values, we neutralized the natural tendency of the stitches to pull the cap fabric inward. This thoughtful path planning kept the lines sharp and prevented unsightly gaps from forming between adjacent color blocks.
Density adjustments were made meticulously across all 17,267 stitches. We optimized the fill patterns to provide solid color coverage without overloading the center seam of the cap. Trim commands and tie-ins were also optimized to minimize jump stitches and eliminate the need for excessive manual trimming by the machine operator, boosting overall production efficiency on the shop floor.
Finally, the entire sequence was test-simulated to verify that the sewing order flowed logically from the center outwards. This method ensures the cap remains properly seated in the embroidery frame throughout the entire run, resulting in a crisp, professional finish that meets strict industry standards for custom apparel decoration.
- ✓ Applied specialized center-run and edge-walk underlays for maximum fabric stabilization on curved caps
- ✓ Calibrated pull compensation angles to counter fabric distortion across the 5.25-inch width
- ✓ Optimized stitch density and trim sequences to ensure smooth, high-speed runs without thread breaks
Final Outcome
Because the file was carefully structured with optimized underlays and precise stitch counts, the production run went smoothly on the commercial machines without unexpected thread breaks or material puckering. The client was able to complete their order efficiently, saving valuable time and reducing material waste on the shop floor.
This project highlights our ongoing commitment to providing reliable, production-ready embroidery files that help apparel decorators succeed. By focusing on technical accuracy and practical stitch flow, we ensure that every design performs just as well on the machine as it looks on the screen.
Ready for Flawless Production?
We deliver production-ready files optimized for your exact machines and fabrics, reducing thread breaks and maximizing shop efficiency.
Frequently Asked Questions
What is the standard turnaround time for cap front embroidery digitizing? +
Our standard turnaround time is fast, ensuring you get your production-ready files within hours so your embroidery shop can keep moving without delay.
Do you optimize files specifically for structured and unstructured caps? +
Yes, every file is engineered for the specific cap type, adjusting pull compensation and underlay paths to account for curved surfaces and crowned panels.
Disclaimer: All logos and designs are the property of their respective copyright/trademark owners. This case study is for the sole purpose of demonstrating 360 Digitizing Solutions’ technique and quality. We do not claim ownership of the original artwork, nor are these designs for sale.
Brand Representative? Request Portfolio Privacy/Removal (Corporate Email Required)