Blog
Pfaff Embroidery Machine: Troubleshooting Thread Breakage

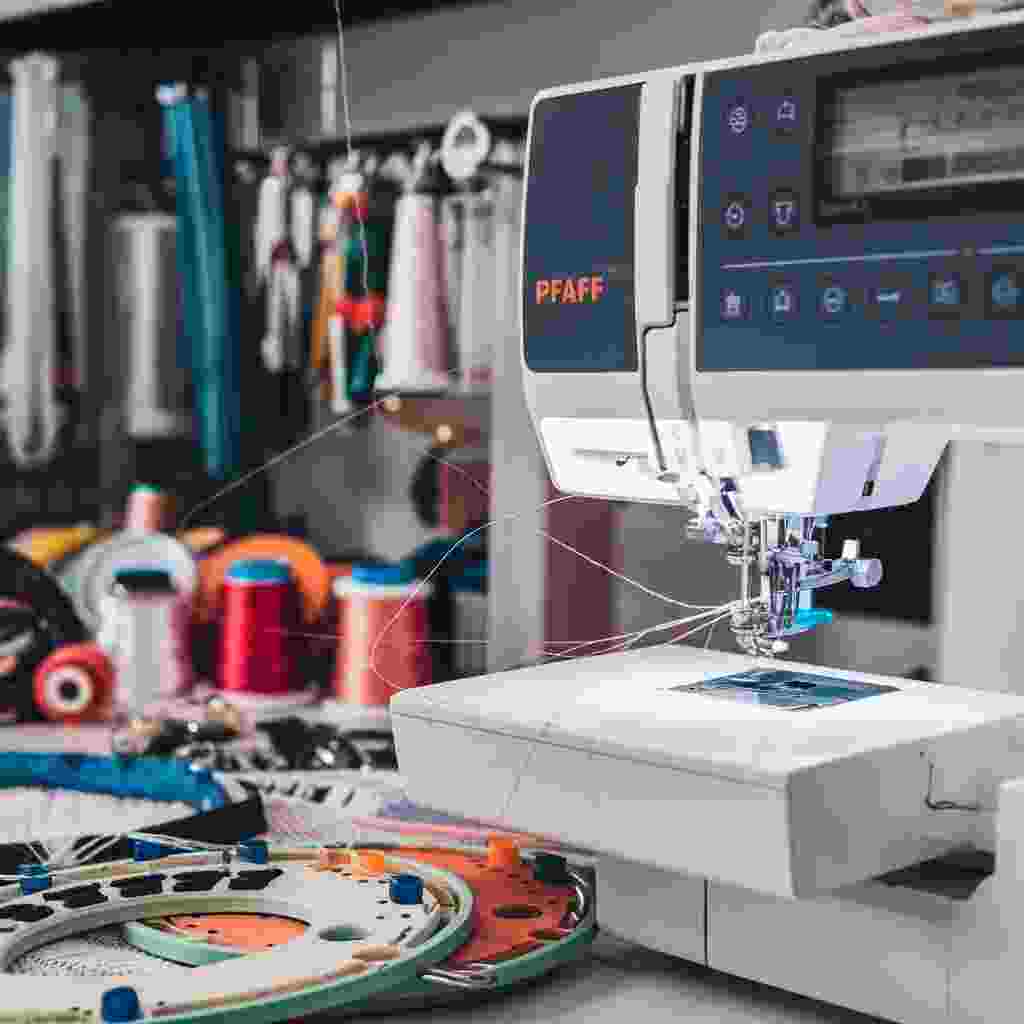
Quick answer: Thread breakage on a Pfaff embroidery machine is most often caused by incorrect threading, improper tension settings, a damaged or incorrect needle, or issues with the bobbin winding and insertion. Systematically check these areas first.
Thread breakage is a common and frustrating issue for Pfaff embroidery machine operators. It disrupts workflow and can compromise embroidery quality. This guide provides practical, step-by-step solutions to diagnose and fix the most frequent causes of thread breaks, helping you get your machine running smoothly again.
Two-minute checks before you open anything
- Is the machine threaded correctly from spool to needle?
- Is the upper thread tension set appropriately for your thread and fabric?
- Is the needle new, sharp, and the correct type/size for your thread and fabric?
- Is the bobbin wound evenly and inserted correctly, with no lint in the bobbin case?
- Is the thread path clear of obstructions, burrs, or lint buildup?
1. Incorrect Machine Threading high likelihood
How to tell
Thread breaks frequently, often at the same point in the stitch path, or the thread appears to be catching or snagging. Visually inspect the entire thread path.
Fix
- Remove the upper thread completely from the machine.
- Consult your Pfaff machine's user manual for the precise threading diagram.
- Re-thread the machine carefully, ensuring the thread passes through every guide, tension disc, and the take-up lever correctly.
- Verify the thread is seated firmly in the tension discs; it should not be loose.
- Pull the thread gently from the needle eye; it should move smoothly with consistent resistance.
Parts involved: Thread path & tension →
2. Incorrect Thread Tension (Upper or Bobbin) high likelihood
How to tell
Stitches appear uneven, loops are visible on the top or bottom of the fabric, or the thread snaps under normal operation. Test stitching on scrap fabric will show unbalanced tension.
Fix
- Ensure the machine is threaded correctly.
- For upper thread tension: Adjust the upper tension dial incrementally (e.g., by 0.5 increments) according to your machine's manual. Start with the recommended setting for your thread type.
- For bobbin thread tension: If upper tension adjustments don't resolve the issue, remove the bobbin case. Inspect for lint or damage. If adjustable, make very small adjustments to the bobbin case tension screw (usually a quarter turn at a time). Note the original position before adjusting.
- Perform test stitches on scrap fabric after each adjustment until stitches are balanced (top and bottom threads meet in the middle of the fabric layers).
Parts involved: Thread path & tension → Rotary hooks & bobbin cases →
Parts you may need for Pfaff
In stock, tested before dispatch, Buyer Protection on every order. Part types for this problem: Thread path & tension, Rotary hooks & bobbin cases, Needles & needle bars, Screws, springs & small parts.
 Flying Tiger HAX1 15x1 Sewing Machine Needles 100-Pack for Brother ...$ 13.49View part →
 60WT 75D/2 PET-75 Thin Polyester Embroidery Thread 4000M for Brothe...$ 12.49View part →
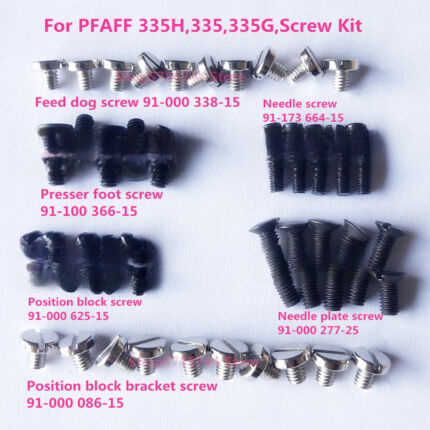 PFAFF 335H, 335, 335G Needle Plate, Feed Dog, Needle, Presser Foot,...$ 27.09View part →
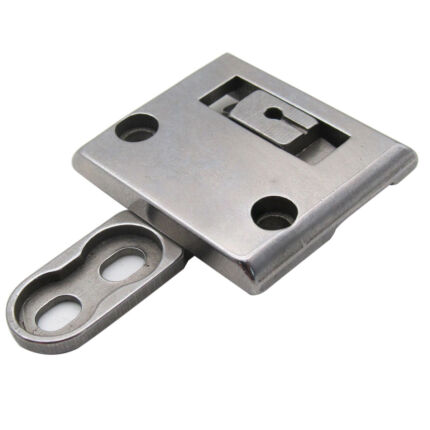 CKPSMS 46498S 46497S Throat Plate & Feed Dog Set for Pfaff 335 Sewi...$ 19.49View part →
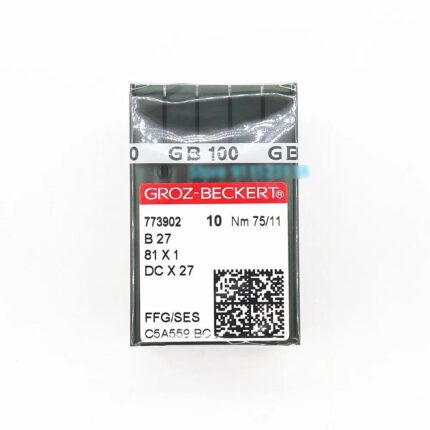 Groz-Beckert B27 DCX27 81X1 FFG/SES Industrial Sewing Needles Nm 75...$ 37.49View part →
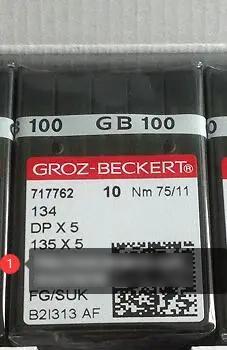 Groz-Beckert 134 DPX5 135X5 Industrial Sewing Needles 100-Pack for ...$ 39.29View part →
All Pfaff parts → Thread Path & Tension → Rotary Hooks & Bobbin Cases → Needles & Needle Bars →
3. Damaged, Dull, or Incorrect Needle high likelihood
How to tell
Thread frays or breaks, skipped stitches occur, or the needle makes a popping sound when penetrating fabric. Visually inspect the needle tip for bends, burrs, or dullness. Ensure the needle type and size match the thread and fabric.
Fix
- Turn off the machine power.
- Loosen the needle clamp screw and remove the old needle.
- Inspect the needle for any visible damage (bends, burrs, dull tip).
- Select a new needle appropriate for your thread weight and fabric type (e.g., embroidery needles have a larger eye). Refer to your thread manufacturer's recommendations.
- Insert the new needle with the flat side facing the correct direction (usually to the back on Pfaff machines) and push it up as far as it will go into the needle bar.
- Tighten the needle clamp screw securely.
Parts involved: Needles & needle bars → Screws, springs & small parts →
4. Improper Bobbin Winding or Insertion high likelihood
How to tell
Bobbin thread breaks, stitches are inconsistent, or the machine jams. The bobbin may appear unevenly wound, or it may not spin freely in the bobbin case.
Fix
- Remove the bobbin from the bobbin case.
- Inspect the bobbin for uneven winding, overfilling, or underfilling. If uneven, rewind it.
- Ensure you are using the correct bobbin type for your Pfaff machine; mismatched bobbins can cause issues.
- Rewind the bobbin on the machine's bobbin winder, ensuring even tension during winding. Do not overfill.
- Clean the bobbin case area thoroughly, removing any lint or thread snippets.
- Insert the bobbin correctly into the bobbin case, ensuring the thread feeds in the correct direction (refer to your manual).
Parts involved: Rotary hooks & bobbin cases → Lubrication & maintenance → Threads & supplies →
5. Thread Path Obstruction or Damage medium likelihood
How to tell
Thread snags or breaks consistently at a specific point in the thread path. Visible burrs, nicks, or excessive lint buildup in thread guides, tension discs, or the needle plate.
Fix
- Turn off the machine power.
- Carefully inspect all thread guides, the take-up lever, tension discs, and the needle plate for any burrs, rough spots, or accumulated lint.
- Use a soft brush or compressed air to remove lint from tension discs and thread guides.
- If burrs are found on metal parts (e.g., needle plate hole, thread guides), they can sometimes be carefully smoothed with very fine-grit sandpaper or a needle file, but extreme caution is advised to avoid further damage. If significant, replace the damaged part.
- Ensure the thread spool unwinds smoothly without catching on the spool pin or spool cap.
Parts involved: Thread path & tension → Presser feet & sewing parts → Lubrication & maintenance →
6. Low-Quality or Incompatible Thread medium likelihood
How to tell
Thread appears weak, frays easily, or has inconsistent thickness. Breaks occur even after checking all mechanical aspects of the machine. The thread may not be designed for high-speed machine embroidery.
Fix
- Replace the current thread with a high-quality embroidery thread from a reputable brand.
- Ensure the thread weight is appropriate for your fabric and needle size.
- Test stitch with the new thread to see if the issue resolves.
Parts involved: Threads & supplies →
7. Excessive Machine Speed low likelihood
How to tell
Thread breaks more frequently at higher machine speeds, especially with intricate designs, delicate fabrics, or heavier threads. The machine may sound strained.
Fix
- Reduce the machine's operating speed using the speed control settings on your Pfaff machine's control panel.
- Gradually increase speed only if thread breakage does not recur.
- Consult your machine's manual for recommended speed settings for different fabric and thread types.
8. Improper Fabric Hooping or Stabilization low likelihood
How to tell
Fabric puckers, shifts, or creates excessive resistance against the needle, leading to thread breakage. Stitches may appear distorted.
Fix
- Ensure the fabric is hooped correctly and taut, without wrinkles or puckers.
- Use an appropriate stabilizer for your fabric type and design density.
- Verify the hoop is securely attached to the machine's embroidery unit and does not wobble.
Parts involved: Hoops & frames → Threads & supplies →
Stop and call a technician if
- If thread breakage persists after trying all troubleshooting steps.
- If you suspect internal mechanical damage (e.g., bent needle bar, damaged hook assembly).
- If the machine displays error codes related to thread handling that you cannot resolve.
- If you find burrs or damage on critical, non-replaceable internal components.
Prevent it coming back
- Always thread your Pfaff machine precisely according to the manufacturer's manual.
- Use high-quality embroidery threads and ensure they are stored in a cool, dry place.
- Replace needles regularly (every 8-10 hours of sewing or after any significant thread breakage) and use the correct needle type and size for your project.
- Clean your machine frequently, especially the bobbin area, tension discs, and thread guides, to prevent lint buildup.
- Perform test stitches on scrap fabric to verify thread tension before starting a project.
- Ensure fabric is properly hooped and stabilized to prevent unnecessary strain on the thread.
Frequently asked questions
Why does my Pfaff machine keep breaking thread even after I change the needle?
Even with a new needle, thread breakage can persist due to incorrect threading, unbalanced upper or bobbin tension, lint buildup in the thread path or bobbin area, or using low-quality thread. Systematically check each of these common causes.
How do I know if my thread tension is correct on my Pfaff embroidery machine?
The ideal tension results in balanced stitches where the top and bobbin threads meet perfectly within the fabric layers. On the top side, you should see only the top thread. On the bottom side, you should see only the bobbin thread. If loops appear on top, your bobbin tension is too tight or upper tension is too loose. If loops appear on the bottom, your upper tension is too tight or bobbin tension is too loose. Always test on scrap fabric.
What type of needle should I use to prevent thread breakage on my Pfaff?
For most embroidery, use a sharp-point embroidery needle with a slightly larger eye to reduce friction on the thread. The needle size should match your thread weight (e.g., a larger needle for heavier threads). Always refer to your thread manufacturer's recommendations and your Pfaff machine's manual for specific needle types and sizes.
Did this guide fix your machine?
Rate it - it helps other operators find the right fix.
Not sure which part is failing?
Need the logo stitched too?
Get your logo digitized by the people who know this machine
Upload the artwork, see the stitch count and the exact price in 10 seconds, then order with a free sew-out preview. $1 per 1,000 stitches, $10 minimum, 24-hour delivery. Vector conversion from $12.
After the fix
Fixed it? Keep the rest of the shop moving.
OS 360 is the shop software from the team behind this parts store. Every job keeps its status, deadline and owner while a Pfaff head is down, restock alerts fire for needles, hooks and bobbins before you run dry, and quotes, invoices and payment live in one place.
- Jobs with status, deadline and owner - nothing slips during downtime
- Inventory with restock alerts, this store one click away
- Instant quotes, invoices and one place to collect payment