Blog
Husqvarna Viking Embroidery Machine Stops or Won’t Sew: Troubleshooting Guide

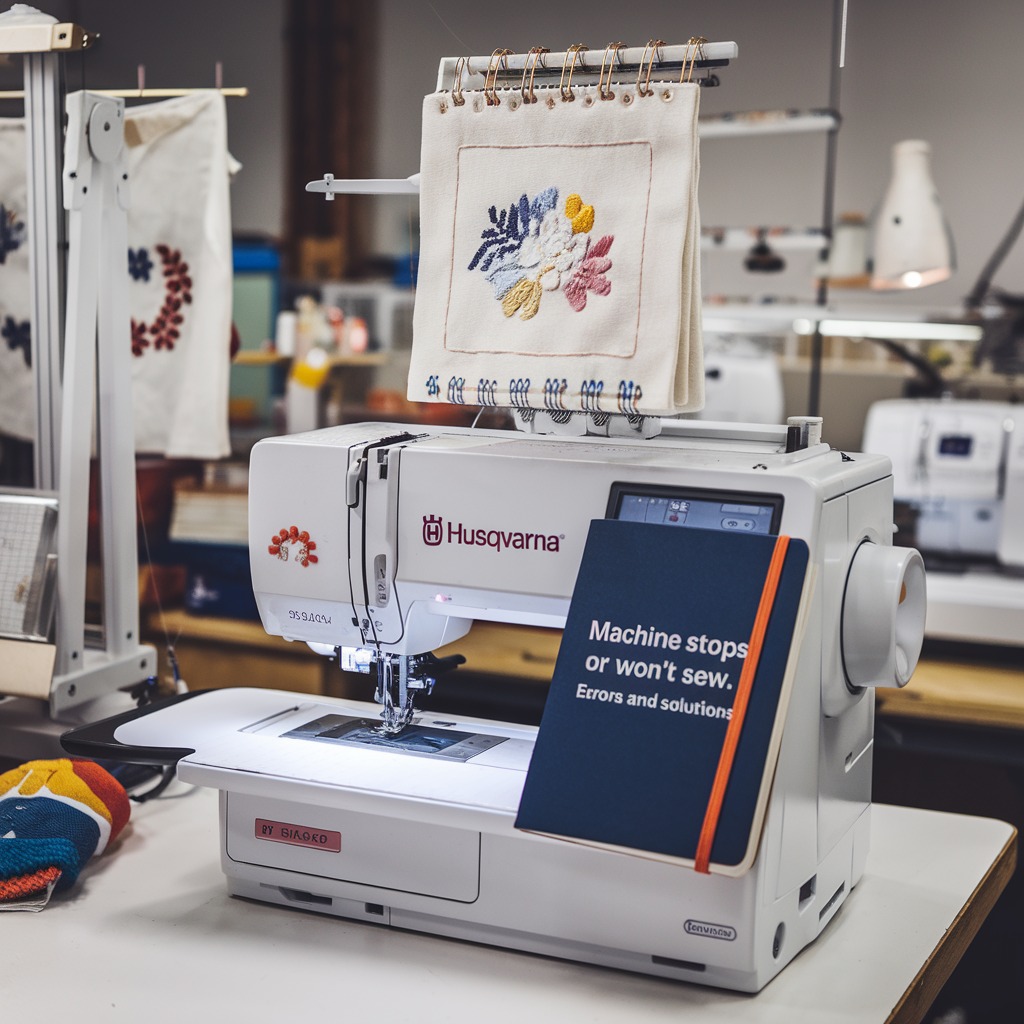
Quick answer: If your Husqvarna Viking embroidery machine stops or won't sew, first check for thread jams in the bobbin area and upper path, replace any broken needles, ensure correct thread tension, and verify the bobbin is properly wound and inserted. Always clean the machine regularly.
A Husqvarna Viking embroidery machine stopping mid-project or refusing to sew can be frustrating. This guide provides practical, step-by-step troubleshooting for common issues, helping you diagnose the problem and get your machine running smoothly again. Always turn off and unplug your machine before performing any maintenance or inspection.
Two-minute checks before you open anything
- Is the machine securely plugged into a working power outlet?
- Is the foot pedal (if applicable) properly connected?
- Is the bobbin correctly inserted and wound?
- Is the upper thread path clear and threaded correctly?
- Is the needle intact and not bent or broken?
1. Thread Jam (Upper or Bobbin) high likelihood
How to tell
The machine stops abruptly, often with a grinding noise or an error message indicating a jam. You may see tangled thread in the bobbin area or around the needle, or the upper thread may be snagged in the thread path.
Fix
- Turn off the machine immediately.
- Remove the embroidery hoop and fabric from under the needle.
- Open the bobbin case cover. Remove the bobbin and the bobbin case (or rotary hook assembly, depending on your model).
- Carefully remove all tangled thread, lint, and debris from the bobbin race area, under the needle plate, and from the bobbin case itself. Use tweezers or a small brush.
- For upper thread jams, remove the thread spool and pull the upper thread out from the needle and through all thread guides, checking for any snags or knots.
- Clean the entire thread path, including tension discs, take-up lever, and needle bar thread guides.
- Re-thread the machine completely, ensuring the thread is seated correctly in all guides and tension discs. Insert a freshly wound bobbin correctly.
A severe jam can sometimes damage the bobbin case or rotary hook assembly, requiring replacement.
Parts involved: Rotary hooks & bobbin cases → Thread path & tension → Lubrication & maintenance →
2. Broken or Bent Needle high likelihood
How to tell
The machine stops suddenly, often with a 'thunk' sound. The needle may be visibly bent, broken at the eye, or snapped off. Stitches may be skipped or fabric damaged before the stop.
Fix
- Turn off the machine.
- Raise the needle bar to its highest position using the handwheel.
- Loosen the needle clamp screw (usually on the side of the needle bar) with a small screwdriver.
- Carefully remove the broken or bent needle. Dispose of it safely.
- Insert a new, correct type and size needle for your fabric and thread, ensuring the flat side of the needle shank faces the back of the machine (or as specified in your machine's manual).
- Push the needle up as far as it will go into the needle clamp.
- Tighten the needle clamp screw securely, but do not overtighten.
Parts involved: Needles & needle bars → Screws, springs & small parts →
Parts you may need for Husqvarna Viking
In stock, tested before dispatch, Buyer Protection on every order. Part types for this problem: Rotary hooks & bobbin cases, Thread path & tension, Lubrication & maintenance, Needles & needle bars.
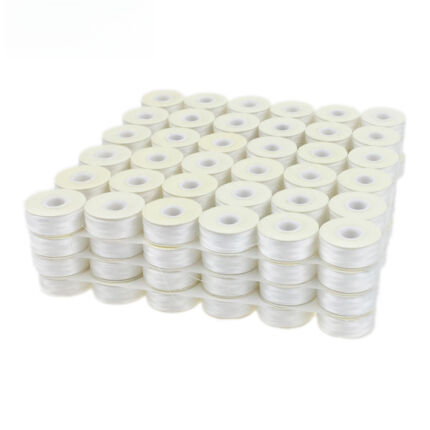 Sanbest Prewound Bobbins 70D/2 75D/2 Size L TH00017 White Black for...$ 47.99View part →
 Husqvarna Viking Bobbins (50 Clear Green) P/N: 4125615-45, 4131825-...$ 35.99View part →eversnice 4125615-45, 4131825-45, 4123078-G, 4125615-45-SP-B, 41256...$ 35.99View part →
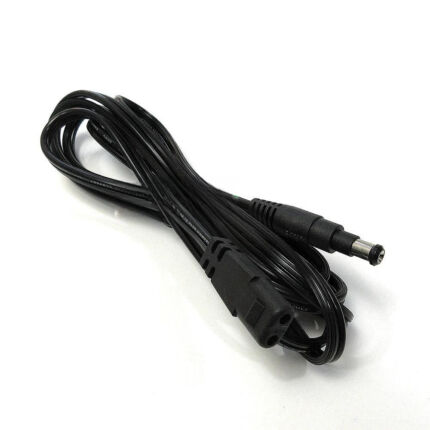 Unbranded Foot Pedal Power Cord for Viking Eden Rose 250C, Epic 95Q...$ 31.29View part →
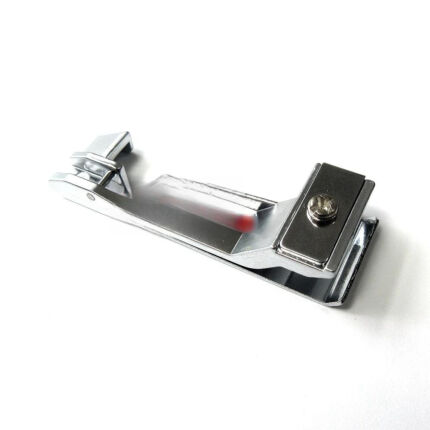 Gathering Shirring Foot for Pfaff Hobbylock 2.0 Coverlock & Viking ...$ 30.29View part →
 Needle Threader Replacement for Singer 5511, 5523, 5532, 5554, 85SC...$ 36.99View part →
All Husqvarna Viking parts → Rotary Hooks & Bobbin Cases → Thread Path & Tension → Lubrication & Maintenance →
3. Incorrect Thread Tension medium likelihood
How to tell
Stitches may appear uneven, looped on the top or bottom, or the thread may break frequently before the machine stops. The machine might stop to prevent further issues.
Fix
- Ensure the machine is threaded correctly, as improper threading often mimics tension issues.
- Check the upper thread tension dial. Refer to your machine's manual for recommended starting settings for your thread and fabric type. Adjust in small increments (e.g., half a number at a time).
- Check the bobbin tension. For most embroidery, the bobbin tension is set slightly looser than the upper tension. If you suspect bobbin tension, remove the bobbin case, hold it by the thread, and it should slowly drop a few inches then stop. Adjust the small screw on the bobbin case if necessary, making very small turns (e.g., 1/8th of a turn).
- Test sew on a scrap piece of fabric to check the stitch balance.
Parts involved: Thread path & tension →
4. Bobbin Winding or Insertion Issues medium likelihood
How to tell
Thread tangles in the bobbin area, machine stops, or stitches are irregular. The bobbin may not spin freely or may be visibly unwound unevenly.
Fix
- Remove the bobbin and inspect it. If it's wound unevenly, too loosely, or too tightly, rewind it using the machine's bobbin winder.
- Ensure you are using the correct bobbin type and size specified for your Husqvarna Viking machine. Using incorrect bobbins can cause jams.
- Re-insert the bobbin into the bobbin case (or drop-in bobbin area) according to your machine's manual, ensuring the thread feeds in the correct direction and is properly seated under any tension springs or guides.
Parts involved: Rotary hooks & bobbin cases → Threads & supplies →
5. Clogged Bobbin Area medium likelihood
How to tell
Machine runs sluggishly, makes unusual noises, or stops due to resistance. Visible lint, dust, or thread bits accumulate in the bobbin race and under the needle plate.
Fix
- Turn off the machine.
- Remove the needle, needle plate, bobbin, and bobbin case/rotary hook assembly.
- Using a small brush (often supplied with the machine) and tweezers, thoroughly clean out all lint, dust, and thread fragments from the bobbin race, feed dogs, and surrounding areas.
- Avoid using compressed air directly into the machine's interior, as it can push debris further into mechanisms. If used, use it sparingly and direct it away from sensitive electronics.
- Reassemble the bobbin area components and needle plate.
Parts involved: Lubrication & maintenance → Rotary hooks & bobbin cases → Presser feet & sewing parts →
6. Incorrect Machine Settings low likelihood
How to tell
The machine might stop with an error message related to the operation, or simply refuse to start sewing. This is more common when switching between different types of projects or after an accidental setting change.
Fix
- Review the machine's display and settings. Ensure the correct embroidery mode is selected.
- Check if any specific stitch length, width, or density settings are incompatible with the current operation or hoop.
- If unsure, consult your machine's manual for recommended settings for your project type.
- As a last resort, you may try resetting the machine to its factory default settings (refer to your manual for the procedure), then reconfigure for your project.
Parts involved: Control panels & displays →
7. Fabric Hooping Issues low likelihood
How to tell
The machine stops, often with a 'hoop error' or 'fabric movement' message. The fabric may be visibly loose, wrinkled, or slipping within the hoop during stitching.
Fix
- Remove the hoop from the machine.
- Ensure the fabric is taut in the hoop, but not overstretched or distorted. It should feel like a drum skin.
- Use appropriate stabilizer for your fabric type and design density. Ensure the stabilizer is also securely hooped with the fabric.
- Check that the hoop is correctly attached to the embroidery unit and fully seated.
Parts involved: Hoops & frames → Threads & supplies →
8. Needle Plate Misalignment low likelihood
How to tell
Needle strikes the needle plate, causing needle breakage or machine stoppage. Stitches may be skipped or fabric damaged. The needle plate might feel loose or visibly shifted.
Fix
- Turn off the machine.
- Remove the needle plate screws (usually two or three) with the appropriate screwdriver.
- Carefully lift the needle plate and inspect for any damage or debris underneath.
- Clean the area thoroughly.
- Re-position the needle plate, ensuring it sits flush and correctly aligned with the feed dogs and needle drop area.
- Gently tighten the needle plate screws. Do not overtighten, as this can strip the threads or crack the plate.
Parts involved: Presser feet & sewing parts → Screws, springs & small parts →
9. Power or Foot Pedal Issues low likelihood
How to tell
The machine does not power on, or it powers on but does not respond to commands to start sewing. The foot pedal (if used) may feel unresponsive.
Fix
- Ensure the power cord is securely plugged into both the machine and a working wall outlet. Try a different outlet.
- Check the machine's power switch is in the 'ON' position.
- If using a foot pedal, ensure it is firmly connected to the machine's appropriate port.
- Inspect the power cord and foot pedal cord for any visible damage (frays, cuts). If damaged, do not use and replace the component.
- If the machine has a separate power supply unit, ensure its indicator light is on.
Parts involved: Cables & wiring → Circuit boards & electronics →
10. Internal Mechanical Failure low likelihood
How to tell
The machine makes grinding, clunking, or squealing noises. Parts may feel stiff or jammed. This usually occurs after ruling out all other common issues.
Fix
- If you suspect internal mechanical failure (e.g., worn gears, broken belts, seized shafts), do not force the machine.
- Turn off and unplug the machine.
- Inspect for any obvious loose or broken parts if accessible (e.g., under covers, if easily removable per manual).
- This type of issue typically requires professional diagnosis and repair.
Parts involved: Belts, pulleys & gears → Shafts, bearings & bushings → Head & mechanical parts →
Stop and call a technician if
- If the machine displays an error code you cannot resolve with basic troubleshooting or the manual.
- If you suspect internal mechanical failure (e.g., broken gears, snapped belts, motor issues) and are not comfortable opening the machine.
- If the machine has electrical issues beyond simple cord checks, such as smoking, burning smell, or complete power failure.
- If the issue persists after attempting all common troubleshooting steps.
Prevent it coming back
- Perform regular cleaning of the bobbin area, under the needle plate, and the entire thread path to prevent lint and thread build-up.
- Ensure both upper and bobbin threads are correctly threaded according to your machine's manual before starting any project.
- Use high-quality needles, threads, and bobbins appropriate for your machine and project to minimize issues.
- Keep your machine's software updated, as manufacturer updates can resolve known glitches.
- Schedule periodic professional servicing to maintain optimal machine performance and catch potential issues early.
Frequently asked questions
Why does my Husqvarna Viking machine keep stopping mid-embroidery?
Frequent stops are often due to thread jams (upper or bobbin), a broken or bent needle, incorrect thread tension, or issues with bobbin winding/insertion. Always check these first.
How often should I clean my Husqvarna Viking embroidery machine?
It's recommended to clean the bobbin area and under the needle plate after every 8-10 hours of sewing, or after completing a large project, especially if using linty threads. Regular cleaning prevents most common stoppages.
Can using the wrong thread cause my machine to stop?
Yes, using poor quality thread, thread that is too thick or too thin for the needle, or thread that sheds a lot of lint can lead to frequent thread breaks, jams, and machine stoppages.
Did this guide fix your machine?
Rate it - it helps other operators find the right fix.
Not sure which part is failing?
Need the logo stitched too?
Get your logo digitized by the people who know this machine
Upload the artwork, see the stitch count and the exact price in 10 seconds, then order with a free sew-out preview. $1 per 1,000 stitches, $10 minimum, 24-hour delivery. Vector conversion from $12.
After the fix
Fixed it? Keep the rest of the shop moving.
OS 360 is the shop software from the team behind this parts store. Every job keeps its status, deadline and owner while a Husqvarna Viking head is down, restock alerts fire for needles, hooks and bobbins before you run dry, and quotes, invoices and payment live in one place.
- Jobs with status, deadline and owner - nothing slips during downtime
- Inventory with restock alerts, this store one click away
- Instant quotes, invoices and one place to collect payment