Blog
Tajima TMAR-KC: Machine Stops or Won’t Sew Troubleshooting

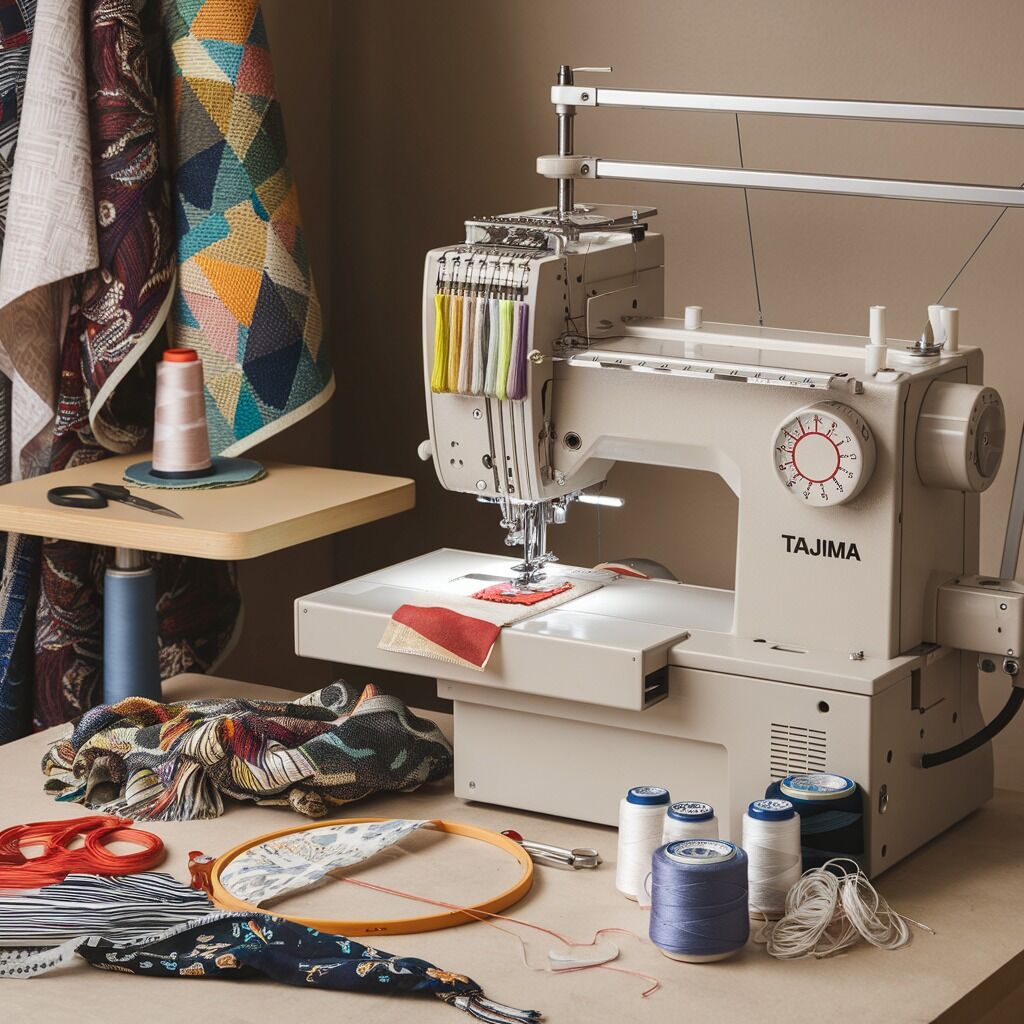
Quick answer: Most machine stops on a Tajima TMAR-KC are due to common thread path issues (breaks, tangles, tension), bobbin problems, or sensor activations. Check these first, then inspect for mechanical obstructions or timing issues.
When your Tajima TMAR-KC embroidery machine stops unexpectedly or refuses to sew, it can halt production. This guide provides practical, step-by-step troubleshooting for common causes, empowering operators to diagnose and resolve issues efficiently. Always prioritize safety: power off and unplug the machine before performing any mechanical adjustments or cleaning.
Two-minute checks before you open anything
- Check the upper thread path for breaks, tangles, or incorrect routing.
- Verify the bobbin is full, correctly inserted, and feeding smoothly.
- Inspect the needle for damage (bent, blunt, burrs) and ensure it's correctly seated.
- Clear any lint or thread debris from the bobbin case area and under the needle plate.
- Check for any error messages on the control panel.
1. Upper Thread Break or Sensor Activation high likelihood
How to tell
The machine stops abruptly, often with a thread break error message, or simply stops without an obvious mechanical jam. The thread may appear broken or improperly seated in a guide.
Fix
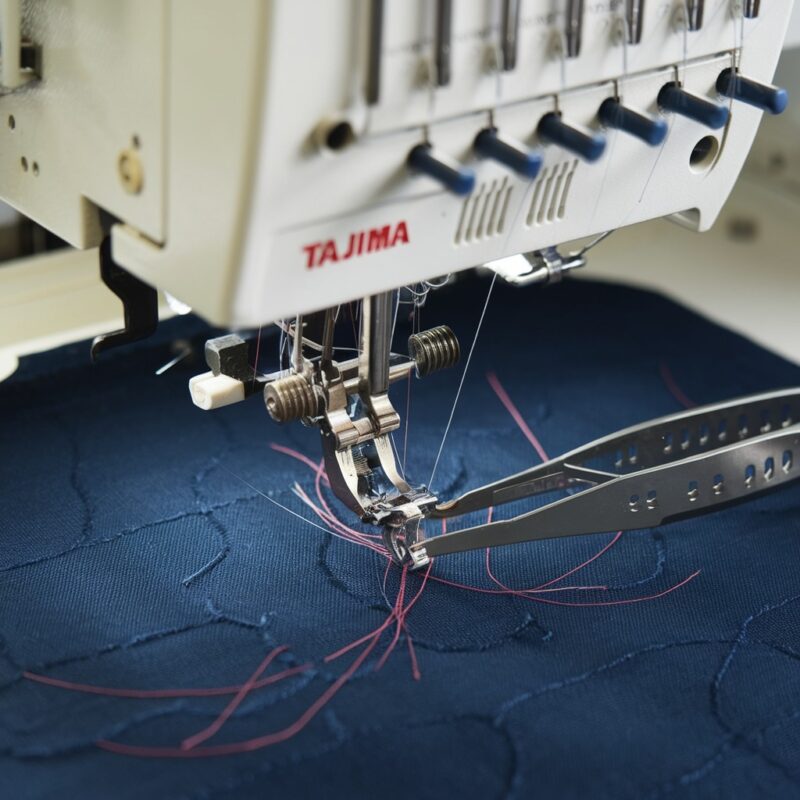
- Inspect the entire upper thread path from the cone to the needle. Look for any tangles, knots, or sections where the thread has jumped out of a guide or tension disc.
- Ensure the thread is correctly routed through all thread guides, the pre-tensioner, main tension assembly, take-up lever, and needle eye.
- If a break occurred, remove the broken thread, re-thread the machine completely from the cone, ensuring the take-up lever is at its highest point when threading the needle.
- Verify the thread sensor is clean and unobstructed. Gently blow air to clear any lint if accessible.
Parts involved: Thread path & tension → Sensors & switches → Threads & supplies →
2. Bobbin Thread Depletion, Tangle, or Misplacement high likelihood
How to tell
Stitching stops, often with a 'bobbin empty' error or poor stitch quality on the underside. The bobbin case may be jammed, or the bobbin thread may be tangled within the case or around the hook.
Fix
- Open the bobbin cover and remove the bobbin case. Check if the bobbin is empty; replace with a full, evenly wound bobbin if necessary.
- Inspect the bobbin case for any tangled threads, lint, or damage. Clear any obstructions.
- Ensure the bobbin is inserted correctly into the bobbin case, with the thread feeding in the correct direction (usually clockwise for most Tajima machines when viewed from the top of the bobbin).
- Pull the bobbin thread through the tension spring of the bobbin case to ensure it has light, consistent tension.
- Reinsert the bobbin case firmly into the rotary hook assembly until it clicks into place.
Parts involved: Rotary hooks & bobbin cases → Threads & supplies →
Parts you may need for Tajima TMAR
In stock, tested before dispatch, Buyer Protection on every order. Part types for this problem: Thread path & tension, Sensors & switches, Threads & supplies, Rotary hooks & bobbin cases.
 Tajima TC Sensor Card & Thread Contact Set 0J2602300A22 0J2602300A2...$ 18.09View part →
 KHS20-R Jumbo Rotary Hook for TAJIMA TME-DC, TMFX, TMB, TMAR, TMEZ ...$ 21.29View part →
 TAJIMA SWF KN/GN Presser Foot 93MM 97MM 100MM for High-Speed Embroi...$ 3.99View part →
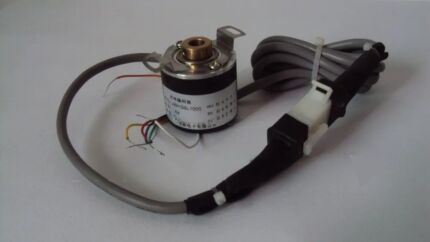 EF6600000000 JHX-G8L1000 1000P/R Rotary Encoder for Chinese Tajima ...$ 92.49View part →
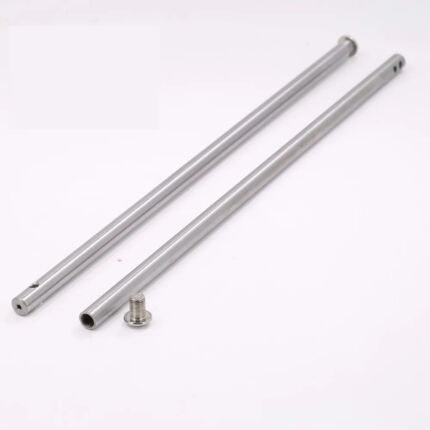 Tajima Embroidery Machine Needle Bar 207MM 212MM Replacement Part$ 3.49View part →
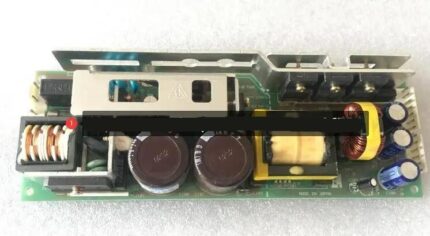 Tajima PB0025A1PW00 Power Supply 150W 24V for TEHX-C1501, TMEZ, TMA...$ 140.99View part →
All Tajima TMAR parts → Thread Path & Tension → Sensors & Switches → Threads & Supplies →
3. Incorrect Thread Tension (Upper or Bobbin) high likelihood
How to tell
Stitches appear uneven, looped, or broken on the top or bottom of the fabric, leading to machine stops. Thread may snap frequently.
Fix
- Upper Thread Tension: Check the main tension dial for the affected needle. Ensure it's set appropriately for the thread type and fabric. Turn the dial clockwise to increase tension, counter-clockwise to decrease. Ensure the thread is seated correctly between the tension discs.
- Bobbin Thread Tension: Remove the bobbin case. Hold the bobbin case by its thread and give it a slight tug; it should unspool a few inches and then stop. If it free-spools or doesn't move, adjust the small screw on the bobbin case tension spring (clockwise to tighten, counter-clockwise to loosen) in very small increments.
- Test tension on a scrap piece of the same fabric. Stitches should look balanced, with no loops on either side.
Parts involved: Thread path & tension → Rotary hooks & bobbin cases → Threads & supplies →
4. Damaged or Incorrect Needle medium likelihood
How to tell
Frequent thread breaks, skipped stitches, fabric damage, or a 'thumping' sound before the machine stops. The needle may appear bent, blunt, or have burrs.
Fix
- Manually raise the needle bar to its highest position. Loosen the needle set screw.
- Remove the needle and inspect it closely for any bends, burrs, or a blunt tip. Replace if any damage is found.
- Ensure the correct needle type and size (e.g., DBxK5, appropriate size for thread/fabric) is being used.
- Insert the new needle with the scarf (long groove) facing the front and the eye directly in line with the sewing direction. Push it up as far as it will go into the needle bar.
- Tighten the needle set screw securely.
Parts involved: Needles & needle bars →
5. Presser Foot Height or Movement Issues medium likelihood
How to tell
Fabric does not move smoothly, bunches, or gets caught, causing the machine to stop. Stitches may be inconsistent or pulled.
Fix
- Verify the presser foot height is appropriate for the fabric thickness. For thicker materials, the foot may need to be slightly higher to allow fabric movement; for thinner materials, lower to prevent slippage. Consult your machine manual for specific adjustment procedures if available, or use the digital presser foot control settings.
- Ensure the presser foot is not bent or obstructed and can move freely up and down.
- Check that the fabric is hooped correctly – taut but not over-stretched, with no wrinkles or slack.
Parts involved: Presser feet & sewing parts → Hoops & frames →
6. Motor Overload Protection Activated low likelihood
How to tell
The machine stops, often after prolonged heavy use, sewing dense designs, or on thick materials. The motor may feel warm. No specific error code related to thread or timing.
Fix
- Turn the machine off at the main power switch.
- Allow the machine to cool down for at least 15-20 minutes.
- Inspect for any physical obstructions (e.g., tangled thread in the hook area, fabric caught) that might be causing excessive resistance.
- When restarting, consider reducing the sewing speed, especially for very dense designs or thick materials, to prevent re-triggering the overload.
Parts involved: Motors & drivers → Lubrication & maintenance →
7. Needle-to-Hook Timing Misalignment low likelihood
How to tell
Frequent thread breaks, skipped stitches, or the machine stopping with a 'timing error' or 'hook error' message. The needle may hit the hook or the hook may not catch the thread loop consistently.
Fix
- Initial Check (No Adjustment): Turn the machine off. Manually rotate the handwheel slowly towards you. Observe the relationship between the needle and the rotary hook. As the needle descends and then begins to rise, the hook point should pass just above the needle eye, catching the thread loop. If they are visibly out of sync (e.g., hook hits needle, hook passes too high/low, or misses the loop entirely), timing adjustment is required.
- Professional Adjustment Recommended: Correcting needle-to-hook timing is a precise procedure. Refer to your Tajima TMAR-KC service manual for exact specifications and adjustment steps, or contact a qualified technician. Incorrect adjustment can cause severe machine damage.
Timing adjustments often involve loosening set screws on shafts or gears. Specific tools and precise measurements are required.
Parts involved: Rotary hooks & bobbin cases → Needles & needle bars → Head & mechanical parts →
8. Tension Spring Malfunction (Upper Thread) low likelihood
How to tell
Inconsistent upper thread tension despite adjustments, leading to loops or breaks. The tension spring may appear bent, broken, or not moving freely.
Fix
- Inspect the small tension spring (often a pig-tail or coil spring) located near the upper tension discs or take-up lever. Ensure it is intact and moves freely.
- If the spring is visibly damaged (bent, broken, missing), it needs replacement.
- If it's merely stuck, gently clean around it to remove lint or debris that might be impeding its movement. Do not bend or force it.
Parts involved: Thread path & tension → Screws, springs & small parts →
9. Electrical or Software Glitch low likelihood
How to tell
Machine stops unexpectedly without any clear mechanical or thread-related cause. Control panel may freeze or display unusual messages. This is a general troubleshooting step when other causes are ruled out.
Fix
- Turn the machine off using the main power switch.
- Unplug the machine from the wall outlet.
- Wait for at least 5 minutes to allow any residual charge to dissipate and internal systems to reset.
- Plug the machine back in and power it on. Observe if the issue persists.
Parts involved: Circuit boards & electronics → Cables & wiring → Control panels & displays →
Stop and call a technician if
- If the machine consistently stops with a timing error and you are not comfortable performing precise mechanical adjustments.
- If the machine displays persistent electrical errors or the control panel is unresponsive after a power cycle.
- If you suspect a motor or main circuit board failure.
- If you have followed all troubleshooting steps and the issue remains unresolved.
Prevent it coming back
- Use high-quality threads and needles appropriate for your fabric and design.
- Ensure bobbins are wound evenly and correctly.
- Perform daily cleaning of the bobbin area, rotary hook, and under the needle plate.
- Follow the manufacturer's recommended lubrication schedule.
- Regularly inspect needles for damage and replace them proactively.
- Maintain correct thread tension for both upper and bobbin threads.
- Ensure fabric is hooped correctly and taut to prevent movement issues.
Frequently asked questions
Why does my Tajima TMAR-KC keep stopping mid-design?
Frequent stops mid-design are most commonly caused by thread issues (breaks, tangles, incorrect tension), bobbin problems (empty, tangled, or incorrectly inserted), or a damaged needle. Less often, it can be due to timing issues or sensor activations. Always check the thread path and bobbin first.
How often should I clean my Tajima TMAR-KC to prevent stops?
For optimal performance, clean the bobbin area, rotary hook, and under the needle plate daily or after every 8-10 hours of operation. Regularly clean tension discs and thread guides. Follow the lubrication schedule in your machine's manual, typically every 40-80 hours of operation, to prevent friction-related stops.
Did this guide fix your machine?
Rate it - it helps other operators find the right fix.
Not sure which part is failing?
Need the logo stitched too?
Get your logo digitized by the people who know this machine
Upload the artwork, see the stitch count and the exact price in 10 seconds, then order with a free sew-out preview. $1 per 1,000 stitches, $10 minimum, 24-hour delivery. Vector conversion from $12.
After the fix
Fixed it? Keep the rest of the shop moving.
OS 360 is the shop software from the team behind this parts store. Every job keeps its status, deadline and owner while a TMAR-KC head is down, restock alerts fire for needles, hooks and bobbins before you run dry, and quotes, invoices and payment live in one place.
- Jobs with status, deadline and owner - nothing slips during downtime
- Inventory with restock alerts, this store one click away
- Instant quotes, invoices and one place to collect payment