Blog
Singer Futura XL-420: Troubleshooting Design Misalignment & Shifting

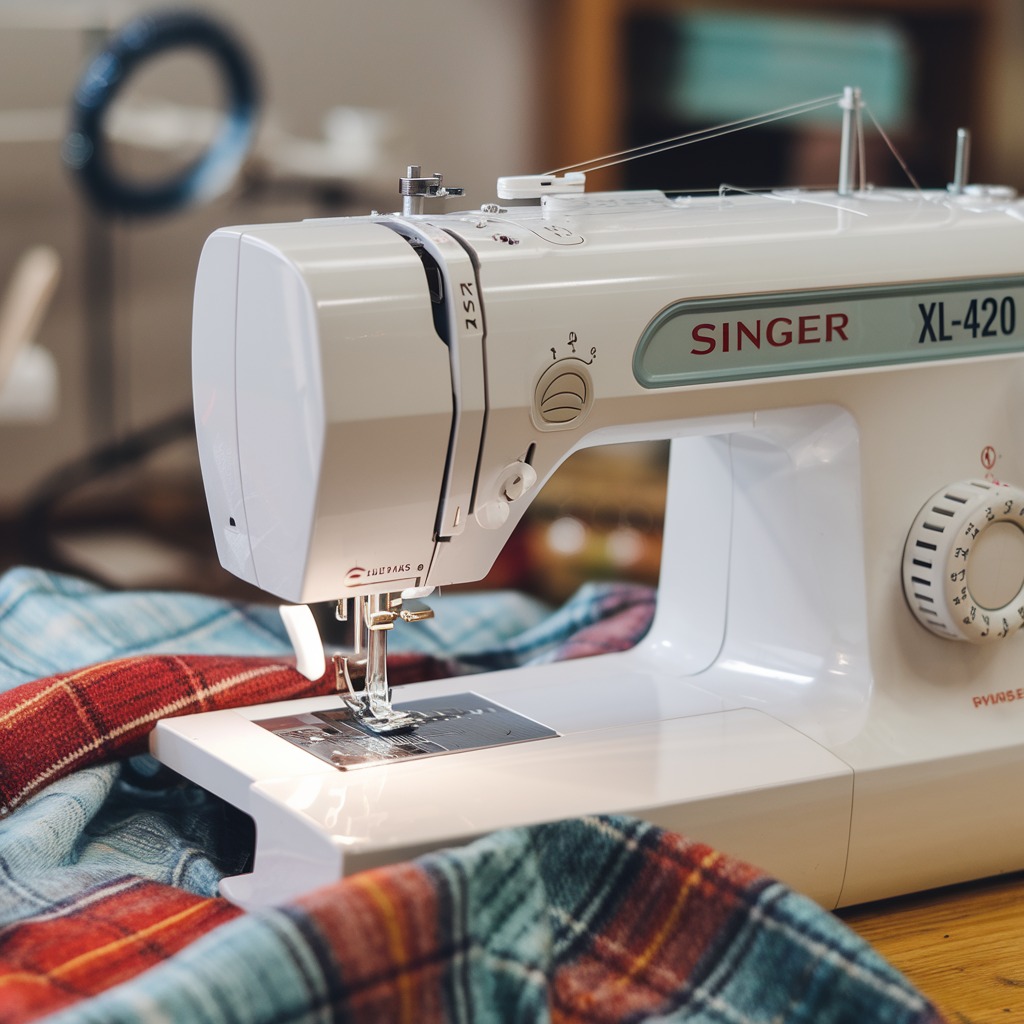
Quick answer: Design misalignment or shifting on the Singer Futura XL-420 is typically caused by improper hooping, incorrect fabric stabilization, or thread tension issues. Inspect your hooping technique, stabilizer choice, and thread path first.
Design misalignment or shifting is a frustrating but common issue on the Singer Futura XL-420 embroidery machine. As a technician, I've found that most instances stem from fundamental setup errors rather than major machine faults. This guide provides practical, step-by-step instructions to diagnose and rectify these issues, focusing on common causes and precise solutions.
Two-minute checks before you open anything
- Verify the embroidery hoop is correctly seated and locked into the machine's carriage. It should not wobble.
- Check that the fabric is taut in the hoop but not stretched or distorted.
- Ensure the correct type and amount of stabilizer is used for your fabric.
- Confirm the needle is new, sharp, and inserted correctly with the flat side facing the back.
- Check the thread path for obstructions and ensure tension discs are clean.
1. Improper Hooping or Fabric Tension high likelihood
How to tell
Observe the fabric within the hoop. It should be smooth and taut like a drum, without wrinkles or slack. Attempt to gently push on the hooped fabric; if it gives significantly or feels loose, it's improperly hooped. Check the hoop's connection to the machine; if it wiggles or doesn't 'click' securely, it's not seated correctly.
Fix
- Remove the hoop from the machine.
- Unhoop the fabric and stabilizer.
- Re-hoop the fabric, ensuring it is centered and taut. Avoid stretching knit or bias-cut fabrics.
- Ensure the inner hoop ring is firmly pressed into the outer ring, securing the fabric evenly.
- Re-attach the hoop to the machine's embroidery carriage, ensuring it clicks firmly into place and has no excessive play.
Parts involved: Hoops & frames → Threads & supplies →
2. Incorrect Stabilizer Selection or Application high likelihood
How to tell
Examine the fabric and stabilizer combination. If the fabric puckers, shifts, or distorts during stitching, the stabilizer may be inadequate. Lightweight fabrics often require cut-away stabilizer for stability, while heavier fabrics may use tear-away or fusible. If the design is dense, a single layer of stabilizer might not be enough.
Fix
- Identify the fabric type and design density.
- For lightweight or stretchy fabrics, use a cut-away stabilizer that remains with the fabric. Consider using a temporary spray adhesive between the fabric and stabilizer for extra hold.
- For stable, non-stretchy fabrics, a tear-away stabilizer may suffice. Use multiple layers if the design is dense.
- For textured or uneven fabrics, consider a water-soluble topping stabilizer to prevent stitches from sinking and to hold fabric fibers down.
- Always ensure the stabilizer extends beyond the hoop's edge for full support.
Parts involved: Threads & supplies →
Parts you may need for Singer
In stock, tested before dispatch, Buyer Protection on every order. Part types for this problem: Hoops & frames, Threads & supplies, Thread path & tension, Lubrication & maintenance.
 PET-121 40WT 120D/2 Polyester Embroidery Thread 4000M Spool, 80 Mad...$ 17.49View part →
 Flying Tiger DBx1 Industrial Lockstitch Needles, 100 pcs/box, Sizes...$ 10.99View part →
 PET-80 80 Madeira Colors Embroidery Thread Set - Premium 40WT Polye...$ 15.99View part →40 Weight 120D/2 Polyester Embroidery Thread 4000M PET-121 for Brot...$ 17.49View part →
 ORGAN HAX1 Household Sewing Machine Needles for SINGER & BROTHER, S...$ 6.29View part →
 New Brothread 63-Color Polyester Embroidery Thread Kit 500M/550Y Ea...$ 72.99View part →
All Singer parts → Hoops & Frames → Threads & Supplies → Thread Path & Tension →
3. Incorrect Thread Tension high likelihood
How to tell
Stitches appear uneven, loops are visible on the top or bottom of the fabric, or the fabric puckers excessively. Perform a tension test by stitching a simple design on scrap fabric. If the bobbin thread is visible on top or the top thread is visible on the bottom, tension is off. Fabric pulling or distorting during stitching can also indicate incorrect tension.
Fix
- Clean the thread path: Remove the top thread and use a piece of dental floss or a thin, stiff brush to clean between the tension discs. Dust and lint can prevent discs from clamping the thread correctly.
- Re-thread the machine completely, ensuring the thread is seated correctly in all guides and tension discs.
- Adjust the top thread tension dial incrementally. Turn the dial to a lower number to decrease tension (loosen) or a higher number to increase tension (tighten).
- Test stitch on scrap fabric. The ideal tension shows about 1/3 bobbin thread, 1/3 top thread, and 1/3 interlocked thread on the underside of the fabric.
- Ensure the bobbin is wound evenly and inserted correctly. An improperly wound bobbin can also cause tension issues.
Parts involved: Thread path & tension → Threads & supplies → Lubrication & maintenance →
4. Worn or Incorrect Needle medium likelihood
How to tell
Skipped stitches, frayed thread, fabric damage (holes, snags), or a dull 'thud' sound during stitching. A bent needle can also cause the fabric to shift as it pulls on the material unevenly. Visually inspect the needle tip for burrs or bends.
Fix
- Replace the needle with a new, sharp needle appropriate for your fabric and thread type (e.g., embroidery, ballpoint, sharp).
- Ensure the needle is inserted fully into the needle bar with the flat side of the shank facing the back of the machine.
- Tighten the needle clamp screw securely.
Parts involved: Needles & needle bars →
5. Machine Speed Too High medium likelihood
How to tell
Noticeable fabric movement or vibration during high-speed stitching, especially with intricate designs or less stable fabrics. The machine may sound strained or vibrate excessively.
Fix
- Reduce the embroidery speed setting on the machine's control panel. For intricate designs or delicate fabrics, use a slower speed.
- Observe the stitching process at the reduced speed to see if fabric shifting is minimized.
Parts involved: Control panels & displays →
6. Software Calibration or Design Orientation Issues low likelihood
How to tell
The design appears misaligned in the machine's preview screen before stitching, or consistently stitches off-center despite correct hooping. This can also manifest if designs imported from third-party software consistently misalign.
Fix
- Ensure your Singer Futura XL-420's firmware is up to date. Check the Singer website for the latest updates and installation instructions.
- If using external embroidery software, ensure it is also updated and compatible with your machine.
- Before stitching, always verify the design orientation, scaling, and placement in the machine's preview window. Make sure it matches your intended layout.
- Avoid making excessive rotations or scaling adjustments directly on the machine, as this can sometimes introduce minor distortions. Perform these in your design software if possible.
Parts involved: Circuit boards & electronics → Control panels & displays → Floppy, USB & memory →
7. Unstable Work Surface or Machine Vibration low likelihood
How to tell
The embroidery machine visibly shakes or moves on the table during operation. The table itself may wobble or vibrate excessively.
Fix
- Ensure the embroidery machine is placed on a sturdy, level, and stable table that can support its weight and vibrations.
- If possible, place anti-vibration pads or a rubber mat under the machine to absorb vibrations and prevent movement.
- Check that all machine feet are making firm contact with the table.
8. Machine Maintenance Neglect (Lubrication, Cleaning) low likelihood
How to tell
Machine sounds sluggish, makes unusual noises, or movements appear jerky. Lint and dust buildup are visible in the bobbin area, needle bar, or other moving parts. This can indirectly affect stitch quality and alignment over time.
Fix
- Regularly clean the bobbin case, feed dogs, and needle plate area using a small brush and vacuum.
- Remove the needle plate and clean out any lint and thread bits from the feed dog area.
- Lubricate moving parts as per the Singer Futura XL-420's instruction manual. Use only recommended sewing machine oil.
- Pay special attention to the thread path, ensuring no lint is trapped in the tension discs or thread guides.
Parts involved: Lubrication & maintenance → Head & mechanical parts → Thread path & tension →
Stop and call a technician if
- If the machine consistently misaligns designs despite thorough troubleshooting of hooping, tension, and needle, suggesting an internal mechanical or electronic issue.
- If the embroidery carriage or hoop arm appears bent, damaged, or moves erratically.
- If the machine displays error codes related to motor, sensor, or calibration that cannot be resolved through basic troubleshooting or firmware updates.
- If you suspect internal component damage, such as a bent shaft or faulty sensor.
Prevent it coming back
- Always use the smallest hoop that comfortably accommodates your design to maximize fabric stability.
- Test new designs or fabric/stabilizer combinations on scrap material before starting your main project.
- Regularly clean your machine, especially the bobbin area, feed dogs, and thread path, to prevent lint buildup from affecting performance.
- Change your needle frequently (every 8-10 hours of stitching or after a few projects) and use the correct needle type for your fabric and thread.
- Ensure your work surface is sturdy and level to minimize machine vibration during operation.
- Keep your machine's firmware updated and verify design settings (orientation, size) in the preview screen before starting.
Frequently asked questions
Why does my Singer Futura XL-420 design shift only on certain fabrics?
Different fabrics require different stabilization techniques. Stretchy fabrics like knits need stronger, often cut-away, stabilizers and careful hooping to prevent stretching. Slippery fabrics like silk may benefit from temporary spray adhesive or basting stitches to hold them securely. Always test on a scrap of the specific fabric.
Can a dull needle cause design misalignment?
Yes, a dull or bent needle can snag the fabric, pull on it unevenly, and cause distortion or shifting of the design. Replace your needle regularly, especially after 8-10 hours of use or if you hear unusual sounds during stitching.
What are basting stitches and how do they help prevent shifting?
Basting stitches are temporary stitches sewn around the perimeter of your design area, just inside the hoop. They hold the fabric and stabilizer securely together, preventing slippage, especially useful for slippery or hard-to-hoop materials. Many embroidery machines, including the Futura XL-420, have a basting stitch function.
How do I know if my hoop is the correct size for my design?
The design must fit entirely within the usable embroidery area of your hoop, with sufficient margin (at least 1/2 inch) around the edges to prevent the fabric from being pulled too close to the hoop's frame. Using a hoop that is too small for the design can lead to shifting as the machine struggles to move the fabric.
Did this guide fix your machine?
Rate it - it helps other operators find the right fix.
Not sure which part is failing?
Need the logo stitched too?
Get your logo digitized by the people who know this machine
Upload the artwork, see the stitch count and the exact price in 10 seconds, then order with a free sew-out preview. $1 per 1,000 stitches, $10 minimum, 24-hour delivery. Vector conversion from $12.
After the fix
Fixed it? Keep the rest of the shop moving.
OS 360 is the shop software from the team behind this parts store. Every job keeps its status, deadline and owner while a Futura XL-420 head is down, restock alerts fire for needles, hooks and bobbins before you run dry, and quotes, invoices and payment live in one place.
- Jobs with status, deadline and owner - nothing slips during downtime
- Inventory with restock alerts, this store one click away
- Instant quotes, invoices and one place to collect payment