Blog
Singer Futura XL-420: Embroidery Unit Not Recognized Troubleshooting Guide

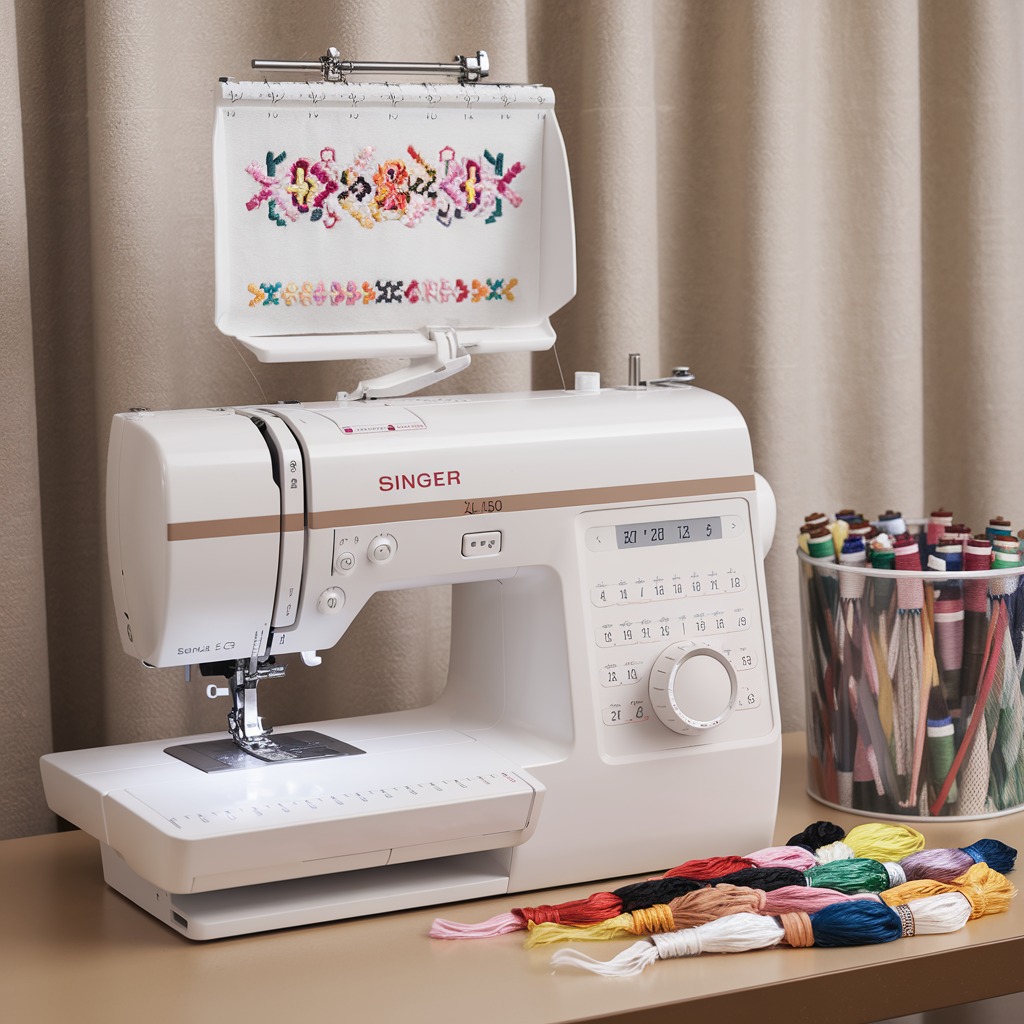
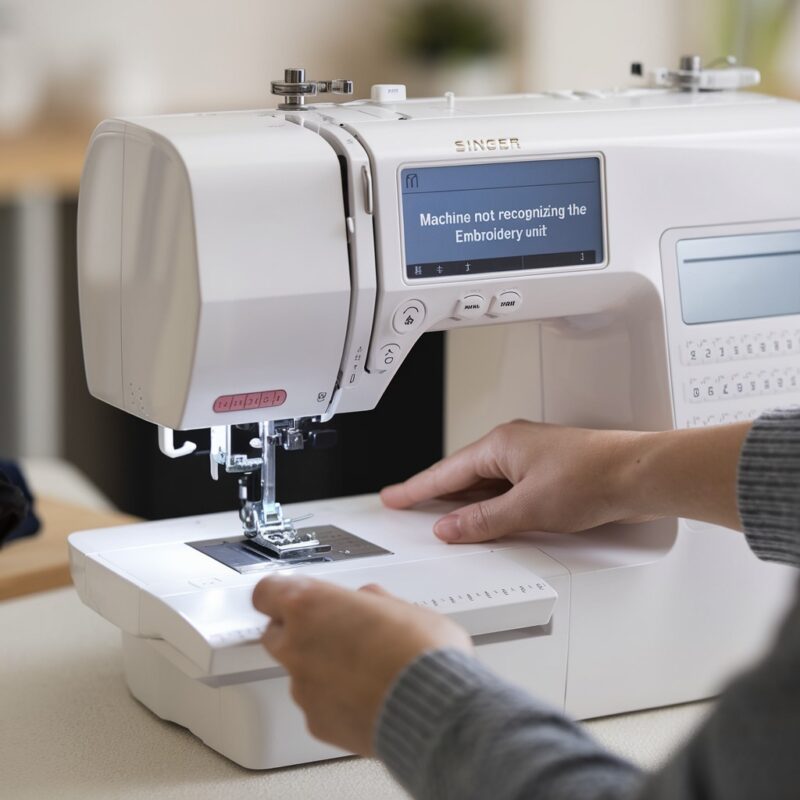
Quick answer: Most recognition issues stem from a loose connection or a temporary software glitch. Power cycle the machine, then detach and firmly re-attach the embroidery unit, ensuring it clicks into place.
The Singer Futura XL-420 embroidery machine's inability to recognize its embroidery unit is a common frustration. As a technician, I've found that most issues are simple to diagnose and resolve at the machine. This guide provides practical, step-by-step instructions to get your machine back to digitizing.
Two-minute checks before you open anything
- Is the embroidery unit firmly attached to the machine?
- Is the machine powered on and plugged into a working outlet?
- Is the machine set to 'Embroidery Mode' on the control panel?
- Is the USB cable (if used) securely connected at both ends and free from damage?
- Have you tried turning the machine off, unplugging it for 30 seconds, and then restarting?
1. Loose or Improperly Connected Embroidery Unit high likelihood
How to tell
The embroidery unit may feel wobbly or not fully seated. The machine's display will indicate the unit is not detected. There will be no audible 'click' when attaching the unit.
Fix
- Power off the machine.
- Gently detach the embroidery unit by pressing the release lever and sliding it away from the machine.
- Inspect the connection points on both the machine and the embroidery unit for any obstructions or visible damage.
- Align the embroidery unit with the machine's carriage. Push it firmly towards the machine until you hear a distinct 'click', indicating it is securely latched.
- Power on the machine and check the display for recognition.
Parts involved: Head & mechanical parts → Sensors & switches →
2. Software Glitch or Temporary Error high likelihood
How to tell
The unit was previously recognized, but now isn't. The machine may be unresponsive or display unexpected behavior. This often occurs seemingly randomly.
Fix
- Power off the Singer Futura XL-420 using the main power switch.
- Unplug the machine's power cord from the wall outlet.
- Wait a full 30 seconds to allow all internal capacitors to discharge and clear temporary memory.
- Plug the power cord back into the wall outlet.
- Power on the machine and check if the embroidery unit is now recognized.
Parts involved: Circuit boards & electronics →
Parts you may need for Singer
In stock, tested before dispatch, Buyer Protection on every order. Part types for this problem: Head & mechanical parts, Sensors & switches, Circuit boards & electronics, Control panels & displays.
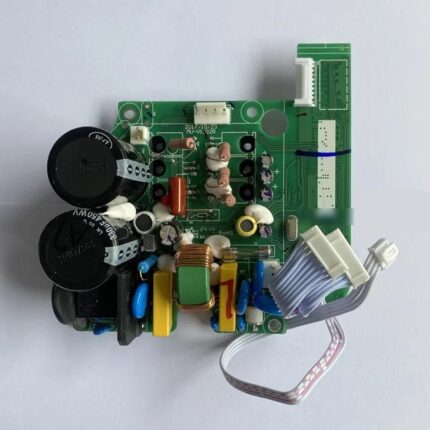 QIXING QD622 Control Box Main Board PCB for Brother, Juki, Singer, ...$ 60.99View part →
 Race Cover JO1306, Z5A-04 for Babylock, Janome, Kenmore, Singer ZZ ...$ 20.99View part →
 Qixing Control Box PCB Board for Juki, Brother, Singer, Jack Indust...$ 72.99View part →
 Evernice 130944-051 (130944-001, 177087) 20 7/8" (530mm) Sewing Mac...$ 27.49View part →
 17HS8401S-SZ Nema17 Stepper Motor 0.55N 1.8A Double Shaft 42x48mm f...$ 28.09View part →
 Zoje Huilong Electronic Lockstitch Motor for ZJ8700, ZJ9700, ZJ9500...$ 126.49View part →
All Singer parts → Head & Mechanical Parts → Sensors & Switches → Circuit Boards & Electronics →
3. Machine Not in Embroidery Mode high likelihood
How to tell
The machine's display shows 'Sewing Mode' or a similar indication. Attempting to use embroidery functions will result in an error or no response from the unit.
Fix
- Locate the mode selection button or menu option on the machine's control panel.
- Navigate through the settings to select 'Embroidery Mode'. Refer to your machine's user manual for the exact steps, as this can vary.
- Confirm the mode change on the display. The machine should now attempt to communicate with the attached embroidery unit.
Parts involved: Control panels & displays →
4. Incorrect or Faulty USB Cable Connection medium likelihood
How to tell
If the embroidery unit connects via a USB cable to the machine (or a computer), check the cable. The unit may not power on or the machine may display a 'USB error' message. Visual inspection may reveal kinks, cuts, or bent connectors.
Fix
- Ensure the USB cable is securely plugged into both the embroidery unit and the machine (or computer).
- Inspect the entire length of the USB cable for any signs of damage, such as cuts, pinches, or bent connectors.
- If possible, try using a different, known-good USB cable. Ensure it is a standard A-B type USB 2.0 cable, typically supplied with the machine.
- If connecting to a computer, try a different USB port on the computer.
Ensure the replacement USB cable meets the manufacturer's specifications for data transfer and power delivery.
Parts involved: Cables & wiring → Floppy, USB & memory →
5. Dirty or Damaged Electrical Contacts/Pins medium likelihood
How to tell
Intermittent recognition or complete failure to detect. Visually inspect the multi-pin electrical connectors on both the machine and the embroidery unit. Look for dust, lint, corrosion, or bent/broken pins.
Fix
- Power off and unplug the machine.
- Carefully detach the embroidery unit.
- Using a soft, lint-free cloth or a cotton swab, gently clean the electrical contact points on both the machine's carriage and the embroidery unit's connector. Avoid using liquids or abrasive materials.
- Inspect the small metal pins within the connectors. If any are bent, do not attempt to straighten them yourself as they are fragile and can break easily. If pins are bent or broken, professional repair or replacement of the affected component is required.
- Re-attach the embroidery unit firmly and power on the machine.
Damaged pins often require replacement of the entire connector assembly or the circuit board it's mounted on.
Parts involved: Circuit boards & electronics → Cables & wiring → Sensors & switches →
6. Outdated Machine Firmware medium likelihood
How to tell
The machine may have recently stopped recognizing the unit after a period of working correctly, especially if new accessories or software were installed. The manufacturer may have released updates addressing compatibility issues.
Fix
- Connect the machine to a computer (if required for updates) or use a USB drive as per your machine's manual.
- Visit the official Singer support website for the Futura XL-420 model.
- Check for the latest firmware version available. Compare it with your machine's current firmware version (usually found in the machine's 'Settings' or 'About' menu).
- If an update is available, download it and follow the manufacturer's specific instructions precisely for installation. Incorrect firmware updates can brick the machine.
- After updating, power cycle the machine and re-test recognition.
Parts involved: Circuit boards & electronics → Floppy, USB & memory →
7. Driver Installation Issues (PC Users) low likelihood
How to tell
This applies only if you are controlling the embroidery unit via a computer. The computer's device manager may show an unrecognized device or an error. The embroidery software will report that the unit is not connected.
Fix
- Disconnect the embroidery machine from your computer.
- On your computer, go to 'Control Panel' (Windows) or 'System Settings' (Mac) and uninstall any existing Singer Futura XL-420 drivers or software.
- Restart your computer.
- Visit the official Singer support website and download the latest drivers and software compatible with your operating system.
- Install the software and drivers, following all on-screen prompts.
- Reconnect the embroidery machine to your computer and power it on. Allow the computer to detect and install the device.
Parts involved: Floppy, USB & memory → Cables & wiring →
8. Embroidery Unit Malfunction low likelihood
How to tell
All other troubleshooting steps have failed. If available, test the embroidery unit on another known-good Singer Futura XL-420 machine. If it's not recognized on a different machine either, the unit itself is likely faulty.
Fix
- If you have access to another Singer Futura XL-420, test your embroidery unit on that machine. If it fails there, the unit is likely the problem.
- If the unit is confirmed faulty, it will require professional repair or replacement. There are no user-serviceable parts for internal hardware malfunctions.
Internal components of the embroidery unit are not typically sold as individual replacement parts for user repair. The entire unit may need to be replaced or sent for specialized service.
Parts involved: Circuit boards & electronics → Motors & drivers → Sensors & switches → Cables & wiring →
9. Faulty Power Supply to Embroidery Unit low likelihood
How to tell
The embroidery unit may not power on at all, or its indicator lights (if present) may not illuminate. The machine may display a 'power error' or simply not detect the unit. This is distinct from the main machine's power supply.
Fix
- Ensure the power cord for the embroidery unit (if separate) is securely plugged into both the unit and a working wall outlet.
- Try plugging the machine and unit into a different wall outlet to rule out a faulty outlet.
- Inspect the power cord for any visible damage. If damaged, replace it with an identical, manufacturer-approved power cord.
- If using a surge protector or extension cord, try plugging directly into the wall outlet to rule out issues with those devices.
Only use power cords specifically rated for the Singer Futura XL-420 and its embroidery unit.
Parts involved: Cables & wiring → Circuit boards & electronics →
Stop and call a technician if
- If the electrical contact pins on the machine or embroidery unit are bent or broken.
- If the embroidery unit itself is confirmed faulty after testing on another machine.
- If all troubleshooting steps, including firmware updates and factory reset, have failed.
- If you suspect internal hardware damage within the machine or the embroidery unit.
- If the machine displays error codes not covered by basic troubleshooting.
Prevent it coming back
- Always ensure the embroidery unit is securely attached and properly latched before powering on the machine.
- Regularly clean the electrical contact points on both the machine and the embroidery unit with a soft, lint-free cloth to prevent dust and debris buildup.
- Keep your machine's firmware updated to the latest version available from Singer's official website.
- Use only the original or manufacturer-recommended USB cables and power cords to ensure proper connectivity and power delivery.
- Store the embroidery unit in a clean, dry, and protected environment when not in use to prevent physical damage or contact degradation.
- Avoid overloading the machine with excessively complex designs or continuous heavy use without breaks, which can strain the system.
Frequently asked questions
How do I put my Singer Futura XL-420 into embroidery mode?
Refer to your machine's user manual. Typically, there is a dedicated button or a menu option on the control panel to switch between sewing and embroidery modes. Select 'Embroidery Mode' to enable communication with the embroidery unit.
Can I use any USB cable for my Singer Futura XL-420 embroidery unit?
It is strongly recommended to use the original USB cable supplied with your machine or a high-quality, standard USB 2.0 A-B cable. Generic or low-quality cables may not provide stable data transfer or power, leading to recognition issues.
What should I do if the pins on my embroidery unit connector are bent?
Do NOT attempt to straighten bent pins yourself, as they are very fragile and can easily break, causing further damage. This requires professional repair or replacement of the affected component. Contact a certified technician.
Will a factory reset fix the recognition issue?
A factory reset can resolve issues caused by incorrect settings or corrupted software. However, it should be a last resort as it will erase all custom settings. Always consult your manual for the correct procedure and back up any important data first.
Did this guide fix your machine?
Rate it - it helps other operators find the right fix.
Not sure which part is failing?
Need the logo stitched too?
Get your logo digitized by the people who know this machine
Upload the artwork, see the stitch count and the exact price in 10 seconds, then order with a free sew-out preview. $1 per 1,000 stitches, $10 minimum, 24-hour delivery. Vector conversion from $12.
After the fix
Fixed it? Keep the rest of the shop moving.
OS 360 is the shop software from the team behind this parts store. Every job keeps its status, deadline and owner while a Futura XL-420 head is down, restock alerts fire for needles, hooks and bobbins before you run dry, and quotes, invoices and payment live in one place.
- Jobs with status, deadline and owner - nothing slips during downtime
- Inventory with restock alerts, this store one click away
- Instant quotes, invoices and one place to collect payment