
What is this case study? This page documents a real completed Digitizing order produced by 360 Digitizing Solutions for a Center placement on Hats. To protect client privacy, company and brand names have been anonymized. Browse specs, before/after images, and production notes below.
Precision Digitizing for High-Impact Hat Embroidery
This project demonstrates how careful planning and technical adjustments can turn a standard logo into a flawless embroidery file for headwear. We focused on clarity and stability to ensure the final output looked sharp on every hat.
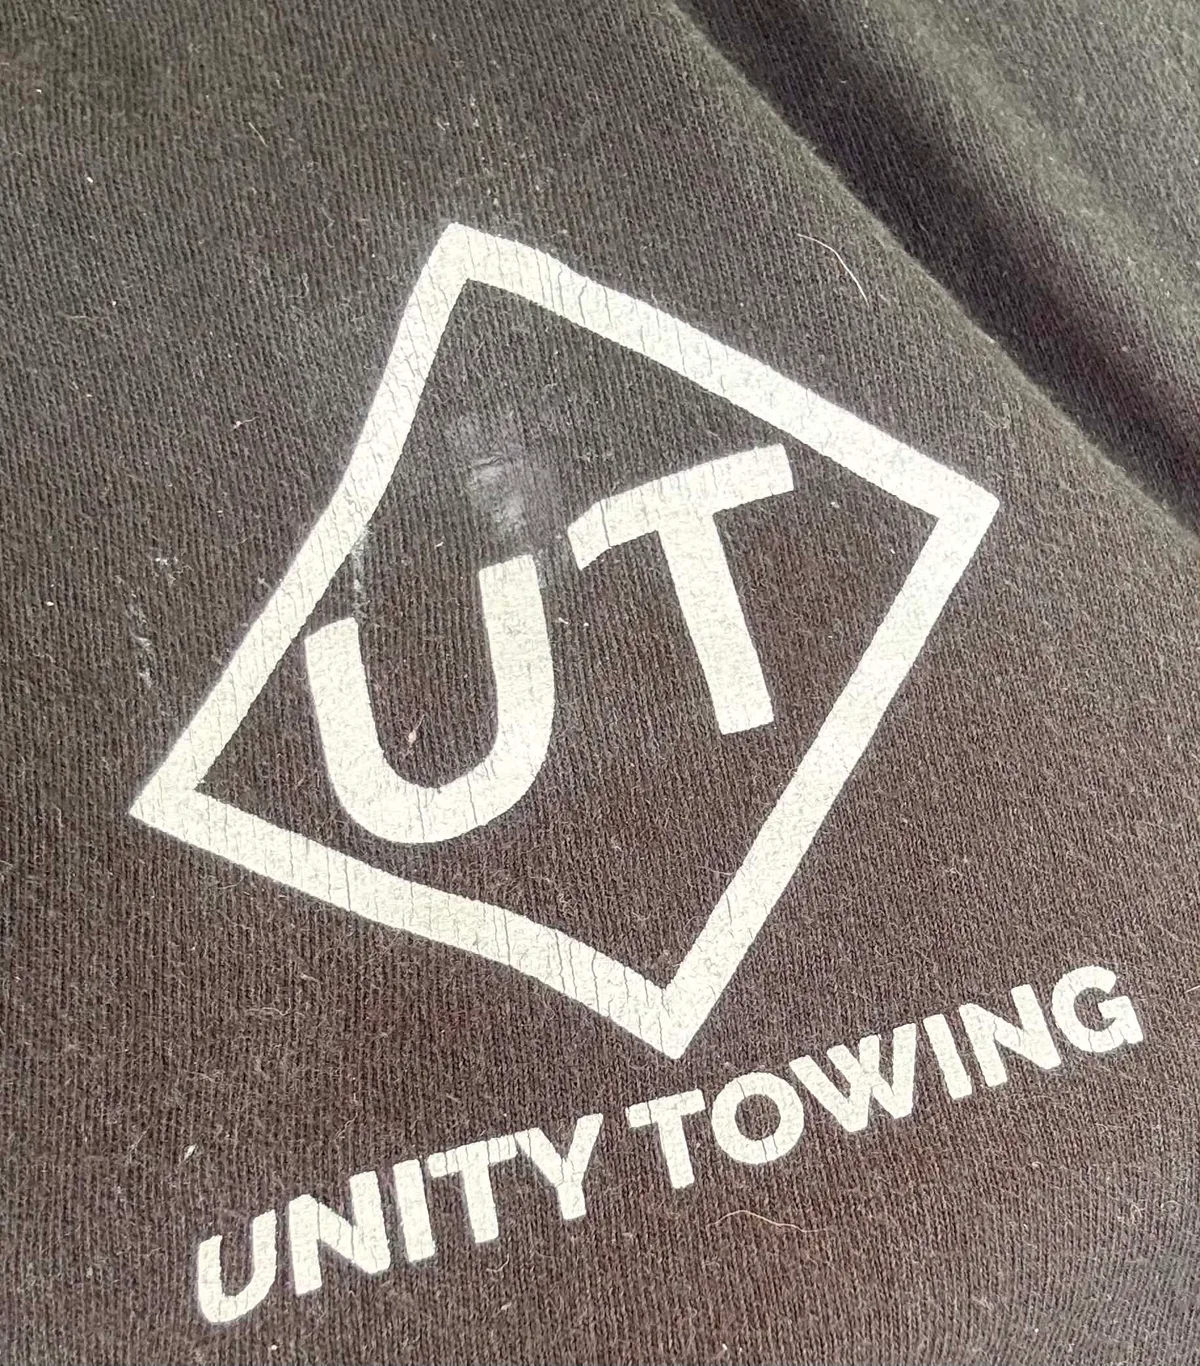
Customer Original Artwork
Final Digitized Proof

Order Specifications
Project Background
The core challenge here was maintaining the visual integrity of the design while keeping the stitch count efficient. Embroidering on hats often leads to issues with registration, where the design elements start to shift as the needle penetrates the fabric. Our goal was to create a file that would remain stable throughout the entire run, preventing any misalignment that could ruin the final product.
We had to consider the limitations of the embroidery machine and the tension requirements for hat fabric. If the stitch density is too high, the fabric will pucker; if it is too low, the base material will show through. Balancing these two factors was essential to ensure the logo looked professional and clean upon completion.
Furthermore, the size constraints of 3×2.5 inches meant that every stitch had to serve a purpose. We needed to avoid unnecessary travel stitches that could create bulk under the embroidery. By focusing on a clean, efficient path, we ensured that the machine would run smoothly without constant thread breaks, saving the operator time and effort during the production phase.
Ultimately, our client needed a file that was ready to go. They did not want to spend hours testing and adjusting the design. We provided a solution that was optimized for their specific setup, taking into account the unique properties of hat material and the necessity for precise alignment from the very first stitch to the last.
Technical Production Process
For the lettering and fine elements, we calculated the pull compensation to ensure the finished embroidery matches the proportions of the original artwork. We set the stitch directions to radiate outward slightly, which helps in managing the tension across the curved surface of the hat. This prevents the dreaded puckering effect that often ruins hat embroidery projects.
We also carefully adjusted the density of the satin fills. By slightly increasing the density in areas prone to gapping, we ensured full coverage without making the embroidery too stiff. Every element of the design was sequenced to minimize thread trims, allowing the machine to operate continuously and efficiently.
Final adjustments were made to the tie-off stitches to ensure they were hidden within the design, preventing any loose threads or messy looking finishes. By following these technical steps, we delivered a file that maximizes machine performance and yields a high-quality, professional result.
- ✓ Optimized center-out sequence for hat stability.
- ✓ Balanced pull compensation for crisp lettering.
- ✓ Minimized travel stitches for a cleaner back.
Final Outcome
Our client reported that the file ran flawlessly on their machines, with zero thread breaks and no issues during the production run. This level of consistency is exactly what we aim for with every order, ensuring that our clients can focus on their business rather than troubleshooting design files. The finished product looked identical to the proof, giving the client total confidence for the entire batch of hats.
We are proud to have delivered a solution that saved the client time and helped them achieve a high-quality finish on their apparel. This project highlights the importance of technical expertise in digitizing and shows how the right approach makes all the difference in the final embroidery quality.
Ready for Flawless Production?
We deliver production-ready files optimized for your exact machines and fabrics, reducing thread breaks and maximizing shop efficiency.
Frequently Asked Questions
How do you handle small text on hats? +
We adjust stitch density and pull compensation to ensure that small lettering remains legible without compromising the structural integrity of the fabric.
Why is proper underlay important for hats? +
Underlay provides a stable foundation on curved surfaces like hats, preventing the design from shifting or puckering during the high-speed embroidery process.
Disclaimer: All logos and designs are the property of their respective copyright/trademark owners. This case study is for the sole purpose of demonstrating 360 Digitizing Solutions’ technique and quality. We do not claim ownership of the original artwork, nor are these designs for sale.
Brand Representative? Request Portfolio Privacy/Removal (Corporate Email Required)