Blog
Tajima TMAR-K Thread Breakage Troubleshooting Guide

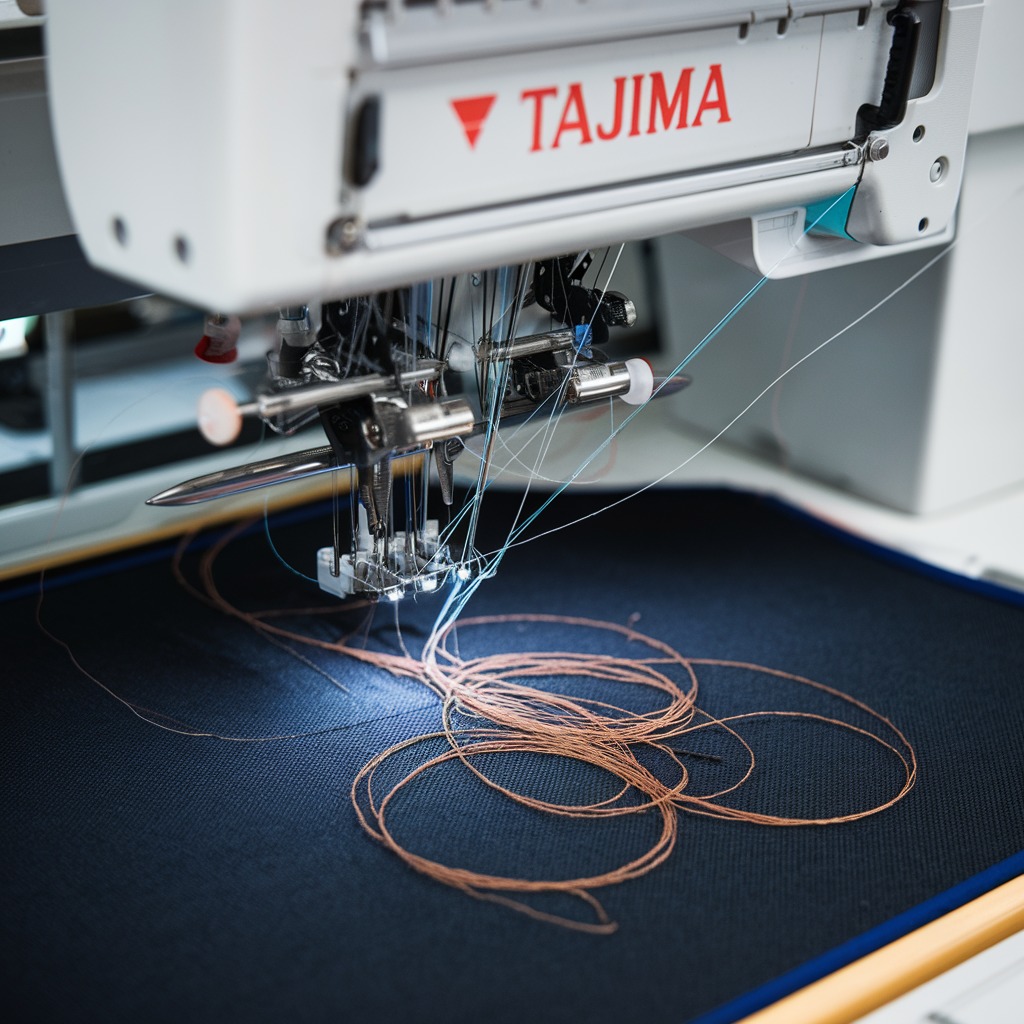
Quick answer: Thread breakage on a Tajima TMAR-K is most often caused by incorrect thread tension (needle or bobbin), worn needles, or improper threading. Systematically check these areas first.
Thread breakage is a common and frustrating issue on Tajima TMAR-K embroidery machines, leading to downtime and production delays. This guide provides a systematic approach to diagnose and resolve the most frequent causes, focusing on practical, hands-on solutions for operators.
Two-minute checks before you open anything
- Verify the needle is new, sharp, and correctly inserted.
- Confirm the machine is threaded correctly from spool to needle.
- Check both needle and bobbin tension settings.
- Inspect the thread path for snags, burrs, or debris.
- Ensure the correct thread and stabilizer are used for the fabric.
1. Incorrect Needle Thread Tension high likelihood
How to tell
Thread breaks frequently, especially during dense areas or direction changes. Stitches may appear too tight (fabric puckering) or too loose (loops on top or bottom).
Fix
- Locate the main tension dial for the affected needle. For TMAR-K, this is typically on the tension base assembly.
- Turn the dial clockwise to increase tension, counter-clockwise to decrease.
- Adjust in small increments (e.g., 1/4 turn).
- Test stitch on scrap fabric. The ideal stitch should show about 1/3 bobbin thread on the underside of the fabric, centered in the top thread.
- Refer to your machine's operation manual for recommended tension settings for different thread types and weights.
Parts involved: Thread path & tension →
2. Incorrect Bobbin Tension high likelihood
How to tell
Similar to needle tension issues, but often results in loops on the top surface of the fabric if too loose, or excessive puckering and thread breaks if too tight. The 'drop test' is a good indicator: hold the bobbin case by the thread, it should slowly drop a few inches and then stop.
Fix
- Remove the bobbin case from the rotary hook.
- Inspect the bobbin case for lint, debris, or damage (burrs, nicks). Clean thoroughly.
- Ensure the bobbin is wound evenly and inserted correctly into the bobbin case.
- Locate the small tension screw on the side of the bobbin case. Turn clockwise to increase tension, counter-clockwise to decrease.
- Adjust in very small increments (e.g., 1/8 turn).
- Perform the 'drop test' or use a bobbin tension gauge to verify tension. Consult your TMAR-K manual for specific drop test guidelines or tension gauge values.
- Test stitch on scrap fabric and balance with needle thread tension.
Parts involved: Rotary hooks & bobbin cases → Thread path & tension → Screws, springs & small parts →
Parts you may need for Tajima TMAR
In stock, tested before dispatch, Buyer Protection on every order. Part types for this problem: Thread path & tension, Rotary hooks & bobbin cases, Needles & needle bars, Screws, springs & small parts.
 Tajima TC Sensor Card & Thread Contact Set 0J2602300A22 0J2602300A2...$ 18.09View part →
 KHS20-R Jumbo Rotary Hook for TAJIMA TME-DC, TMFX, TMB, TMAR, TMEZ ...$ 21.29View part →
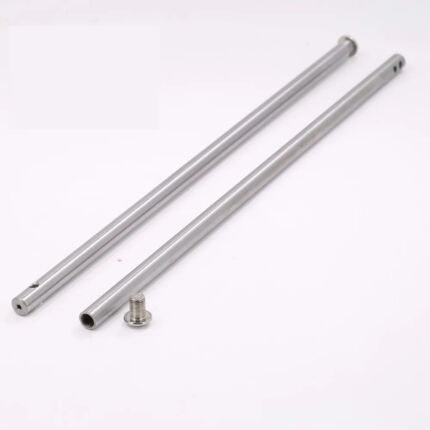 Tajima Embroidery Machine Needle Bar 207MM 212MM Replacement Part$ 3.49View part →
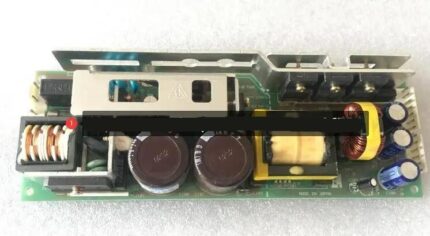 Tajima PB0025A1PW00 Power Supply 150W 24V for TEHX-C1501, TMEZ, TMA...$ 140.99View part →
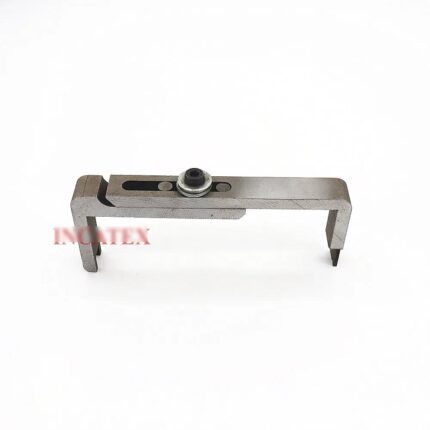 Tajima Embroidery Machine Gauge for TFMX, TMAR, TFGN, TMEZ Series M...$ 40.49View part →
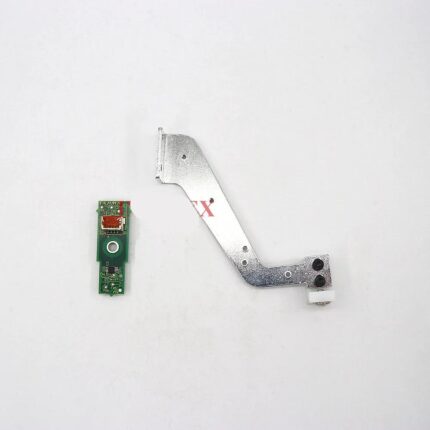 Tajima ICS131 0J2603200000 Thread Break Sensor & Bracket for TFMX, ...$ 97.09View part →
All Tajima TMAR parts → Thread Path & Tension → Rotary Hooks & Bobbin Cases → Needles & Needle Bars →
3. Worn, Bent, or Incorrect Needle high likelihood
How to tell
Frequent thread breaks, skipped stitches, or damage to the fabric. A dull needle will make a popping sound as it penetrates the fabric. Visually inspect the needle point and shaft.
Fix
- Power off the machine.
- Loosen the needle clamp screw for the affected needle bar.
- Remove the old needle.
- Inspect the needle for a bent shaft, dull point, or burrs. Replace if any damage is found.
- Ensure you are using the correct needle type (e.g., DBxK5 for embroidery) and size for your thread and fabric.
- Insert a new, correct needle with the scarf (long groove) facing the back of the machine.
- Push the needle up as far as it will go into the needle bar.
- Tighten the needle clamp screw securely, but do not overtighten.
- Power on and test stitch.
Parts involved: Needles & needle bars → Screws, springs & small parts →
4. Improper Threading or Thread Path Obstruction high likelihood
How to tell
Thread breaks randomly or consistently at a specific point in the design. Visible snags, loops, or incorrect thread routing. The thread may not be seated correctly in tension discs or guides.
Fix
- Power off the machine.
- Completely unthread the affected needle.
- Carefully re-thread the machine, following the exact path indicated in your Tajima TMAR-K operation manual.
- Ensure the thread passes through all guides, pre-tensioners, and tension discs correctly. Listen for a 'click' as the thread seats into the tension discs.
- Check for any tangles, knots, or twists in the thread spool or cone.
- Inspect all thread guides, eyelets, and the take-up lever for burrs, nicks, or lint accumulation. Clean or smooth any rough spots.
- Ensure the thread is properly seated in the needle eye.
- Power on and test stitch.
Parts involved: Thread path & tension → Screws, springs & small parts →
5. Worn or Damaged Thread Guides/Eyelets medium likelihood
How to tell
Thread breaks consistently at a specific point along the thread path. Visible nicks, burrs, or grooves on ceramic or metal thread guides. Thread may snag or fray as it passes through.
Fix
- Power off the machine.
- Carefully inspect all thread guides, ceramic eyelets, and tension disc surfaces from the thread cone to the needle for any signs of wear, nicks, burrs, or sharp edges.
- Use a magnifying glass if necessary.
- If a guide is found to be rough, attempt to smooth it with very fine emery cloth or replace the component.
- Ensure all guides are clean and free of lint or adhesive residue.
- Power on and test stitch.
Parts involved: Thread path & tension → Screws, springs & small parts →
6. Poor Quality or Incompatible Thread medium likelihood
How to tell
Frequent, seemingly random thread breaks even after checking tension and threading. Thread may appear fuzzy, inconsistent in thickness, or brittle. Breaks occur with new spools/cones.
Fix
- Ensure you are using high-quality, machine embroidery-specific thread.
- Check the thread for inconsistencies in thickness, weak spots, or excessive fuzziness.
- Avoid using old, brittle, or improperly stored thread.
- Test a different brand or type of thread to see if the issue persists.
- Ensure the thread weight is appropriate for the needle size and fabric.
Parts involved: Threads & supplies →
7. Insufficient Lubrication medium likelihood
How to tell
Increased friction, squeaking noises, or excessive heat in moving parts (e.g., needle bar, rotary hook). Thread may fray or break due to drag.
Fix
- Power off the machine.
- Consult your Tajima TMAR-K maintenance manual for the correct lubrication points and recommended oil/grease types.
- Apply a small amount of machine oil to the needle bar, rotary hook race, and other specified moving parts.
- Wipe away any excess oil to prevent staining fabric.
- Ensure the rotary hook area is clean before oiling.
- Power on and test stitch.
Parts involved: Lubrication & maintenance → Head & mechanical parts → Rotary hooks & bobbin cases →
8. Fabric or Stabilizer Issues low likelihood
How to tell
Thread breaks occur when stitching on specific fabrics or designs. Fabric may pucker, shift, or stretch excessively during embroidery.
Fix
- Ensure the correct type and weight of stabilizer is used for the fabric and design density.
- Properly hoop the fabric and stabilizer, ensuring it is taut but not stretched.
- For stretchy or delicate fabrics, consider using an additional layer of stabilizer or a different hooping technique.
- Test stitch on a scrap of the same fabric with different stabilization methods.
Parts involved: Threads & supplies → Hoops & frames →
9. Machine Speed Too High low likelihood
How to tell
Thread breaks occur more frequently at higher machine speeds, especially with delicate threads, complex designs, or challenging fabrics.
Fix
- Access the speed settings on your TMAR-K control panel.
- Reduce the machine's embroidery speed, especially for fine threads, delicate fabrics, or intricate designs.
- Gradually increase speed if the issue resolves, finding the optimal balance between production and thread integrity.
Parts involved: Control panels & displays →
10. Environmental Factors low likelihood
How to tell
Thread becomes brittle, snaps easily, or behaves erratically. This is more common in environments with extreme temperature fluctuations or high/low humidity.
Fix
- Store embroidery threads in a cool, dry, and stable environment, away from direct sunlight or heat sources.
- Consider using a humidity-controlled storage solution if your workspace experiences significant environmental shifts.
- Allow thread cones to acclimate to the room temperature before use.
Parts involved: Threads & supplies →
11. Lack of Regular Cleaning low likelihood
How to tell
Accumulation of lint, dust, and thread fragments in the thread path, tension assemblies, or bobbin area. This can cause friction, snags, or interfere with tension mechanisms.
Fix
- Power off the machine.
- Regularly clean the entire thread path, including thread guides, tension discs, and take-up levers, using a soft brush or compressed air.
- Clean the bobbin case and rotary hook area thoroughly, removing all lint and thread bits.
- Refer to your TMAR-K maintenance schedule for recommended cleaning intervals and procedures.
Parts involved: Lubrication & maintenance → Rotary hooks & bobbin cases → Thread path & tension →
12. Machine Calibration Issues low likelihood
How to tell
Persistent thread breaks across multiple heads or with various threads/designs, even after addressing other common causes. This suggests a systemic issue with tension consistency or timing.
Fix
- This often requires specialized tools and knowledge.
- Consult your Tajima TMAR-K service manual for calibration procedures related to tension systems or timing.
- If you are not trained in machine calibration, contact a certified technician.
Parts involved: Circuit boards & electronics → Head & mechanical parts → Sensors & switches →
Stop and call a technician if
- If thread breaks persist after systematically checking all common causes.
- If you suspect internal machine timing issues or electronic malfunctions.
- For complex calibration procedures not detailed in the operator's manual.
- If you encounter error codes not covered in basic troubleshooting.
Prevent it coming back
- Implement a routine maintenance schedule including daily cleaning and lubrication of the needle bar, rotary hook, and thread path.
- Always use high-quality, fresh embroidery thread compatible with your machine and project.
- Regularly inspect and replace needles (every 8-10 stitching hours or at first sign of wear).
- Ensure all operators are thoroughly trained in proper machine threading, tension adjustment, and basic troubleshooting.
- Store threads in a cool, dry environment to maintain their integrity.
- Use appropriate stabilizer for the fabric and design density to prevent undue stress on the thread.
Frequently asked questions
How often should I change my needle on a Tajima TMAR-K?
Needle replacement frequency depends on usage and material. As a general rule, change your needle every 8-10 hours of continuous stitching, or immediately if you notice any signs of dullness, bending, or burrs. Always use a fresh needle when starting a critical project.
What is the 'drop test' for bobbin tension?
To perform the drop test, insert a full bobbin into its case. Hold the bobbin case by the thread tail. The bobbin case should slowly drop a few inches and then stop, holding its weight. If it drops too fast, tension is too loose; if it doesn't drop at all, it's too tight. Consult your TMAR-K manual for specific drop test guidelines.
Can old thread cause thread breaks?
Yes, old thread can become brittle, lose its elasticity, or degrade due to improper storage (e.g., exposure to sunlight or humidity). This makes it more prone to breaking during the stress of embroidery. Always use fresh, high-quality thread.
Why is my thread breaking only on certain colors or types?
Different thread types (e.g., polyester, rayon, metallic) and even different dye lots can have varying strengths and characteristics. You may need to adjust needle tension, machine speed, or even needle size specifically for that thread. Also, inspect the specific cone/spool for manufacturing defects.
Did this guide fix your machine?
Rate it - it helps other operators find the right fix.
Not sure which part is failing?
Need the logo stitched too?
Get your logo digitized by the people who know this machine
Upload the artwork, see the stitch count and the exact price in 10 seconds, then order with a free sew-out preview. $1 per 1,000 stitches, $10 minimum, 24-hour delivery. Vector conversion from $12.
After the fix
Fixed it? Keep the rest of the shop moving.
OS 360 is the shop software from the team behind this parts store. Every job keeps its status, deadline and owner while a TMAR-K head is down, restock alerts fire for needles, hooks and bobbins before you run dry, and quotes, invoices and payment live in one place.
- Jobs with status, deadline and owner - nothing slips during downtime
- Inventory with restock alerts, this store one click away
- Instant quotes, invoices and one place to collect payment