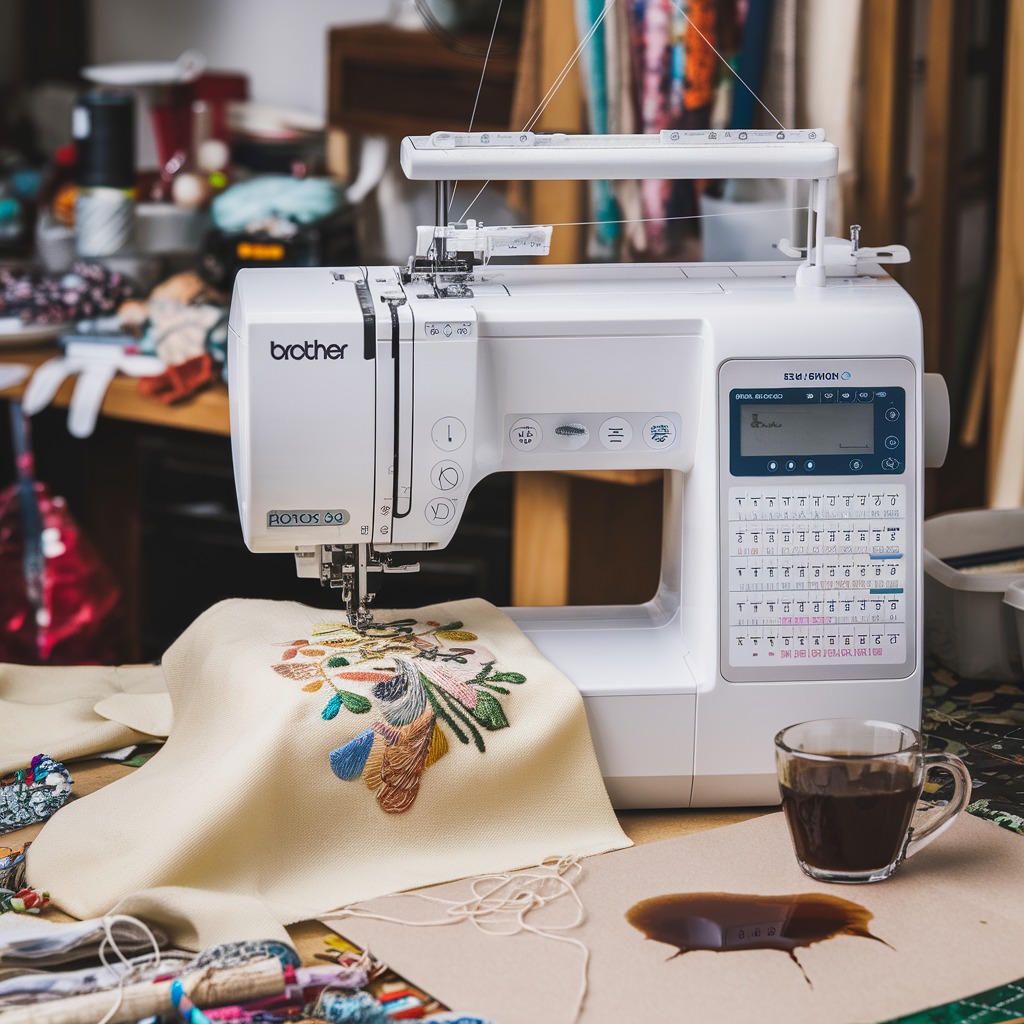
Quick answer: Most Brother embroidery machine issues stem from incorrect threading, worn needles, or improper tension settings. Systematically check these areas first, referring to your machine's manual for specific adjustments.
Difficulty: easyTime: ~15 minTools: Small screwdriver set (for needle changes, tension adjustments), Tweezers (for removing lint and thread scraps), Small brush (for cleaning lint), New embroidery needles (various sizes/types), High-quality embroidery thread
Brother embroidery machines are reliable, but like any precision equipment, they can encounter issues. This guide provides practical, step-by-step solutions for common problems, empowering you to diagnose and fix many issues yourself. Always refer to your specific Brother machine's user manual for detailed instructions and safety precautions.
Two-minute checks before you open anything
Is the machine correctly threaded, both top and bobbin?
Is the needle new, sharp, and correctly sized for your fabric and thread?
Are the tension settings appropriate for your materials?
Is the bobbin wound evenly and inserted correctly?
Is the fabric hooped tautly but not stretched, with appropriate stabilizer?
1. Thread Breakage high likelihood
How to tell
The top thread repeatedly snaps during embroidery, often leaving a short tail or fraying.
Fix
Completely remove the top thread from the machine.
Re-thread the machine carefully, ensuring the thread passes through all guides, tension discs, and the needle eye as per your Brother machine's manual.
Inspect the thread path for any burrs or rough spots that could be snagging the thread. Smooth any found with fine-grit sandpaper or replace the affected component.
Replace the current thread spool with a known high-quality embroidery thread.
Adjust the top thread tension. Start with the manufacturer's recommended setting for your thread type and fabric, then make small adjustments (e.g., 1/4 turn) until the stitch quality is balanced. The bobbin thread should show as a slight dot on the underside, not a straight line.
Ensure all thread guides are intact and smooth. A worn needle eye can also cause thread breakage.
Stitches are missing from the embroidery design, appearing as gaps or uneven lines.
Fix
Replace the needle with a new, sharp needle. Ensure it is inserted correctly, with the flat side facing the back of the machine, and pushed all the way up into the needle clamp.
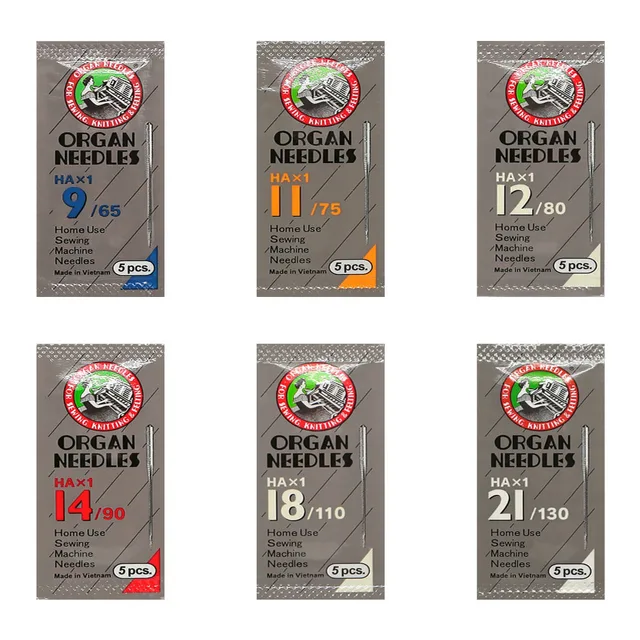
Verify the needle type and size are appropriate for your fabric and thread. Consult your Brother machine's manual or a needle chart for recommendations (e.g., a ballpoint needle for knits, a sharp needle for wovens).
Ensure the fabric is properly stabilized and hooped. The fabric should be taut like a drum, but not stretched or distorted. Use a stabilizer suitable for your fabric weight and design density.
In stock, tested before dispatch, Buyer Protection on every order. Part types for this problem: Thread path & tension, Needles & needle bars, Threads & supplies, Hoops & frames.
3. Bird Nesting (Thread Tangling Under Fabric) high likelihood
How to tell
A mass of tangled thread accumulates on the underside of the fabric, often causing the machine to jam or the embroidery to distort.
Fix
Remove the hoop and fabric. Carefully cut away the tangled thread from the needle plate area.
Completely remove the top thread and bobbin. Re-thread both the top thread and the bobbin according to your machine's manual, ensuring the bobbin is inserted correctly into the bobbin case and the thread feeds smoothly.
Check the bobbin winding. If the bobbin is unevenly wound, rewind it or use a new, pre-wound bobbin.
Adjust the top thread tension. Bird nesting often indicates the top tension is too loose. Increase the top tension incrementally (e.g., 1/4 turn) until stitches are balanced. The bobbin thread should show as a slight dot on the underside, not a straight line.
The fabric gathers or wrinkles around the embroidered areas, distorting the design and the fabric itself.
Fix
Loosen the top thread tension slightly. Excessive tension pulls the fabric, causing puckering. Adjust incrementally until the fabric lies flat during stitching.
Re-hoop the fabric. Ensure the fabric is taut in the hoop, but not stretched. Stretching can cause puckering when the fabric relaxes. Use the correct size hoop for your design.
Verify stabilizer choice. Use a stabilizer appropriate for your fabric type and design density. For dense designs or delicate fabrics, a cut-away or multiple layers of tear-away may be needed. Ensure the stabilizer is securely applied and extends beyond the design area.
The machine stops abruptly, often with a grinding noise, and the needle may be stuck in the down position or the carriage may be unable to move.
Fix
Turn off the machine immediately. Carefully remove the hoop and fabric.
Inspect the needle plate and rotary hook area for any loose threads, fabric scraps, or needle fragments. Use tweezers to remove any debris.
Check the needle. If it is bent or broken, replace it. Ensure the new needle is inserted correctly and fully seated.
Verify hoop positioning. Ensure the embroidery hoop is securely attached to the carriage and that the design area is clear of the needle's path. Manually move the carriage (if your machine allows) to check for any obstructions.
If the jam persists after clearing visible obstructions, it may indicate an internal mechanical issue. Do not force movement. Consult your machine's manual for specific jam clearing procedures or contact a technician.
The bobbin thread is visible on the top surface of the embroidery, indicating an imbalance in tension.
Fix
Loosen the top thread tension incrementally (e.g., 1/4 turn) and test stitch. The top thread tension is likely too tight, pulling the bobbin thread upwards.
Check the bobbin. Ensure it is wound evenly and inserted correctly into the bobbin case. If the bobbin thread is not feeding smoothly from the bobbin case, remove the bobbin and reinsert it, ensuring the thread passes under the tension spring.
If top tension adjustment doesn't resolve the issue, the bobbin tension may be too loose. For machines with adjustable bobbin cases, make very small adjustments (e.g., 1/8 turn) to the bobbin case tension screw. Mark the original position with a marker before adjusting. If unsure, use a pre-wound bobbin or a second bobbin case set to factory tension.
Stitches appear inconsistent in length, tightness, or formation, leading to a messy or unprofessional look.
Fix
Adjust the top thread tension. Both overly tight and overly loose tension can cause uneven stitches. Test different settings to find the balance where stitches are uniform on both sides of the fabric.
Check the bobbin. Ensure it is wound evenly and inserted correctly. An improperly seated or poorly wound bobbin will cause inconsistent thread delivery.
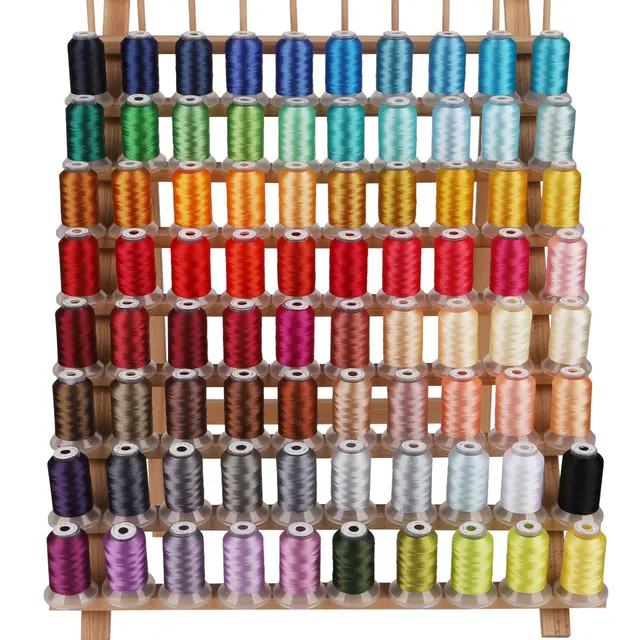
Use high-quality embroidery thread. Inconsistent thread thickness or texture can lead to uneven stitch formation. Ensure the thread is suitable for machine embroidery.
The needle snaps during embroidery, often with a loud crack, and may leave fragments in the machine or fabric.
Fix
Turn off the machine immediately. Carefully remove any needle fragments from the machine and fabric.
Replace the needle with the correct type and size for your fabric and design. Ensure it is inserted correctly and fully seated in the needle clamp.
Check the hoop position. Ensure the hoop is securely attached and positioned so the needle cannot strike the hoop frame during any part of the design. Manually trace the design path if necessary.
Verify fabric suitability. Very thick, dense, or improperly stabilized fabrics can put excessive strain on the needle. Consider using a larger needle size or a different needle point type (e.g., a sharper point for dense materials) for challenging fabrics. Reduce embroidery speed if working with difficult materials.
The embroidered design is not positioned correctly on the fabric, or parts of the design are shifted relative to each other.
Fix
Ensure the fabric is securely hooped. The fabric and stabilizer must be taut and stable within the hoop, with no slack or movement possible. Use appropriate stabilizer for the fabric and design.
Double-check hoop attachment. Ensure the embroidery hoop is firmly seated and locked onto the machine's carriage. Any play can cause shifting.
Verify design placement. Before starting, use your machine's positioning functions (e.g., trace, layout, centering tools) to confirm the design will stitch in the desired location on the fabric.
The machine stops operating and displays an alphanumeric code or message on the control panel.
Fix
Note the exact error code or message displayed.
Consult your Brother embroidery machine's operation manual for the specific error code. The manual will provide detailed troubleshooting steps for that particular error.
Common initial steps for many errors include: re-threading the machine (top and bobbin), checking needle installation, ensuring the presser foot is down, and verifying the hoop is correctly attached.
If the manual's steps do not resolve the error, or if the error indicates a mechanical or electronic fault, further diagnosis by a qualified technician may be required.
If the machine displays persistent error messages not resolved by manual troubleshooting.
If there are grinding noises, smoke, or burning smells.
If the machine jams repeatedly and you cannot clear the obstruction or identify the cause.
If internal mechanical components appear damaged or misaligned.
Prevent it coming back
Always use high-quality embroidery threads and bobbins.
Replace needles regularly (every 8-10 hours of stitching or after every major project) and use the correct needle type and size for your fabric.
Clean your machine regularly, especially the bobbin area, to remove lint and thread debris.
Ensure proper tension settings for both top and bobbin threads before starting a project.
Use appropriate stabilizers for your fabric and design density.
Hoop fabric correctly – taut but not stretched.
Perform regular lubrication as recommended in your machine's manual.
Frequently asked questions
Why does my Brother machine keep breaking thread?
Frequent thread breakage is usually due to incorrect threading, using low-quality thread, or improper tension. Re-thread your machine carefully, use good quality embroidery thread, and adjust your tension settings.
What causes thread to tangle under the fabric (bird nesting)?
Bird nesting is most often caused by incorrect top or bobbin threading, an improperly wound or inserted bobbin, or the top thread tension being too loose. Re-thread both top and bobbin, check your bobbin, and tighten the top tension incrementally.
How do I stop my fabric from puckering during embroidery?
Fabric puckering typically results from tension that is too tight, using an incorrect or insufficient stabilizer, or improper hooping (fabric too loose or stretched). Loosen tension, use appropriate stabilizer, and hoop the fabric tautly but without stretching.
My Brother machine is skipping stitches, what should I do?
Skipped stitches are commonly caused by a dull or bent needle, using the wrong needle size for your fabric, or inadequate fabric stabilization. Replace your needle with a new, sharp one of the correct size, and ensure your fabric is properly stabilized and hooped.
Did this guide fix your machine?
Rate it - it helps other operators find the right fix.
Get your logo digitized by the people who know this machine
Upload the artwork, see the stitch count and the exact price in 10 seconds, then order with a free sew-out preview. $1 per 1,000 stitches, $10 minimum, 24-hour delivery. Vector conversion from $12.
OS 360 is the shop software from the team behind this parts store. Every job keeps its status, deadline and owner while a Brother head is down, restock alerts fire for needles, hooks and bobbins before you run dry, and quotes, invoices and payment live in one place.
Jobs with status, deadline and owner - nothing slips during downtime
Inventory with restock alerts, this store one click away
Instant quotes, invoices and one place to collect payment