Tajima Embroidery Machine Common Errors and Solutions: A Detailed Guide
Tajima Embroidery Machine Common Errors and Solutions: A Detailed Guide
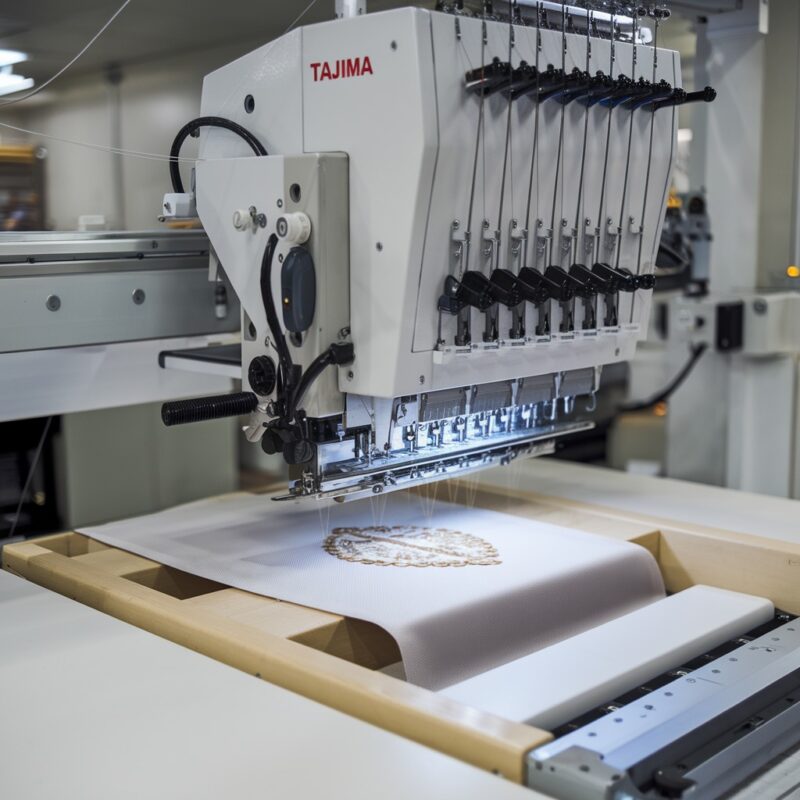
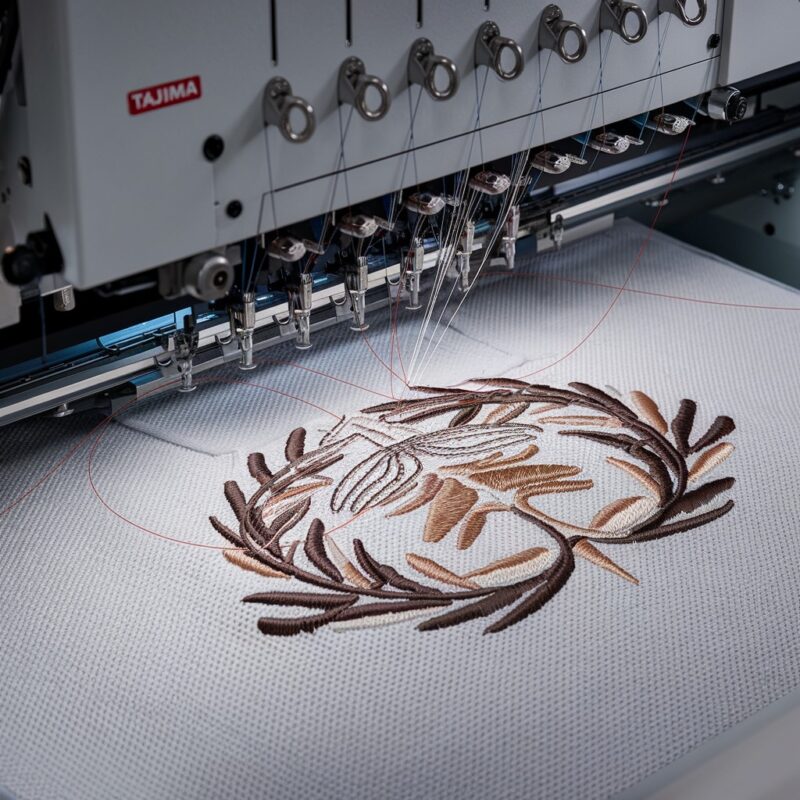
Embroidery is an intricate art, and the Tajima Embroidery Machine is one of the top choices for both beginners and professionals. However, like any sophisticated machinery, it can encounter technical issues. In this blog, we’ll delve into the most common errors faced with Tajima embroidery machines, their causes, and how you can solve them. This guide is designed to be both informative and easy to follow, ensuring smooth operation and better productivity.
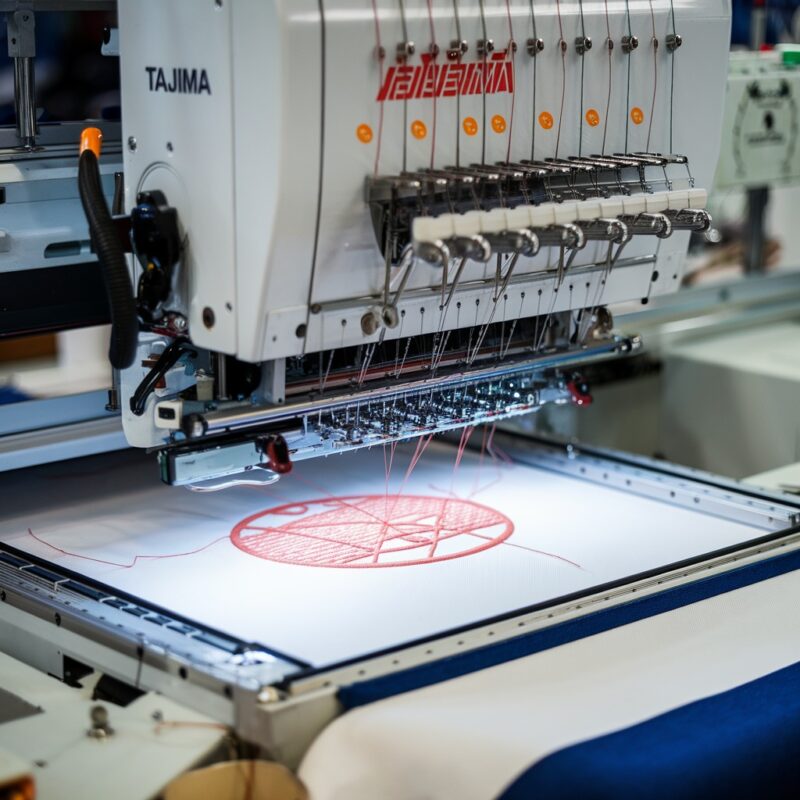
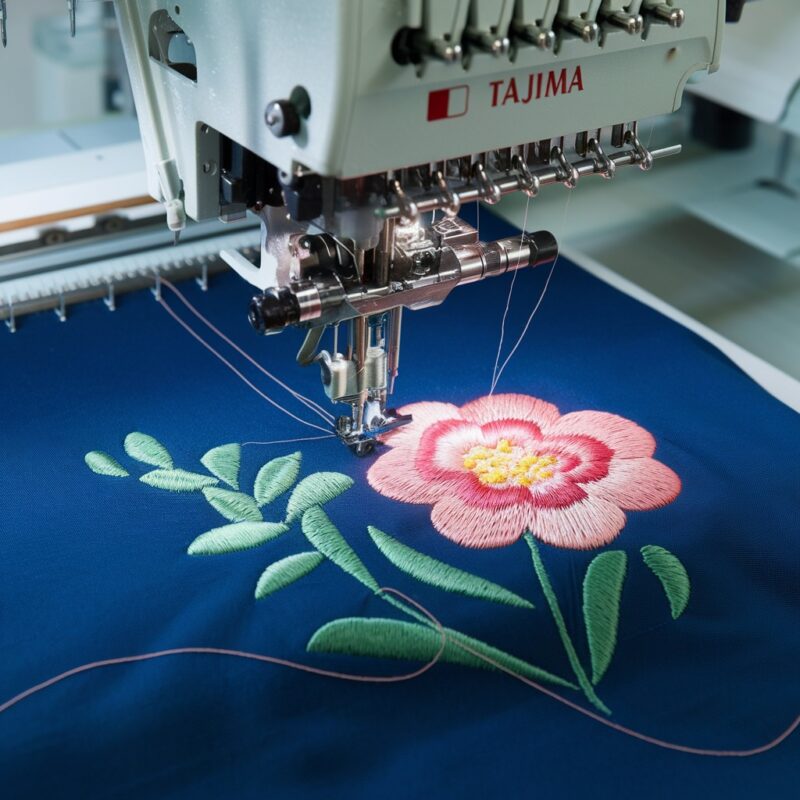
Tajima is a leading name in the embroidery industry, known for its precision, durability, and cutting-edge technology. These machines are widely used in commercial embroidery operations because of their ability to handle intricate designs and large production volumes. However, like all machinery, Tajima machines can experience issues from time to time. Identifying and resolving these errors is crucial to maintain your machine‘s efficiency and extend its lifespan.
Common Tajima Embroidery Machine Errors
Below, we’ll address the most common errors you might encounter with your Tajima machine and how to fix them.
Error 1: Thread Breakage
Thread breakage is one of the most frequent issues in embroidery, and it can be frustrating, especially during a production run.
Possible Causes:
- Incorrect needle size or type.
- Incorrect thread tension.
- Worn-out or damaged needle.
- Thread path obstruction.
Solutions:
- Ensure you are using the correct needle size and type for the fabric and design.
- Check and adjust the thread tension for both upper and bobbin threads.
- Replace damaged or worn-out needles.
- Clean the thread path to remove any obstructions like lint or small thread fragments.
Error 2: Needle Breakage
Needle breakage not only interrupts production but can also damage the fabric.
Possible Causes:
- Incorrect needle positioning.
- The fabric was too thick or improper hooping.
- Needle hitting the hoop or presser foot.
- Worn-out or poor-quality needles.
Solutions:
- Ensure that the needle is properly positioned and securely tightened.
- Ensure the fabric is hooped correctly and isn’t too thick for the needle size.
- Check the clearance between the needle and the hoop/presser foot to avoid collisions.
- Regularly replace needles to maintain sharpness and quality.
PROMOTIONAL SECTION
The All-in-One Solution For All Your Embroidery Business!
Enjoy $0.90 / 1000 Stitches Logo Digitizing
Monthly Cash Back, Free Delivery on Store-wide Products, Dedicated Account Manager, Exclusive Client Dashboard Panel, Bonus Credit & much more.
SIGN UP TODAY & GET FIRST 3 ORDER ABSOLUTELY FREE

Unlock game-changing benefits: expert digitizing services, technical embroidery guidance, seamless management of your business essentials, and free delivery on storewide products—all just for signing up with us. Don’t let these exclusive perks pass you by!

No Credit Card Required
Stay secure with no need to share your credit or debit card details! Experience 100% safe payment methods, including the option to purchase credits for your future orders. Plus, enjoy free credit as a bonus with every credit purchase and more exclusive benefits.

A Game-Changing Advantage
Imagine having a dedicated account manager by your side, ready to handle all your embroidery needs with precision and care. Whether it’s managing your digitizing orders, delivering essential embroidery supplies based on your every embroidery order, or sourcing those hard-to-find spare parts like motors, circuit boards, or sensors, we’ve got you covered. This incredible service ensures your business runs seamlessly, all at no extra cost or monthly fee.
It’s not just support—it’s the ultimate embroidery partnership you didn’t know you were missing for a $0 charge!Exclusive Client Dashboard Panel
Get Free Account Setup (T&C Applied) and enjoy exclusive benefits: unlimited free estimate requests, streamlined order management, complimentary edit requests, 24/7 access to our ticket system, fast 6-12 hour turnaround times, round-the-clock email and live chat support, and 1-year free design file backup and more.

Recurring Monthly Cashback
Experience out of the box services with Cashback on monthly basis along with discount vouchers on Shop for Registered customers up to 60% on supplies, accessories, spare parts & sensors & Circuit boards and add extra value to your embroidery business.

Free Delivery on all Shop Products
Enjoy free delivery on embroidery supplies, accessories, spare parts, sensors & circuit boards, and store-products, delivered straight to your doorstep! Unlock this exclusive benefits by registering with us for all your digitizing needs. (Embroidery Machine Not Included)
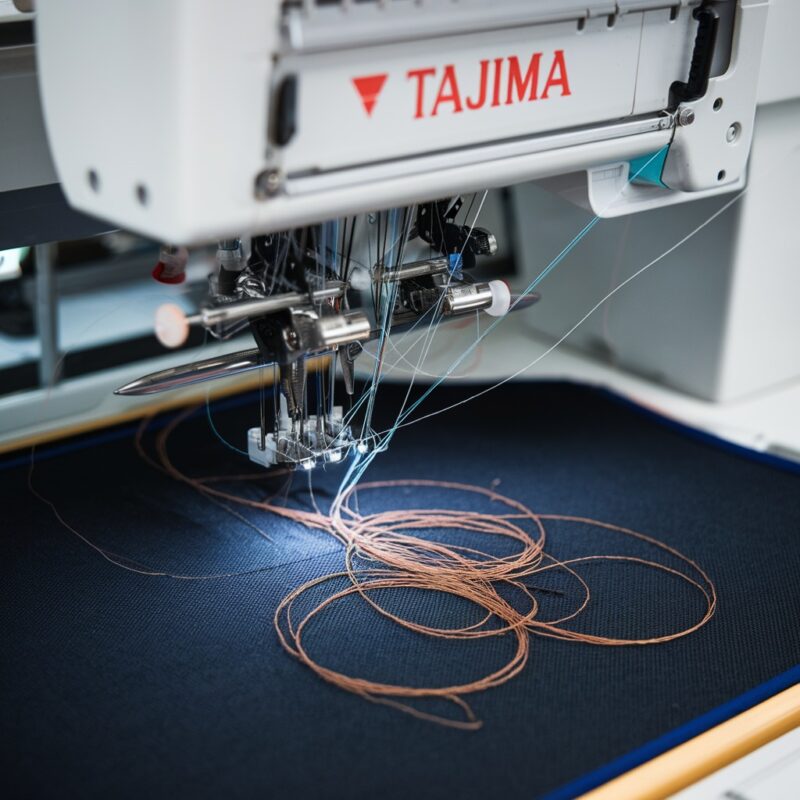
Error 3: Birdnesting
Birdnesting occurs when threads bunch up under the fabric, causing a tangled mess. This can potentially damage the fabric and the machine.
Possible Causes:
- Incorrect bobbin tension.
- Improper threading of the upper thread.
- The needle is not properly installed.
- Incorrect hooping or fabric slipping.
Solutions:
- Adjust the bobbin tension to ensure smooth and even threading.
- Double-check the threading path for the upper thread, ensuring that it’s properly threaded.
- Reinstall the needle, ensuring it’s correctly positioned.
- Ensure proper hooping of the fabric and tighten it to prevent slipping.
Error 4: Tension Issues
Tension problems can lead to uneven stitching, which ruins the quality of the embroidery.
Possible Causes:
- Incorrect tension settings for upper and bobbin threads.
- Worn-out tension discs.
- Incorrect threading of the machine.
Solutions:
- Regularly check and adjust both the upper and bobbin thread tension.
- Clean or replace worn-out tension discs.
- Re-thread the machine, making sure to follow the correct threading path.
Error 5: Skipped Stitches
Skipped stitches are usually a sign of an issue with the needle or the timing of the machine.
Possible Causes:
- Incorrect needle installation or needle type.
- Needle bent or dull.
- The timing of the machine is off.
Solutions:
- Ensure that the needle is properly installed and that you’re using the correct type for the fabric.
- Replace the needle if it’s bent or dull.
- If the timing is off, consult the machine’s manual or a professional technician for timing adjustments.
Error 6: Misalignment of Design
Misalignment or distortion of the design can make the final embroidery look unprofessional.
Possible Causes:
- Fabric slipping in the hoop.
- Incorrectly positioned design in the software.
- The hoop is loose or not properly secured.
Solutions:
- Ensure the fabric is tightly hooped and that there’s no slipping.
- Double-check the design positioning in your embroidery software before running the machine.
- Secure the hoop properly to avoid movement during embroidery.
Error 7: Thread Trimmer Malfunction
If the thread trimmer isn’t working properly, you’ll have to manually cut threads, slowing down the process.
Possible Causes:
- Blunt or broken trimmer blades.
- Timing issue with the trimmer mechanism.
- Dust or debris obstructing the trimmer.
Solutions:
- Inspect and replace blunt or broken trimmer blades.
- Adjust the timing of the trimmer mechanism or consult a technician for assistance.
- Clean the trimmer area to remove any dust or debris that may be causing obstructions.
Error 8: Fabric Puckering
Fabric puckering occurs when the fabric gathers or wrinkles around the embroidery, compromising the appearance of the design.
Possible Causes:
- Tension is too tight.
- Fabric is too thin or not hooped properly.
- The stabilizer was not used or was insufficient.
Solutions:
- Adjust the tension of the upper and bobbin threads to reduce tightness.
- Ensure the fabric is properly hooped, and consider using a sturdier fabric for better results.
- Always use a stabilizer appropriate for the fabric to prevent puckering.
General Maintenance Tips
Regular maintenance is key to preventing these common errors. Here are some essential tips to keep your Tajima embroidery machine running smoothly:
- Clean the Machine Regularly: Remove lint, dust, and thread fragments from the bobbin case, thread path, and other moving parts.
- Lubricate Moving Parts: Regularly oil the moving parts as per the manufacturer’s instructions to reduce friction and wear.
- Check Needles Frequently: Change needles regularly to avoid issues related to dull or damaged needles.
- Inspect Tension Discs: Ensure that tension discs are clean and in good condition for smooth thread movement.
- Update Software: Ensure that your embroidery software is up to date to prevent compatibility issues.
Conclusion
The Tajima embroidery machine is a powerful tool, but it requires proper maintenance and occasional troubleshooting. By addressing common errors like thread breakage, needle issues, and design misalignment promptly, you can ensure better performance and consistent output. Regular maintenance, such as cleaning and proper lubrication, is equally important to keep the machine running efficiently.
Understanding your machine and its potential issues helps reduce downtime and improves the overall quality of your embroidery work. Whether you are a beginner or a seasoned professional, being proactive in maintaining your Tajima embroidery machine will ensure that you continue producing high-quality embroidery designs for years to come.