Blog
Tajima TMAR-KC Thread Breakage Troubleshooting Guide

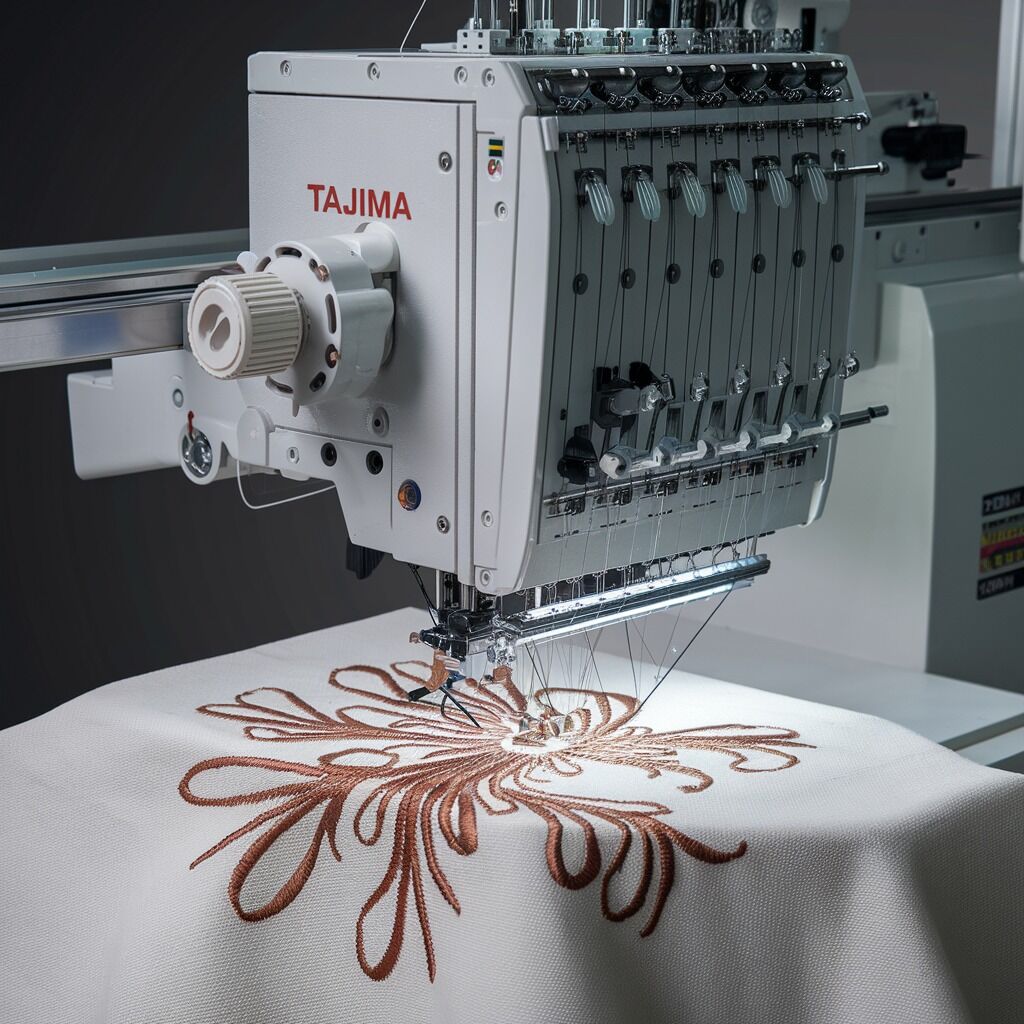
Quick answer: Thread breakage on a Tajima TMAR-KC is most commonly caused by incorrect thread tension, improper threading, worn needles, or lint buildup. Systematically check these areas first.
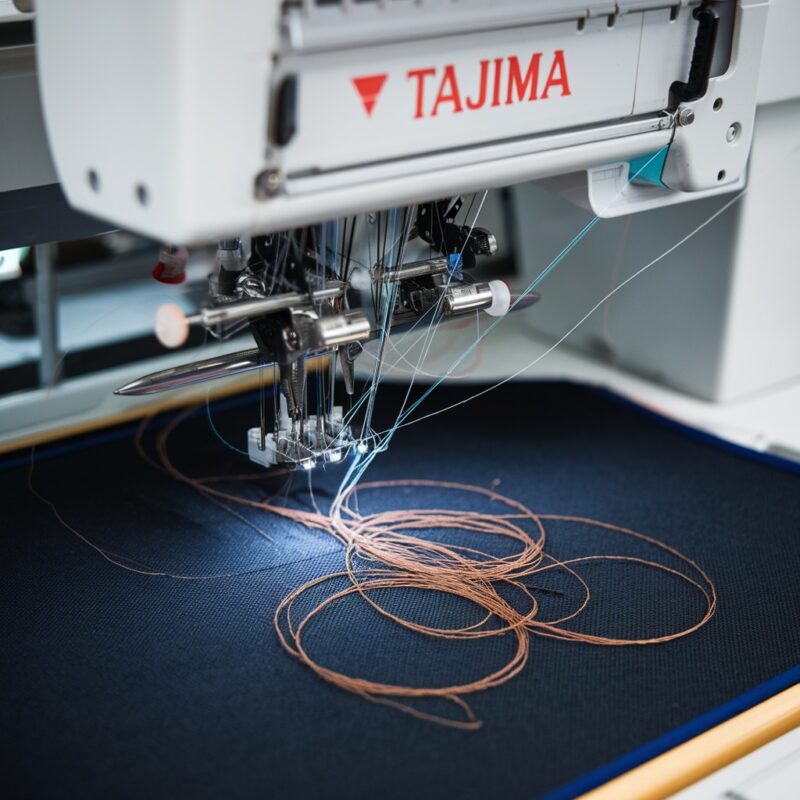
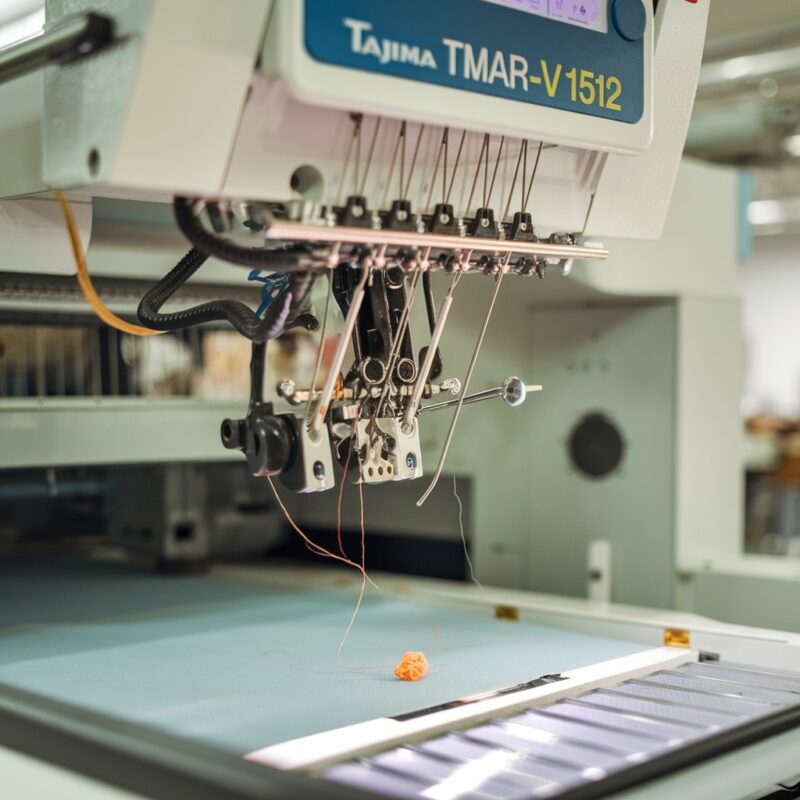
Thread breakage on a Tajima TMAR-KC embroidery machine is a common operational interruption. This guide provides a systematic approach to diagnose and resolve the most frequent causes, focusing on practical, machine-side solutions for operators and technicians. Addressing these issues promptly maintains machine efficiency and stitch quality.
Two-minute checks before you open anything
- Verify the machine is threaded correctly from spool to needle.
- Check the needle for bends, burrs, or dullness and replace if necessary.
- Inspect the bobbin case for lint and ensure the bobbin is wound correctly and seated properly.
- Confirm the upper thread tension is appropriate for the thread and fabric.
- Clean lint and debris from the thread path, especially tension discs and the rotary hook area.
1. Incorrect Thread Tension (Upper or Bobbin) high likelihood
How to tell
Perform a tension test by embroidering a simple satin stitch on scrap fabric. The bobbin thread should show approximately 1/3 on the underside of the top stitch. If the top thread breaks, tension is likely too tight or the bobbin tension is too loose. If the bobbin thread breaks, the bobbin tension is too tight or the upper tension is too loose. Observe the thread path for snagging or excessive slack.
Fix
- Adjust the upper thread tension dial. Turn clockwise to increase tension, counter-clockwise to decrease. Make small adjustments (e.g., 1/4 turn) and re-test.
- For bobbin tension, remove the bobbin case. If it's a drop-in style, hold the thread and let the case hang; it should slowly drop a few inches. If it drops quickly, it's too loose. If it doesn't drop, it's too tight. Adjust the small screw on the bobbin case (usually 1/8 turn increments) and re-test. Refer to your TMAR-KC manual for specific bobbin tension settings.
- Ensure upper and bobbin tensions are balanced to prevent either thread from breaking or poor stitch quality.
Tension discs can wear over time, affecting consistency. Bobbin cases can also wear or become damaged.
Parts involved: Thread path & tension → Rotary hooks & bobbin cases →
2. Improper Thread Path high likelihood
How to tell
Visually inspect the entire thread path from the thread cone/spool to the needle. Look for missed thread guides, thread caught behind tension discs, or thread wrapped around the take-up lever shaft. Ensure the thread passes freely through all guides and the take-up lever eye.
Fix
- Completely unthread the machine.
- Re-thread the machine carefully, following the exact path shown in your Tajima TMAR-KC operator's manual. Pay close attention to all thread guides, pre-tensioners, main tension discs, and the take-up lever.
- Ensure the thread is seated correctly between the tension discs and not just resting on top.
Parts involved: Thread path & tension → Head & mechanical parts →
Parts you may need for Tajima TMAR
In stock, tested before dispatch, Buyer Protection on every order. Part types for this problem: Thread path & tension, Rotary hooks & bobbin cases, Needles & needle bars, Head & mechanical parts.
 Tajima TC Sensor Card & Thread Contact Set 0J2602300A22 0J2602300A2...$ 18.09View part →
 KHS20-R Jumbo Rotary Hook for TAJIMA TME-DC, TMFX, TMB, TMAR, TMEZ ...$ 21.29View part →
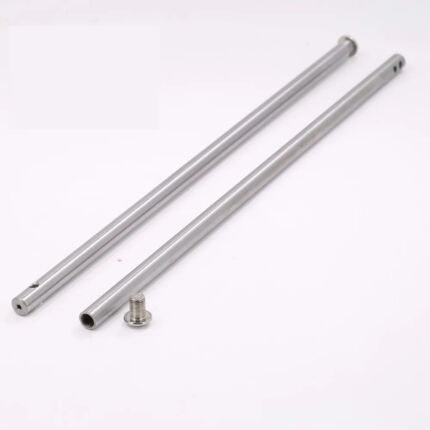 Tajima Embroidery Machine Needle Bar 207MM 212MM Replacement Part$ 3.49View part →
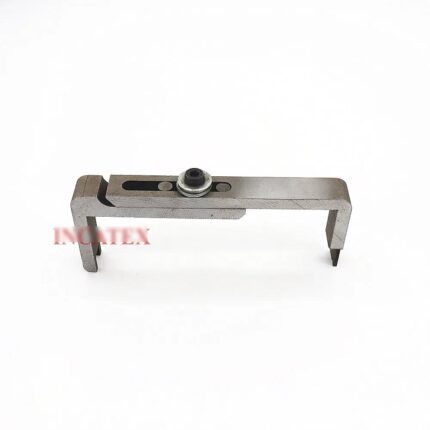 Tajima Embroidery Machine Gauge for TFMX, TMAR, TFGN, TMEZ Series M...$ 40.49View part →
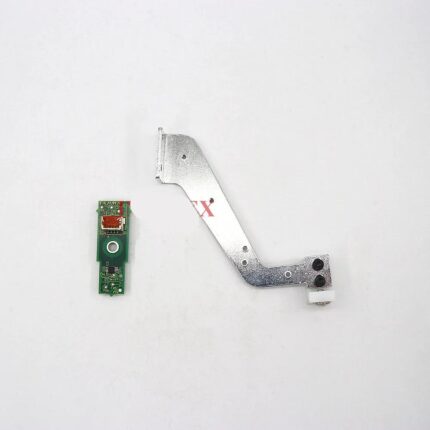 Tajima ICS131 0J2603200000 Thread Break Sensor & Bracket for TFMX, ...$ 97.09View part →
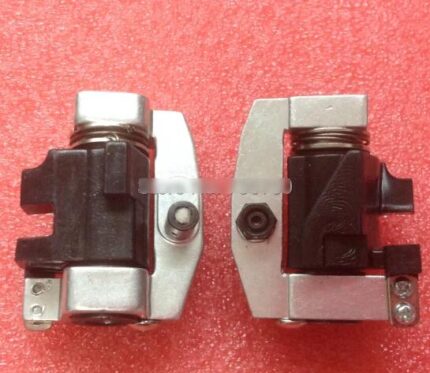 Tajima Needle Bar Drive Reciprocator Assembly for TFMX, TMFX, TMAR,...$ 27.09View part →
All Tajima TMAR parts → Thread Path & Tension → Rotary Hooks & Bobbin Cases → Needles & Needle Bars →
3. Worn, Bent, or Incorrect Needle high likelihood
How to tell
Visually inspect the needle. A bent needle will be visibly distorted. A dull needle might have a flattened or blunted tip, which can be felt by gently running a fingernail down the point. A burr can be felt as a rough spot. Check the needle type and size against the fabric and thread being used; using a needle too small for the thread or too large for the fabric can cause issues.
Fix
- Replace the needle immediately if it is bent, dull, or has burrs. Always use the correct needle type (e.g., DBxK5 for embroidery) and size (e.g., 75/11 for general embroidery, 90/14 for thicker threads/fabrics) for your application. Refer to your TMAR-KC manual and thread manufacturer recommendations.
- Ensure the needle is inserted correctly, fully seated into the needle bar, and with the scarf (long groove) facing the rotary hook.
Parts involved: Needles & needle bars →
4. Lint or Debris Build-Up high likelihood
How to tell
Visually inspect the thread path, tension discs, take-up lever, needle bar area, and especially the rotary hook and bobbin case area. Lint and thread fragments will be visible, potentially clogging guides or interfering with moving parts. Excessive lint around the tension discs can prevent them from gripping the thread properly.
Fix
- Power off the machine.
- Use a soft brush or compressed air (with caution, directing debris away from sensitive electronics) to clean lint and debris from the tension discs, thread guides, take-up lever, and needle bar area.
- Remove the needle plate and bobbin case. Thoroughly clean the rotary hook area, removing all lint and thread bits. Apply a drop of machine oil to the rotary hook race as per your TMAR-KC manual after cleaning.
- Clean the bobbin case itself, ensuring no lint is trapped under the tension spring.
Parts involved: Lubrication & maintenance → Rotary hooks & bobbin cases → Thread path & tension →
5. Poor Quality or Old Thread medium likelihood
How to tell
Inspect the thread spool for visible damage, fraying, knots, or tangles. Old thread can become brittle; test by pulling a length of thread firmly – if it breaks easily, it's likely compromised. Inconsistent thread thickness can also indicate poor quality.
Fix
- Always use high-quality embroidery thread from reputable manufacturers. Polyester or rayon threads are generally durable.
- Replace any thread spools that show signs of damage, fraying, or excessive brittleness.
- Store thread in a cool, dry place away from direct sunlight to prevent degradation.
Parts involved: Threads & supplies →
6. Incompatible Bobbin Thread medium likelihood
How to tell
Check the bobbin thread type and weight. Using a bobbin thread that is too thick, too thin, or of poor quality compared to the top thread can cause tension imbalances and breakage. Visible shredding of the bobbin thread can also indicate an issue.
Fix
- Use a high-quality bobbin thread specifically designed for embroidery machines, typically a fine-weight polyester or spun polyester.
- Ensure the bobbin thread matches the quality and type of the top thread for optimal performance.
- Check bobbin tension as described in 'Incorrect Thread Tension' above.
Parts involved: Threads & supplies → Rotary hooks & bobbin cases →
7. High Machine Speed medium likelihood
How to tell
Thread breakage occurs more frequently at higher machine speeds, especially with dense designs, metallic threads, or on challenging fabrics. The machine may sound strained or vibrate excessively.
Fix
- Reduce the embroidery speed, particularly for intricate designs, dense stitch counts, or when using specialty threads like metallic.
- Experiment with different speed settings on a sample to find the optimal balance between production speed and thread integrity for your specific design and materials.
8. Incorrect Stabilizer or Improper Hooping medium likelihood
How to tell
Fabric puckering, shifting, or stretching during embroidery indicates stabilizer or hooping issues. This puts undue stress on the thread, leading to breakage. The fabric may not feel taut and smooth in the hoop.
Fix
- Select the correct stabilizer type (cut-away, tear-away, wash-away) and weight for your fabric and design density. Refer to stabilizer manufacturer guidelines.
- Hoop the fabric and stabilizer securely, ensuring the fabric is taut but not overstretched. Avoid wrinkles or loose areas.
- For larger designs, periodically check that the fabric remains secure in the hoop.
Parts involved: Hoops & frames → Threads & supplies →
9. Tension Disc Wear or Misalignment medium likelihood
How to tell
Inconsistent thread tension despite adjustments, or visible grooves/damage on the tension discs. Thread may snag or shred as it passes through. Discs may not open and close smoothly when the presser foot is raised/lowered.
Fix
- Power off the machine.
- Inspect the tension discs for visible wear, nicks, or grooves. Clean any lint or debris trapped between the discs.
- Ensure the tension discs are aligned properly and open/close freely when the presser foot is lifted and lowered. If discs are worn or damaged, they will need replacement.
- If the issue persists after cleaning and inspection, the tension assembly may require professional adjustment or replacement.
Parts involved: Thread path & tension → Screws, springs & small parts →
10. Backlash in Bobbin Case medium likelihood
How to tell
The bobbin thread may unwind erratically, causing tension spikes and breakage. This is often more noticeable during rapid changes in sewing direction or speed. The bobbin may spin too freely or 'jump' in the case.
Fix
- Inspect the bobbin case for wear or damage. Replace if necessary.
- Consider installing an anti-backlash spring or a bobbin tension spring if your TMAR-KC model supports it and one is not already present. This helps maintain consistent tension as the bobbin unwinds.
- Ensure the bobbin is wound evenly and not overfilled.
Parts involved: Rotary hooks & bobbin cases → Screws, springs & small parts →
11. Automatic Thread Changer Malfunction low likelihood
How to tell
Thread breaks specifically occur during color changes. The thread may snag, get caught, or not feed smoothly during the change sequence. Error codes related to thread change may appear on the control panel.
Fix
- Power off the machine.
- Inspect the thread change mechanism for any obstructions, bent components, or excessive lint buildup. Clean thoroughly.
- Lubricate moving parts of the thread change mechanism as specified in your TMAR-KC maintenance manual.
- If the issue persists, the mechanism may require adjustment or repair by a qualified technician.
Parts involved: Head & mechanical parts → Lubrication & maintenance → Sensors & switches →
Stop and call a technician if
- If thread breakage persists after systematically checking all common causes.
- If you suspect internal mechanical issues, such as timing problems or worn gears.
- If the automatic thread change mechanism is consistently malfunctioning despite cleaning and lubrication.
- If you encounter error codes that are not resolved by basic troubleshooting.
Prevent it coming back
- Regularly clean the machine, especially the thread path, tension discs, and rotary hook area.
- Use only high-quality embroidery thread and bobbins, storing them properly.
- Replace needles proactively, typically after 8-10 hours of use or at the first sign of wear.
- Ensure correct thread tension for both upper and bobbin threads, testing on scrap fabric.
- Always use the appropriate needle type and size for the thread and fabric.
- Verify the machine is threaded correctly from spool to needle every time.
- Use the correct stabilizer and hoop fabric securely without overstretching.
- Avoid running the machine at excessively high speeds, especially for dense or intricate designs.
Frequently asked questions
How often should I change my needle on the Tajima TMAR-KC?
Needle replacement frequency depends on usage, thread type, and fabric. As a general rule, change needles after 8-10 hours of continuous embroidery, or immediately if you notice any signs of dullness, bending, or burrs, or if thread breakage becomes frequent.
What is the correct way to oil the rotary hook on my TMAR-KC?
After cleaning the rotary hook area, apply 1-2 drops of high-quality machine oil to the hook race (the channel where the bobbin case rotates). Refer to your Tajima TMAR-KC operator's manual for specific oiling points and frequency, typically every 4-8 hours of operation.
My machine keeps breaking metallic thread. What should I do?
Metallic thread is more delicate. Use a larger needle size (e.g., 90/14 or 100/16), reduce machine speed, loosen upper thread tension slightly, and ensure a very smooth thread path with no snags. Some metallic threads also benefit from a thread lubricant or specialized metallic thread needles.
Did this guide fix your machine?
Rate it - it helps other operators find the right fix.
Not sure which part is failing?
Need the logo stitched too?
Get your logo digitized by the people who know this machine
Upload the artwork, see the stitch count and the exact price in 10 seconds, then order with a free sew-out preview. $1 per 1,000 stitches, $10 minimum, 24-hour delivery. Vector conversion from $12.
After the fix
Fixed it? Keep the rest of the shop moving.
OS 360 is the shop software from the team behind this parts store. Every job keeps its status, deadline and owner while a TMAR-KC head is down, restock alerts fire for needles, hooks and bobbins before you run dry, and quotes, invoices and payment live in one place.
- Jobs with status, deadline and owner - nothing slips during downtime
- Inventory with restock alerts, this store one click away
- Instant quotes, invoices and one place to collect payment