Blog
Embroidery Machine Needle Breaking: Troubleshooting & Repair Guide

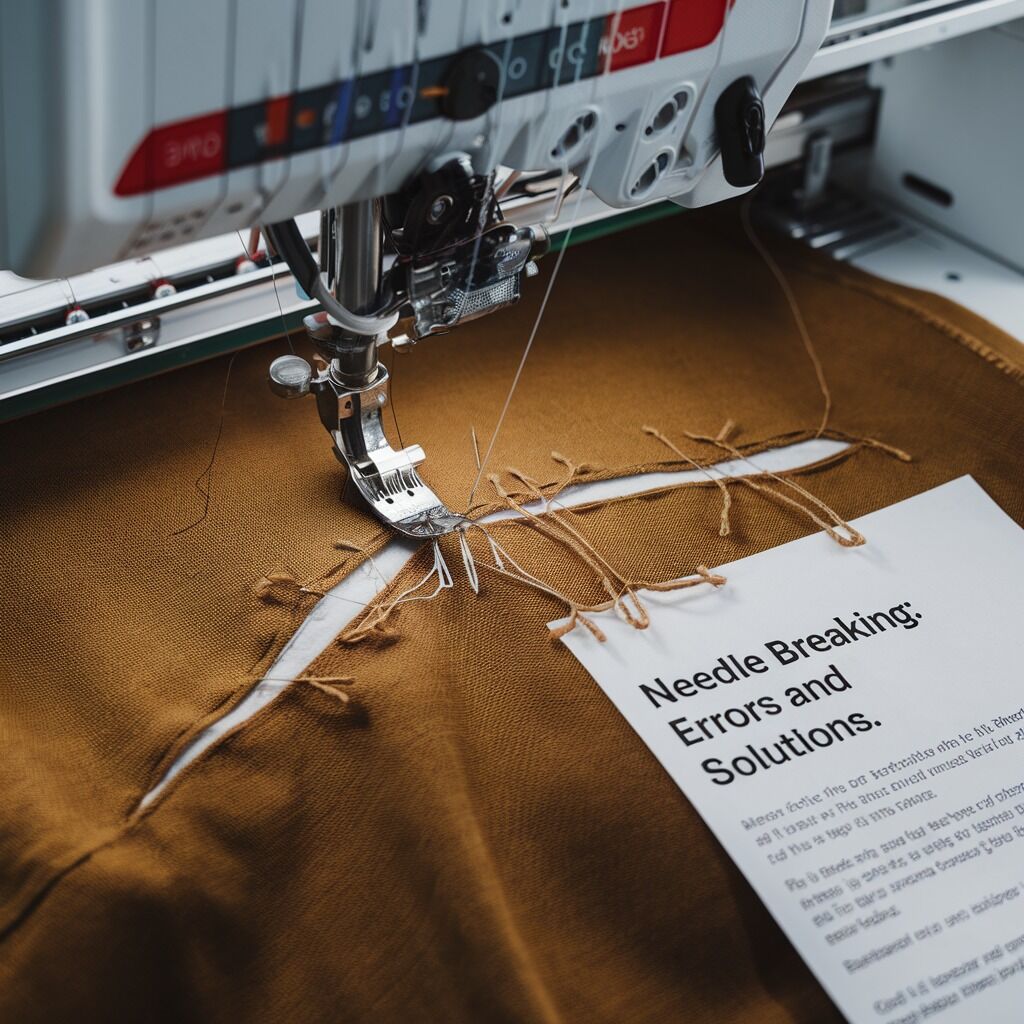
Quick answer: Needle breakage on an embroidery machine is most often caused by a bent or dull needle, incorrect needle installation, improper fabric hooping, or incorrect threading. Less common causes include using the wrong needle size or the needle striking the hoop.
Needle breakage is a common and frustrating issue for embroidery machine operators, leading to production delays and potential fabric damage. This guide provides practical steps to diagnose and resolve the most frequent causes of needle breaking, helping you restore smooth and efficient operation.
Two-minute checks before you open anything
- Is the needle bent, dull, or visibly damaged?
- Is the needle installed correctly, fully seated, and with the flat shank facing the correct direction?
- Is the fabric hooped securely but not overly stretched?
- Is the machine threaded correctly through all guides and tension discs?
1. Bent, Dull, or Damaged Needle high likelihood
How to tell
Visually inspect the needle for any bends, burrs, or a dull tip. A dull needle might also cause skipped stitches or fraying thread before breaking. Run your finger gently along the needle tip (away from the point) to feel for roughness.
Fix
- Turn off the machine power.
- Loosen the needle clamp screw.
- Remove the old needle.
- Insert a new, correct needle, ensuring the flat shank faces the back of the machine and it is pushed up as far as it will go into the needle bar.
- Tighten the needle clamp screw securely.
Parts involved: Needles & needle bars →
2. Improper Needle Installation high likelihood
How to tell
After a needle breaks, check the remaining portion of the needle or the broken pieces. If the break is near the shank or if the needle consistently breaks when hitting the needle plate or rotary hook, it indicates improper installation. The needle might not be fully seated or oriented incorrectly.
Fix
- Turn off the machine power.
- Loosen the needle clamp screw.
- Remove any remaining needle pieces.
- Insert a new needle, ensuring the flat shank faces the back of the machine (or as specified in your machine's manual) and it is pushed all the way up into the needle bar until it stops.
- Tighten the needle clamp screw firmly to prevent the needle from slipping or rotating during operation.
Parts involved: Needles & needle bars → Screws, springs & small parts →
Parts you may need for your machine
In stock, tested before dispatch, Buyer Protection on every order. Part types for this problem: Needles & needle bars, Hoops & frames, Thread path & tension, Screws, springs & small parts.
 TC-805 Stainless Steel Yarn Shears – Precision Thread Clippers for ...$ 3.59View part →
 Bobbin Case & 2 Metal Bobbins for Brother, Janome, Singer, Babylock...$ 5.59View part →
 3200M Metallic Silk Thread Computer Cross-stitch Thread for Machine...$ 0.00View part →
 PG220 Flat Waxed Thread for Leather Sewing & Crafting - 0.5mm, 0.8m...$ 13.09View part →
 WUTA 1052020/1052023/1052021 Leather Waxed Round Polyester Hand Sti...$ 6.09View part →
 100 Random Color Thread Spools Set - 250 Yards Each for Hand & Mach...$ 20.99View part →
All your machine parts → Needles & Needle Bars → Hoops & Frames → Thread Path & Tension →
3. Tight Fabric Tension / Improper Hooping medium likelihood
How to tell
The fabric will appear drum-tight or stretched excessively within the hoop. Stitching may look distorted or pulled. The needle may deflect noticeably when penetrating the fabric, leading to increased stress and breakage.
Fix
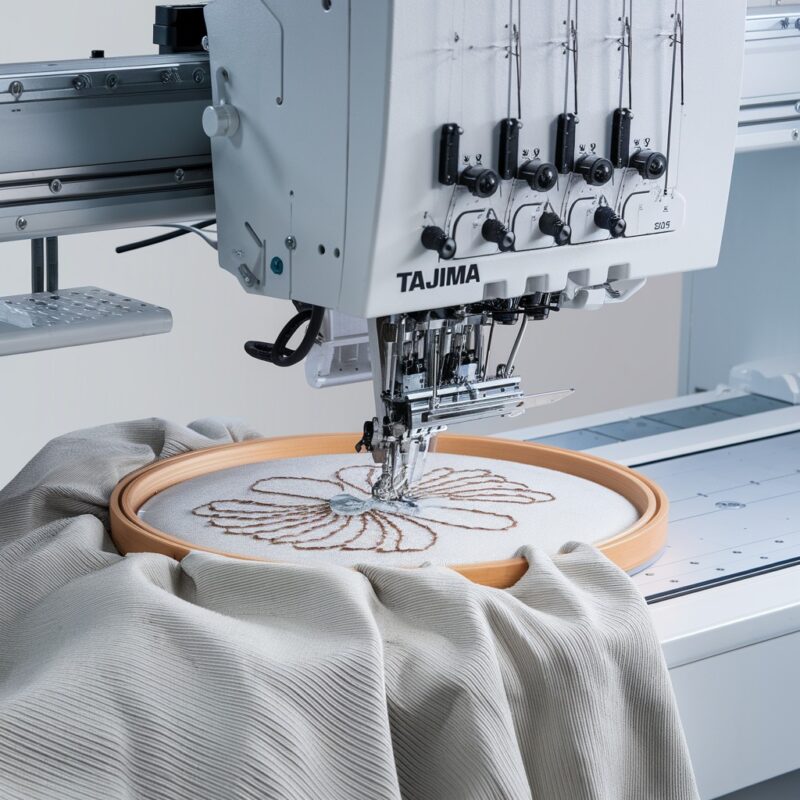
- Remove the hoop from the machine.
- Loosen the hoop tension screw slightly.
- Re-hoop the fabric, ensuring it is taut but not overly stretched. The fabric should feel firm but still have a slight give when pressed.
- Ensure the stabilizer is appropriate for the fabric and design, providing adequate support without adding excessive rigidity.
- Check that the hoop is securely seated in the machine's hoop arms.
Parts involved: Hoops & frames → Threads & supplies →
4. Incorrect Threading medium likelihood
How to tell
Inspect the entire thread path from the spool to the needle. Look for thread caught in guides, not seated correctly in tension discs, or wrapped around components. Incorrect threading often leads to inconsistent tension, skipped stitches, or thread shredding before the needle breaks.
Fix
- Turn off the machine power.
- Remove the current thread from the machine.
- Re-thread the machine carefully, following the manufacturer's specified thread path exactly. Ensure the thread passes through all guides, tension discs, and the take-up lever correctly.
- Verify that the thread is seated properly in the tension discs (often by flossing it through with the presser foot raised).
- Ensure the thread is not snagging on the spool or any part of the thread stand.
Parts involved: Thread path & tension → Threads & supplies →
5. Incorrect Needle Size for Fabric/Thread low likelihood
How to tell
If you are using a very fine needle on dense fabric or with thick thread, or a very thick needle on delicate fabric, this can cause excessive resistance. The needle may bend or break due to the force required to penetrate the material or due to friction with the thread. Consult your machine's manual or needle manufacturer's charts for recommended needle sizes.
Fix
- Turn off the machine power.
- Identify the fabric type and thread weight you are using.
- Consult your machine's user manual or a needle selection guide to determine the appropriate needle size and type (e.g., sharp, ballpoint) for your materials.
- Replace the current needle with the correct size and type. Ensure proper installation as described above.
Parts involved: Needles & needle bars → Threads & supplies →
6. Needle Hitting Hoop or Frame low likelihood
How to tell
This usually occurs suddenly and is often accompanied by a distinct 'clunk' sound. Inspect the hoop for any impact marks or damage. The needle will typically break at the point of impact. This can happen if the design is digitized too close to the hoop edge or if the hoop is not properly seated.
Fix
- Turn off the machine power.
- Remove the hoop and inspect it for damage. If the hoop is bent or cracked, it may need replacement.
- Verify that the hoop is correctly attached to the machine's hoop arms and fully seated.
- Review the embroidery design in your machine's software or on the control panel to ensure the design boundaries are well within the hoop's stitching area, allowing for a safe margin.
- If the design is too close to the edge, adjust its position or scale, or use a larger hoop.
Parts involved: Hoops & frames →
Stop and call a technician if
- If needle breakage persists after trying all troubleshooting steps.
- If you suspect internal machine damage, such as a misaligned rotary hook or needle bar timing issues.
- If the machine is making unusual grinding or banging noises that indicate a mechanical fault.
Prevent it coming back
- Always use the correct needle size and type for your fabric and thread combination.
- Regularly inspect and replace needles that are bent, dull, or damaged.
- Ensure needles are installed correctly and securely, with the flat shank oriented as per your machine's manual.
- Hoop fabric securely but without overstretching it, using an appropriate stabilizer.
- Thread the machine precisely according to the manufacturer's instructions, ensuring thread is seated in all guides and tension discs.
- Keep your machine clean and lubricated as per the maintenance schedule in your user manual to ensure all moving parts operate smoothly.
- Avoid running designs too close to the hoop's edge, and ensure hoops are properly seated.
Frequently asked questions
How often should I change my embroidery machine needle?
It's good practice to change your needle after every large project (e.g., 8-10 hours of stitching), or sooner if you notice any signs of wear, dullness, or if you're experiencing skipped stitches or thread shredding. For very dense designs or tough materials, change it more frequently.
Can using the wrong stabilizer cause needle breakage?
Yes, an unsuitable stabilizer can contribute to needle breakage. If the stabilizer is too weak, the fabric may move excessively, putting stress on the needle. If it's too stiff or incorrectly applied, it can create too much resistance for the needle to penetrate cleanly.
What does 'flat shank' mean when installing a needle?
The flat shank is the flattened side of the needle's top shaft. When installing a needle, this flat side must typically face the back of the machine, allowing the needle to be correctly oriented for the rotary hook to pick up the thread loop. Always confirm the correct orientation in your machine's manual.
Did this guide fix your machine?
Rate it - it helps other operators find the right fix.
Not sure which part is failing?
Need the logo stitched too?
Get your logo digitized by the people who know this machine
Upload the artwork, see the stitch count and the exact price in 10 seconds, then order with a free sew-out preview. $1 per 1,000 stitches, $10 minimum, 24-hour delivery. Vector conversion from $12.
After the fix
Fixed it? Keep the rest of the shop moving.
OS 360 is the shop software from the team behind this parts store. Every job keeps its status, deadline and owner while a embroidery head is down, restock alerts fire for needles, hooks and bobbins before you run dry, and quotes, invoices and payment live in one place.
- Jobs with status, deadline and owner - nothing slips during downtime
- Inventory with restock alerts, this store one click away
- Instant quotes, invoices and one place to collect payment