
Blog
Pfaff 335 Series: Maintenance Guide


Quick answer: Regular cleaning, lubrication, and timely replacement of wear parts like needles, needle plates, and rotary hooks are crucial for maintaining your Pfaff 335 series machine's performance and longevity.
The Pfaff 335 series industrial sewing machines are workhorses, known for their durability and precision. To ensure your machine continues to perform at its best and to extend its lifespan, regular and diligent maintenance is essential. This guide provides a practical maintenance schedule and identifies common wear parts, helping you keep your machine in top condition.
Two-minute checks before you open anything
- Check needle for dullness or bends before starting work.
- Inspect the needle plate for burrs or damage.
- Ensure the bobbin case and rotary hook area are free of lint and thread scraps.
- Verify thread is correctly threaded through all guides and tension discs.
- Listen for any unusual noises during operation.
1. Needle high likelihood
How to tell
Skipped stitches, thread breakage, fabric damage, dull or bent needle tip. A dull needle will often make a popping sound as it penetrates the fabric.
Fix
- Turn off the machine.
- Loosen the needle clamp screw.
- Remove the old needle.
- Insert a new needle, ensuring the scarf is facing the rotary hook and it's pushed all the way up.
- Tighten the needle clamp screw securely.
- Perform a test stitch on scrap material.
Always use the correct needle type and size for your material and thread.
Parts involved: Needles & needle bars →
2. PFAFF 335H, 335, 335G Needle Plate / Feed Dog medium likelihood
How to tell
Burrs or grooves on the needle plate, especially around the needle hole, leading to thread breakage or fabric snags. Worn feed dog teeth can cause inconsistent stitch length or poor material feeding.
Fix
- Turn off the machine.
- Remove the presser foot.
- Unscrew the PFAFF 91-000 277-15 Needle Plate Cylindrical Head Screws.
- Carefully lift off the old needle plate and feed dog.
- Clean the area thoroughly.
- Install the new PFAFF 335H, 335, 335G Needle Plate and Feed Dog, ensuring proper alignment.
- Secure with the screws, being careful not to overtighten.
- Perform a test stitch.
Inspect regularly for damage from needle strikes. Replace both the needle plate and feed dog if significant wear is present on either.
Parts involved: Presser feet & sewing parts → Screws, springs & small parts →
Parts you may need for Pfaff
In stock, tested before dispatch, Buyer Protection on every order. Part types for this problem: Rotary hooks & bobbin cases, Needles & needle bars, Thread path & tension, Presser feet & sewing parts.
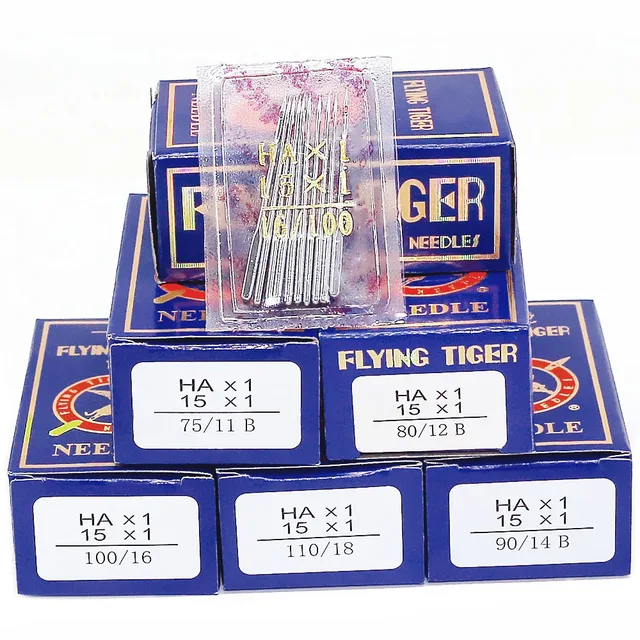 Flying Tiger HAX1 15x1 Sewing Machine Needles 100-Pack for Brother ...$ 13.99View part →
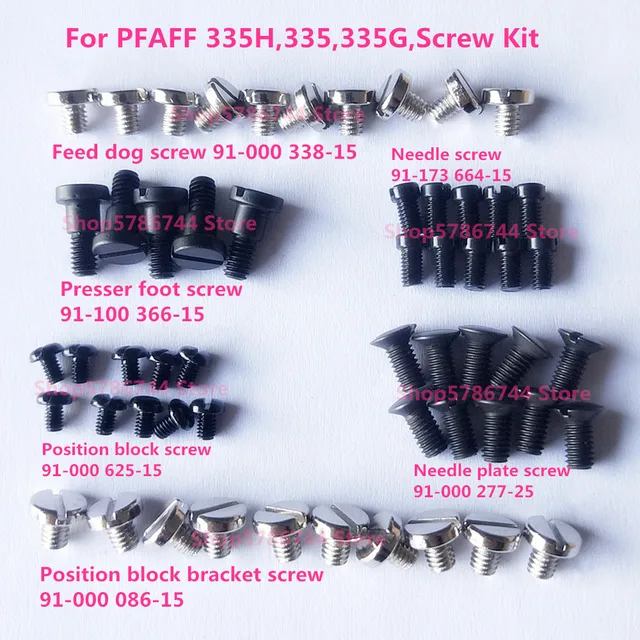 PFAFF 335H, 335, 335G Needle Plate, Feed Dog, Needle, Presser Foot,...$ 27.09View part →
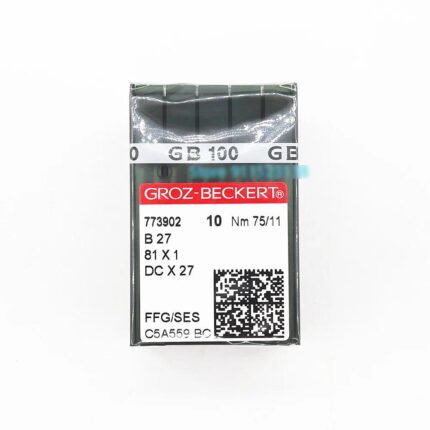 Groz-Beckert B27 DCX27 81X1 FFG/SES Industrial Sewing Needles Nm 75...$ 37.49View part →
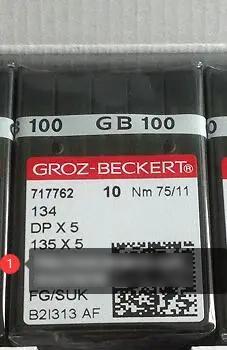 Groz-Beckert 134 DPX5 135X5 Industrial Sewing Needles 100-Pack for ...$ 39.29View part →
 KRT470-R Rotary Hook for PFAFF 471-493, GOLDEN WHEEL 9910, 9920, 88...$ 33.99View part →
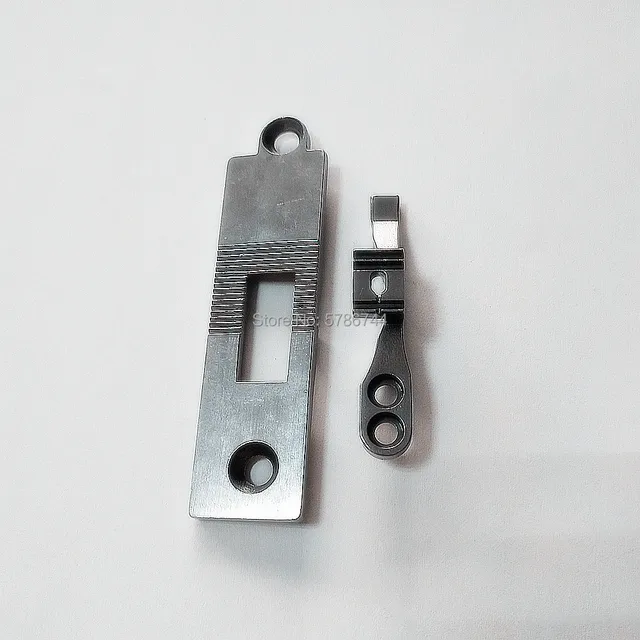 PFAFF 91-026746-04C Needle Plate & 91-026745-04C Feed Dog Set for 1...$ 36.09View part →
All Pfaff parts → Rotary Hooks & Bobbin Cases → Needles & Needle Bars → Thread Path & Tension →
3. Rotary Hook medium likelihood
How to tell
Noisy operation, inconsistent stitching, thread looping, skipped stitches, or thread breakage. Inspect the hook point for burrs or damage.
Fix
- Turn off the machine and remove the needle.
- Open the bobbin case area.
- Remove the bobbin case.
- Loosen the screws holding the rotary hook in place (refer to your machine's manual for specific steps).
- Carefully remove the old rotary hook.
- Clean the hook race thoroughly.
- Install the new DESHENG DSH-PF335 Rotary Hook or Fu chao KR335-V SC335-V 91-060581-91 Rotary Hook, ensuring it is correctly timed and seated.
- Secure the screws.
- Re-insert the bobbin case and bobbin.
- Perform a test stitch, checking for proper hook timing and stitch formation.
Several compatible rotary hooks are available, including DESHENG DSH-PF335 and Fu chao KR335-V SC335-V 91-060581-91. Ensure correct timing after replacement.
Parts involved: Rotary hooks & bobbin cases →
4. Presser Foot low likelihood
How to tell
Scratches or burrs on the underside of the presser foot can mark material. Excessive wear can lead to uneven feeding or poor material control.
Fix
- Turn off the machine.
- Loosen the presser foot screw.
- Remove the old presser foot.
- Install the new Presser Foot or Left & Right Toe Zipper Binding Feet Set.
- Tighten the screw securely.
- Perform a test stitch.
Different presser feet are used for various applications. Ensure you have the correct type for your task.
Parts involved: Presser feet & sewing parts →
5. Position Block Bracket & Position Block Screws low likelihood
How to tell
Loose or stripped screws can cause the position block to shift, leading to timing issues or inconsistent stitching. A bent or damaged bracket can also affect timing.
Fix
- Turn off the machine.
- Identify the Position Block Bracket and its associated Position Block Screws.
- If screws are loose, tighten them carefully. If stripped, remove and replace with new screws.
- If the bracket is bent or damaged, remove the old bracket and install a new one, ensuring proper alignment.
- Check machine timing if any adjustments were made or if the bracket was replaced.
- Perform a test stitch.
Always use the correct size and type of screws to avoid stripping.
Parts involved: Screws, springs & small parts → Head & mechanical parts →
6. Unbranded 91-011755-05 Take-Up Lever low likelihood
How to tell
Excessive play, grinding noises, or visible wear on the pivot points. Can lead to inconsistent thread tension, skipped stitches, or thread breakage.
Fix
- Turn off the machine.
- Access the take-up lever mechanism (refer to your machine's manual for specific access steps).
- Carefully remove the old take-up lever, noting its orientation and any associated springs or pins.
- Install the new Unbranded 91-011755-05 Take-Up Lever, ensuring all connections are secure and it moves freely.
- Reassemble any covers or panels.
- Perform a test stitch, checking for smooth operation and proper thread tension.
This part is crucial for thread handling; ensure smooth, unobstructed movement after replacement.
Parts involved: Head & mechanical parts →
Maintenance schedule
| When | What to do | Why |
|---|---|---|
| Daily (or every 8 hours of operation) | Clean the bobbin case and rotary hook area. | Removes lint and thread buildup that can cause skipped stitches, thread breakage, and wear on the hook. |
| Daily (or every 8 hours of operation) | Oil the rotary hook and other designated oiling points. | Reduces friction and wear on moving parts, ensuring smooth operation and preventing overheating. |
| Daily (or every 8 hours of operation) | Inspect the needle for dullness or bends and replace if necessary. | Prevents skipped stitches, fabric damage, and excessive strain on other machine components. |
| Weekly (or every 40 hours of operation) | Clean under the needle plate and around the feed dog. | Removes accumulated lint and debris that can impede material feeding and cause inconsistent stitching. |
| Weekly (or every 40 hours of operation) | Check and clean thread tension discs and thread guides. | Ensures consistent thread tension and prevents thread breakage or shredding. |
| Monthly (or every 160 hours of operation) | Inspect the needle plate and feed dog for burrs or excessive wear. | Identifies potential causes of thread breakage, fabric damage, or feeding issues before they become severe. |
| Monthly (or every 160 hours of operation) | Inspect the rotary hook for burrs or damage. | Early detection of hook wear can prevent major stitching problems and costly repairs. |
| Monthly (or every 160 hours of operation) | Check all accessible screws for tightness, especially those on the needle clamp, presser foot, and needle plate. | Prevents parts from loosening during operation, which can lead to misalignment or damage. |
| Every 3-6 Months (or every 500-1000 hours of operation) | Perform a thorough cleaning of the entire machine head, including areas not easily accessible. | Removes deep-seated lint and grime, ensuring all mechanisms operate freely. |
| Every 3-6 Months (or every 500-1000 hours of operation) | Inspect the presser foot for wear or damage. | Ensures proper material handling and prevents marking of fabric. |
| Annually (or every 2000 hours of operation) | Consider professional servicing for timing adjustments and inspection of internal components. | Maintains optimal machine performance and identifies wear on less accessible parts. |
Stop and call a technician if
- If you experience persistent timing issues after replacing the rotary hook or other major components.
- If the machine exhibits unusual grinding noises or vibrations that cannot be resolved with basic maintenance.
- If electrical issues or motor problems arise.
- For complex repairs or adjustments that require specialized tools or expertise beyond basic operator maintenance.
Prevent it coming back
- Always use the correct needle type and size for your fabric and thread.
- Ensure proper thread tension to reduce stress on machine components.
- Avoid pulling fabric forcefully through the machine, which can bend needles or damage feed dogs.
- Use high-quality threads to minimize lint buildup and thread breakage.
- Keep the work area clean to prevent dust and debris from entering the machine.
- Operate the machine within its recommended speed limits.
Frequently asked questions
How often should I oil my Pfaff 335 series machine?
The Pfaff 335 series machines typically require daily oiling for parts like the rotary hook and other moving components. Always refer to your machine's specific manual for the recommended oiling points and frequency, as usage intensity can vary requirements.
What kind of oil should I use for my industrial sewing machine?
Always use high-quality, clear, non-staining industrial sewing machine oil. Avoid using general-purpose oils, as they can gum up mechanisms and stain your materials. Consult your machine's manual for specific oil recommendations.
Why is my machine skipping stitches after I changed the needle?
Skipped stitches after a needle change often indicate the needle is not inserted correctly (e.g., not pushed all the way up, or the scarf is facing the wrong direction), or the wrong type/size of needle is being used. It could also be a sign of a dull or bent needle, or an issue with the rotary hook timing.
How do I know if my rotary hook needs to be replaced?
Signs of a worn rotary hook include increased noise during operation, inconsistent stitching, thread looping, frequent thread breakage, or visible burrs/damage on the hook point. Regular inspection during cleaning can help identify wear early.
Did this guide fix your machine?
Rate it - it helps other operators find the right fix.
Not sure which part is failing?
Need the logo stitched too?
Get your logo digitized by the people who know this machine
Upload the artwork, see the stitch count and the exact price in 10 seconds, then order with a free sew-out preview. $1 per 1,000 stitches, $10 minimum, 24-hour delivery. Vector conversion from $12.
After the fix
Fixed it? Keep the rest of the shop moving.
OS 360 is the shop software from the team behind this parts store. Every job keeps its status, deadline and owner while a Pfaff head is down, restock alerts fire for needles, hooks and bobbins before you run dry, and quotes, invoices and payment live in one place.
- Jobs with status, deadline and owner - nothing slips during downtime
- Inventory with restock alerts, this store one click away
- Instant quotes, invoices and one place to collect payment